


In this lesson, we will consider the use of the double exposure function in the Snapseed photo editor. From these two photos, we will create one new one.
Step 1. Photo upload
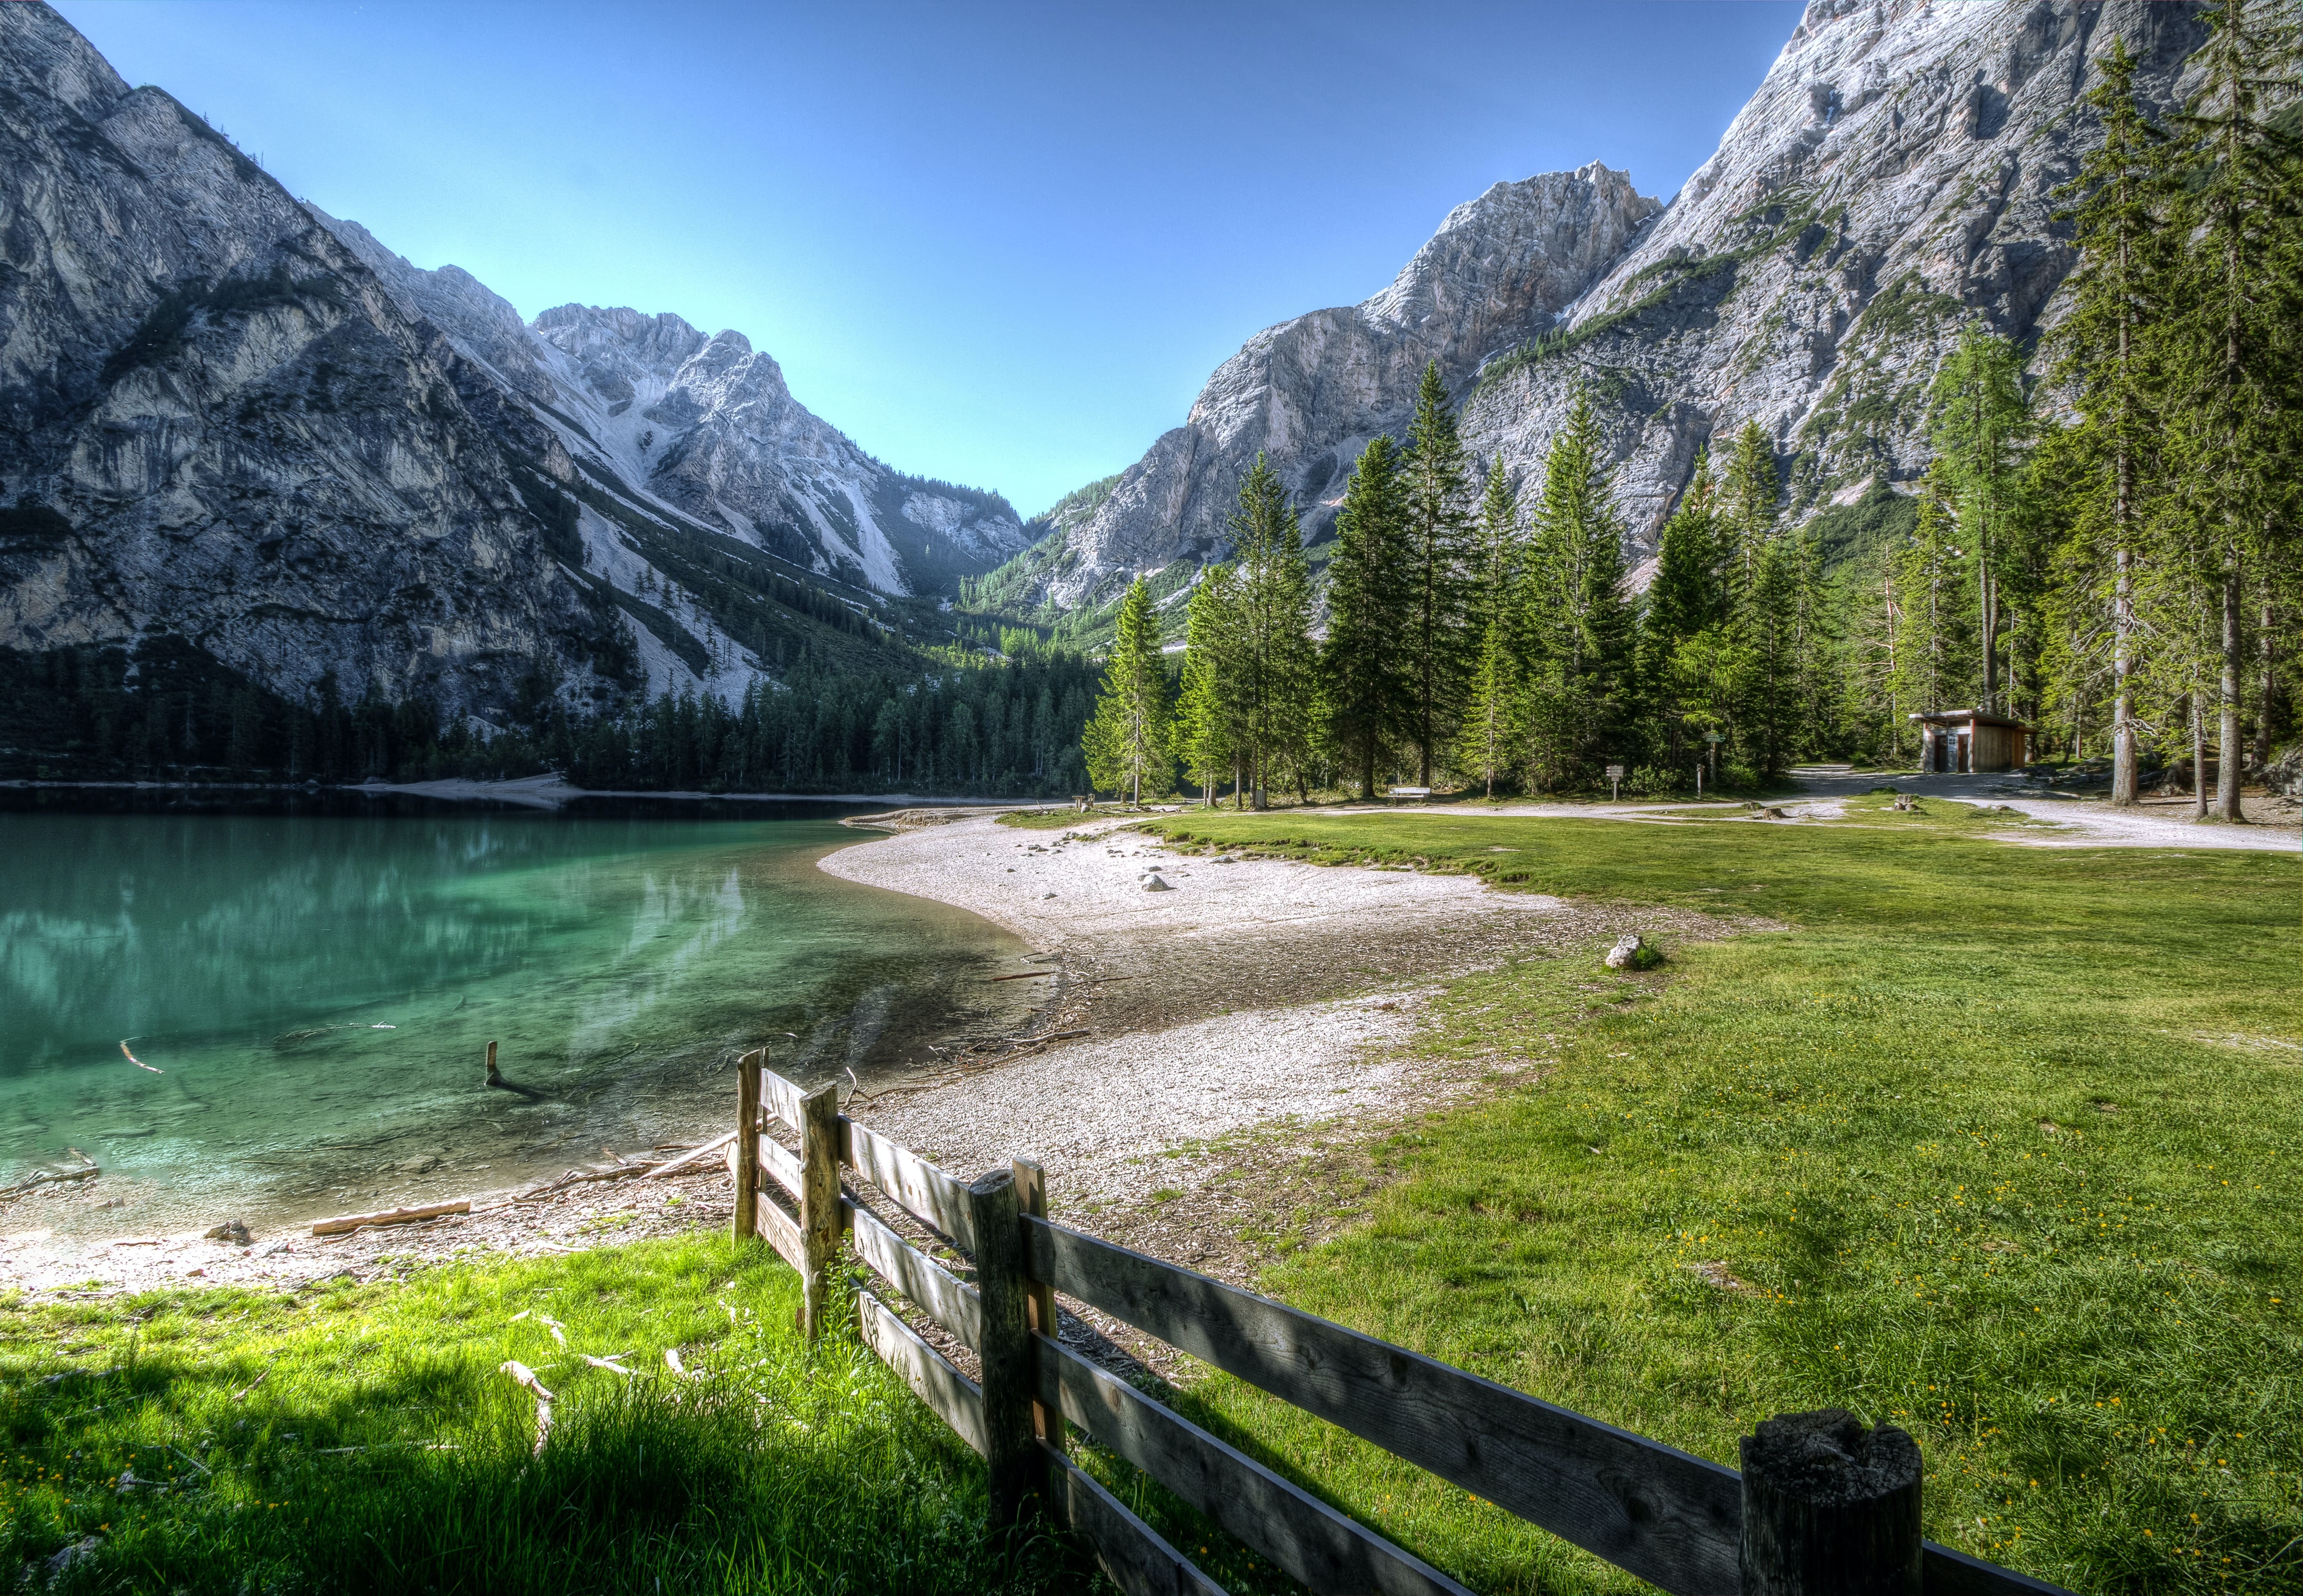
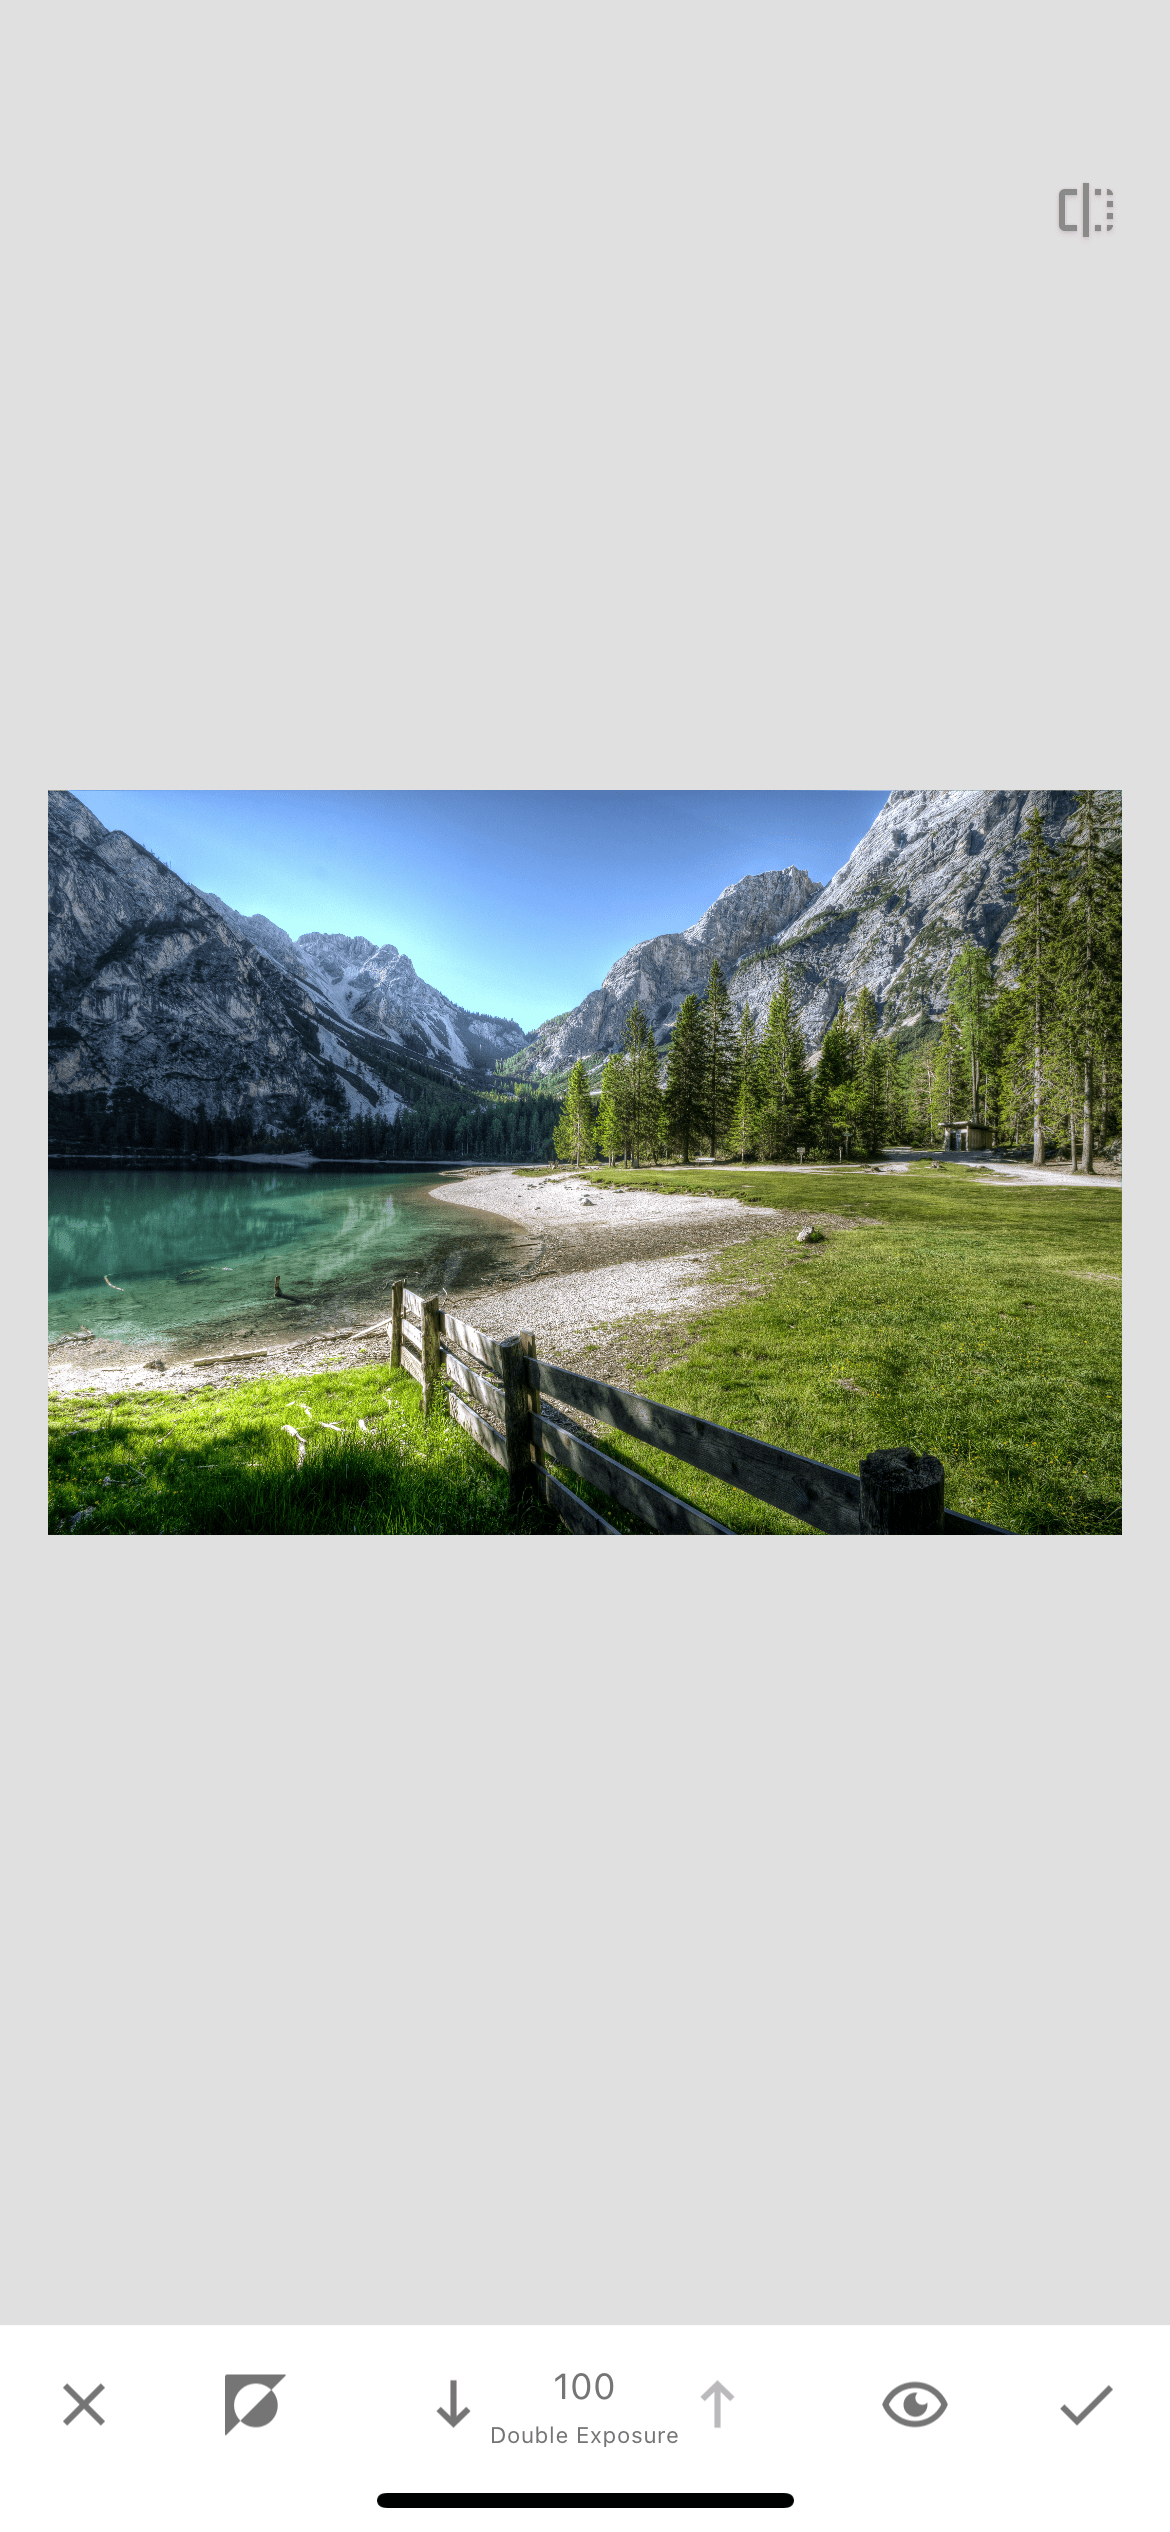
Open the photo in the Snapseed photo editor.
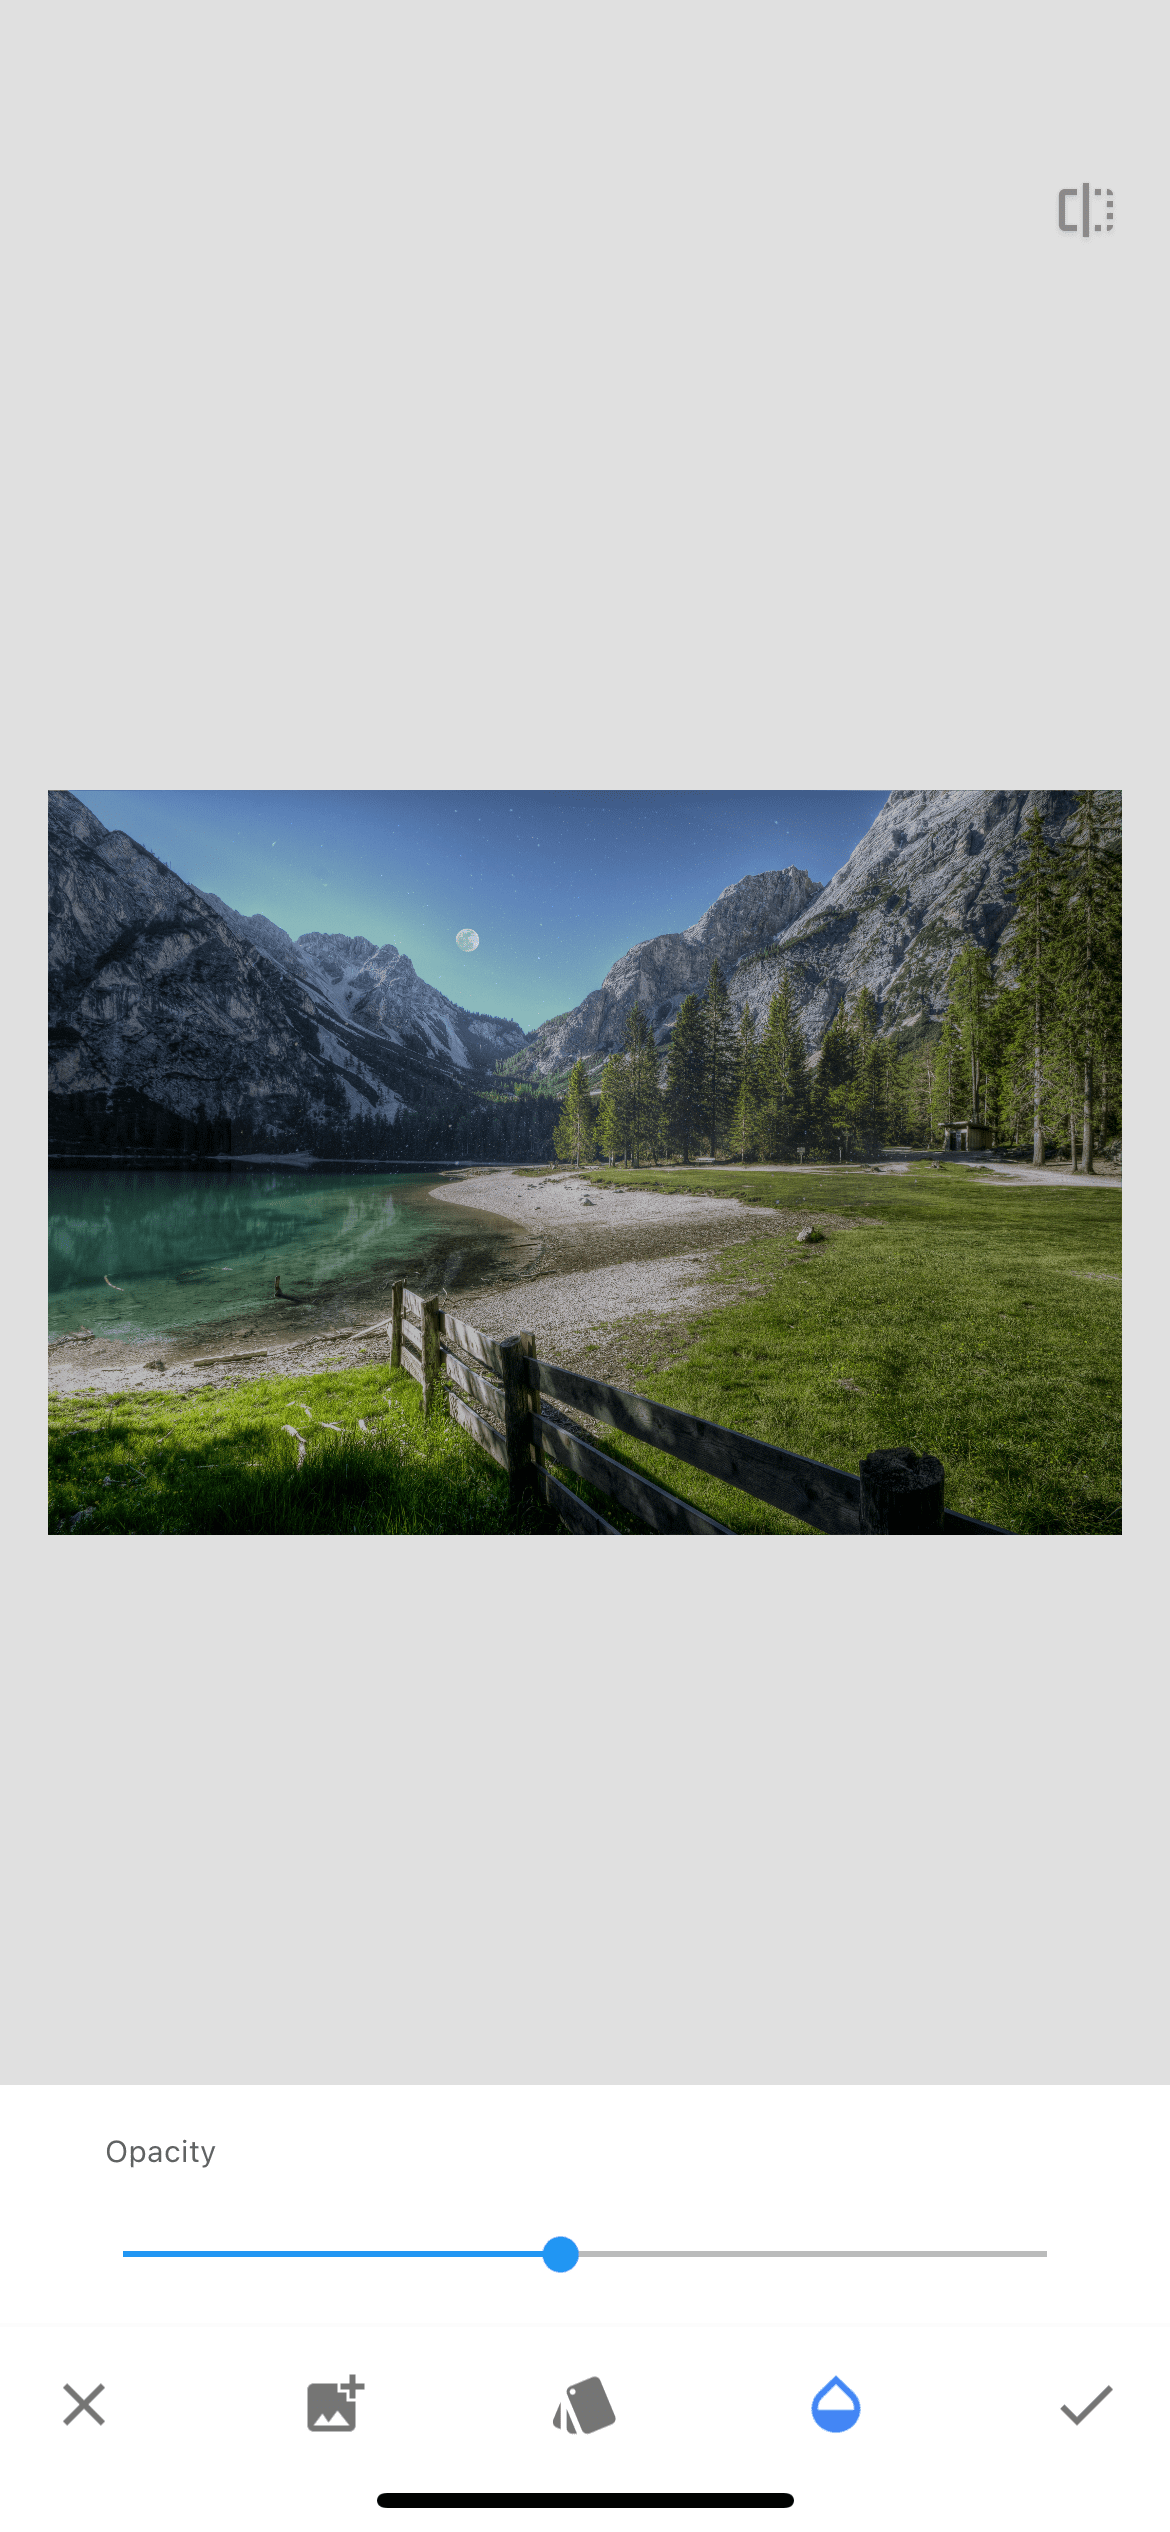
Step 2. Double Exposure Function
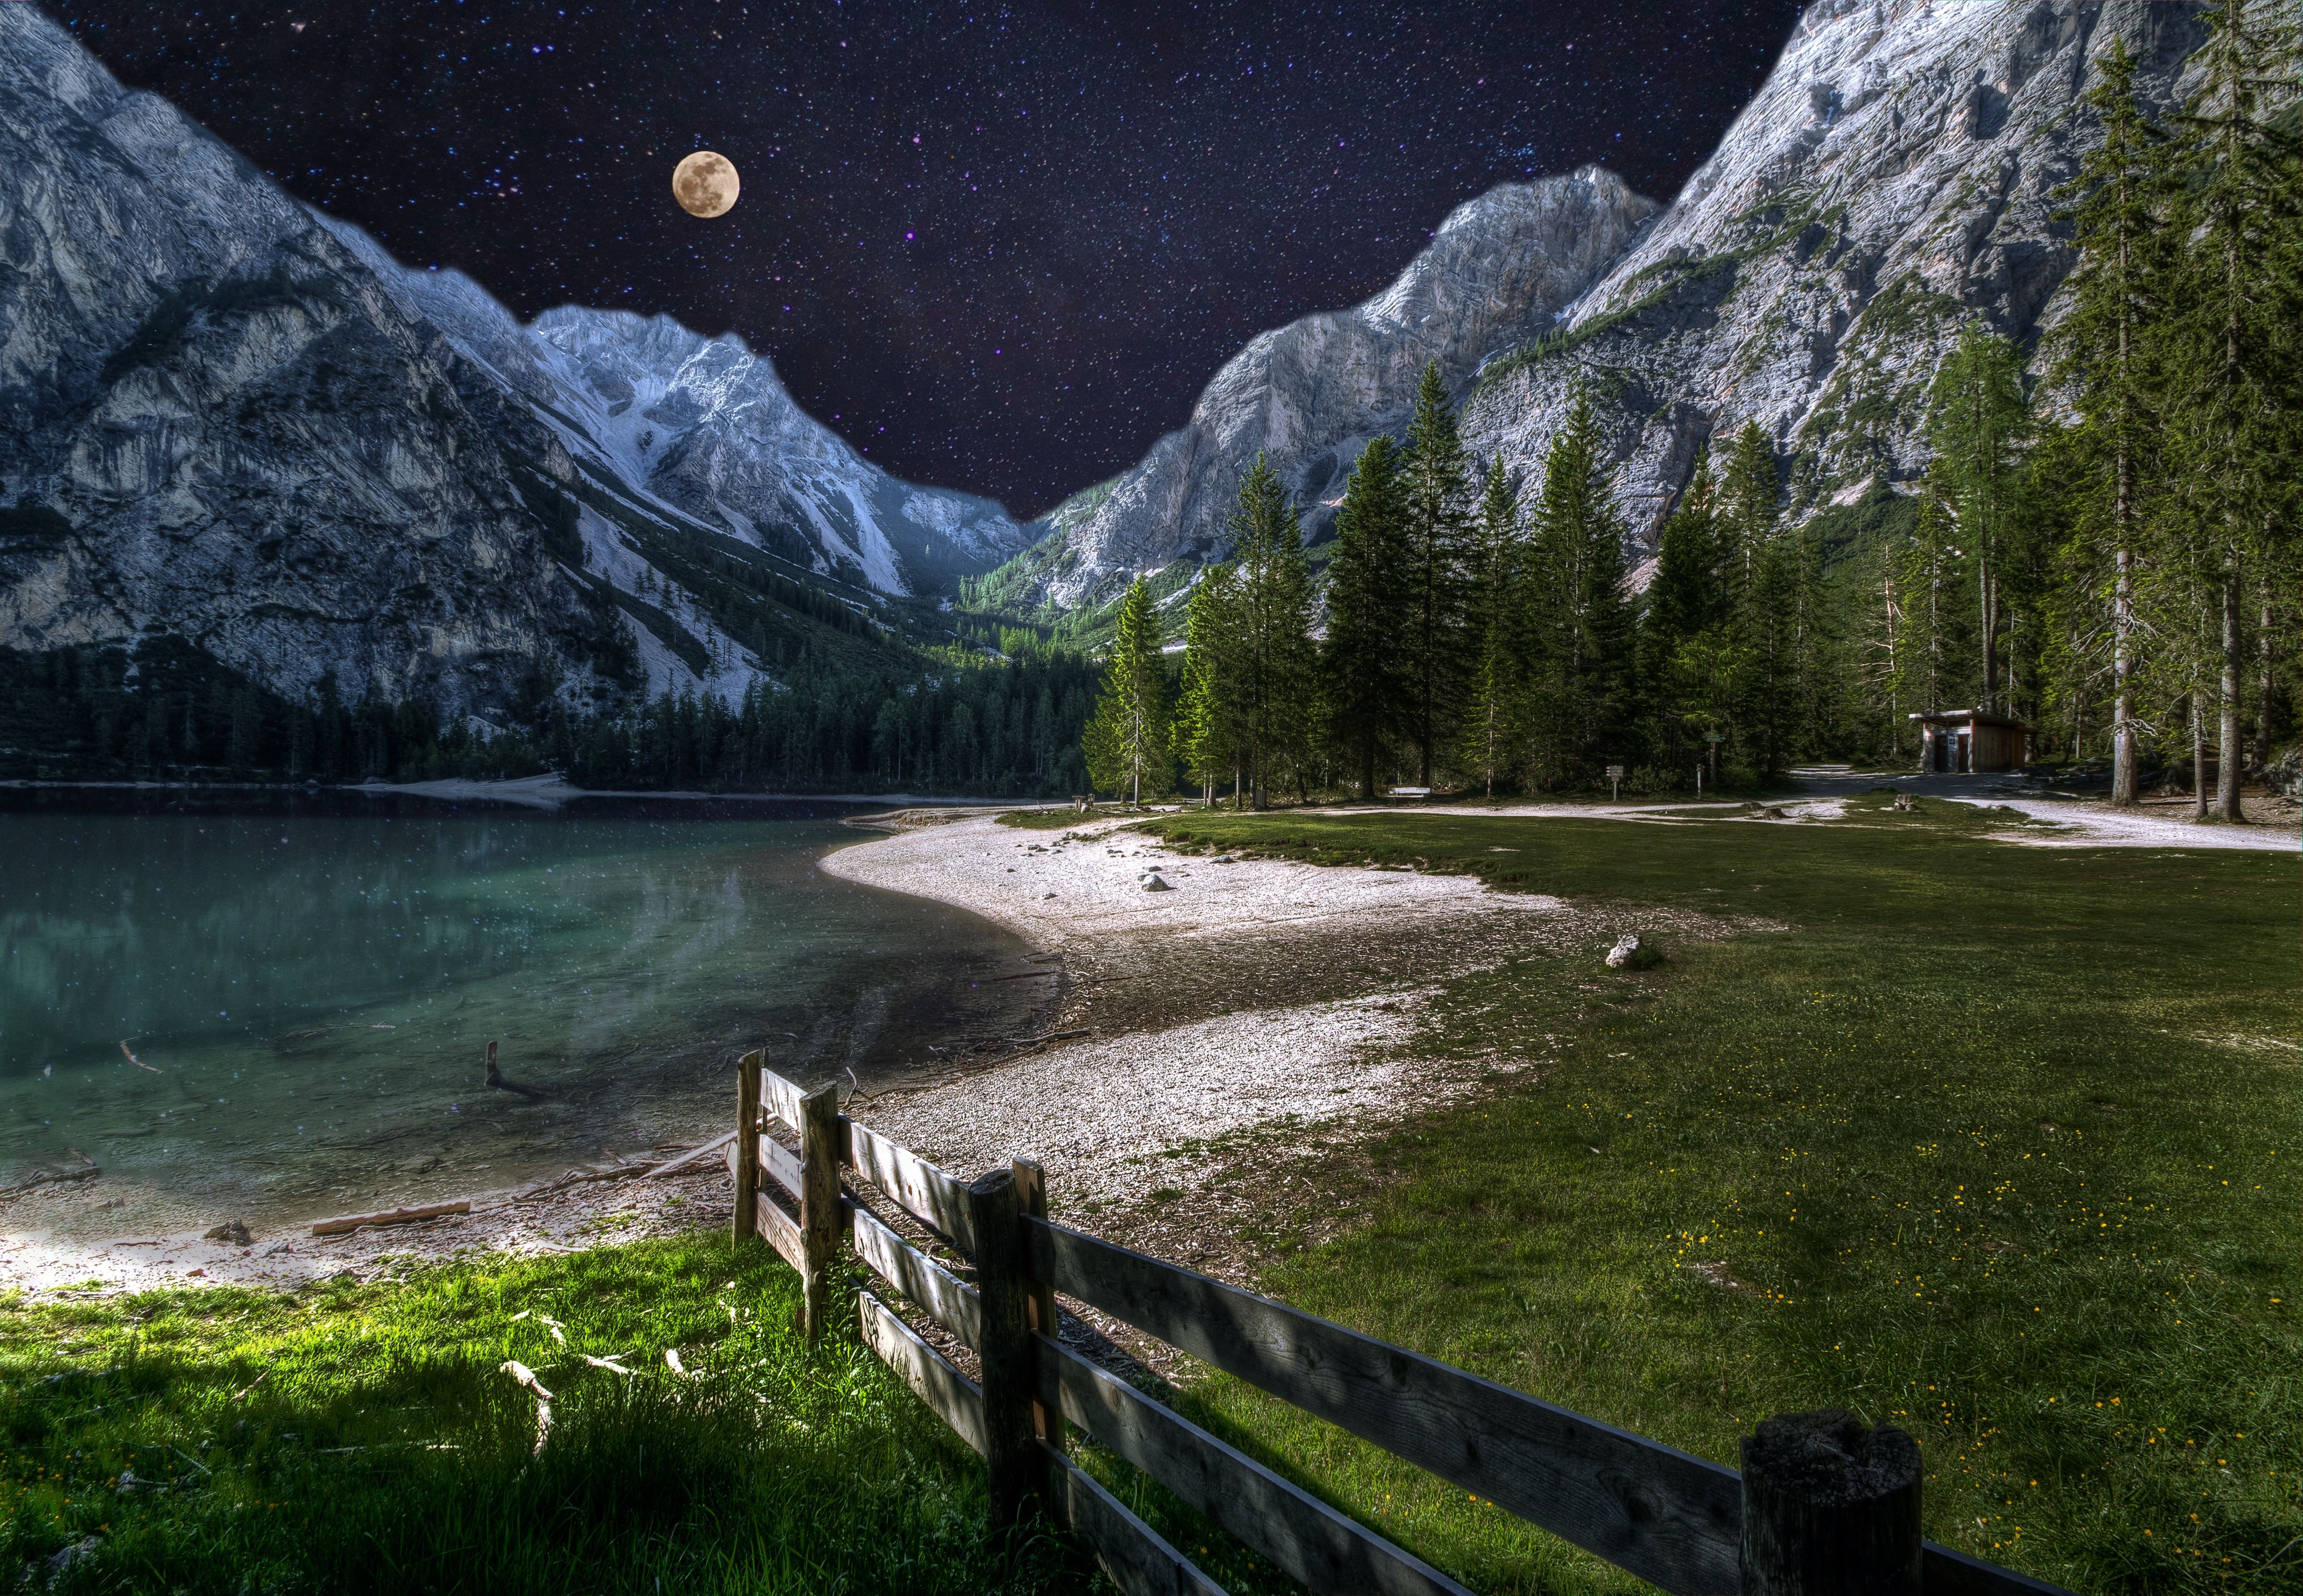
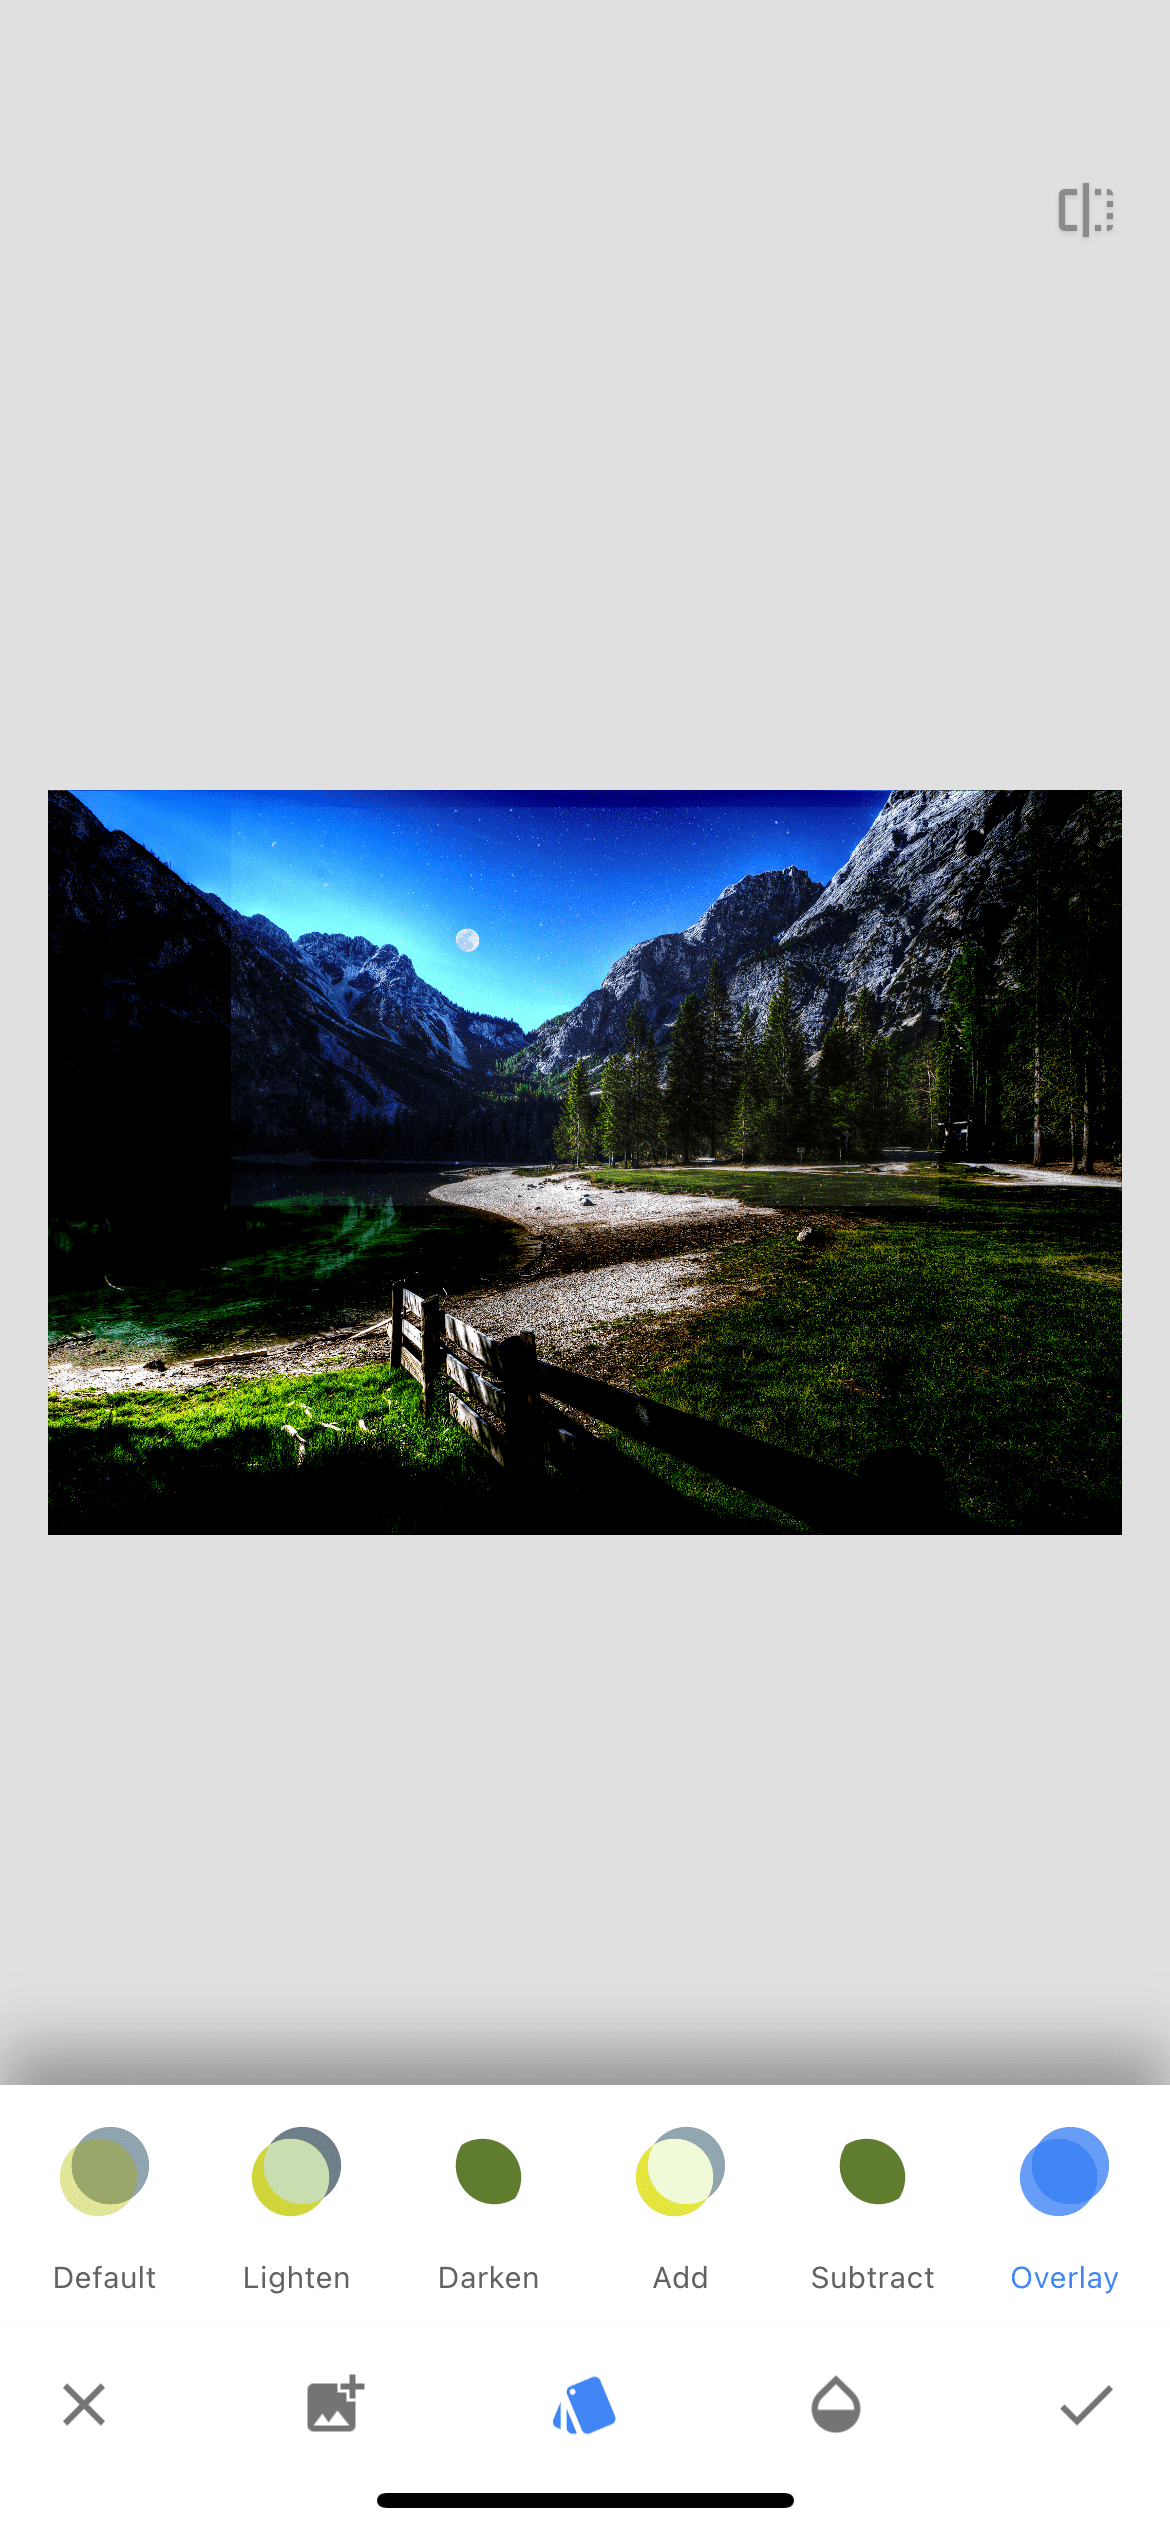
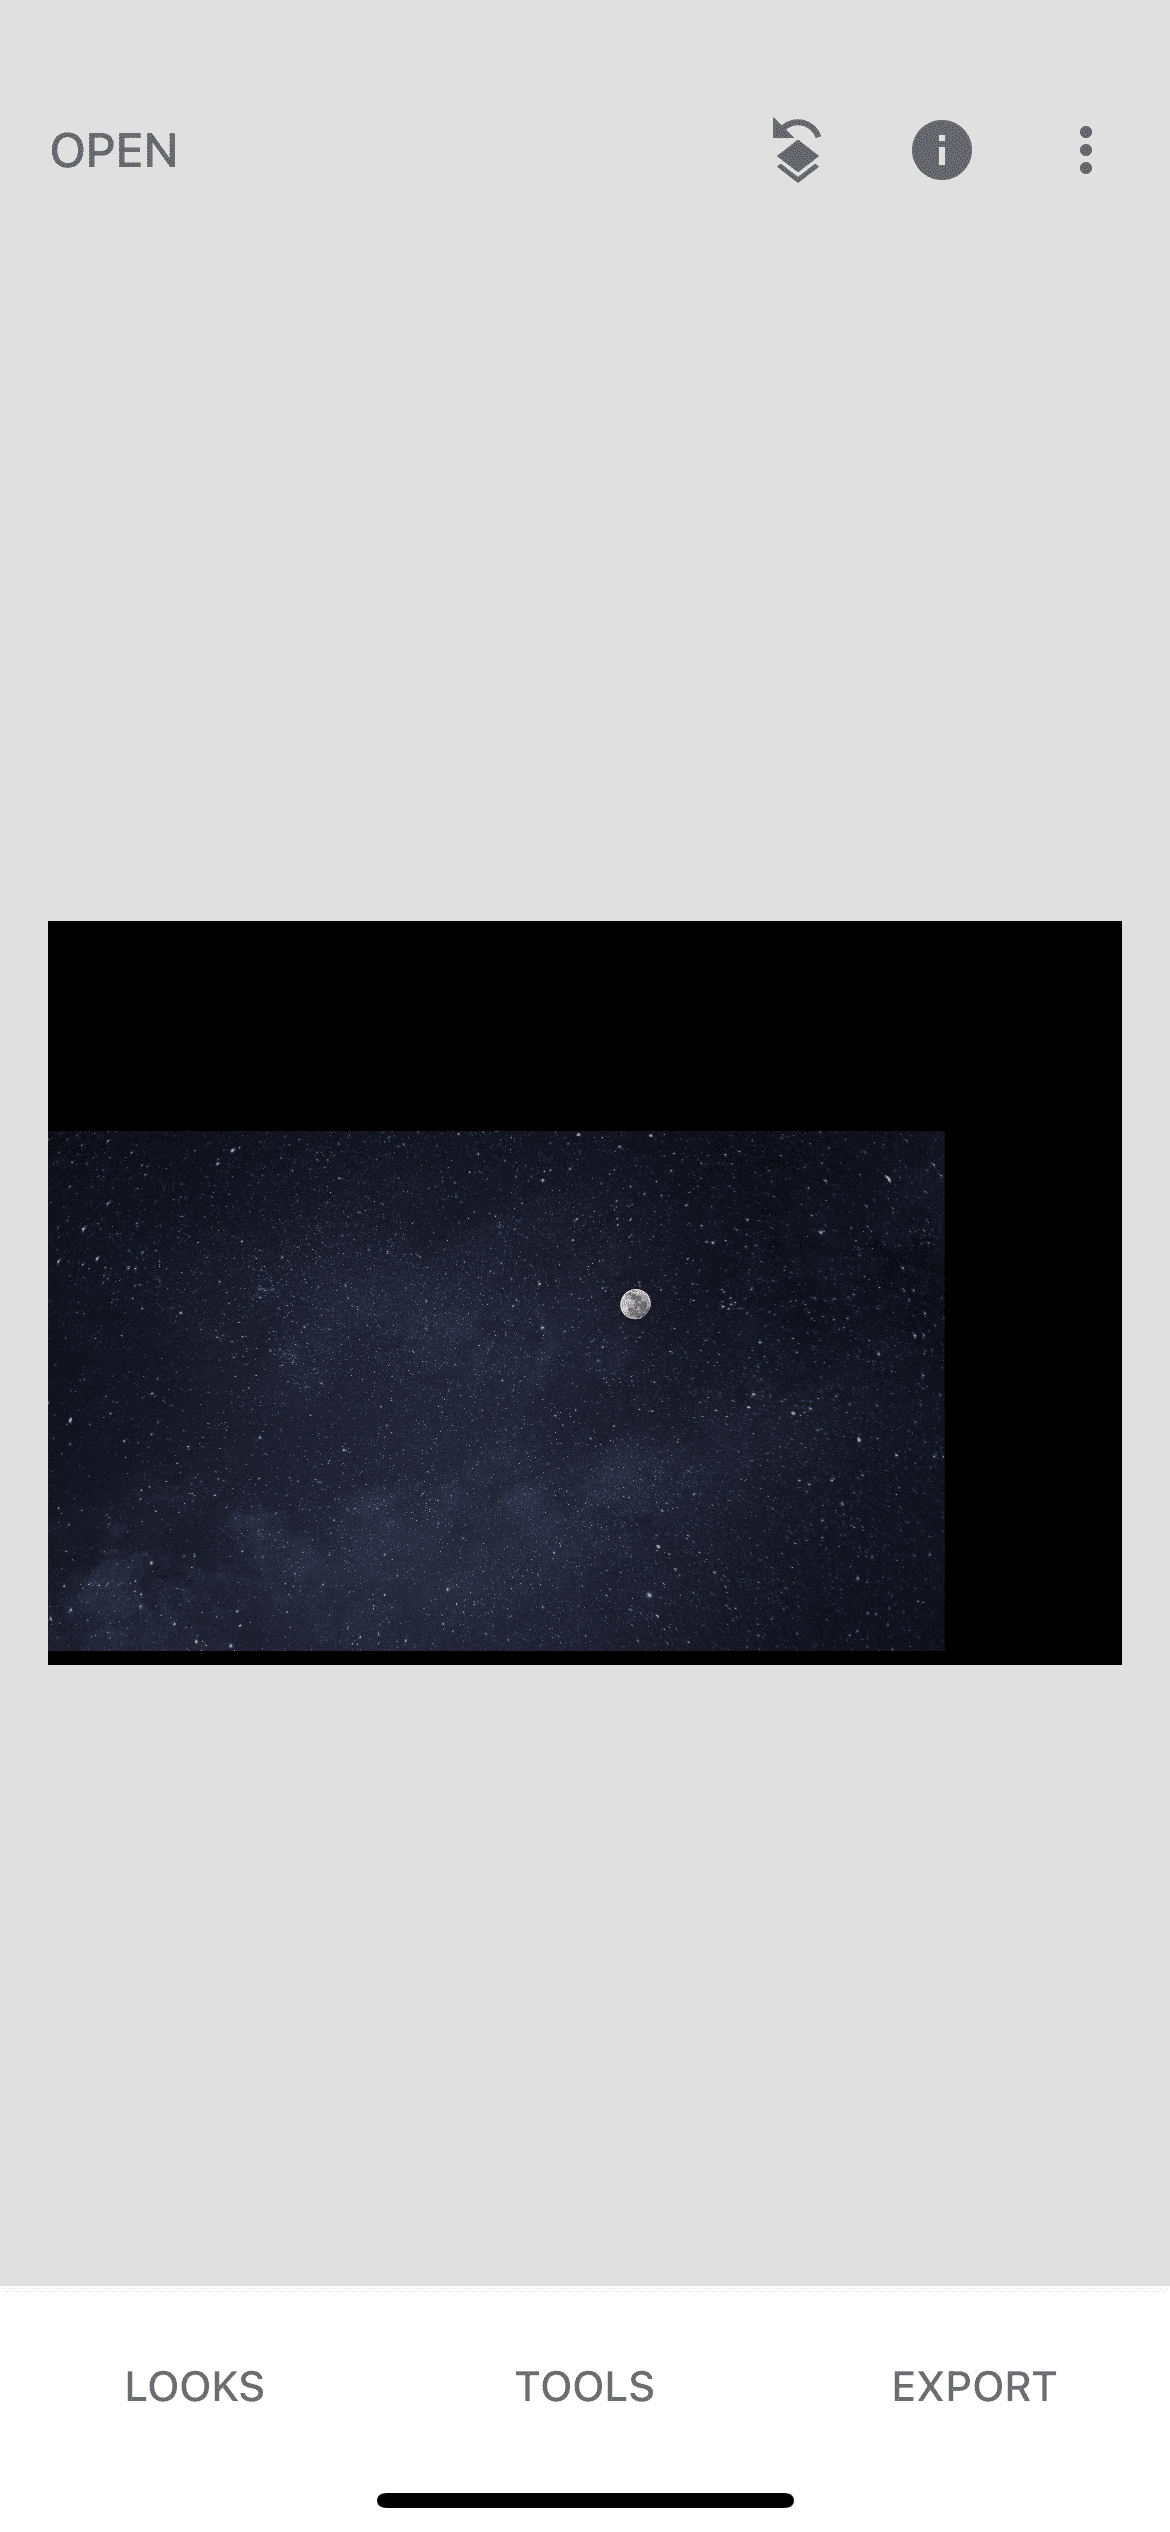
In the tools tab, select the "double exposure" function and add a second photo to our picture, from which we will take some areas to transfer to the first photo. The overlay style of the second photo should be “default”. Also make sure that the opacity of the second photo is turned to the maximum. If everything is done correctly, then the second photo will completely cover the first one so that it will not be visible at all.
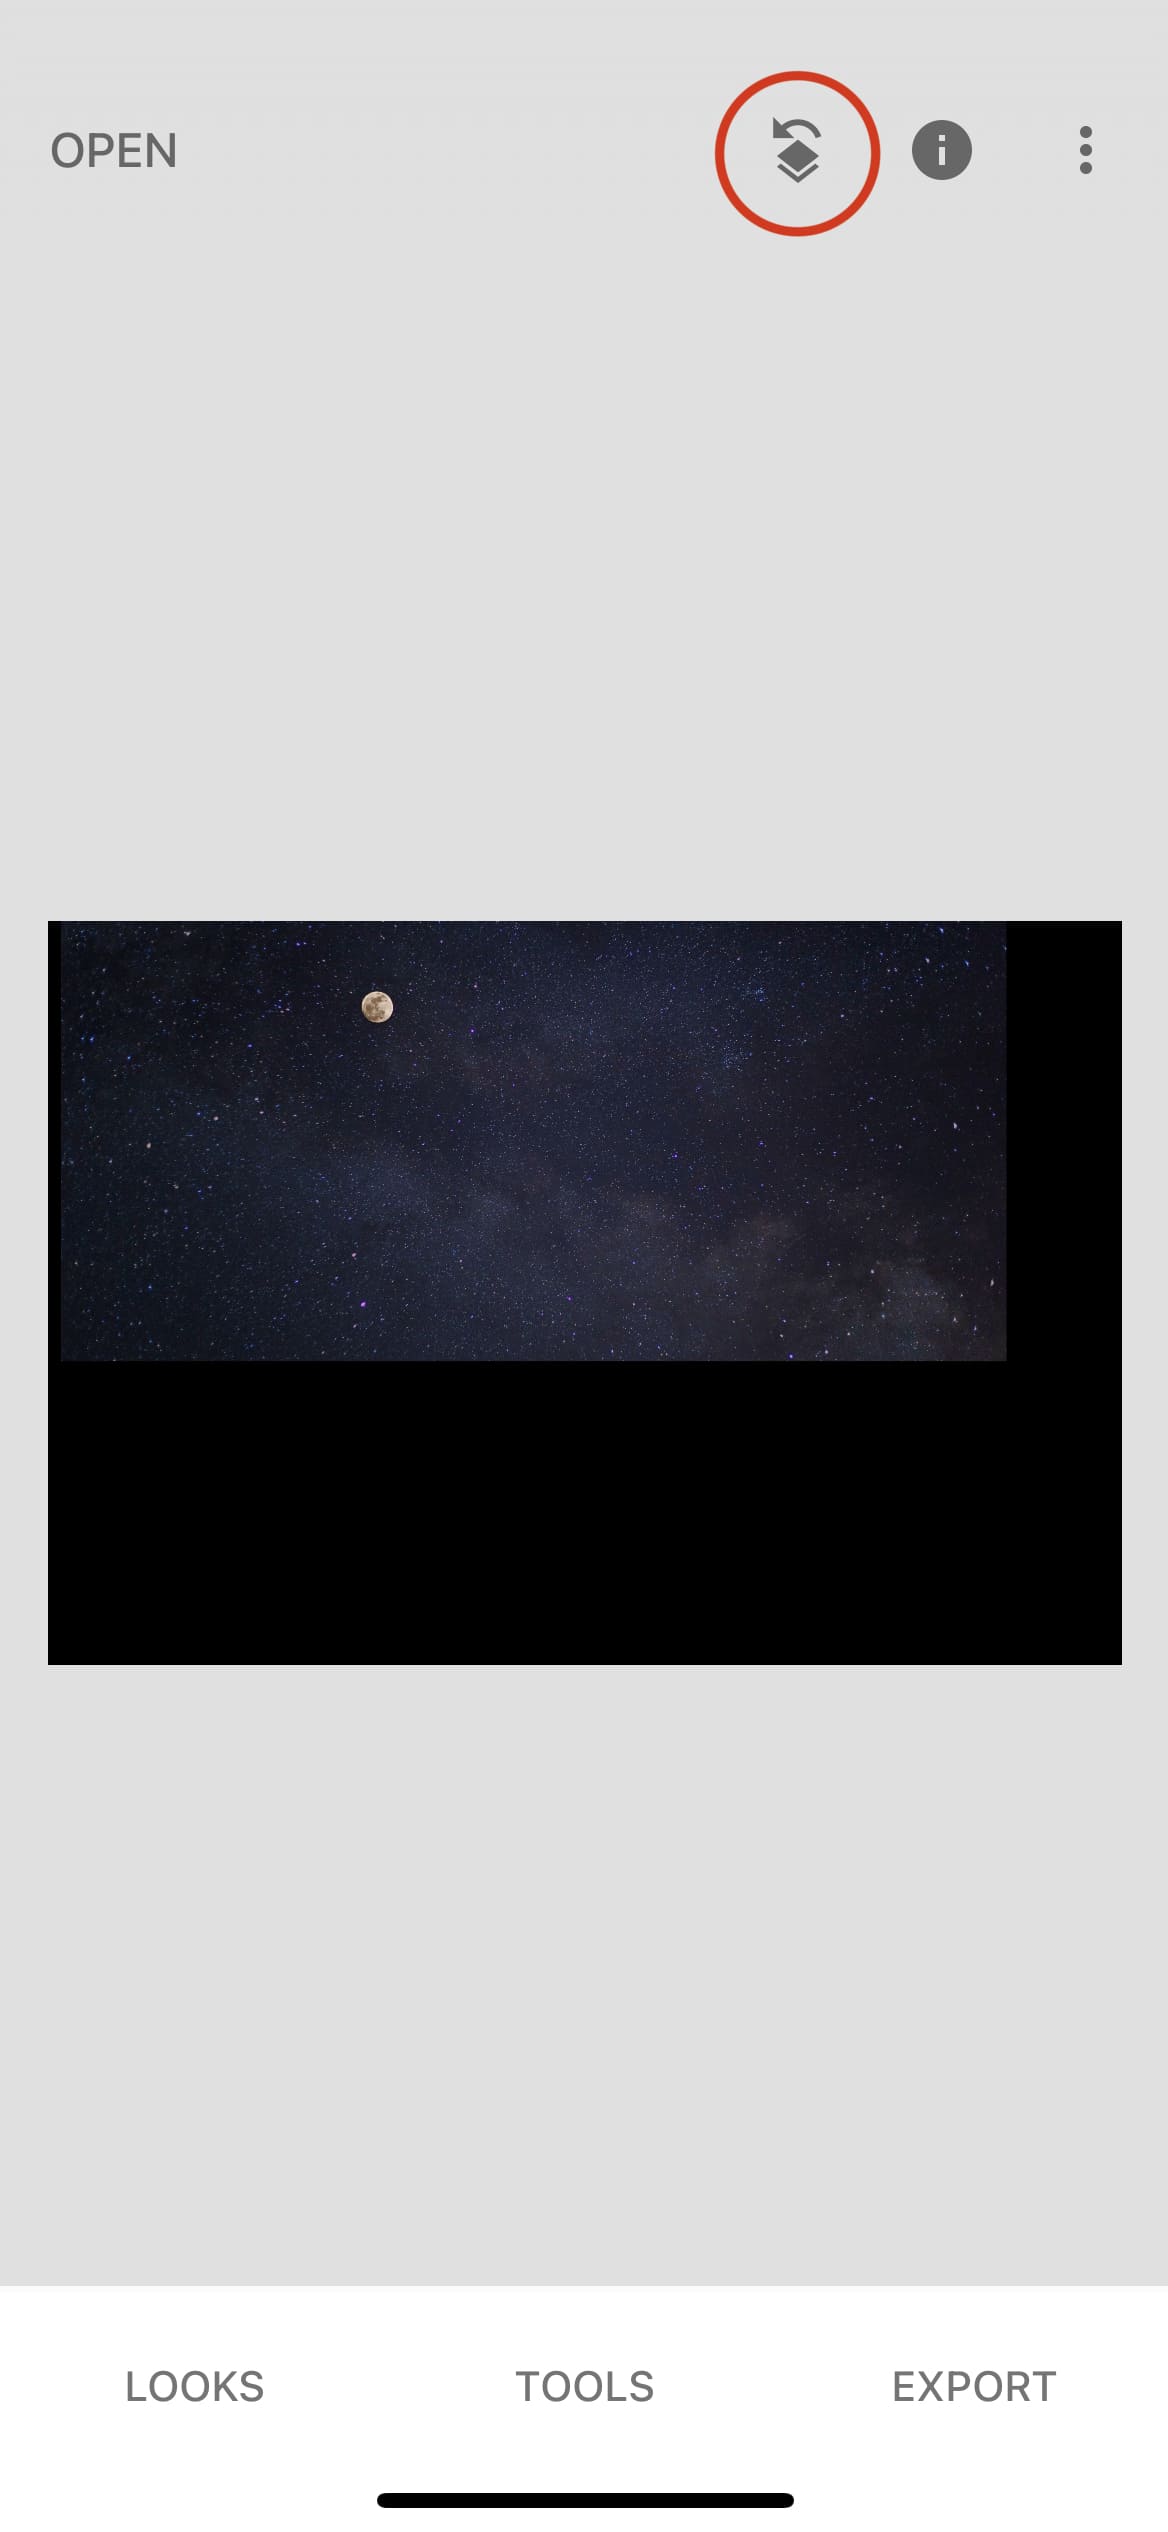
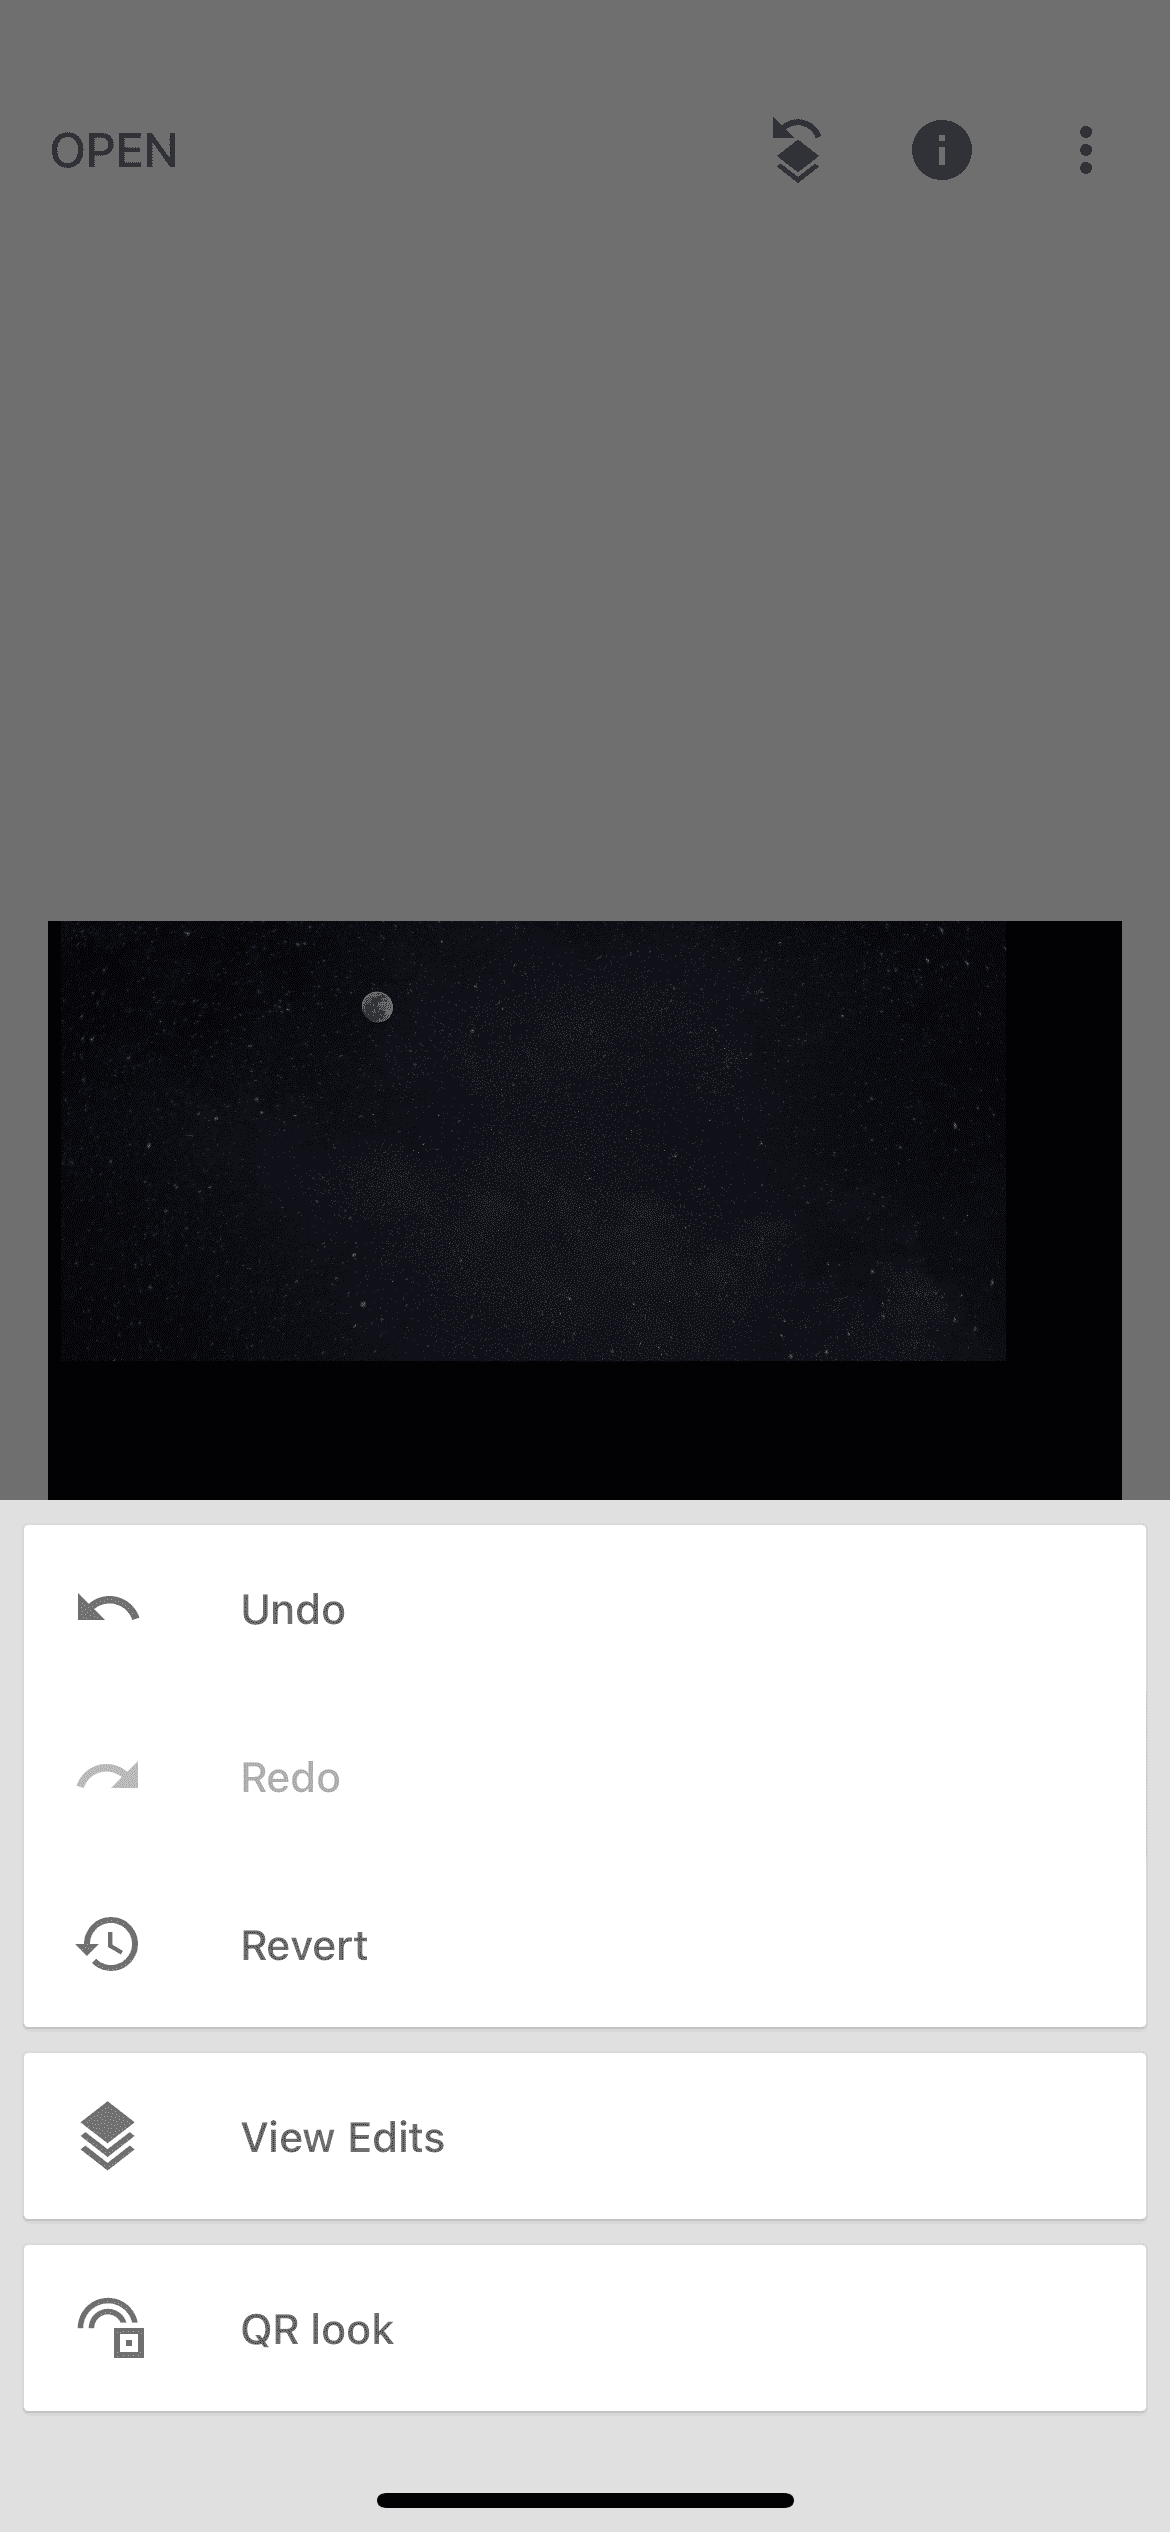
Step 3. Working with layers
In the upper panel, click on the icon for working with layers and in the menu that opens, click on the line "view edits". In the menu that opens in the lower right corner, you need to click on the double exposure layer and then on the brush icon to go directly to editing.
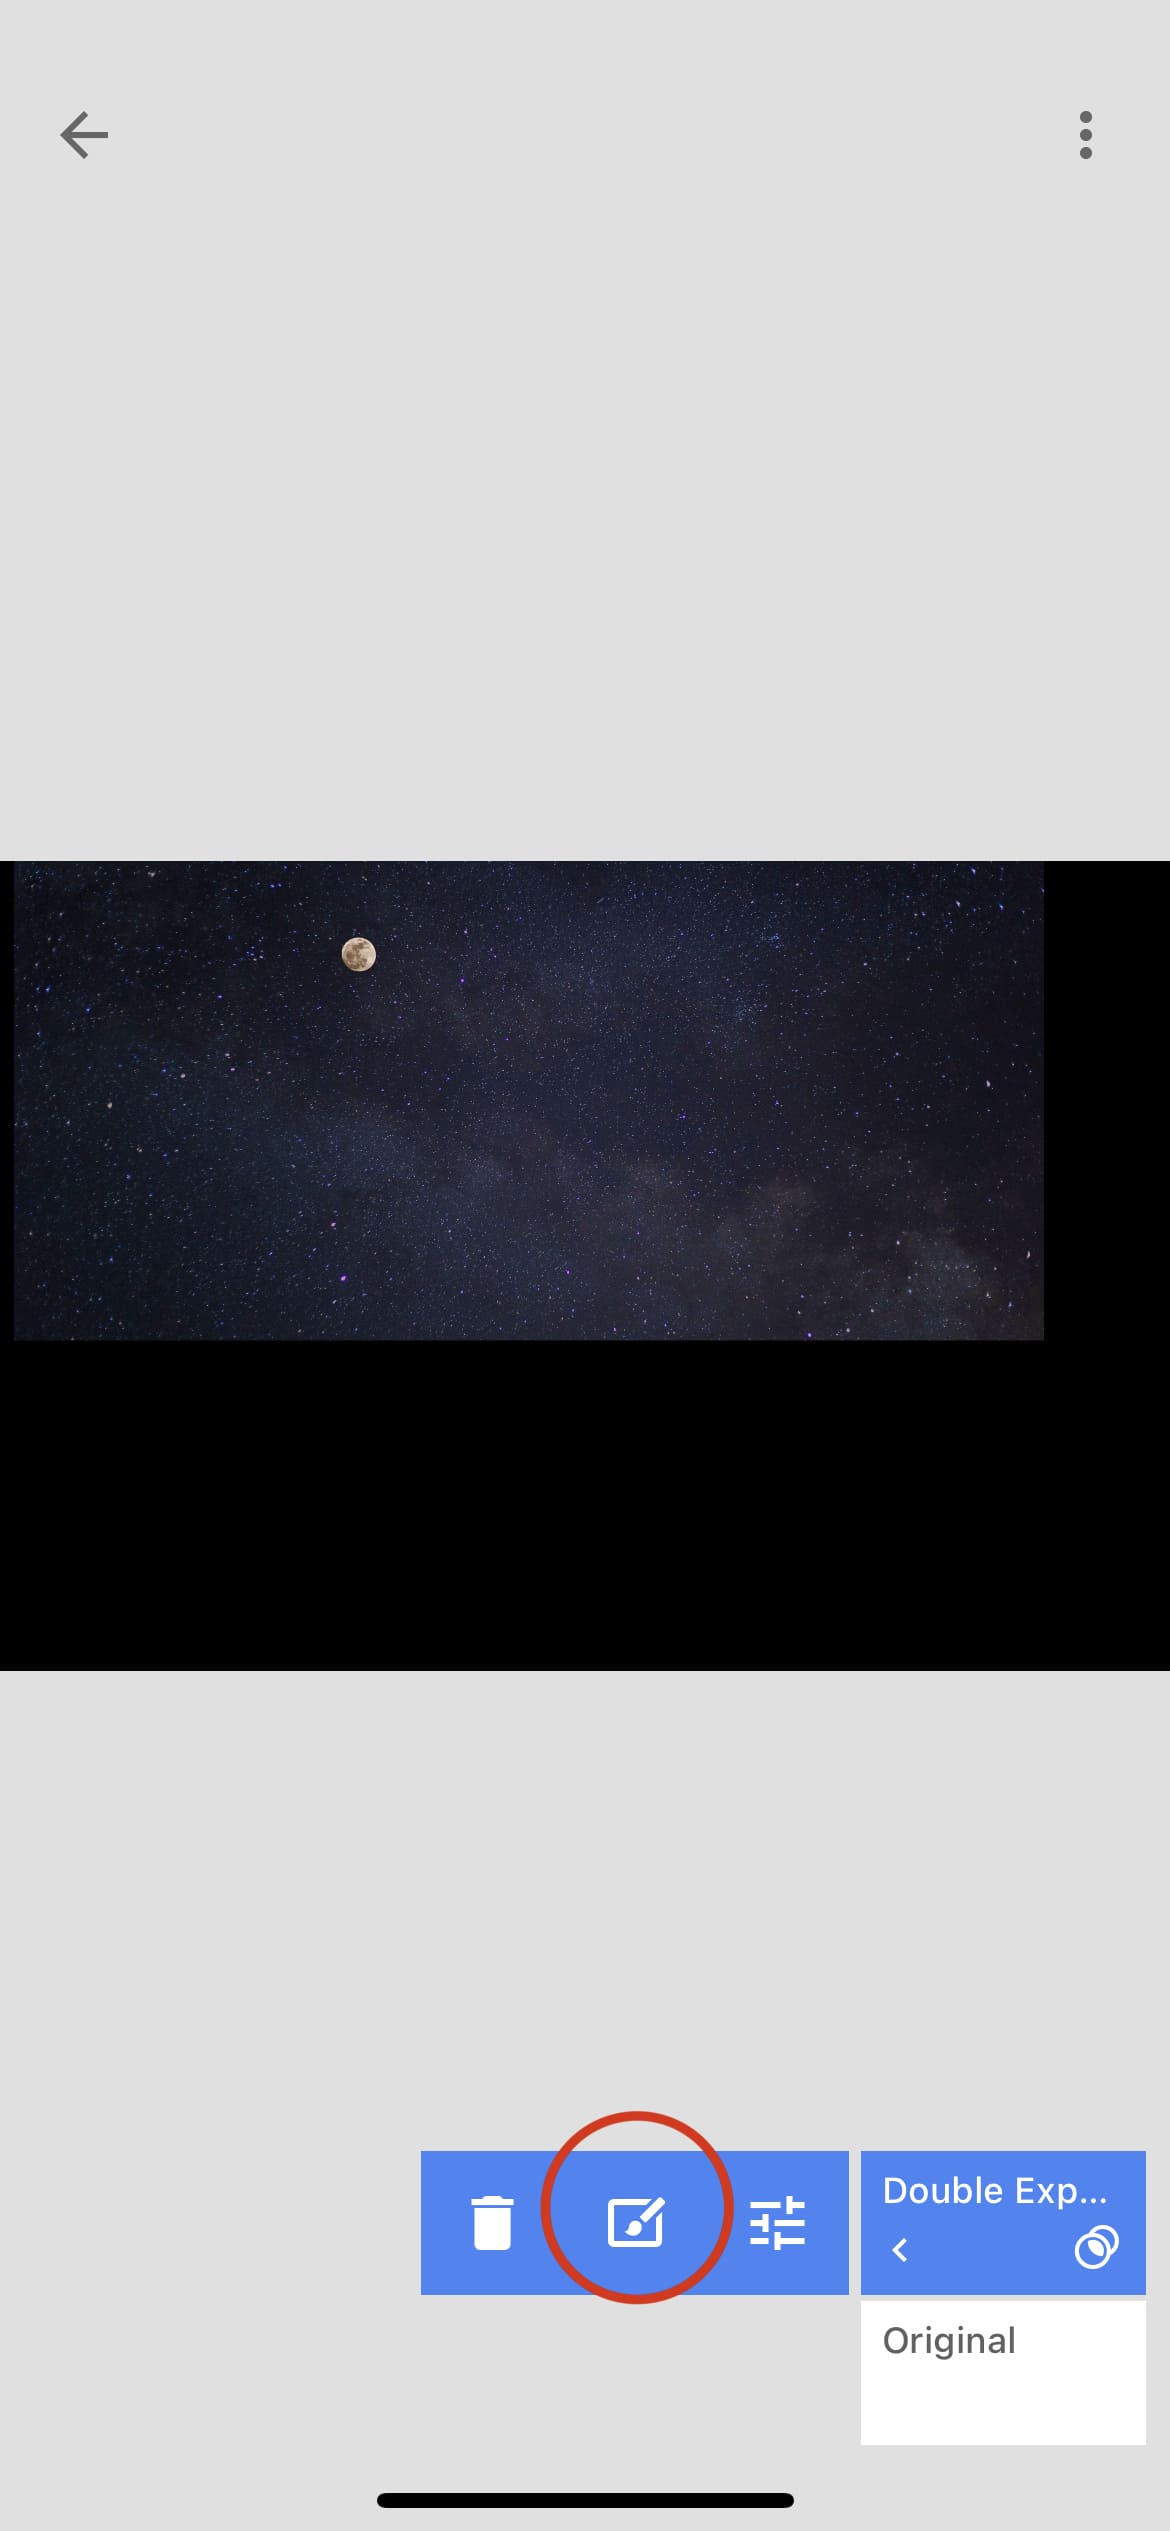
Step 4. Editing an image
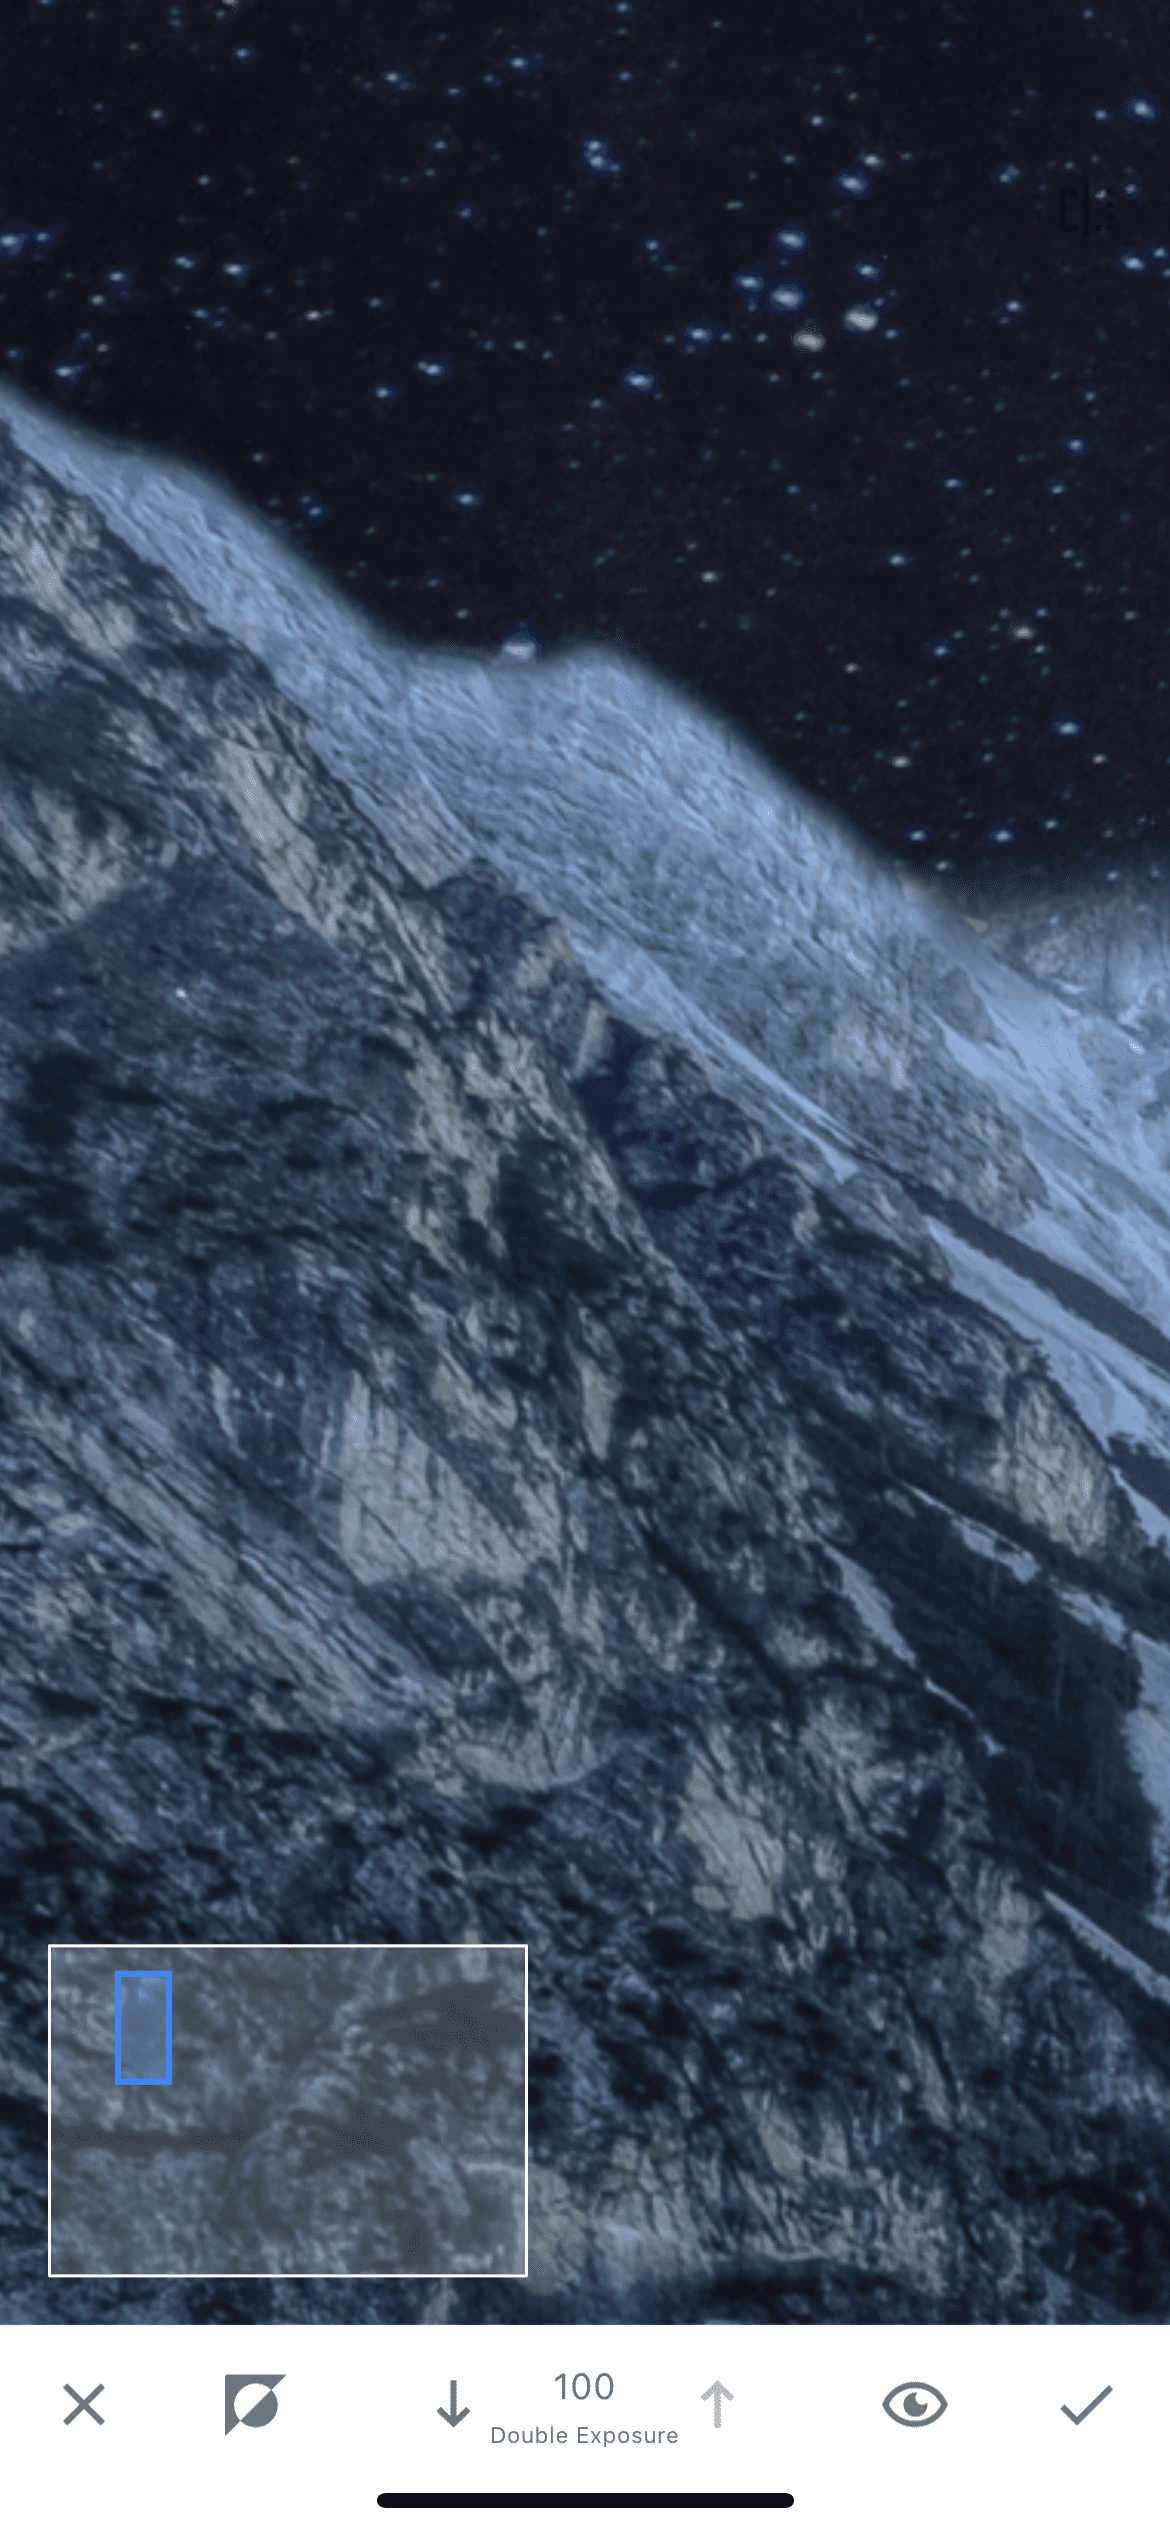
Attention! Before editing, pay attention to the number in the bottom panel of the application. A value of 100 indicates that you are drawing the second image and erasing the first one. If you set the value to 0, then the second image will be erased, and the first one, on the contrary, will manifest. You can change the value using the up and down arrows located to the right and left of the digit.
Now, setting the value to 100, we draw the starry sky. First, you can draw large areas, and then proceed to a more detailed drawing.
Don't be afraid to erase small unnecessary objects if you can't circle them neatly.
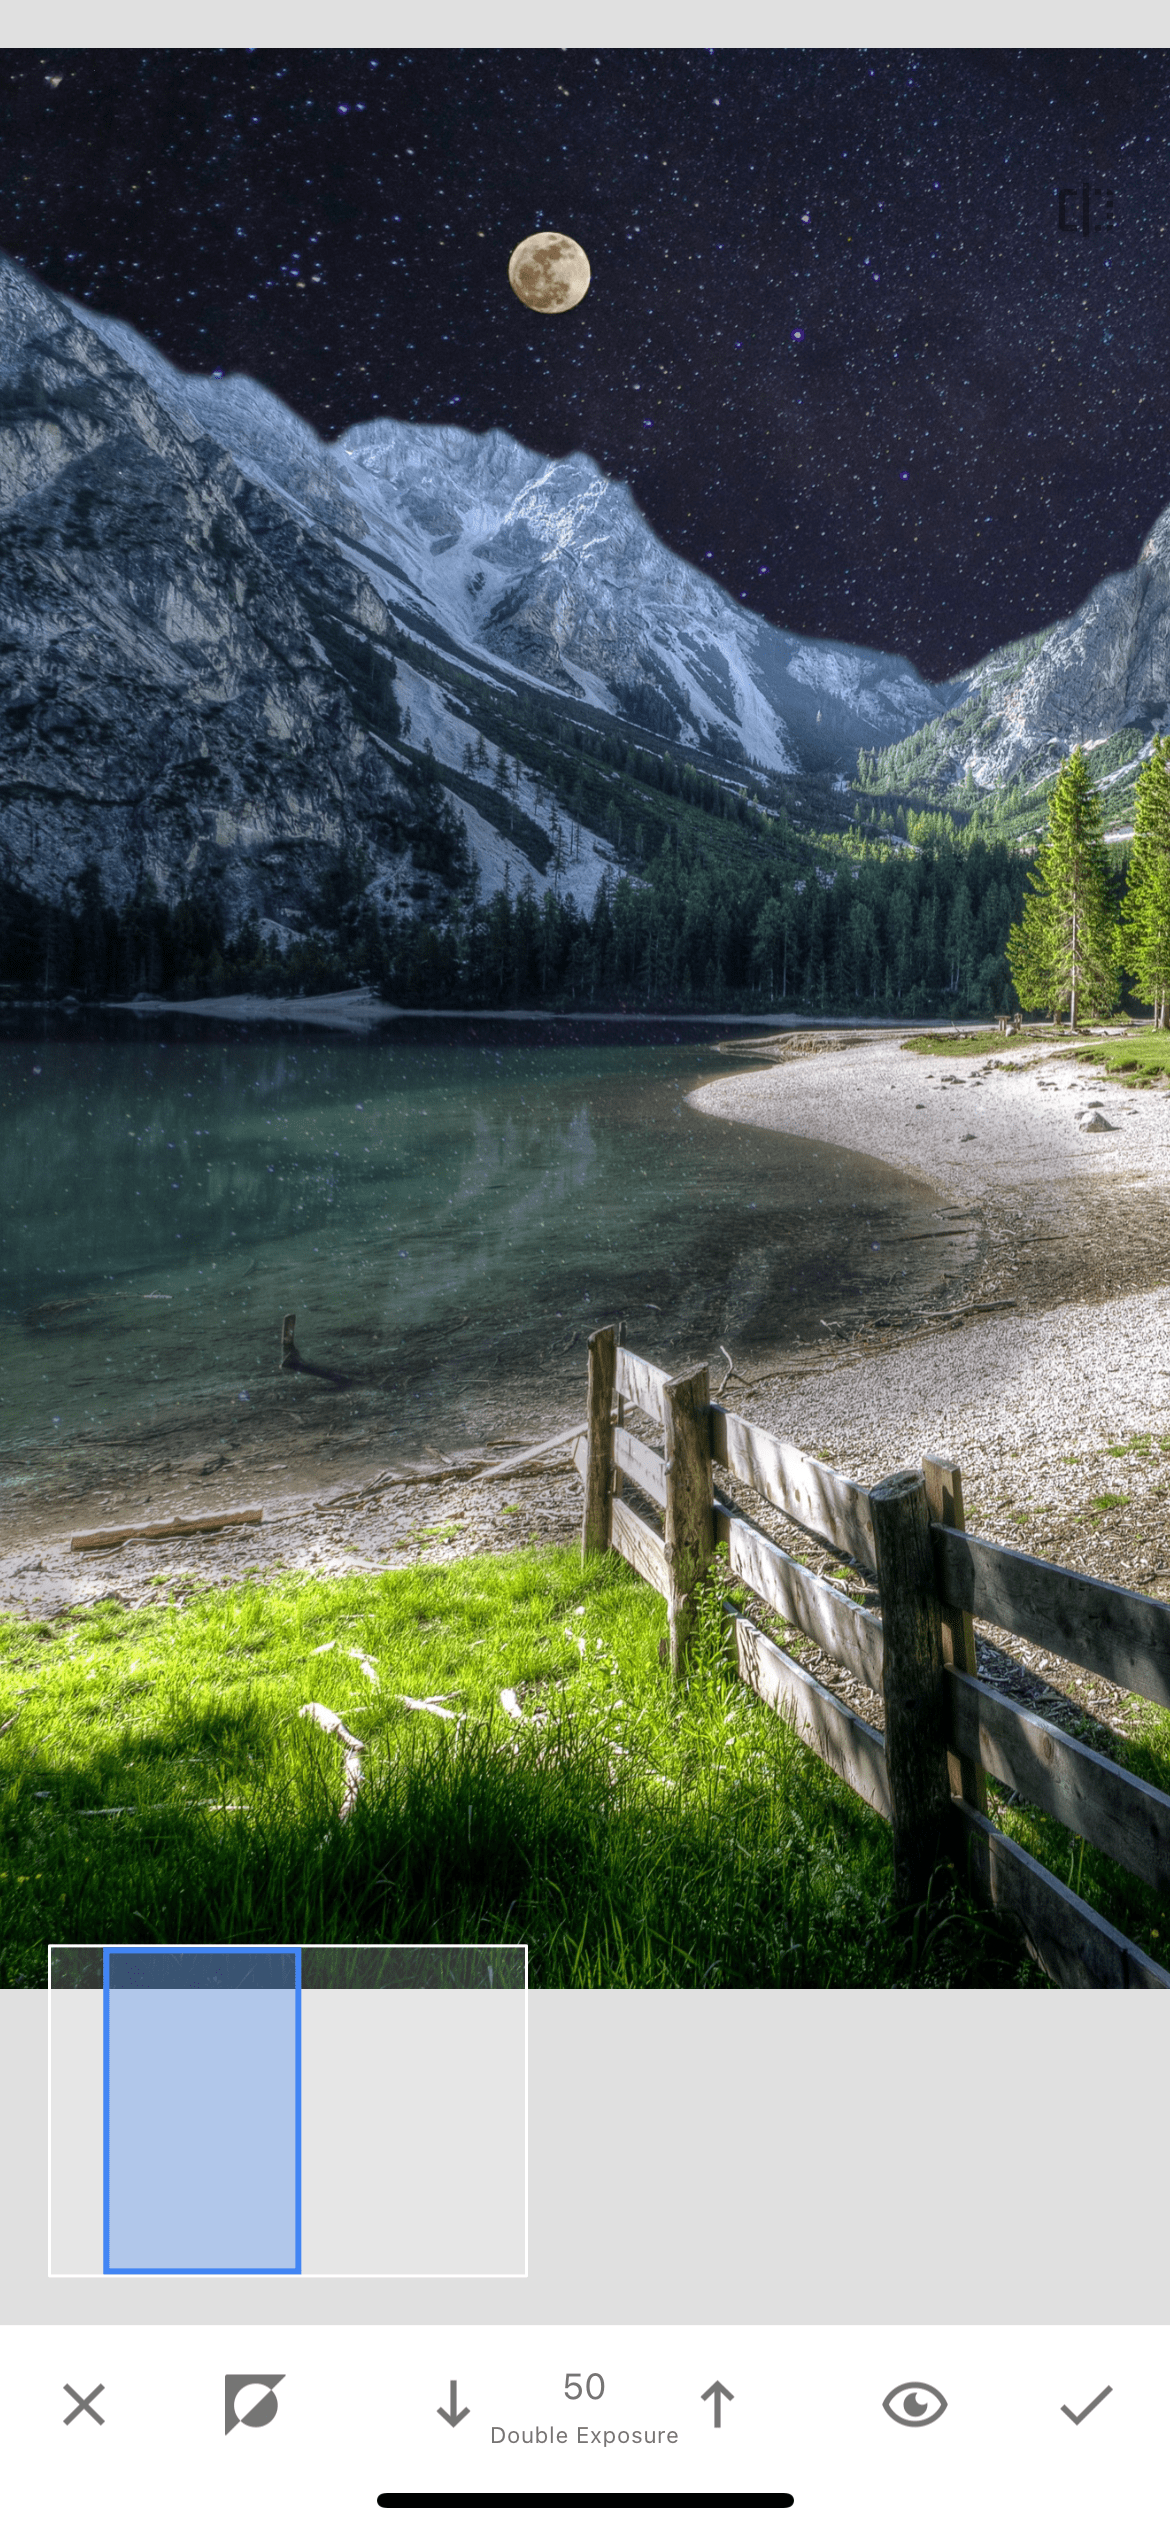
Step 5. Changing the brush value
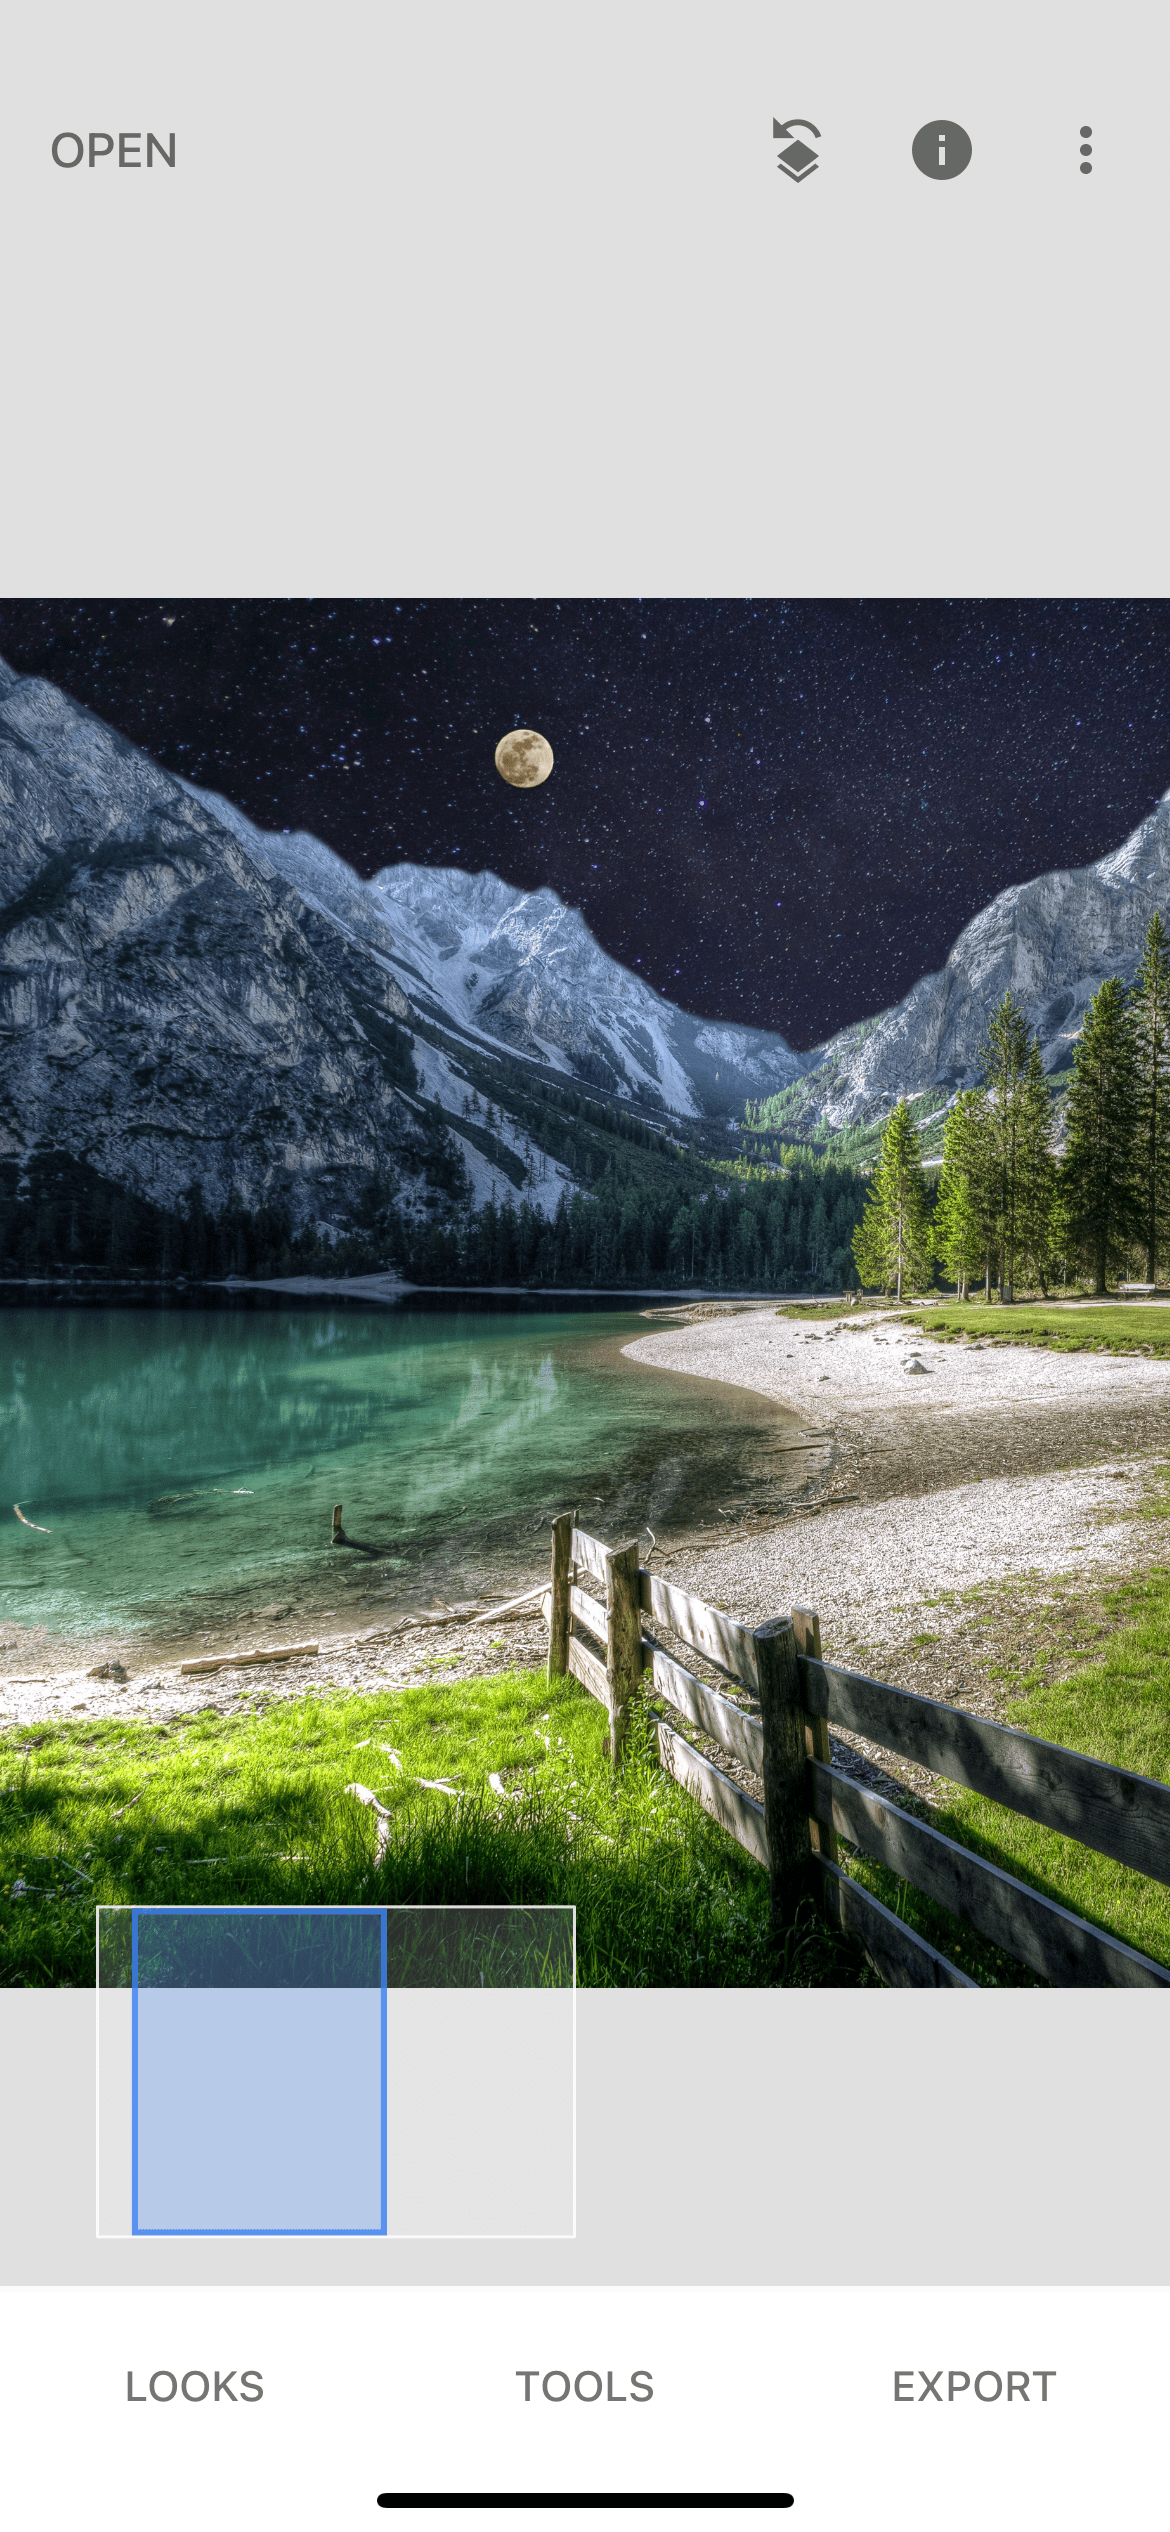
Again, select the double exposure in the tools menu and add our photo again, but this time so that it overlaps the water. Just like the first time we draw the parts we need, but now we set the brush value to 50, not 100.
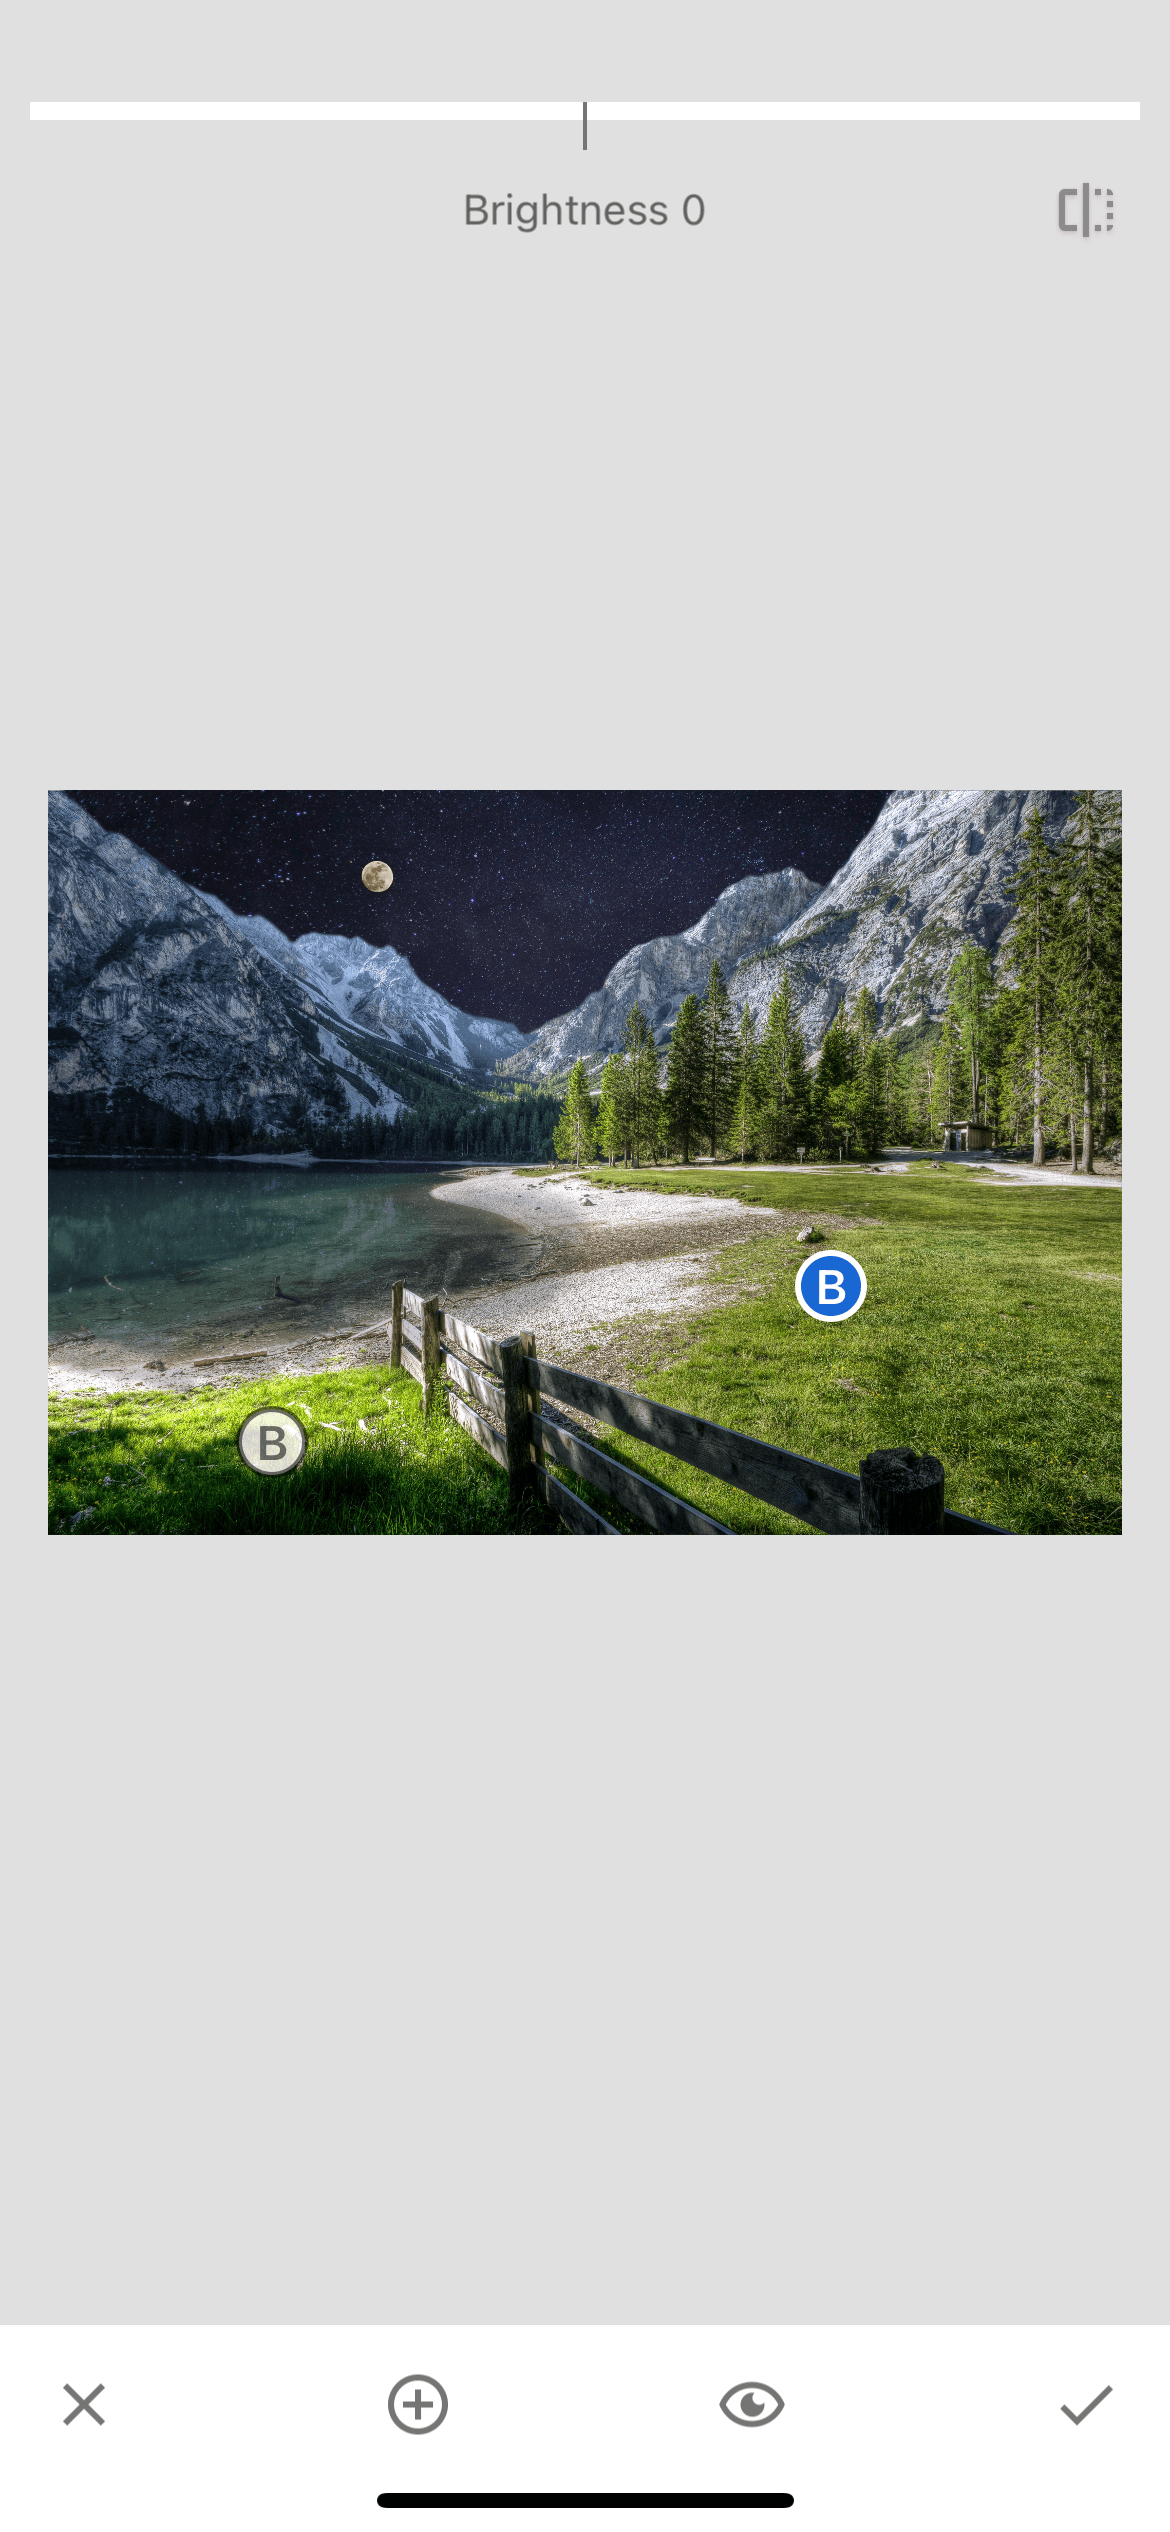
Step 6. Choosing of a selective tool
As an addition, we can choose the selective tool for a small retouch of the entire image. Having set two points in the places we need we change the value of all indicators so that the photo looks more organically with the new sky.

Result
Thus, in just a few simple steps, we created a beautiful starry night photo from an ordinary daytime photo. You can evaluate the operation of the double exposure function by comparing the "before" and "after" photos presented below.