


In this lesson, we will analyze how you can improve and retouch a portrait picture or a selfie on a smartphone in the Snapseed application.
Step 1. Selecting and opening a photo in the program
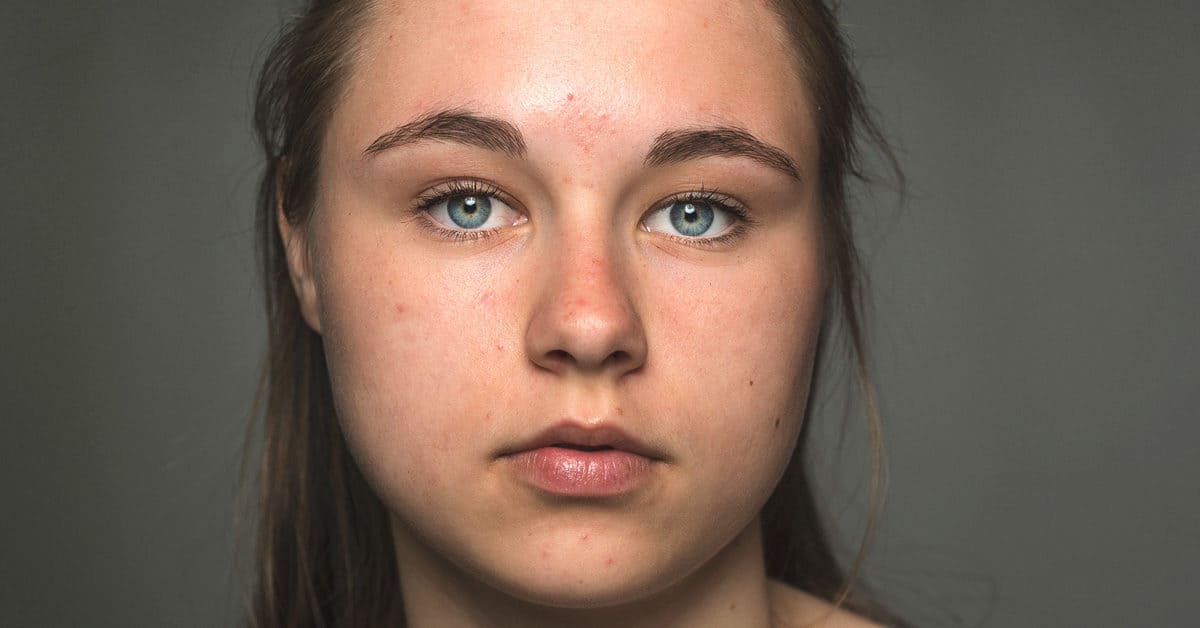
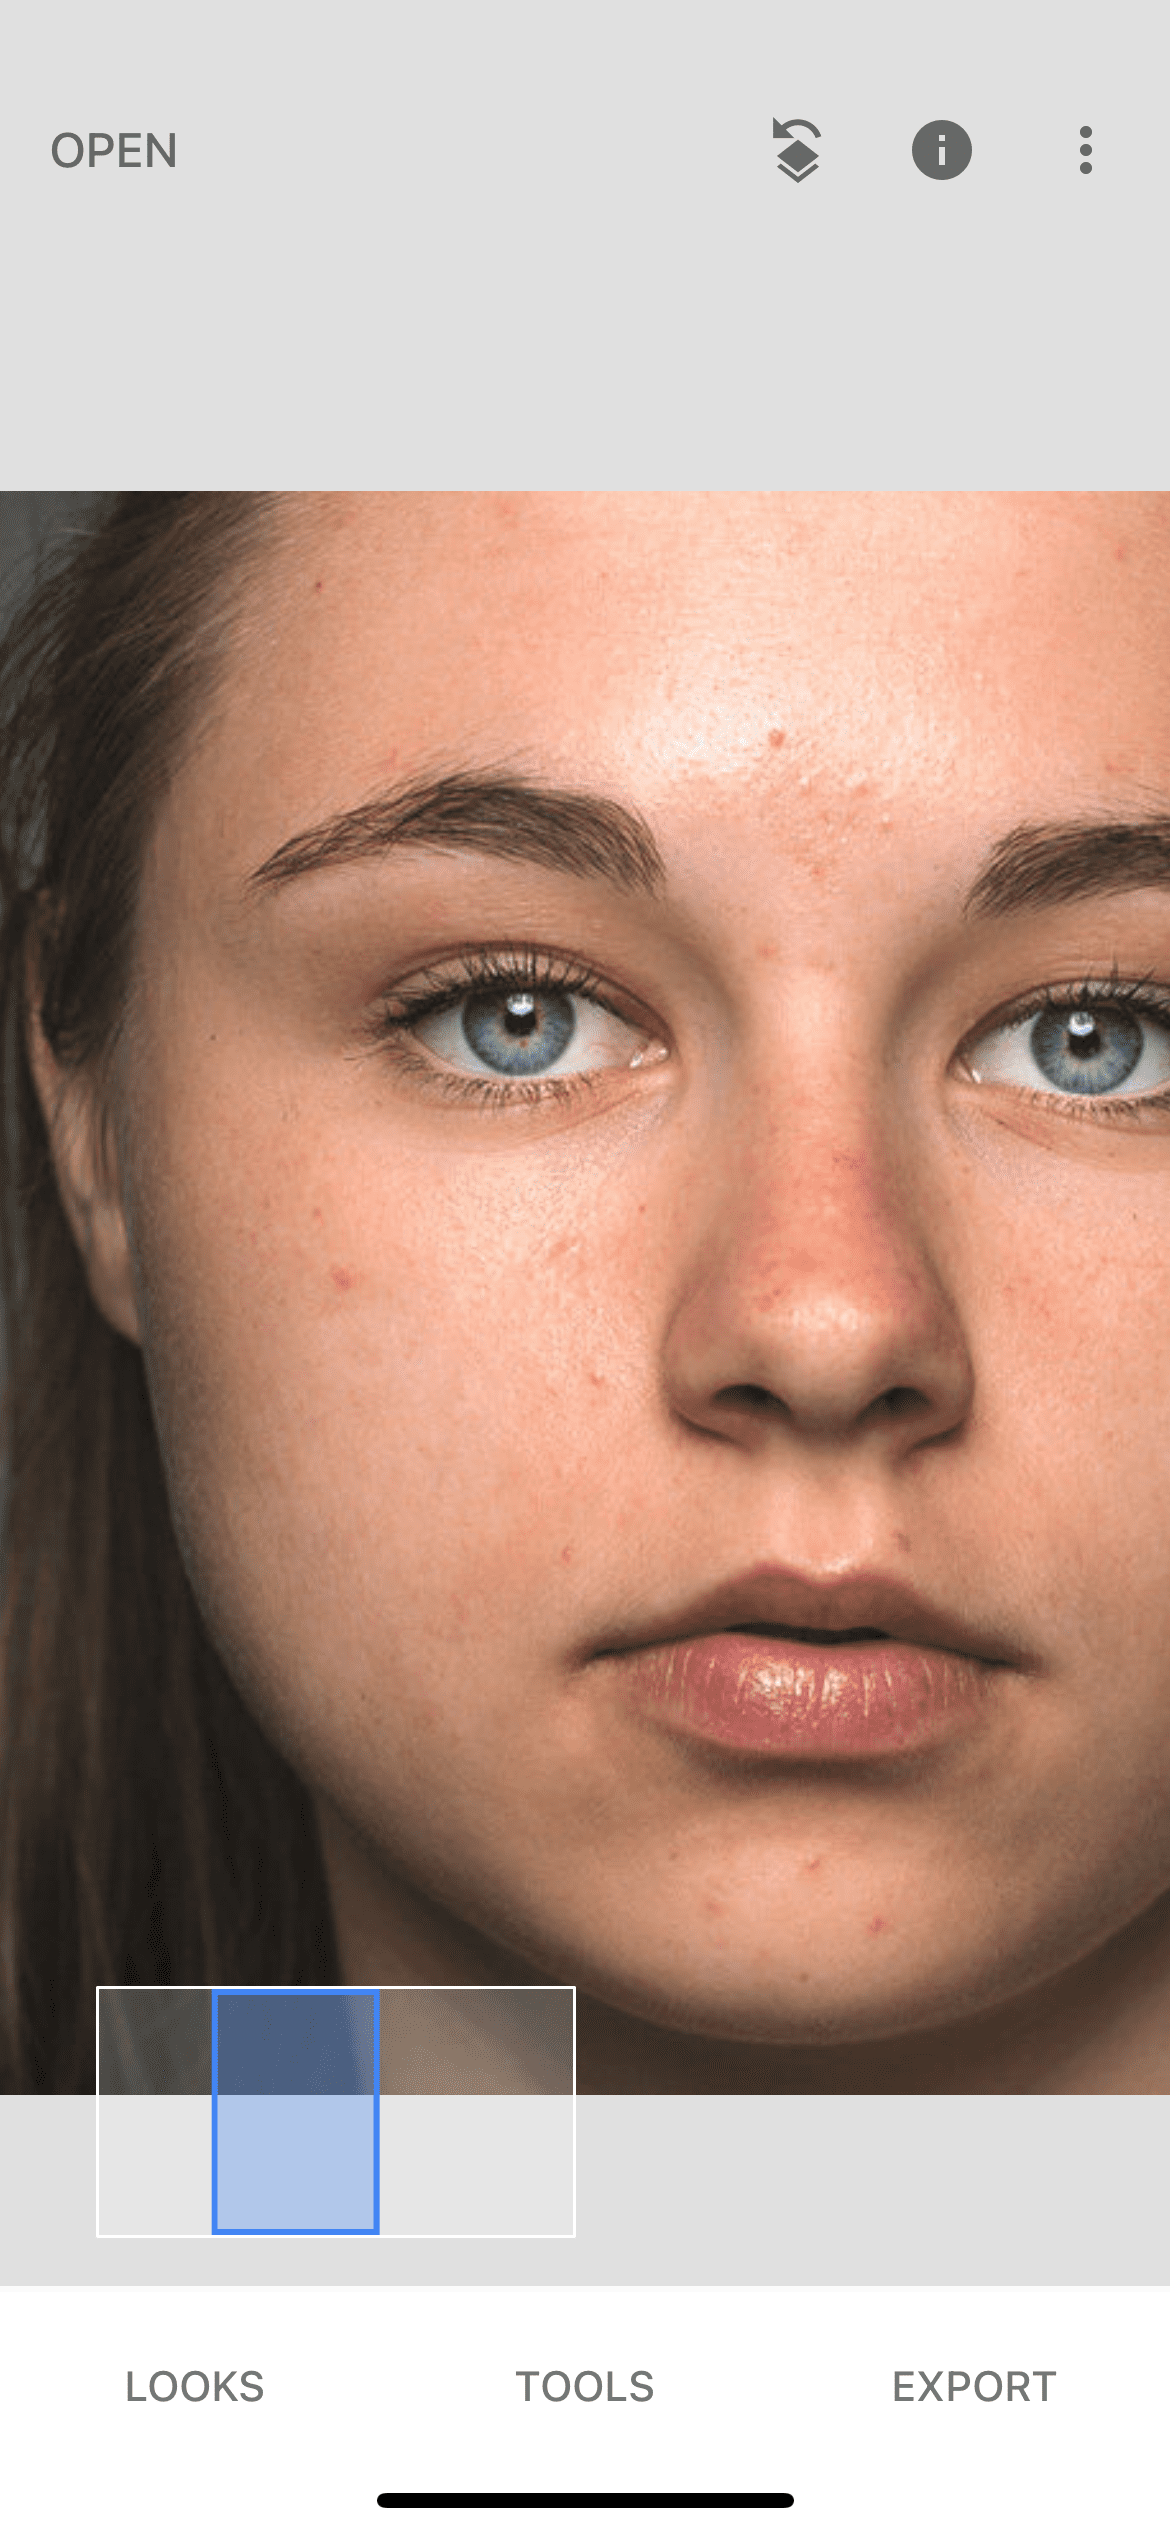
To begin with, we open our editor and click on the plus sign to add a photo to it. Having selected the photo you need from the suggested ones, you open it in the program. As you can see the model has a rather problematic skin, there are acne and irregularities that we will try to mask using the Snapseed application tools.
Step 2. Healing
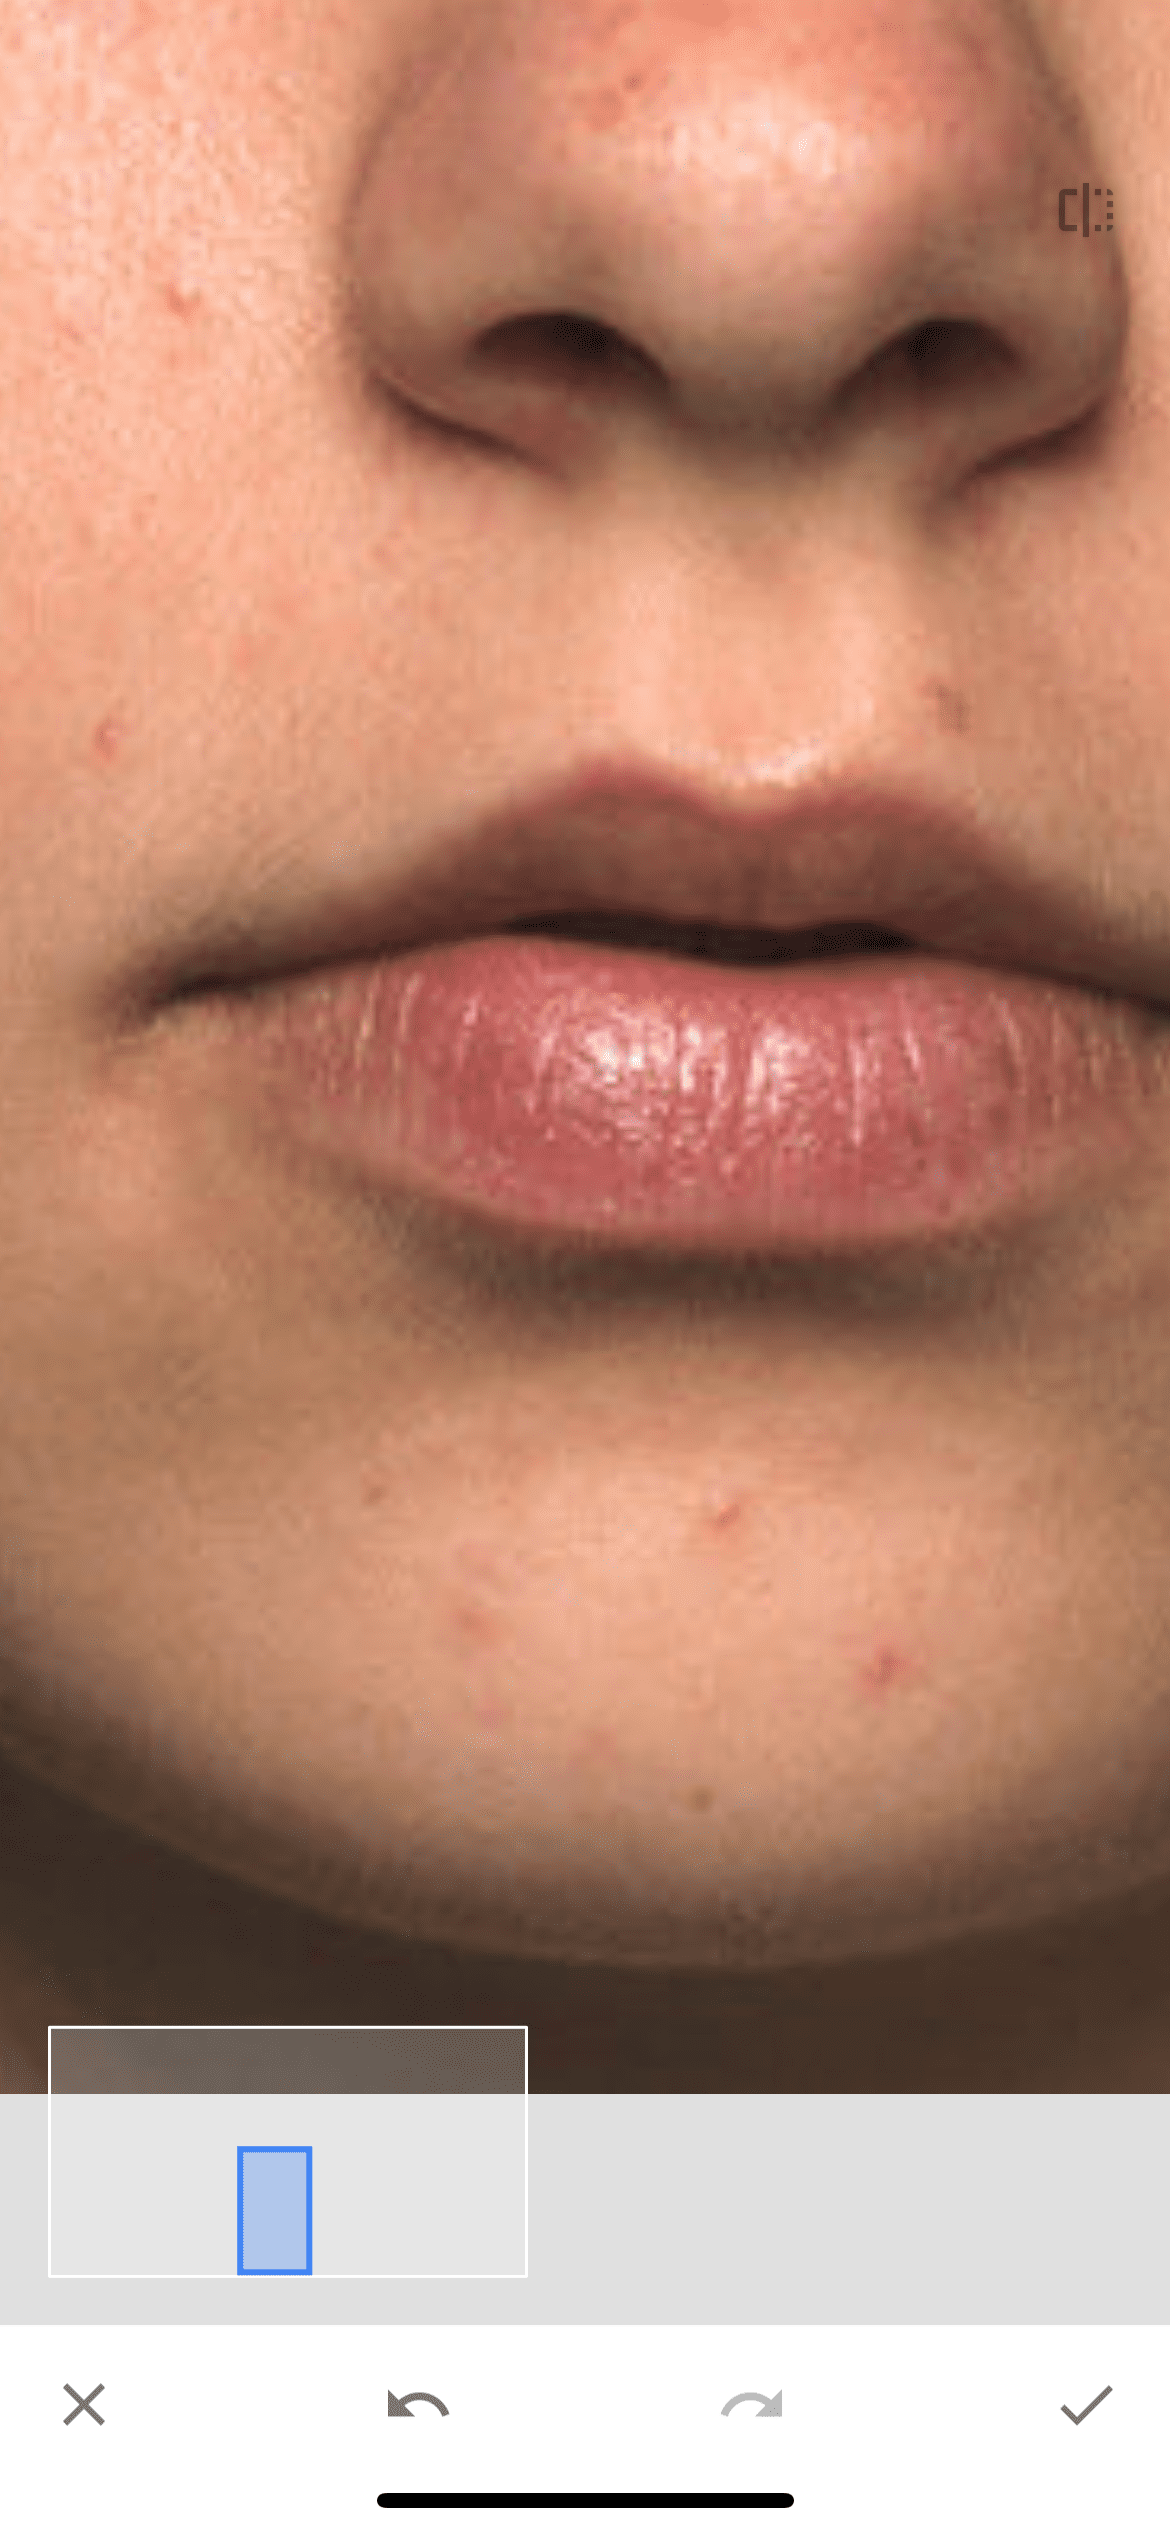
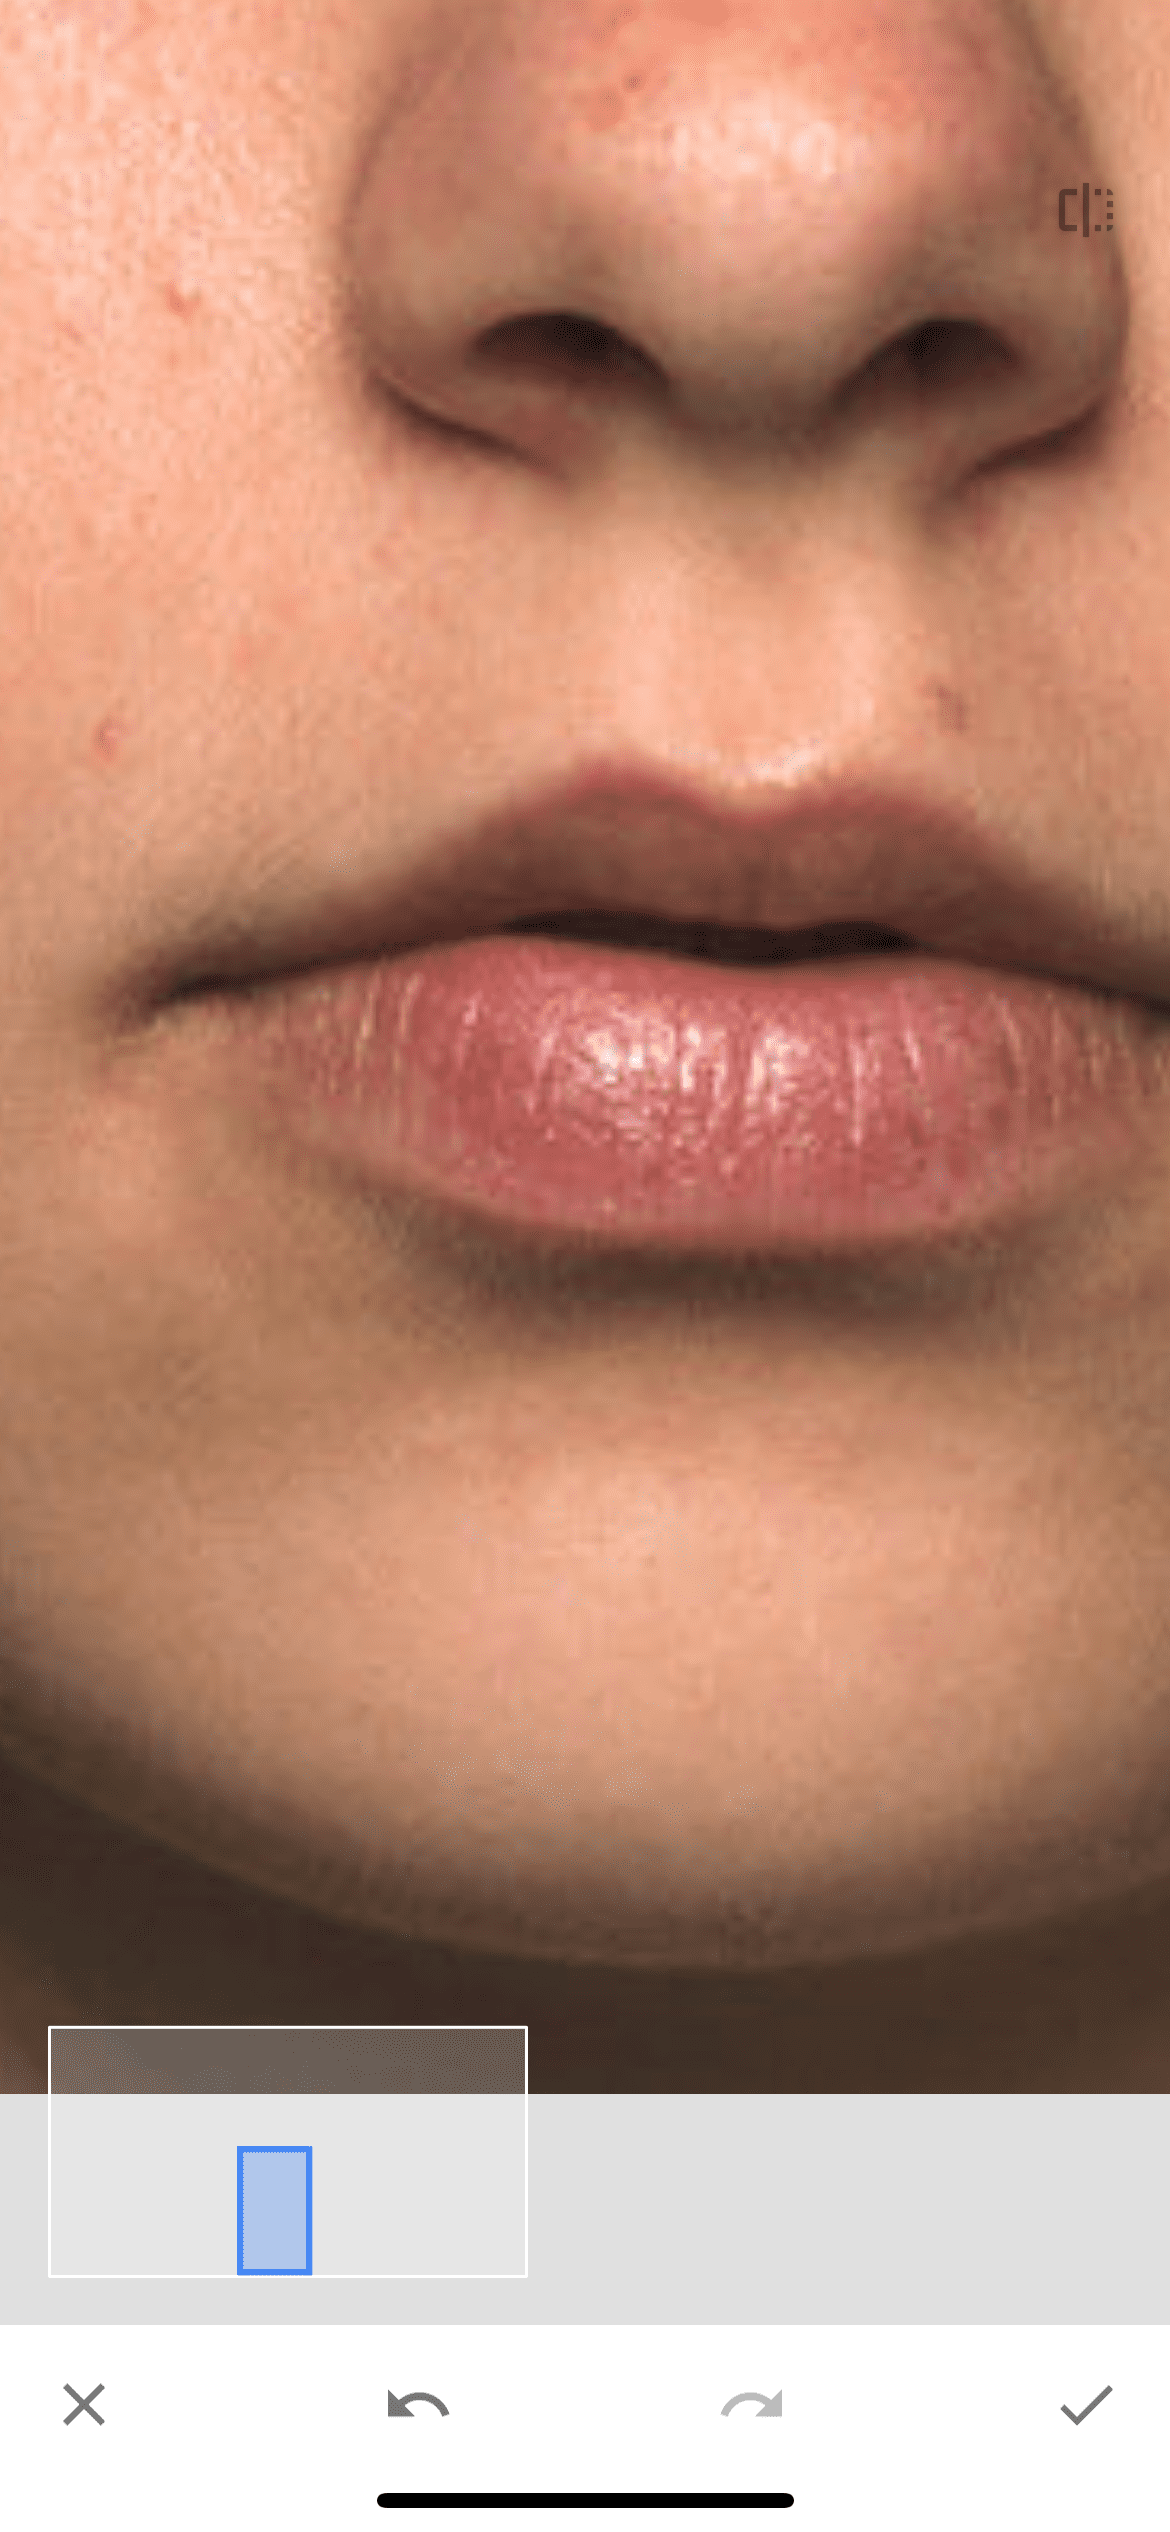
In the tools tab, we select the "healing" tool with which we will be able to remove all unnecessary irregularities from the face and give it a healthier look. After selecting the tool, we enlarge our photo and start deleting unwanted objects by simply clicking on them. Also, if the object is large, you can swipe across the screen, and not just click, then the deletion area will be larger.
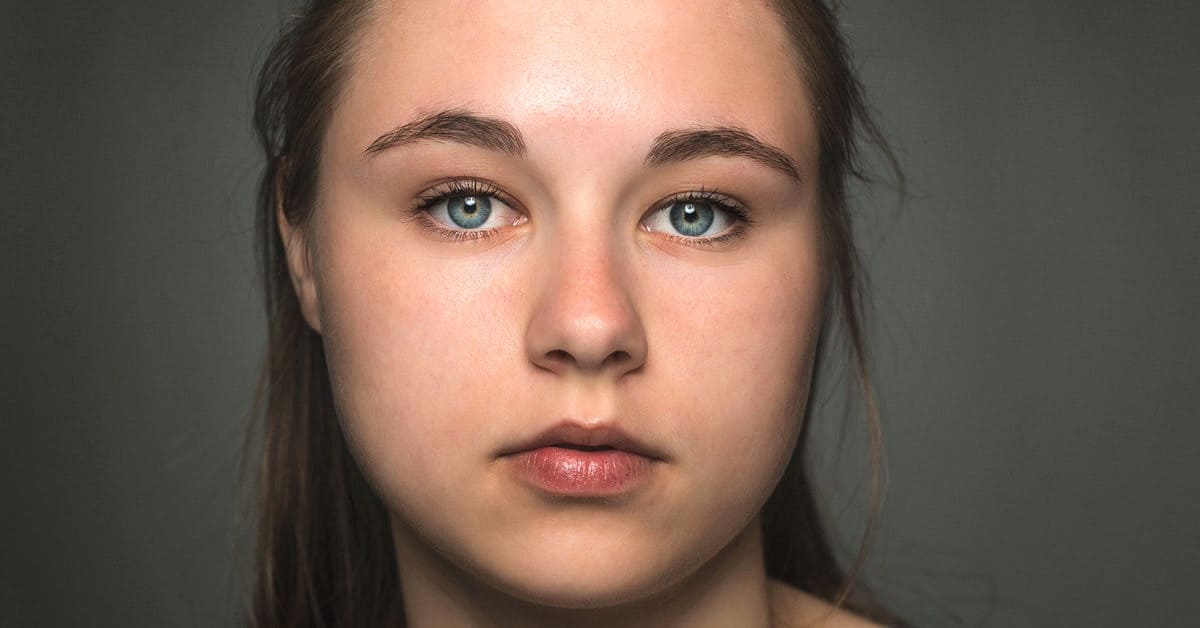
Thus, having removed all unnecessary spots, pimples and irregularities, it can be noted that the photo already looks a little better.

Step 3. Portrait function
After removing all the irregularities from the face, you can proceed to the next step in editing – improving the appearance of the face, skin tone, creating an accent on the right places.
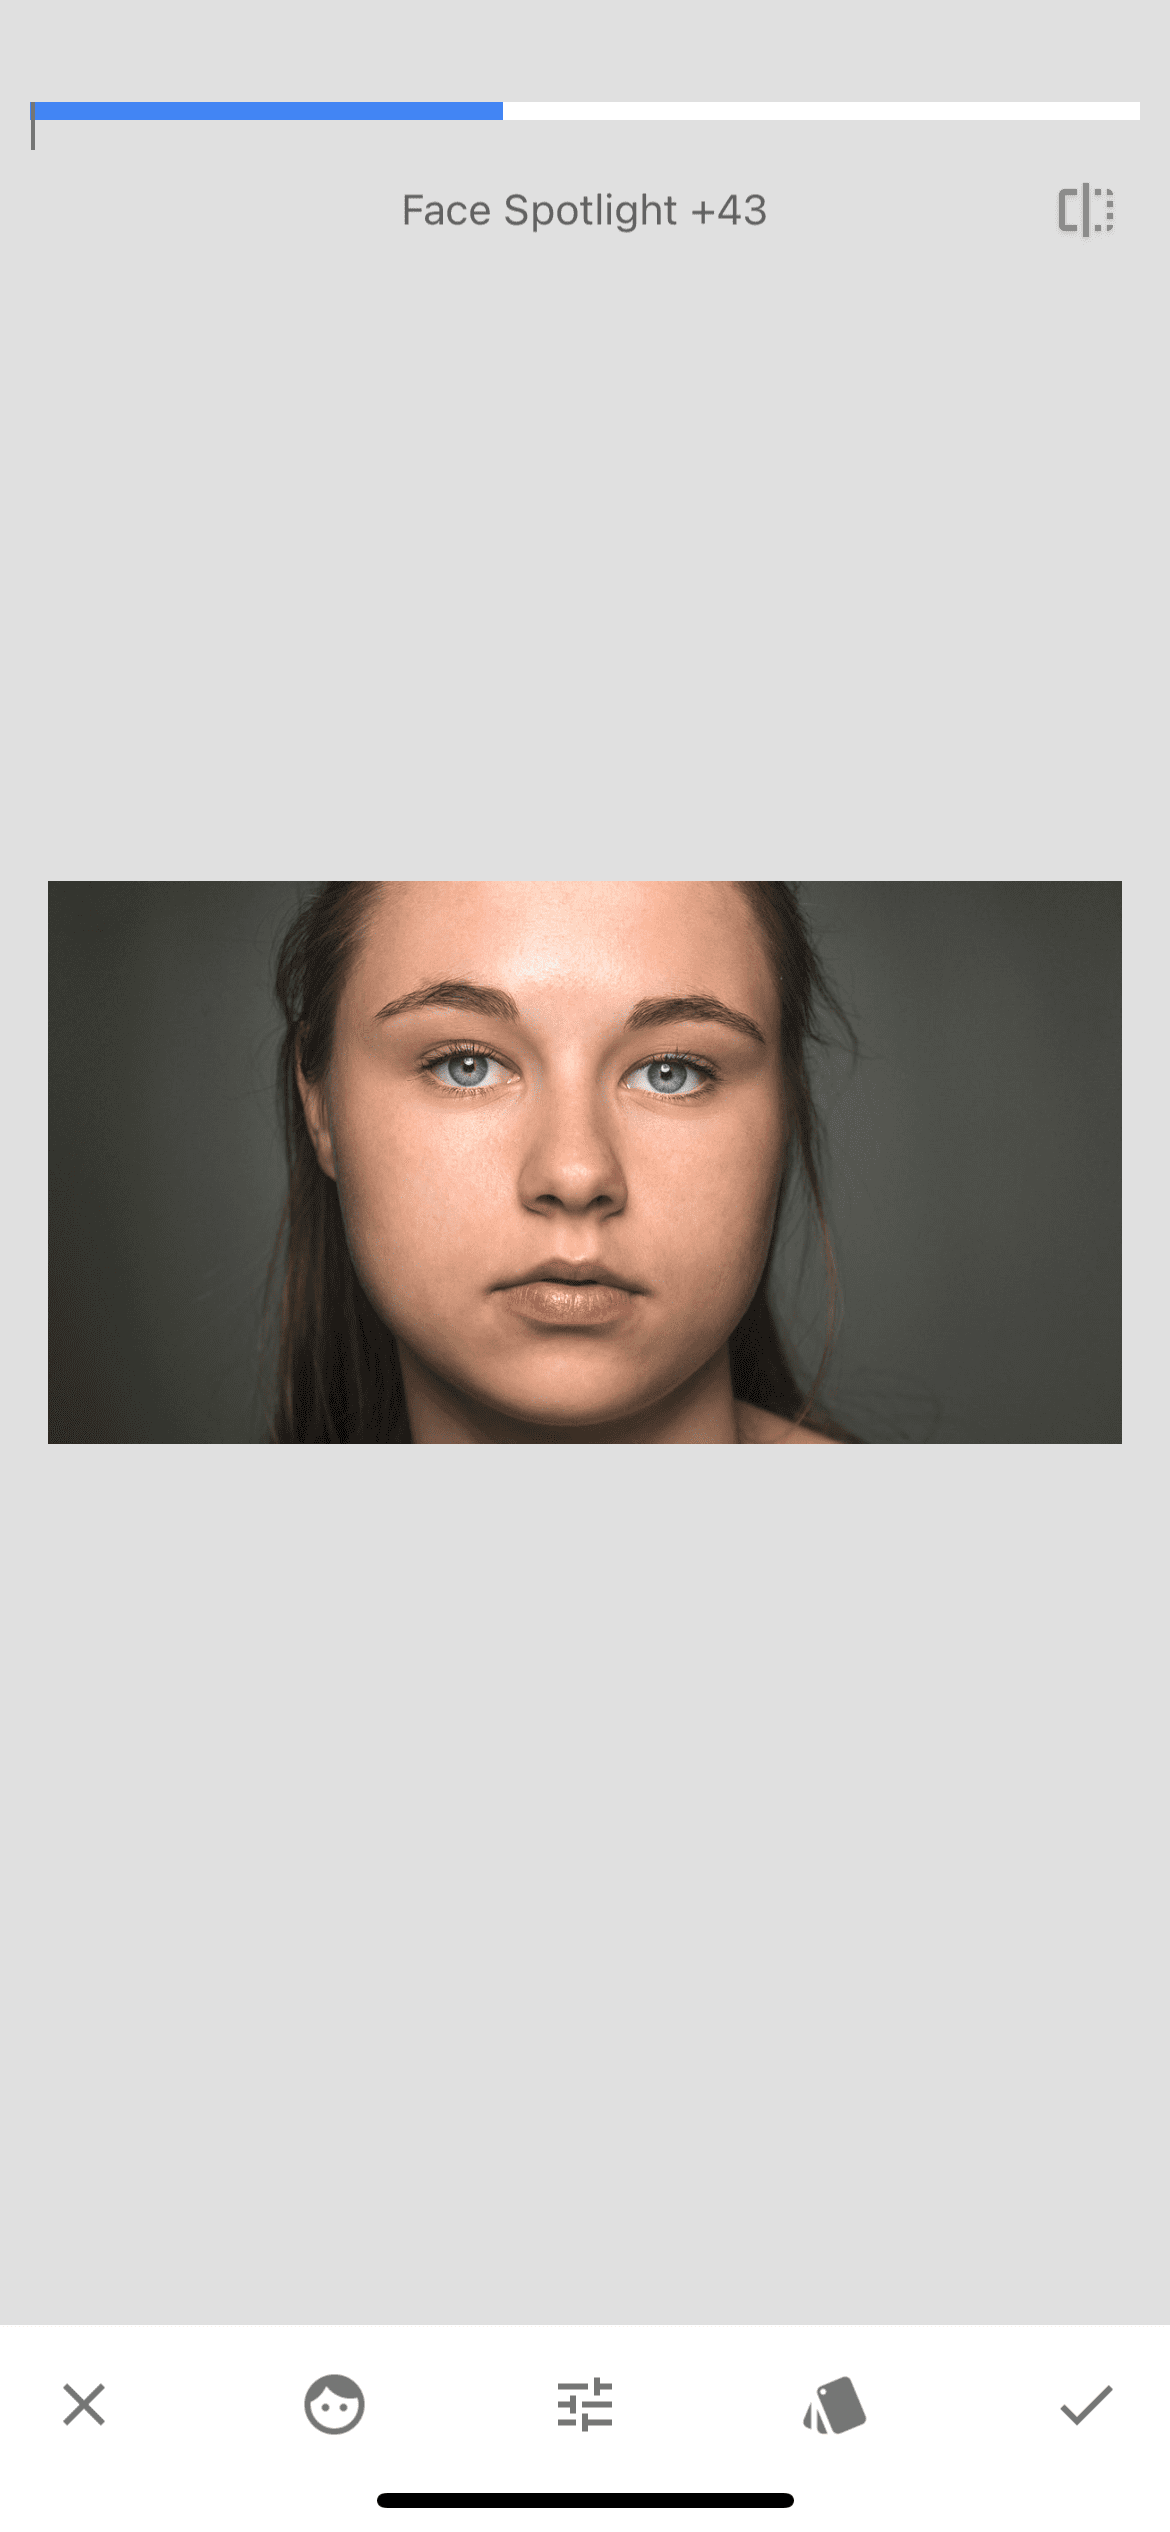
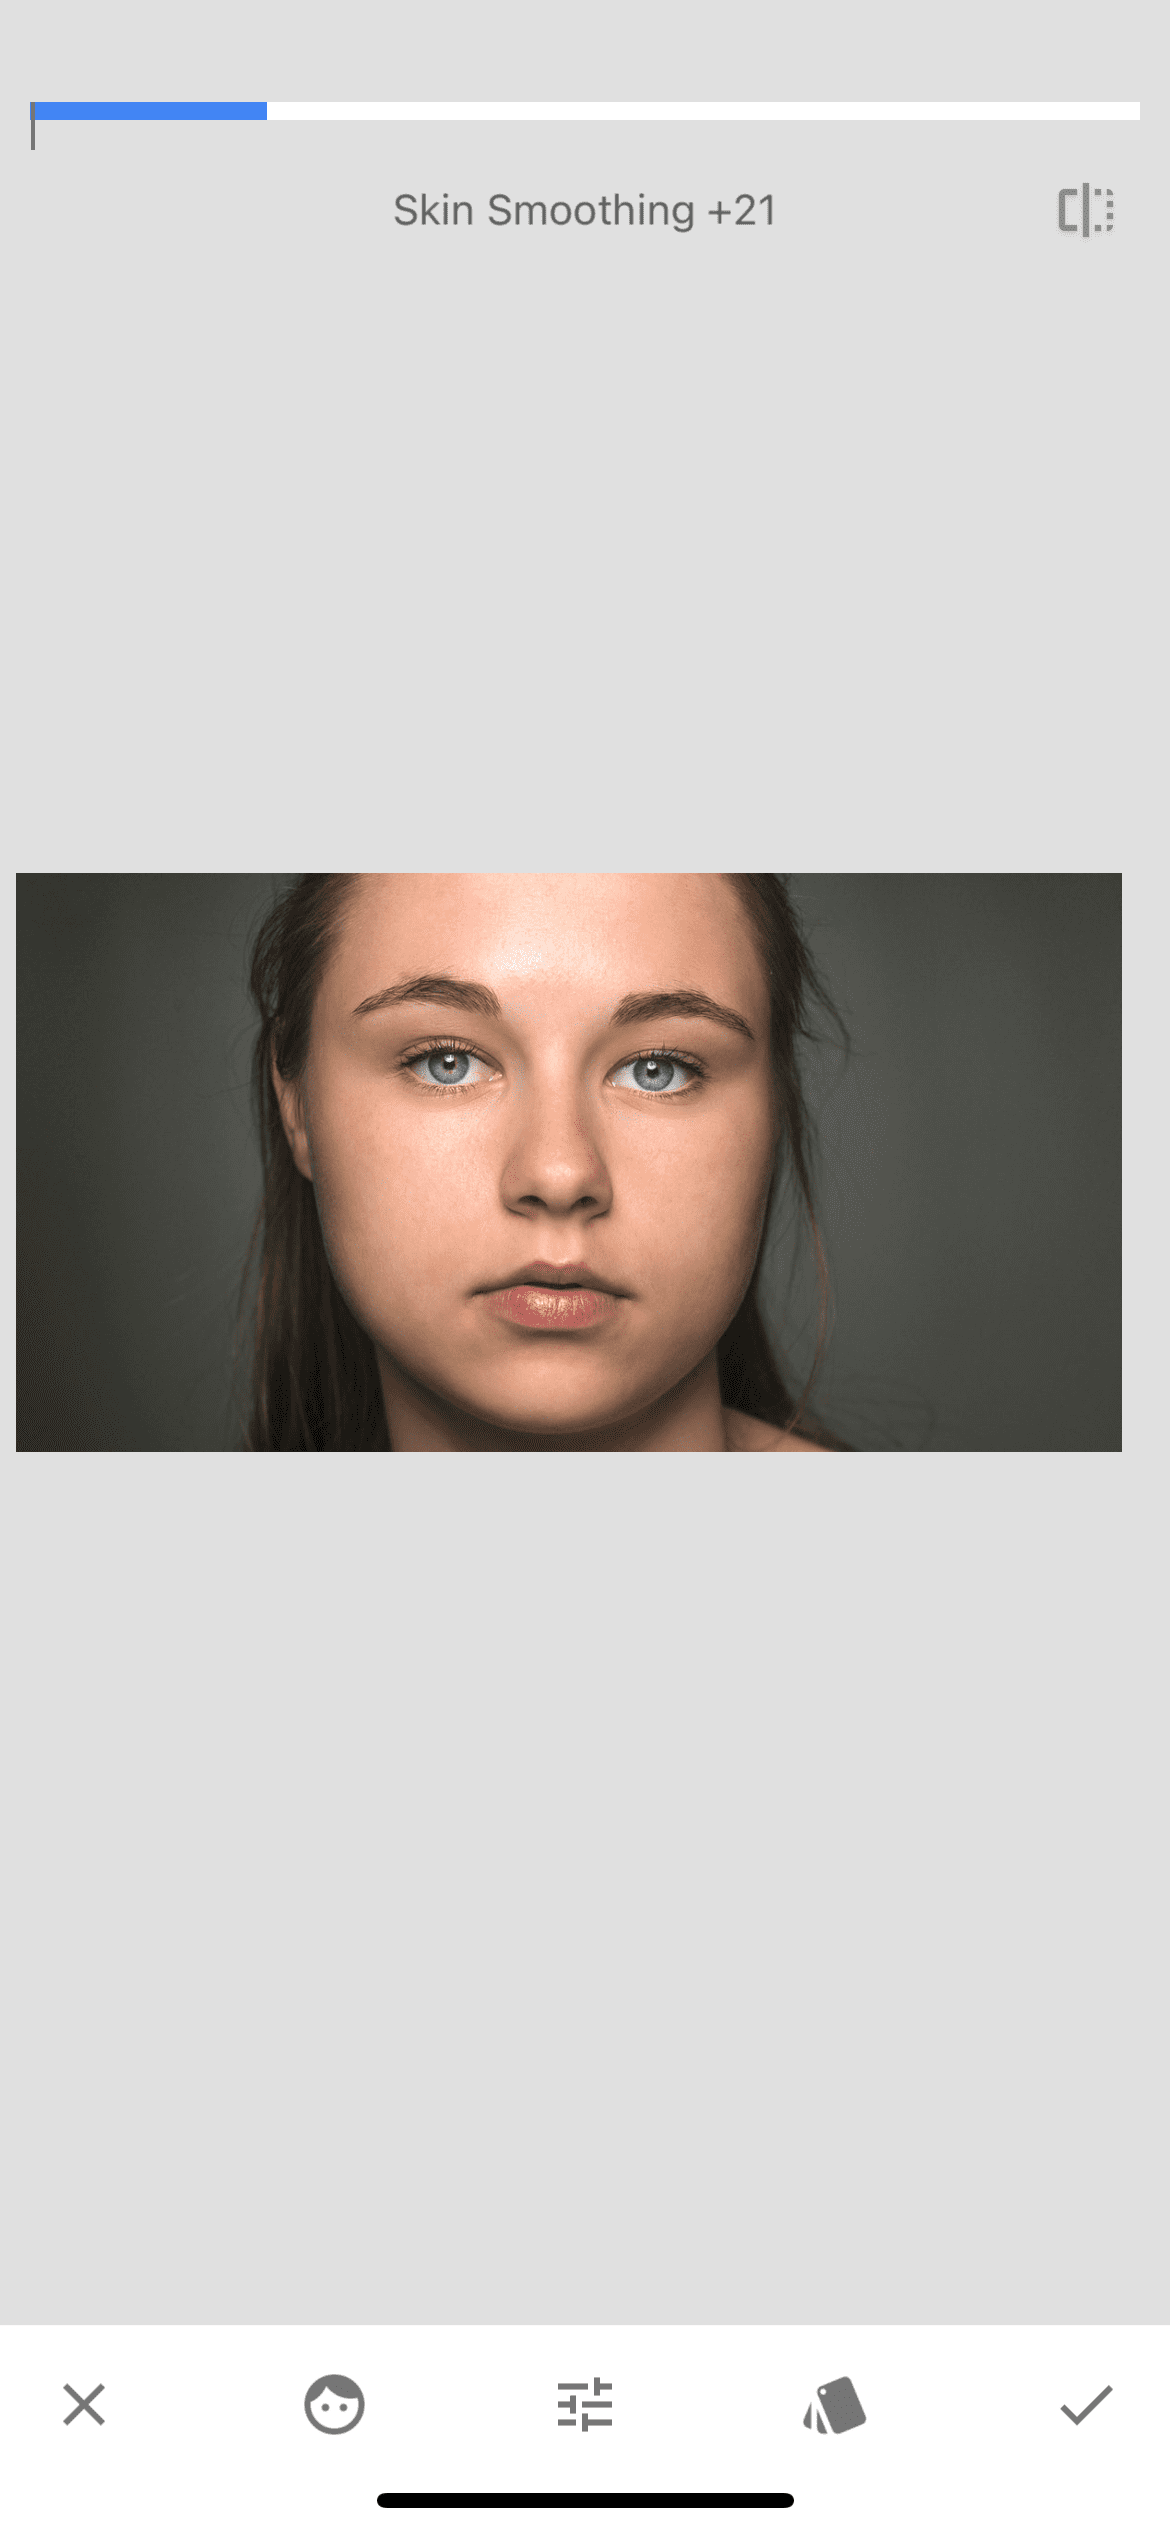
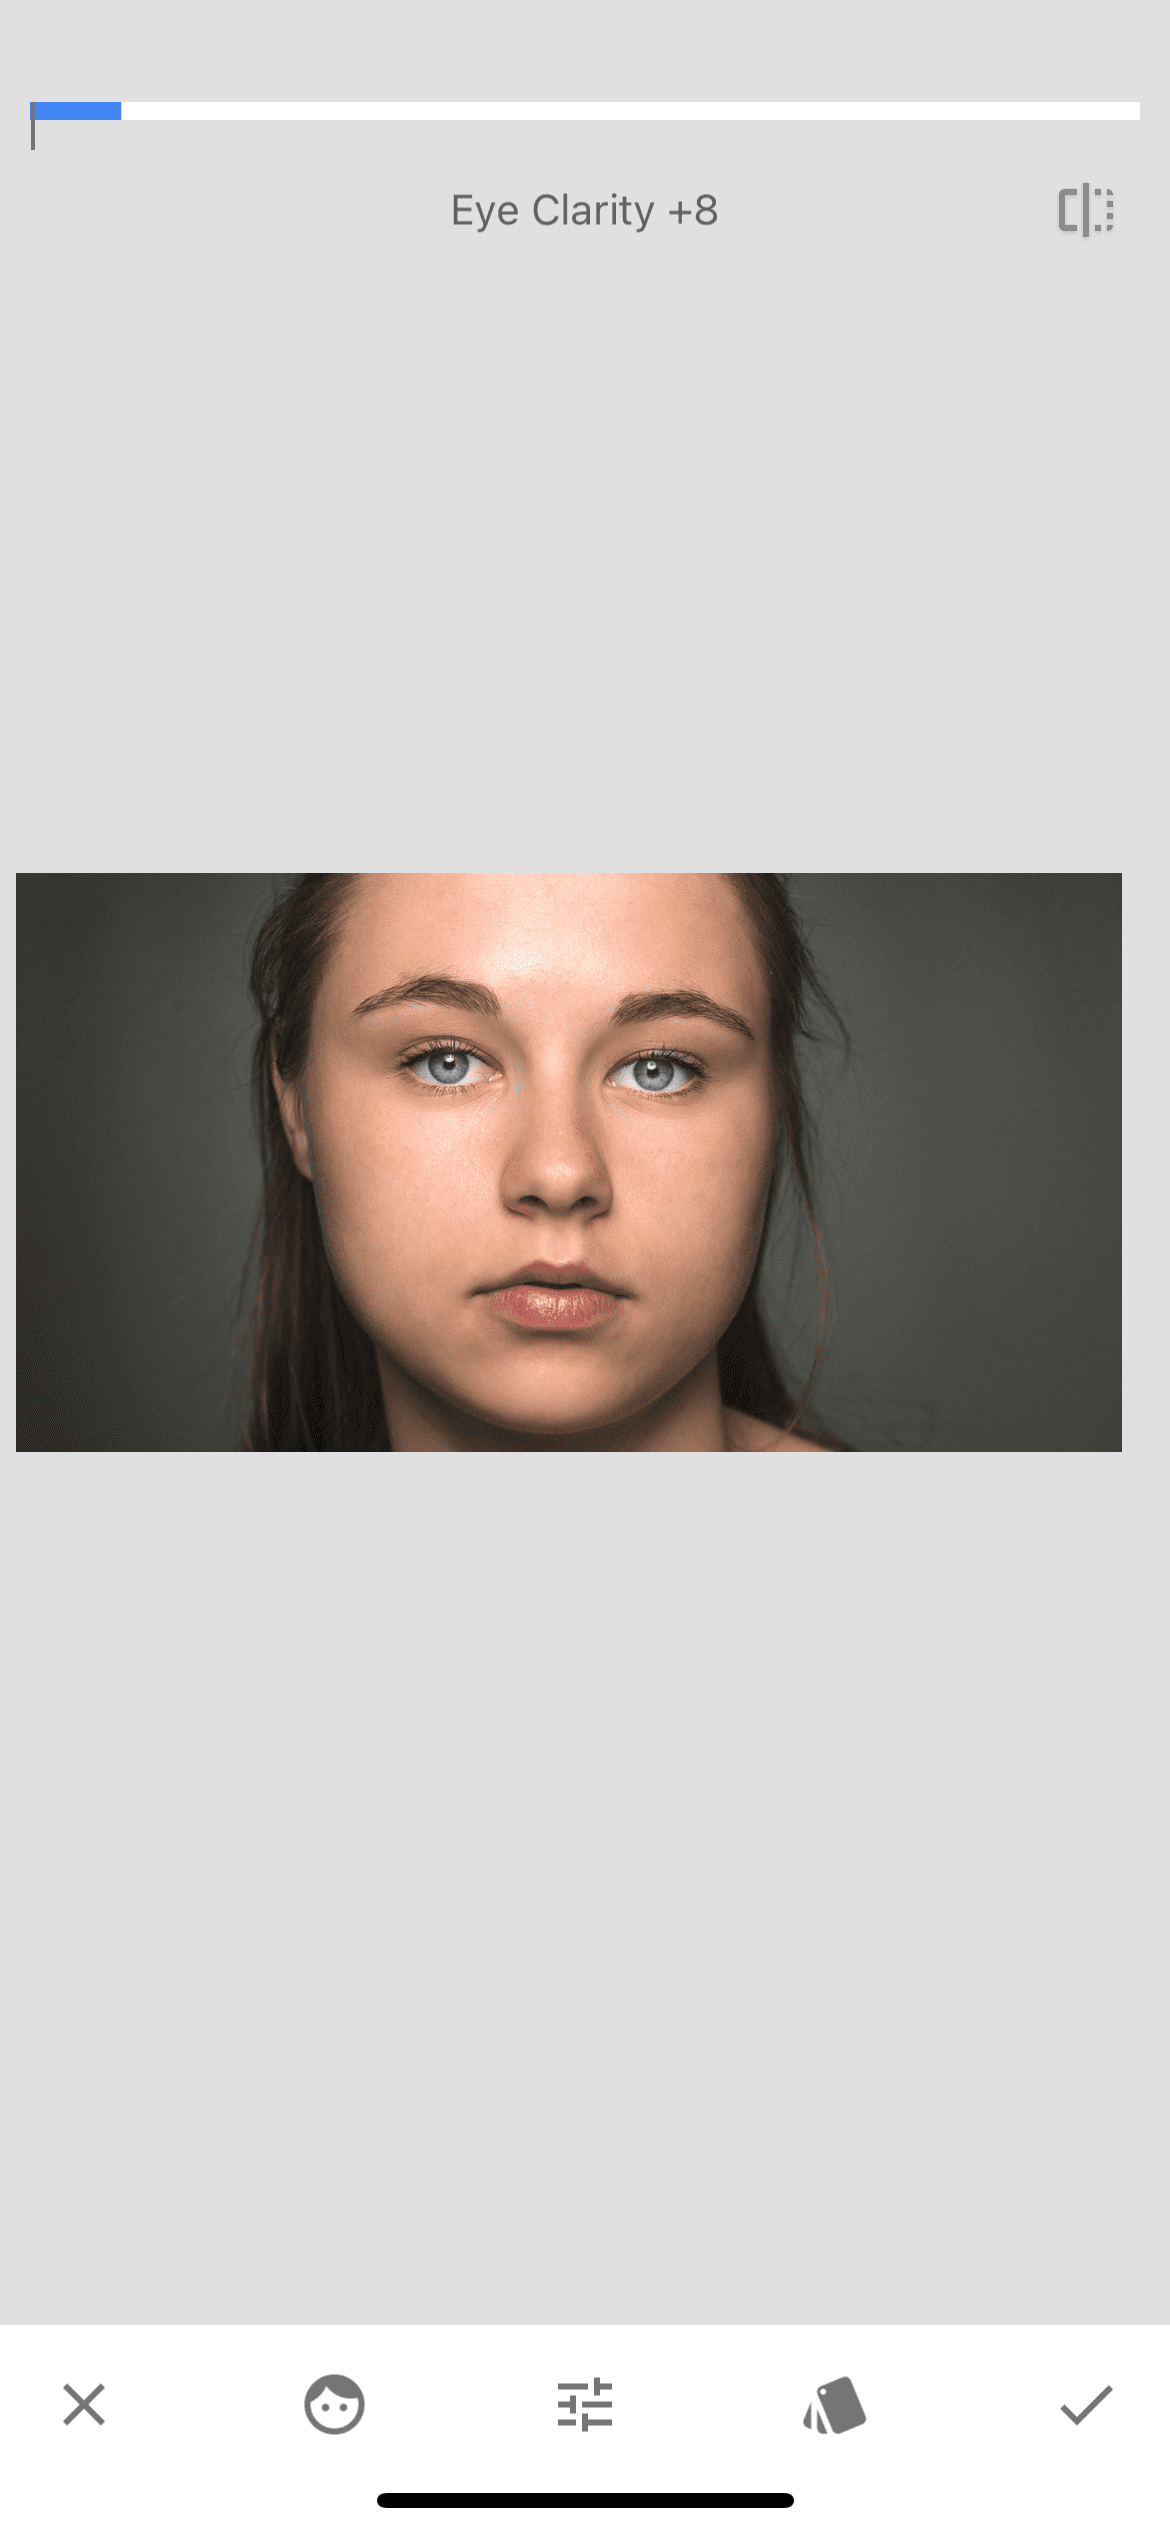
First of all, again in the tools tab we select the "portrait" function. In this section there are ready-made options for face retouching, and you can choose one of them if you like something, but now we will create our own style. By retouching the image with the portrait tool, we change three indicators – face spotlight, skin smoothing and eye clarity.
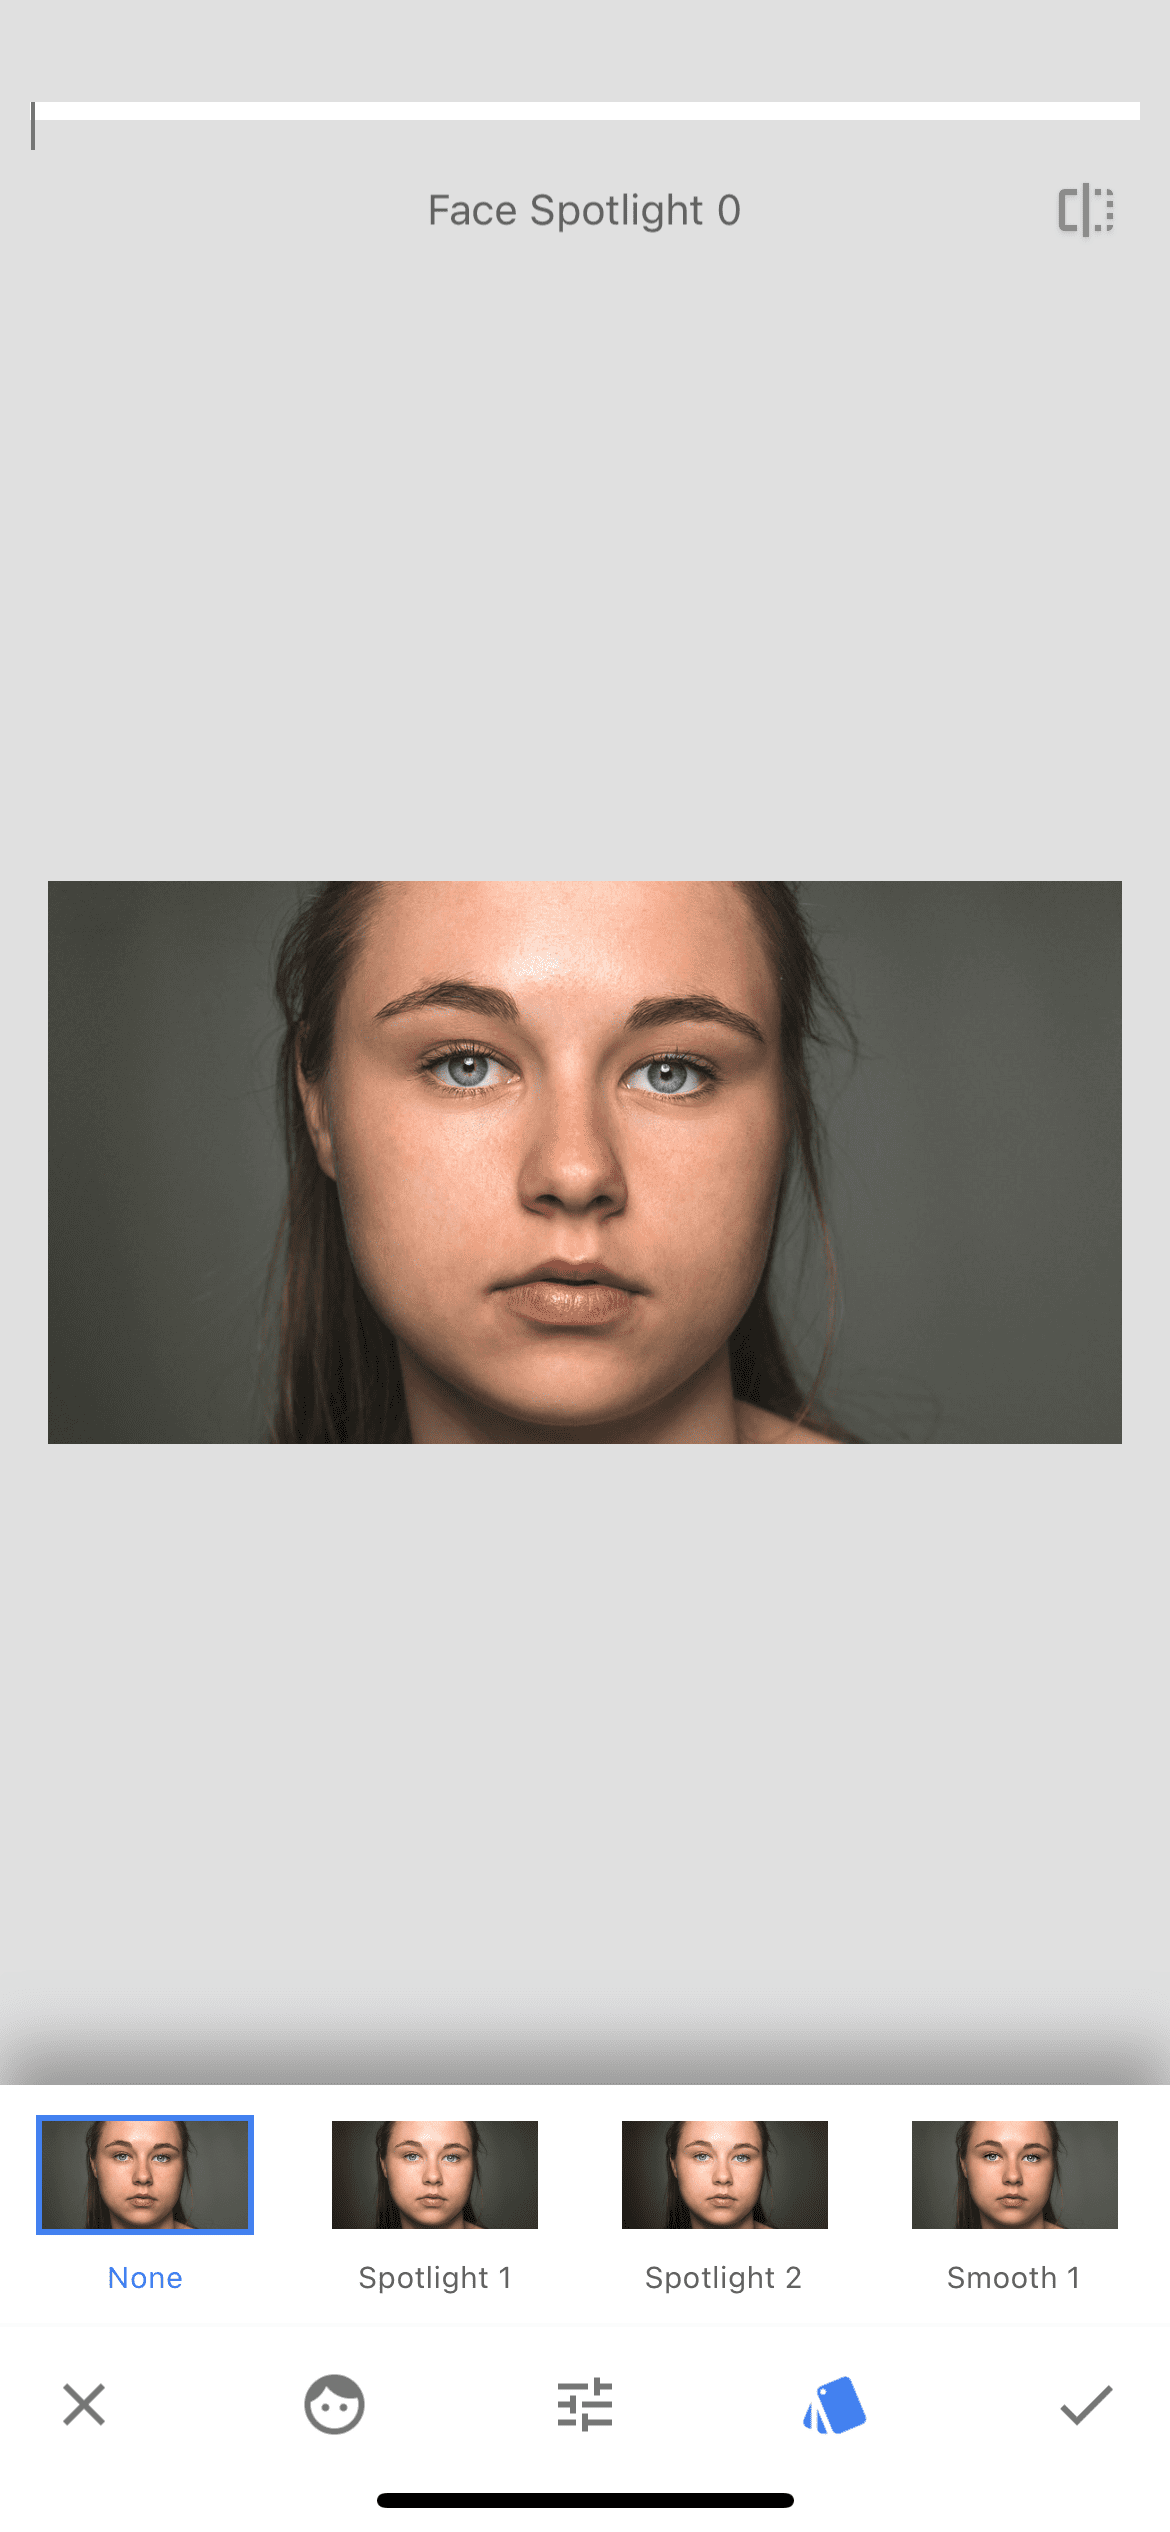
Face spotlight. In this picture, it would be reasonable to set the value +43, so as not to make the model's face too white and bright, but also not to leave it in the shade.
Skin smoothing. This function smoothes the skin in the picture, making it velvety. However, you should not overdo it with this tool, since you can make the skin of the face unnaturally smooth, doll-like.
Eye clarity. Here we set a rather small value, since we only need to lighten the eyes slightly, make the eye white a little whiter, and the iris a little brighter. If you overdo it in this section, the eyes will turn out unnatural.
Step 4. Brush
After we made the skin of the face more even and smooth, we only have a couple of strokes left.
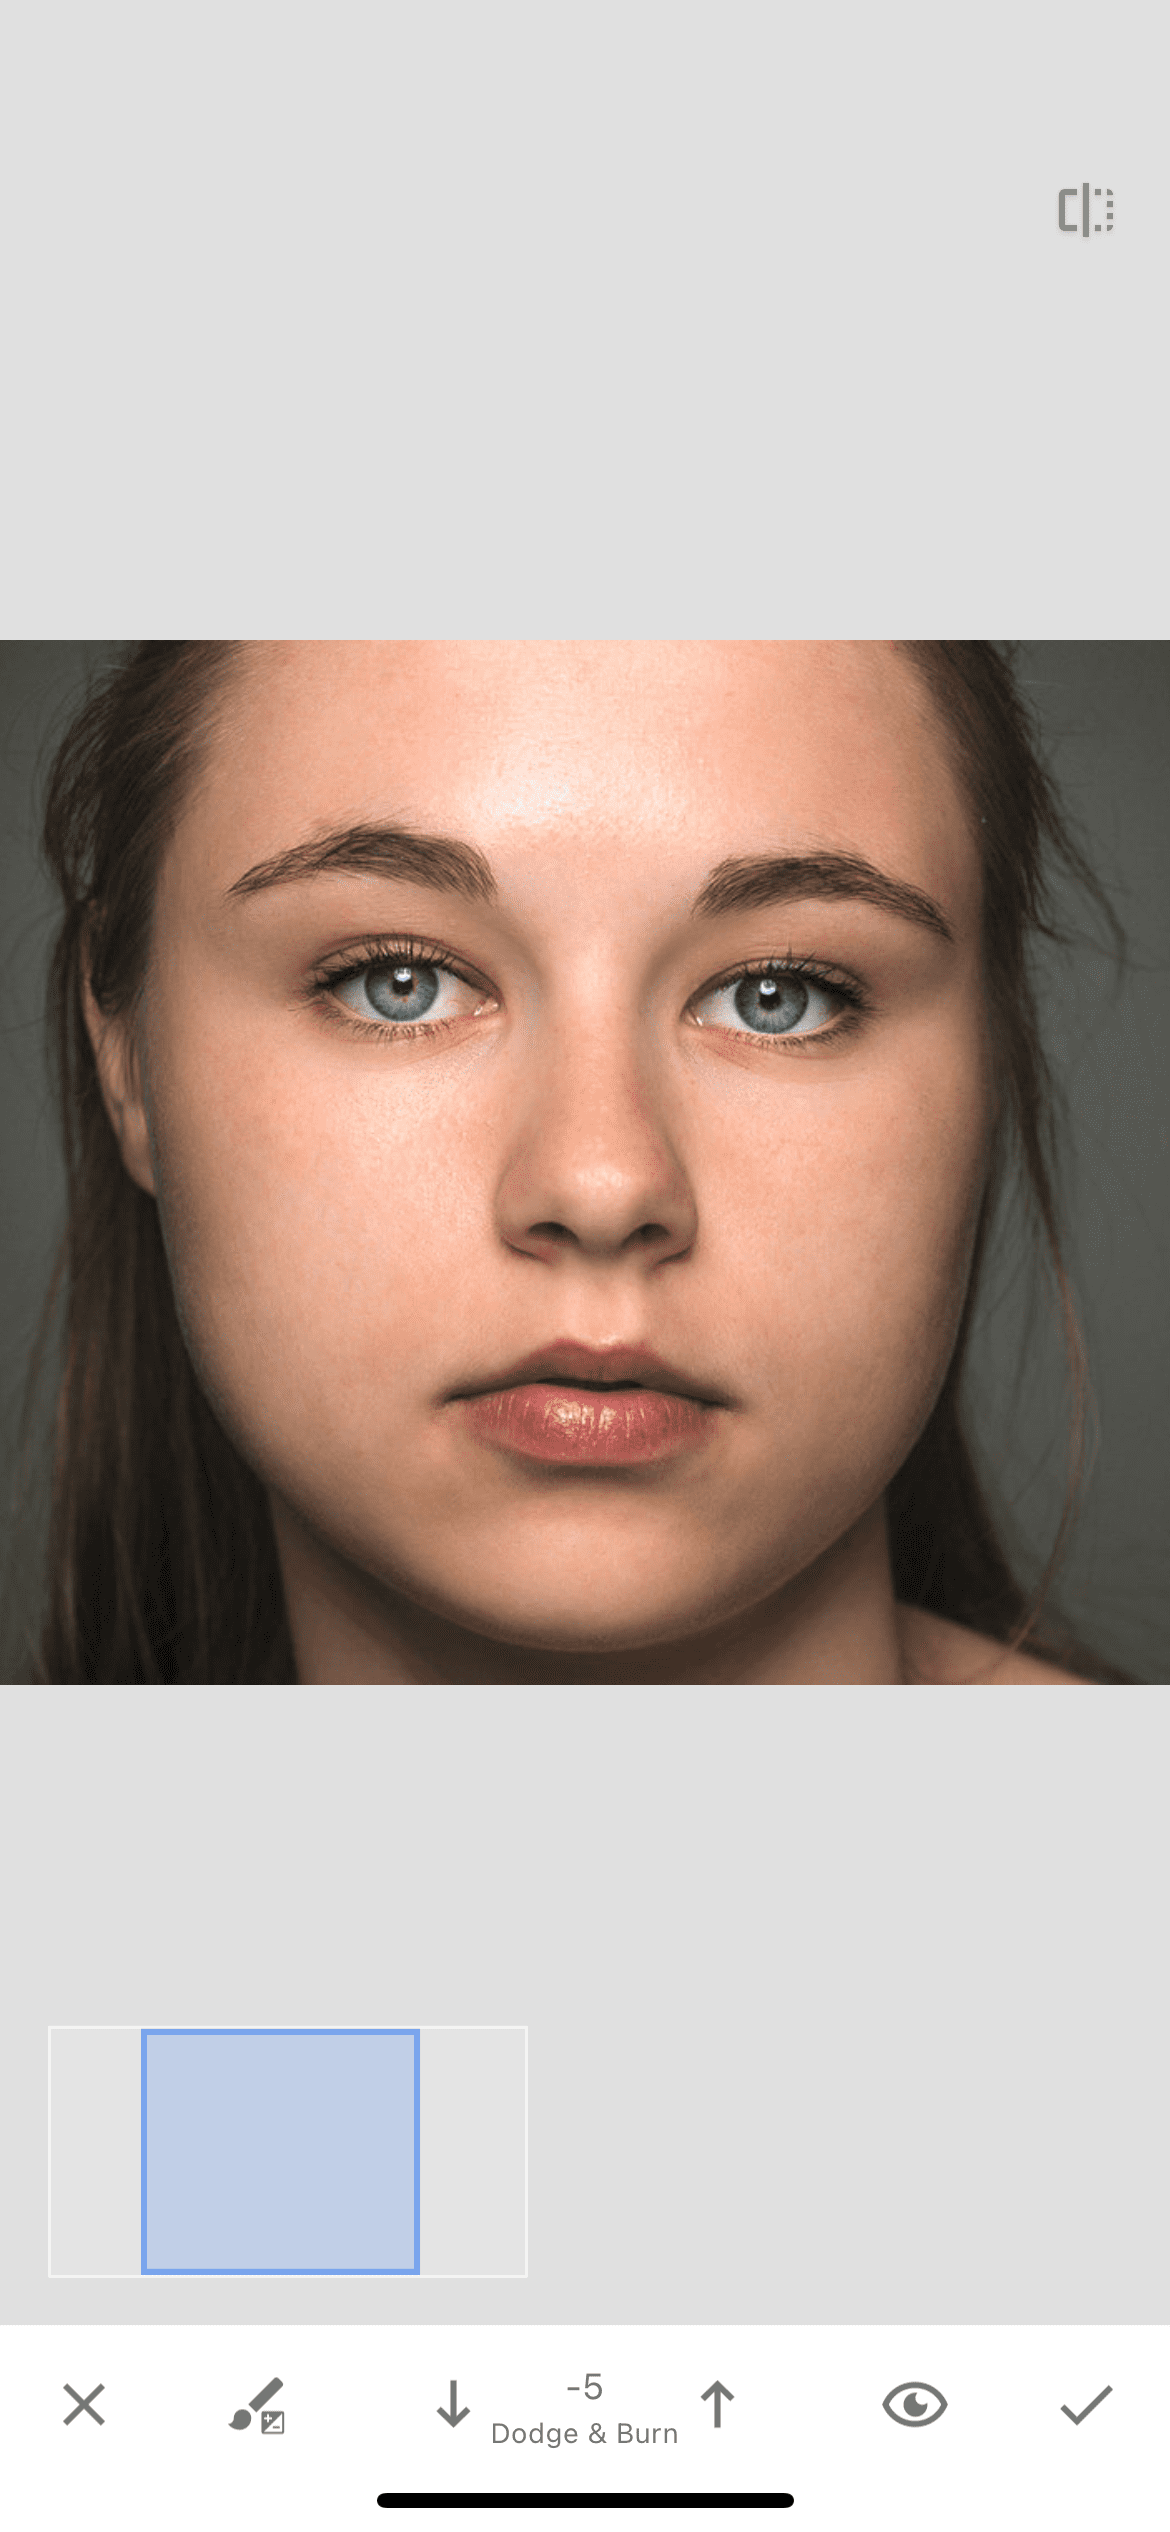
We find and open the brush tool, with which we will improve the appearance of the entire photo as a whole, as well as create accents on some parts of it. There are 4 tools in this tab, but we only need an exposure and saturation brushes.
Select the exposure brush and in the center at the bottom click the left arrow several times until the value between the two arrows becomes equal to -0.3. After that, we enlarge the photo and draw the brush over the eyes and lips, thereby slightly reducing the brightness of these parts and highlighting them on the face, emphasizing them.
After that, select the saturation brush and use the right arrow to set the value +5. We remove our photo and smoothly draw it over the entire surface of the face with a brush. It will add a little more saturation to the face and make the skin more pleasant to look at.
Conclusion
So, we have step-by-step analyzed the method of portrait correction in the Snapseed photo editor. After editing your image, don't forget to export it to your gallery. The results of the retouching can be seen in the "before" and "after" pictures below.