


This lesson will teach you how to use the correction tool to remove unpleasant yellowness from a photo.
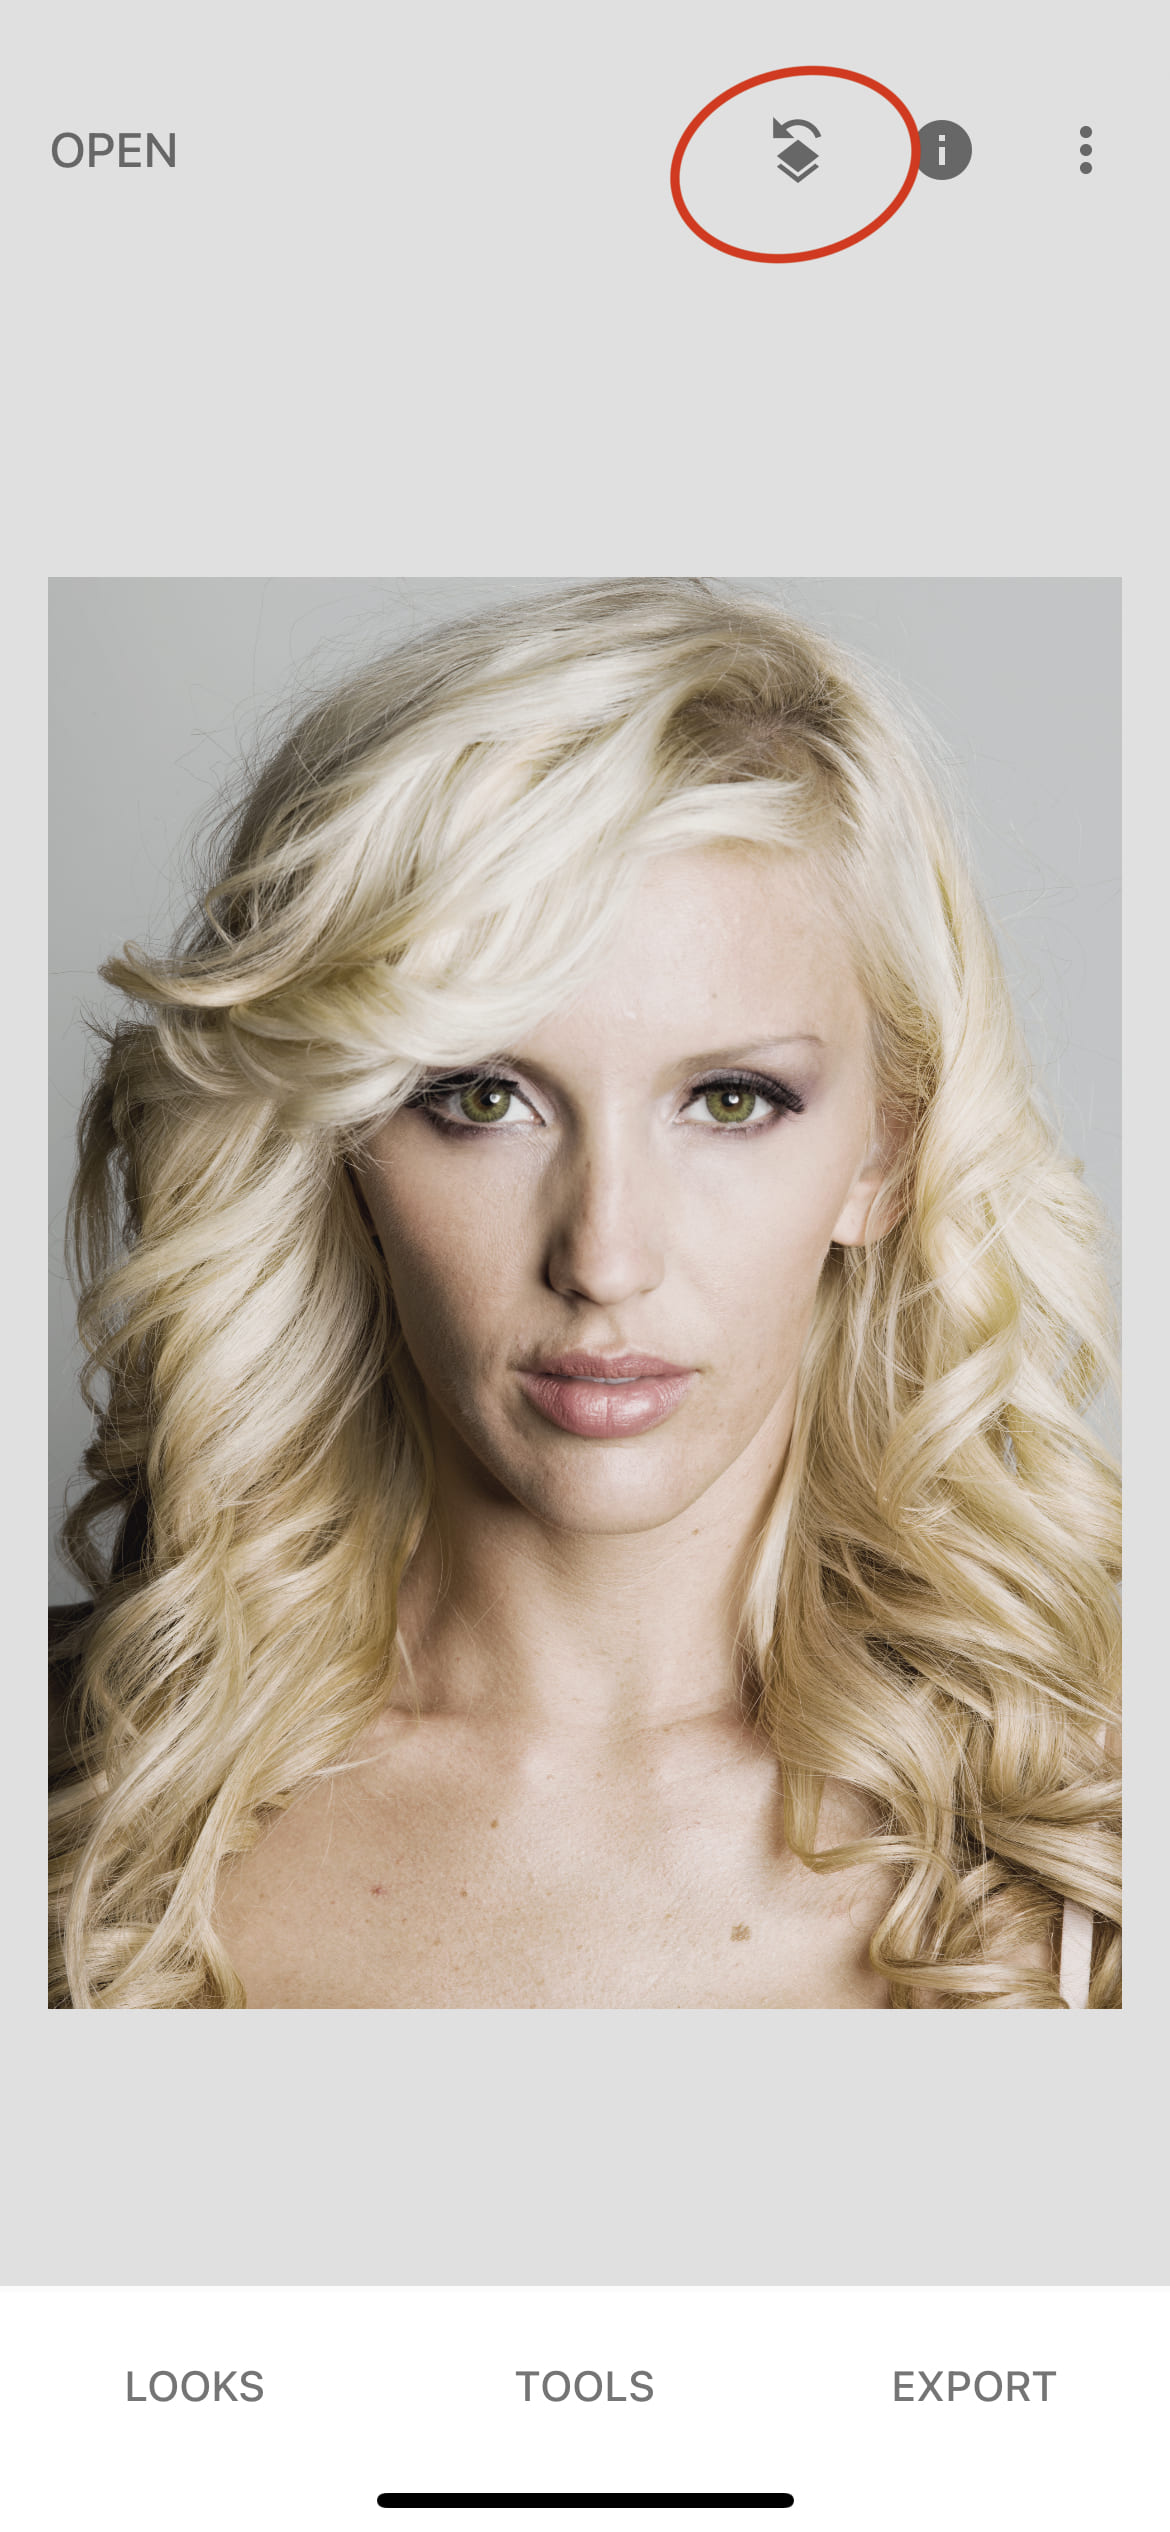
After opening the photo, we open the toolbar and select the correction.
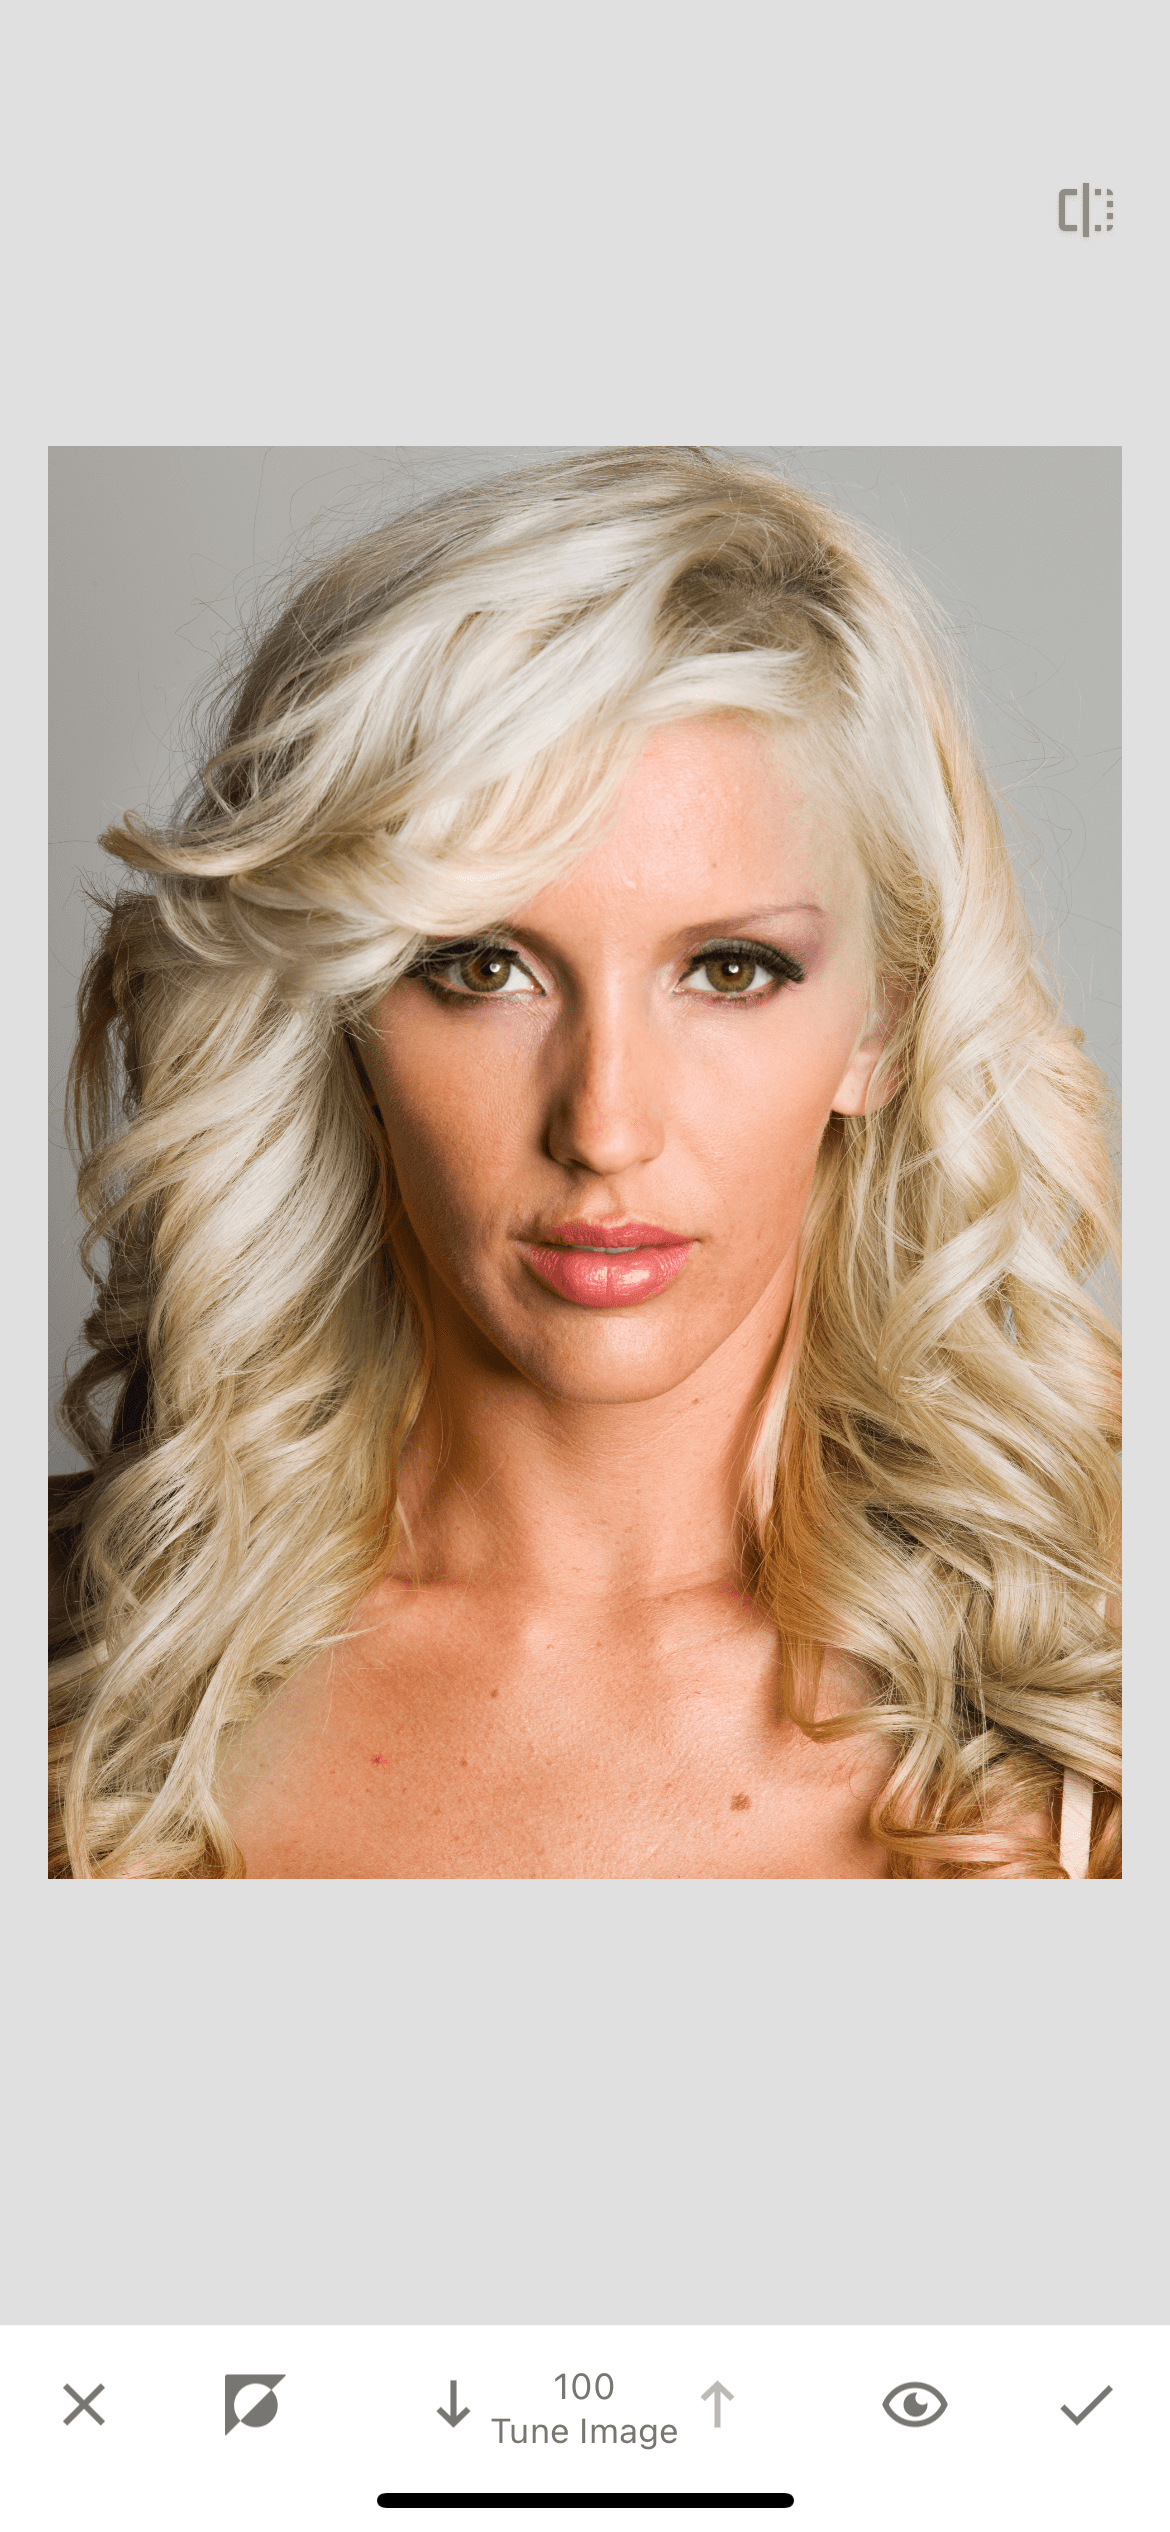
Going to the above section, we adjust the indicators so that the yellow object acquires a lighter shade. The settings depend on the specific photo you are editing, however, there are several basic principles for changing the values of elements:
- The brightness needs to be increased, so we will lighten the yellow color.
- We take the contrast to the minus so that the dark elements get a light shade.
- We remove the saturation, so we can achieve a whiter shade of our subject.
- We lower the values of the ambiance, highlights and shadows.
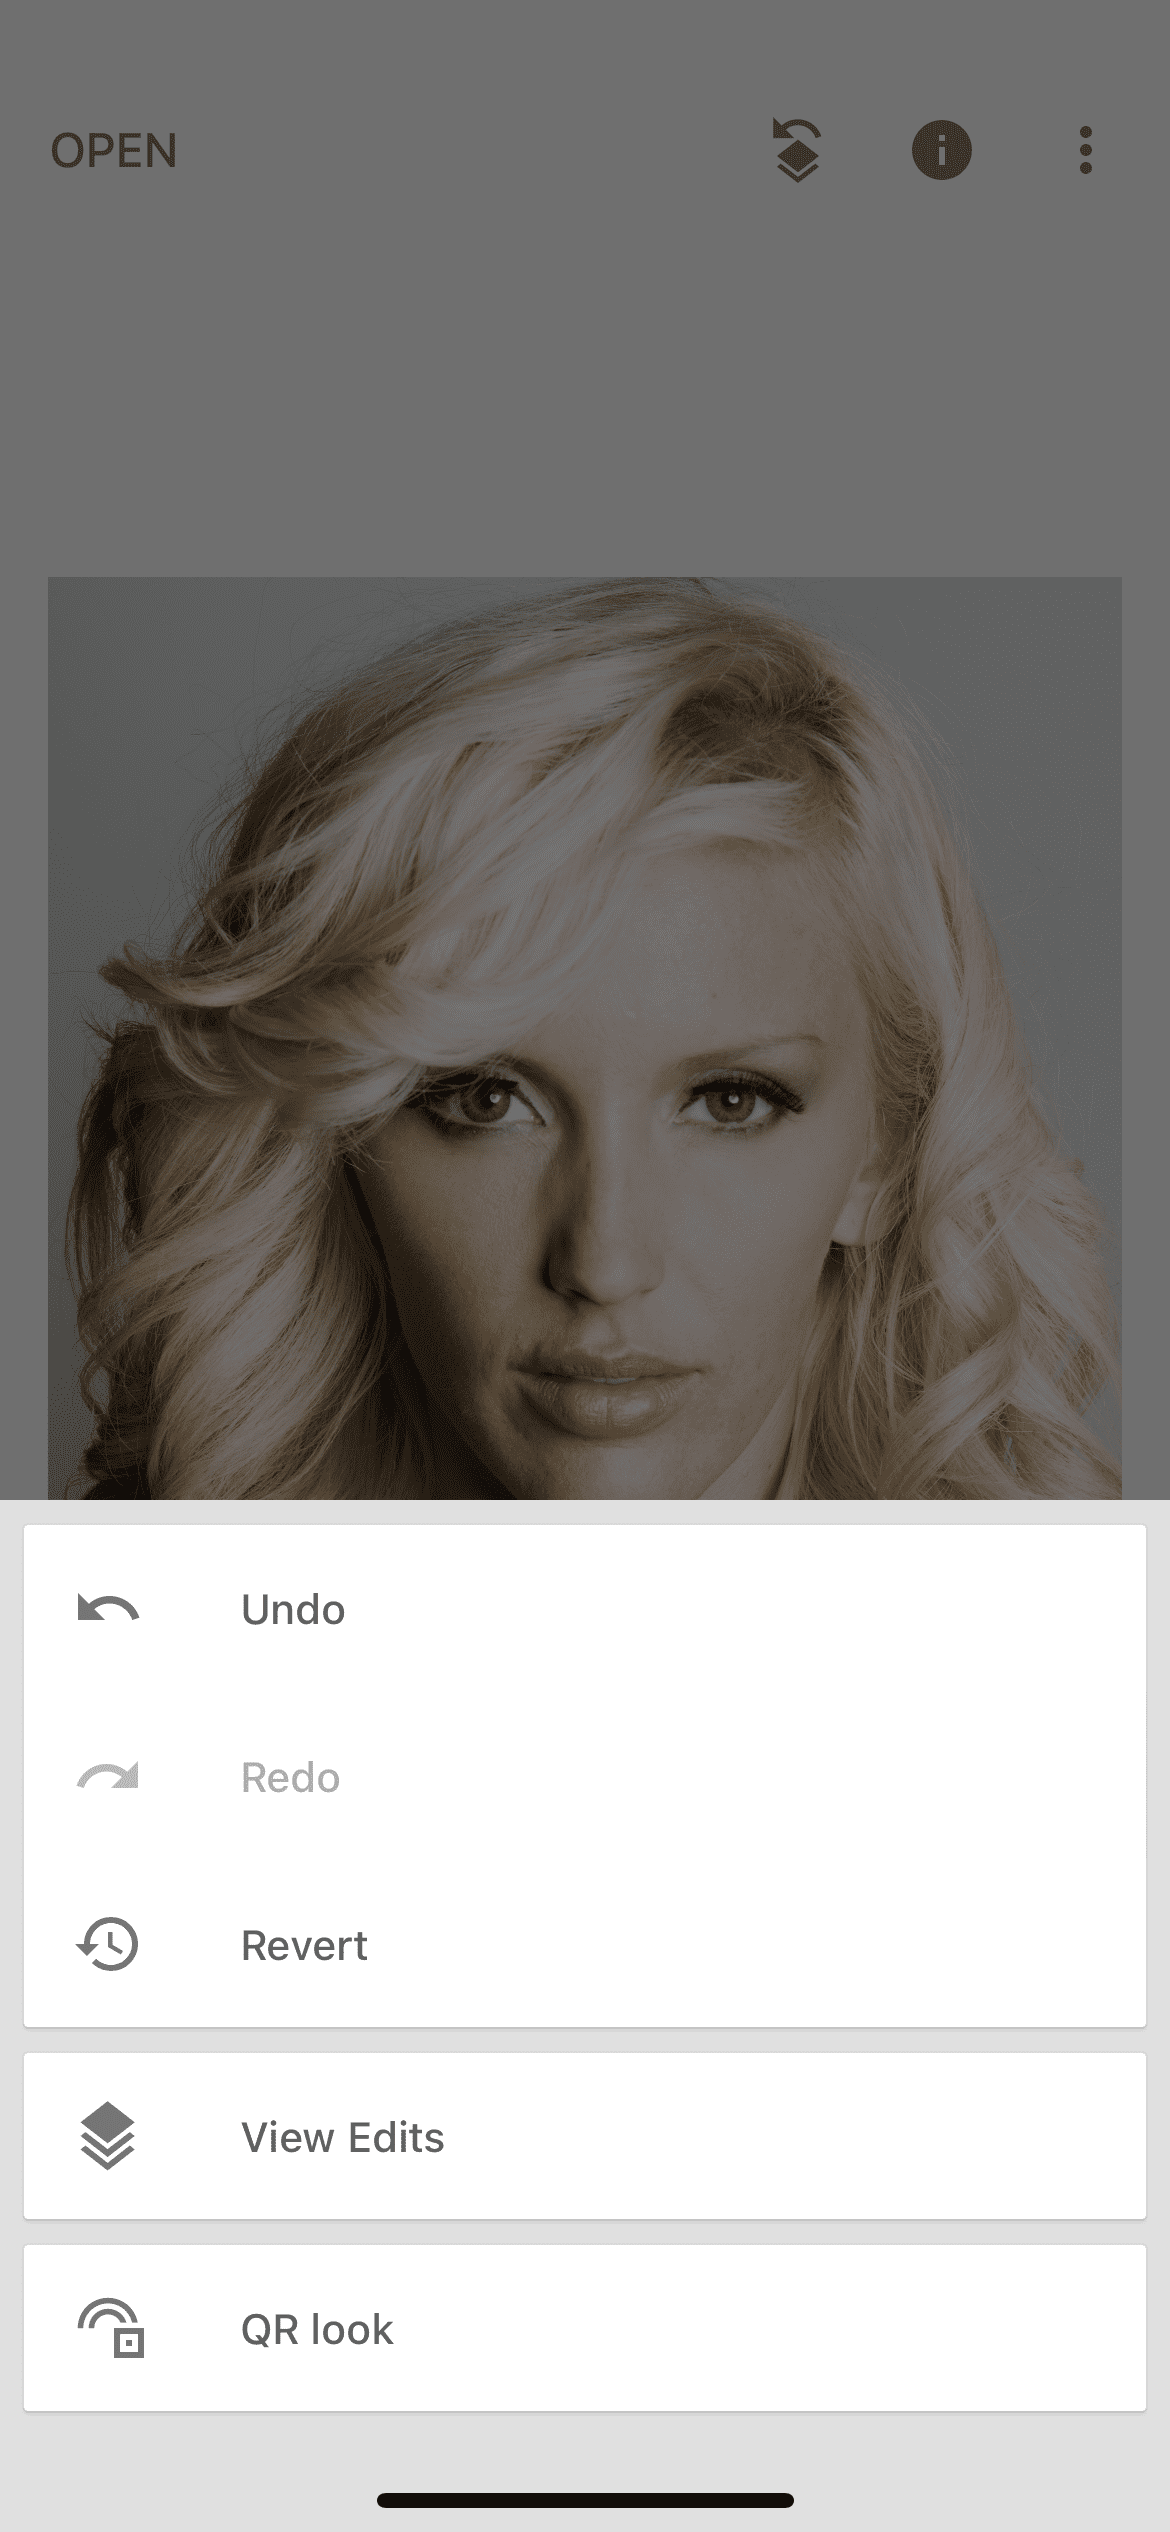
After saving the edited photo, we return to the home page and click on the layers icon. After that, select the "view changes" item and click on the brush on the "correction" layer.

Going to the change settings section, we see the original version of our photo. We need to run a brush through the hair to apply our correction effect to them.
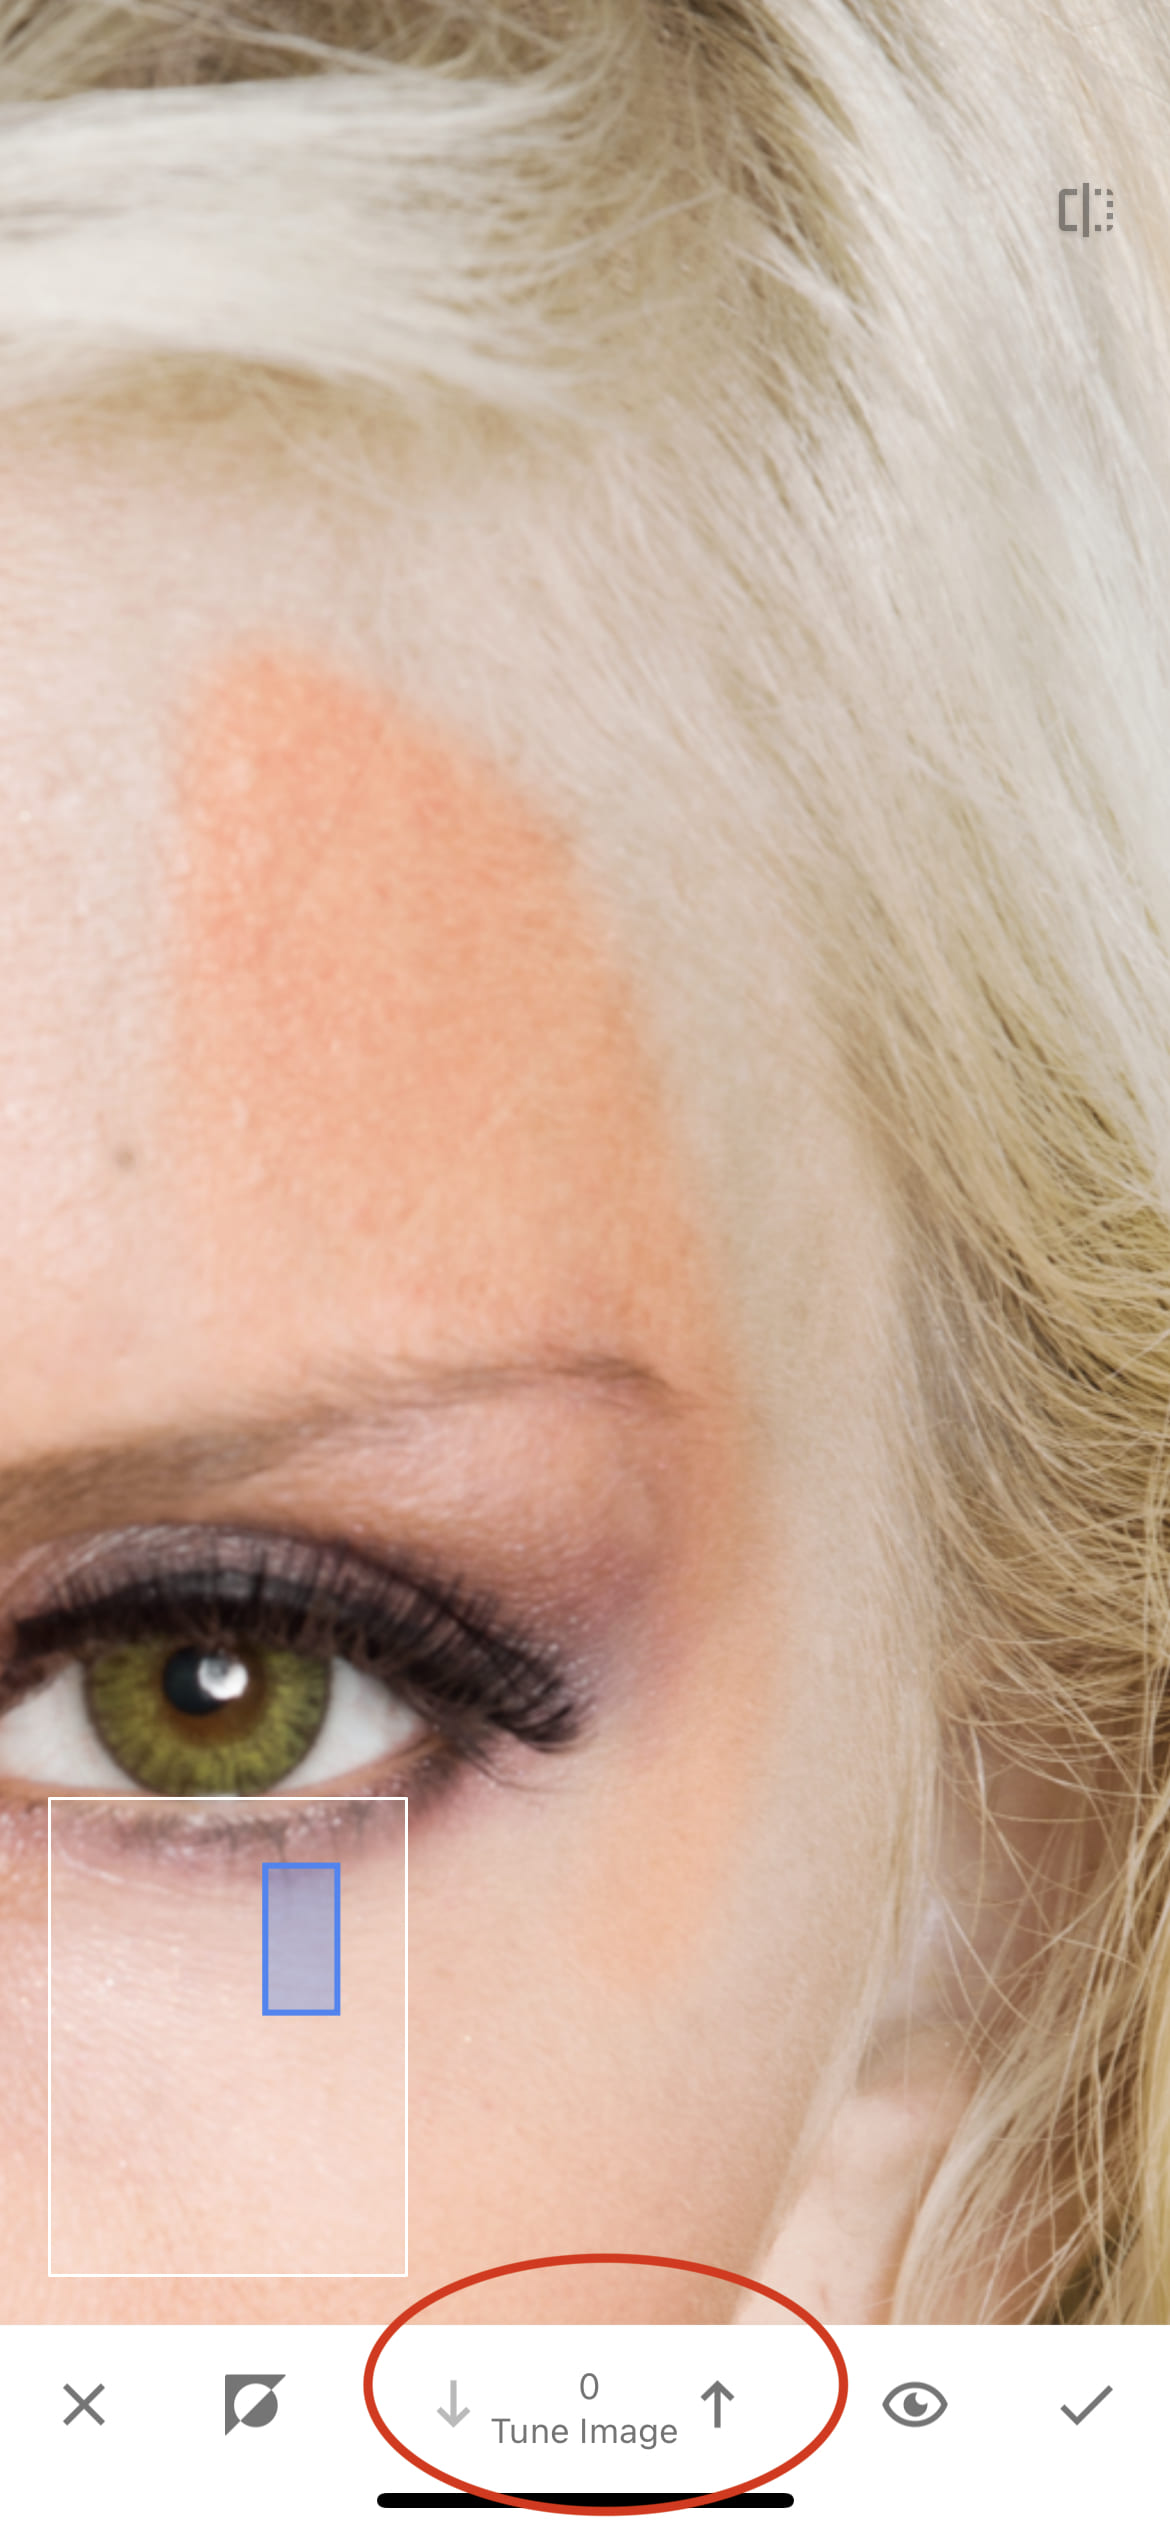
After drawing our subject, we set the brush value to 0 and begin to remove the effect that has gone beyond the contour. By zooming in on the photo, you can qualitatively work out all the places where there should be no effect. Work with the brush until you achieve a satisfactory result.
Result
An easy way to remove yellow from a photo can help you out in completely different situations. In this way, you can remove the yellowness of teeth or any other objects that should be white in the photo, without a yellow tint.