


In this lesson, you will master one of the options for how you can change the color of an object in a photo.
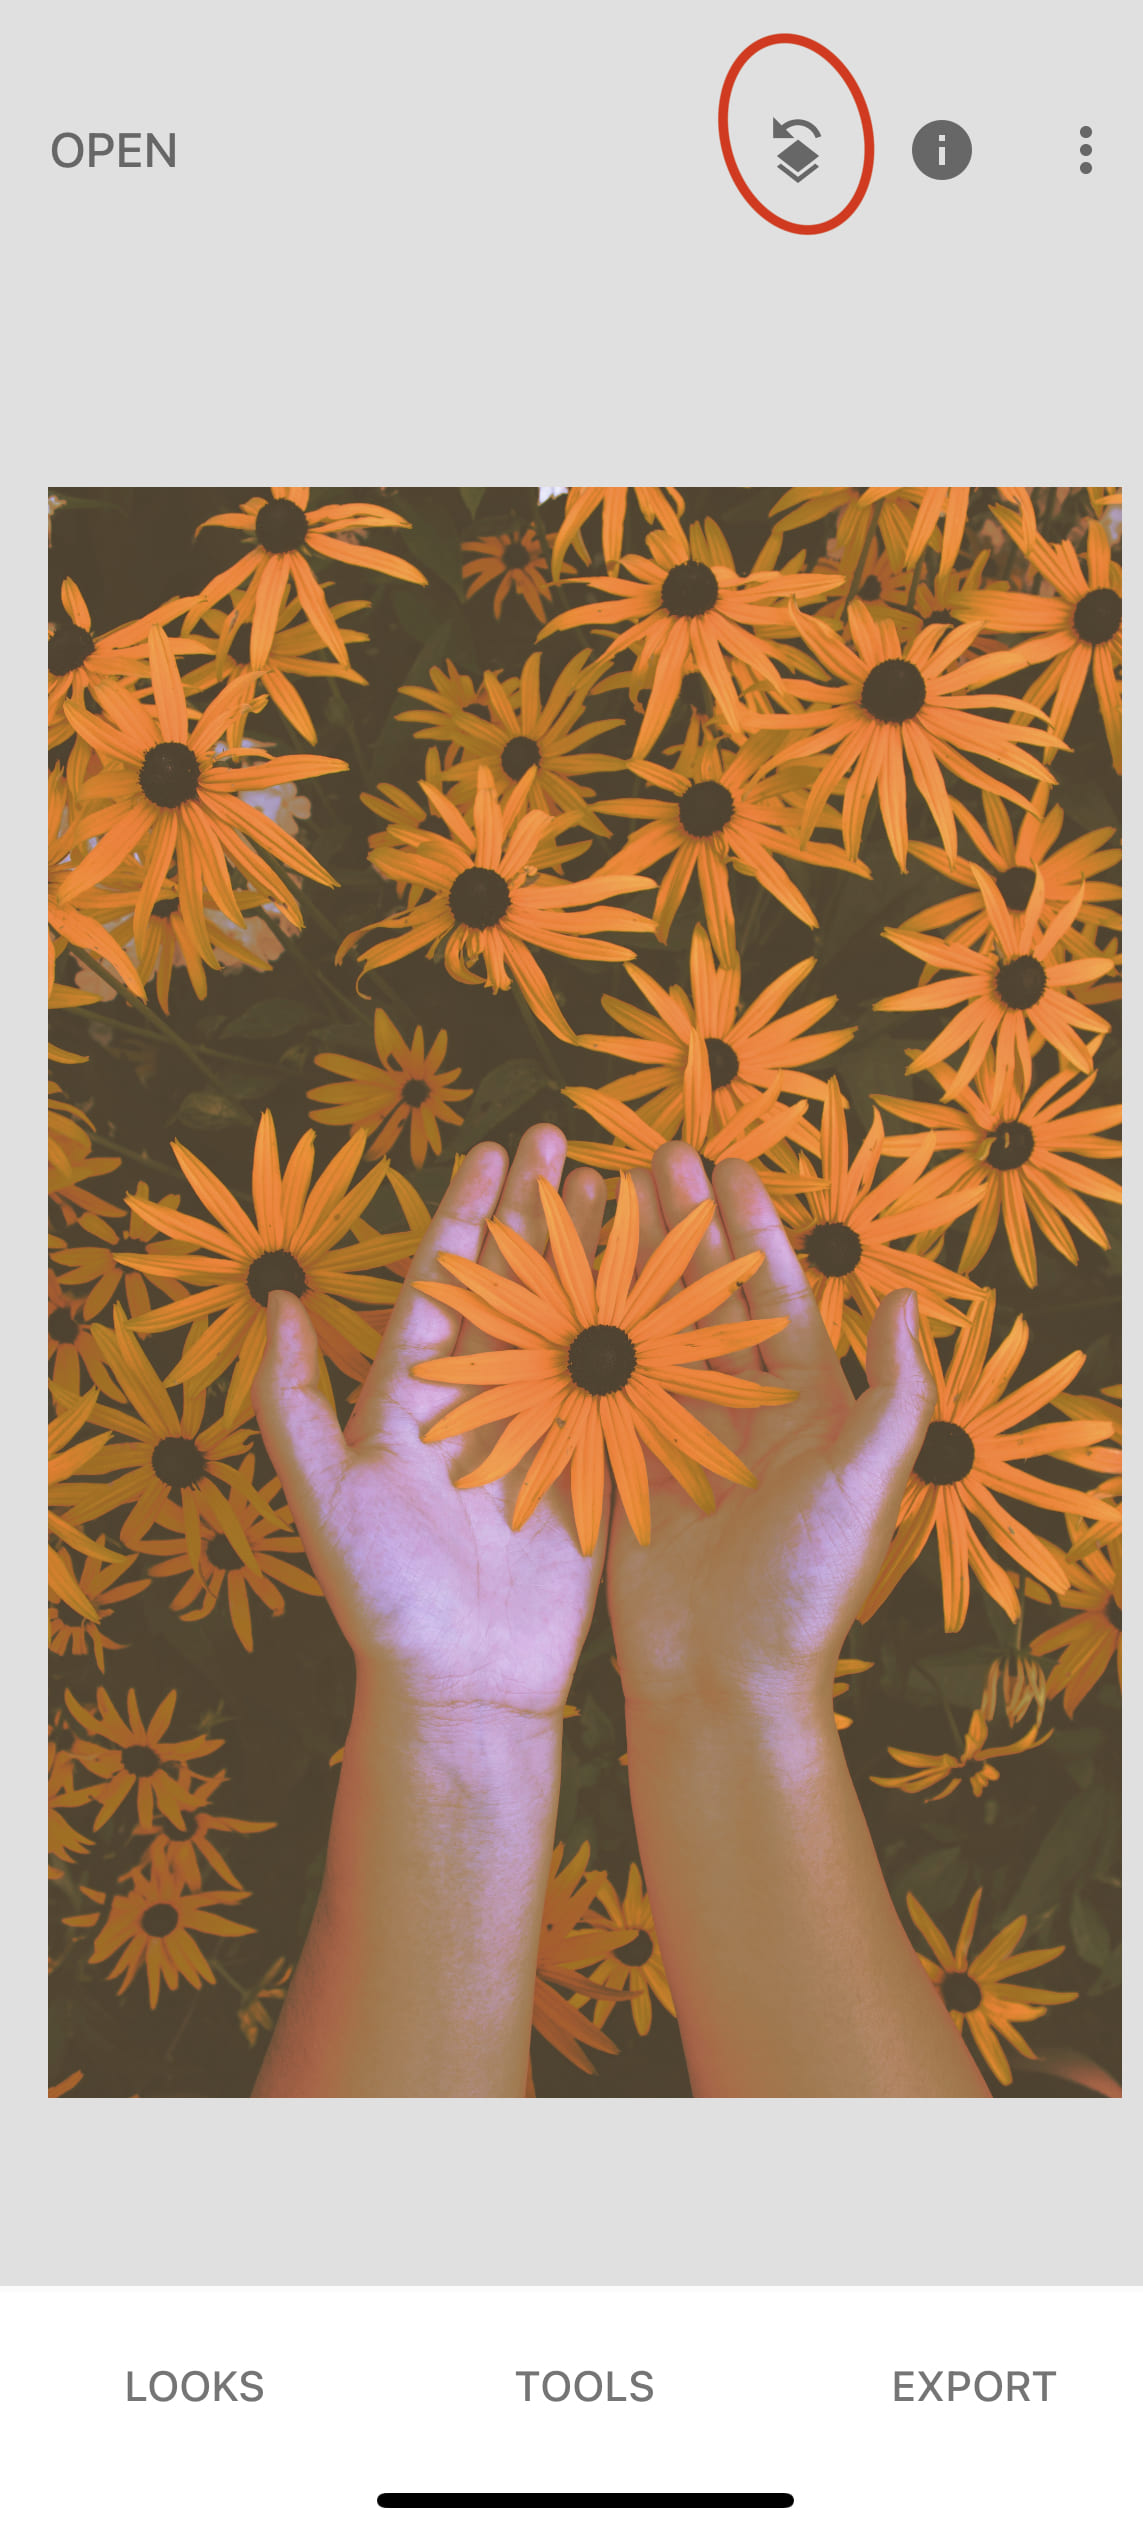
Open the photo in the Snapseed application and select "curves" on the toolbar.
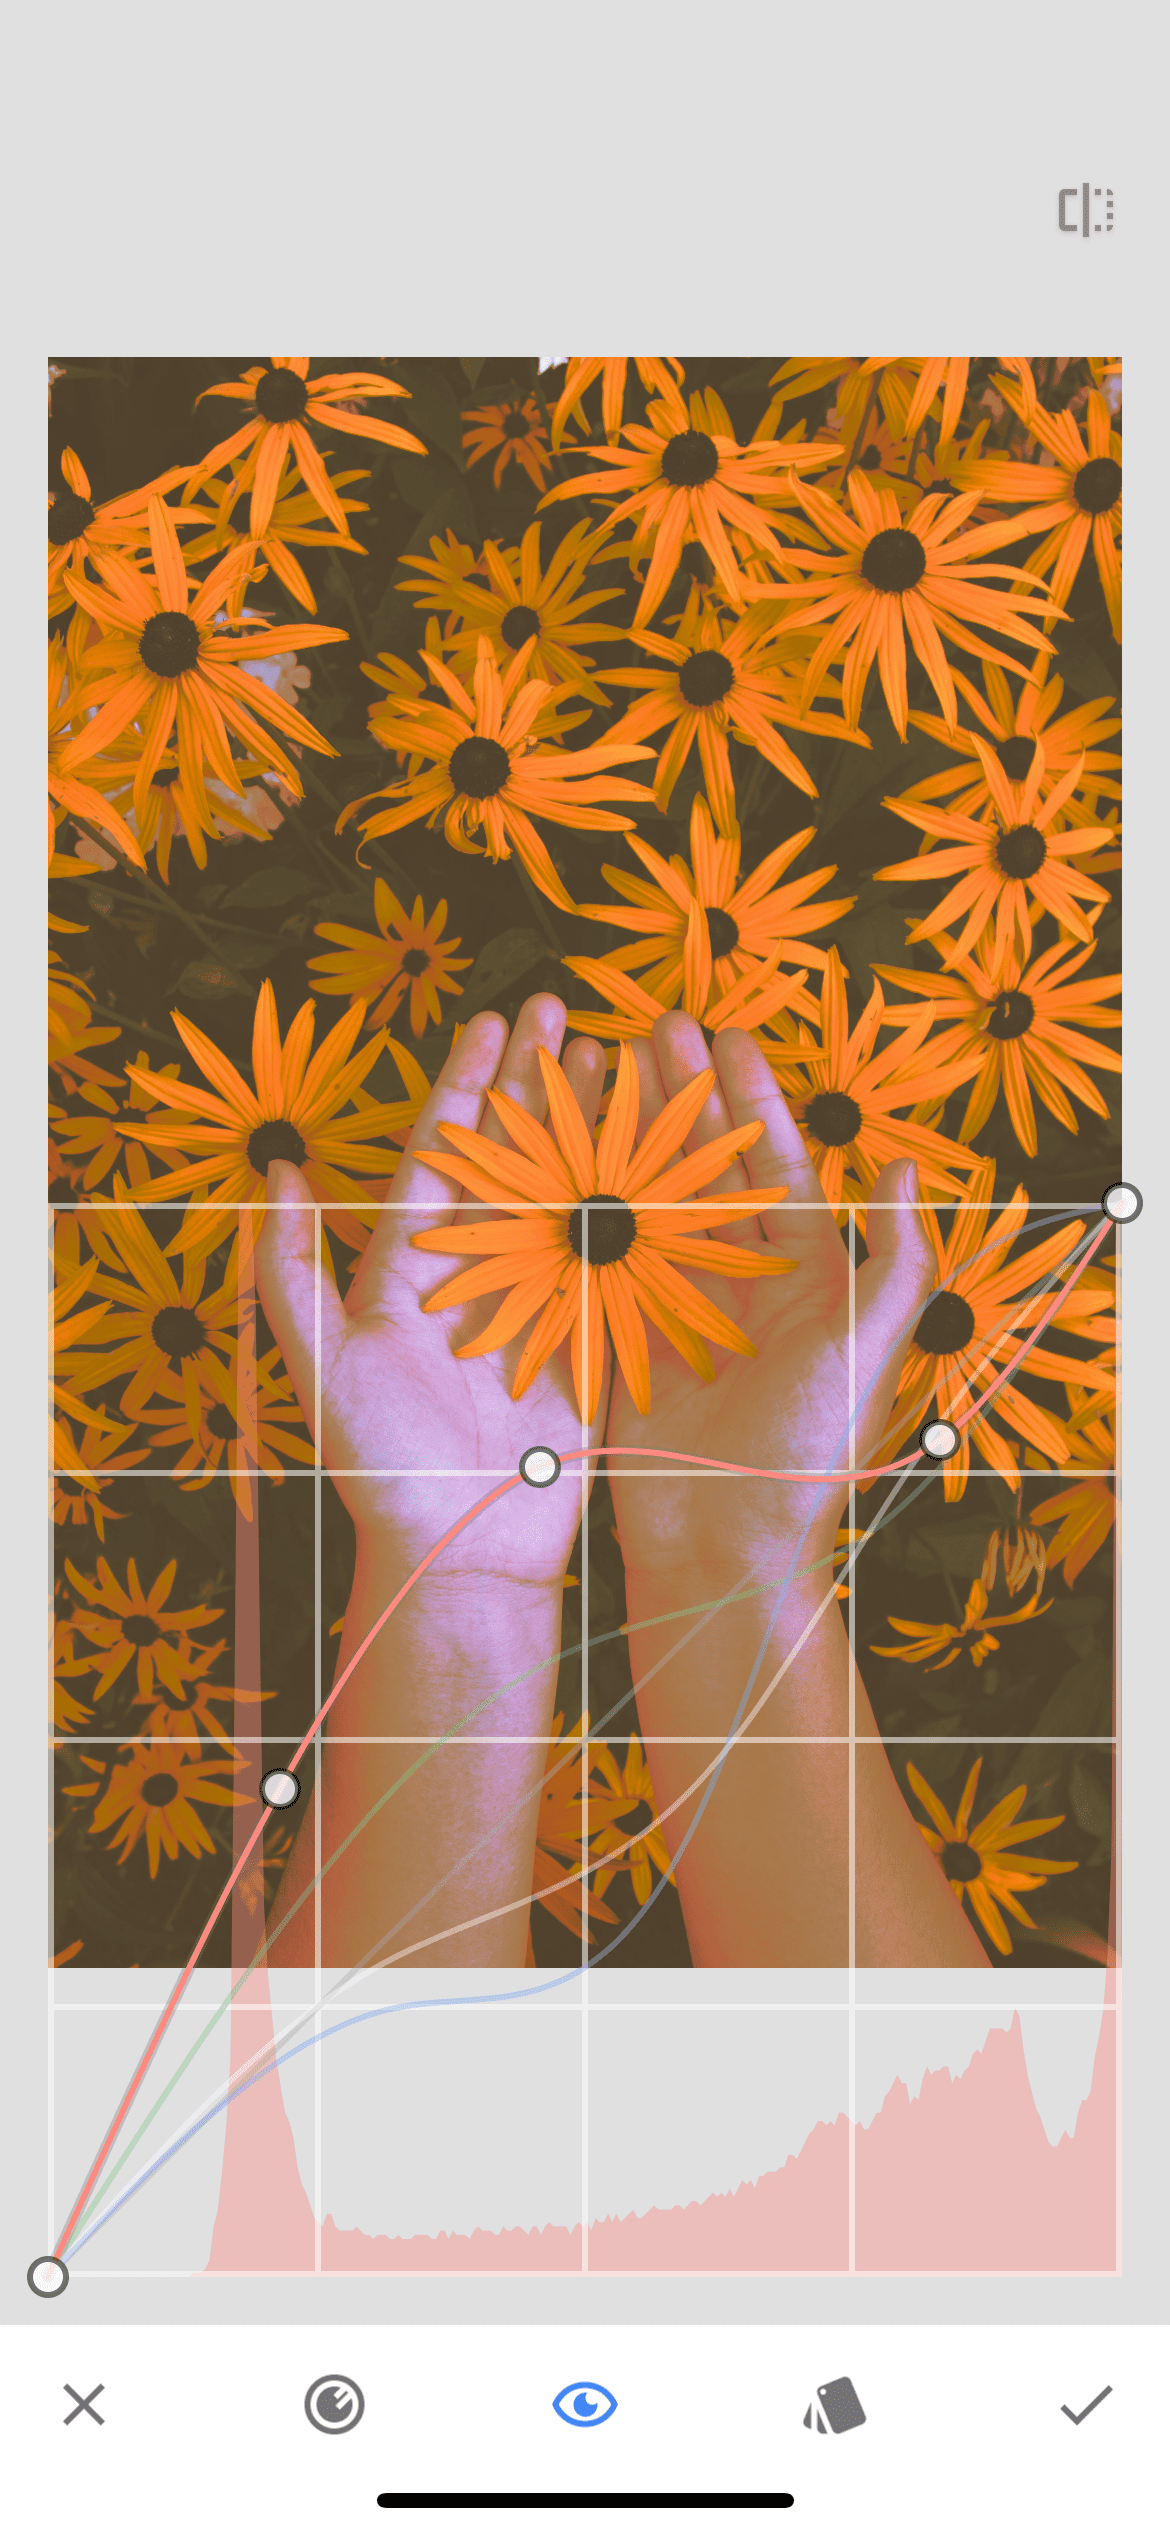
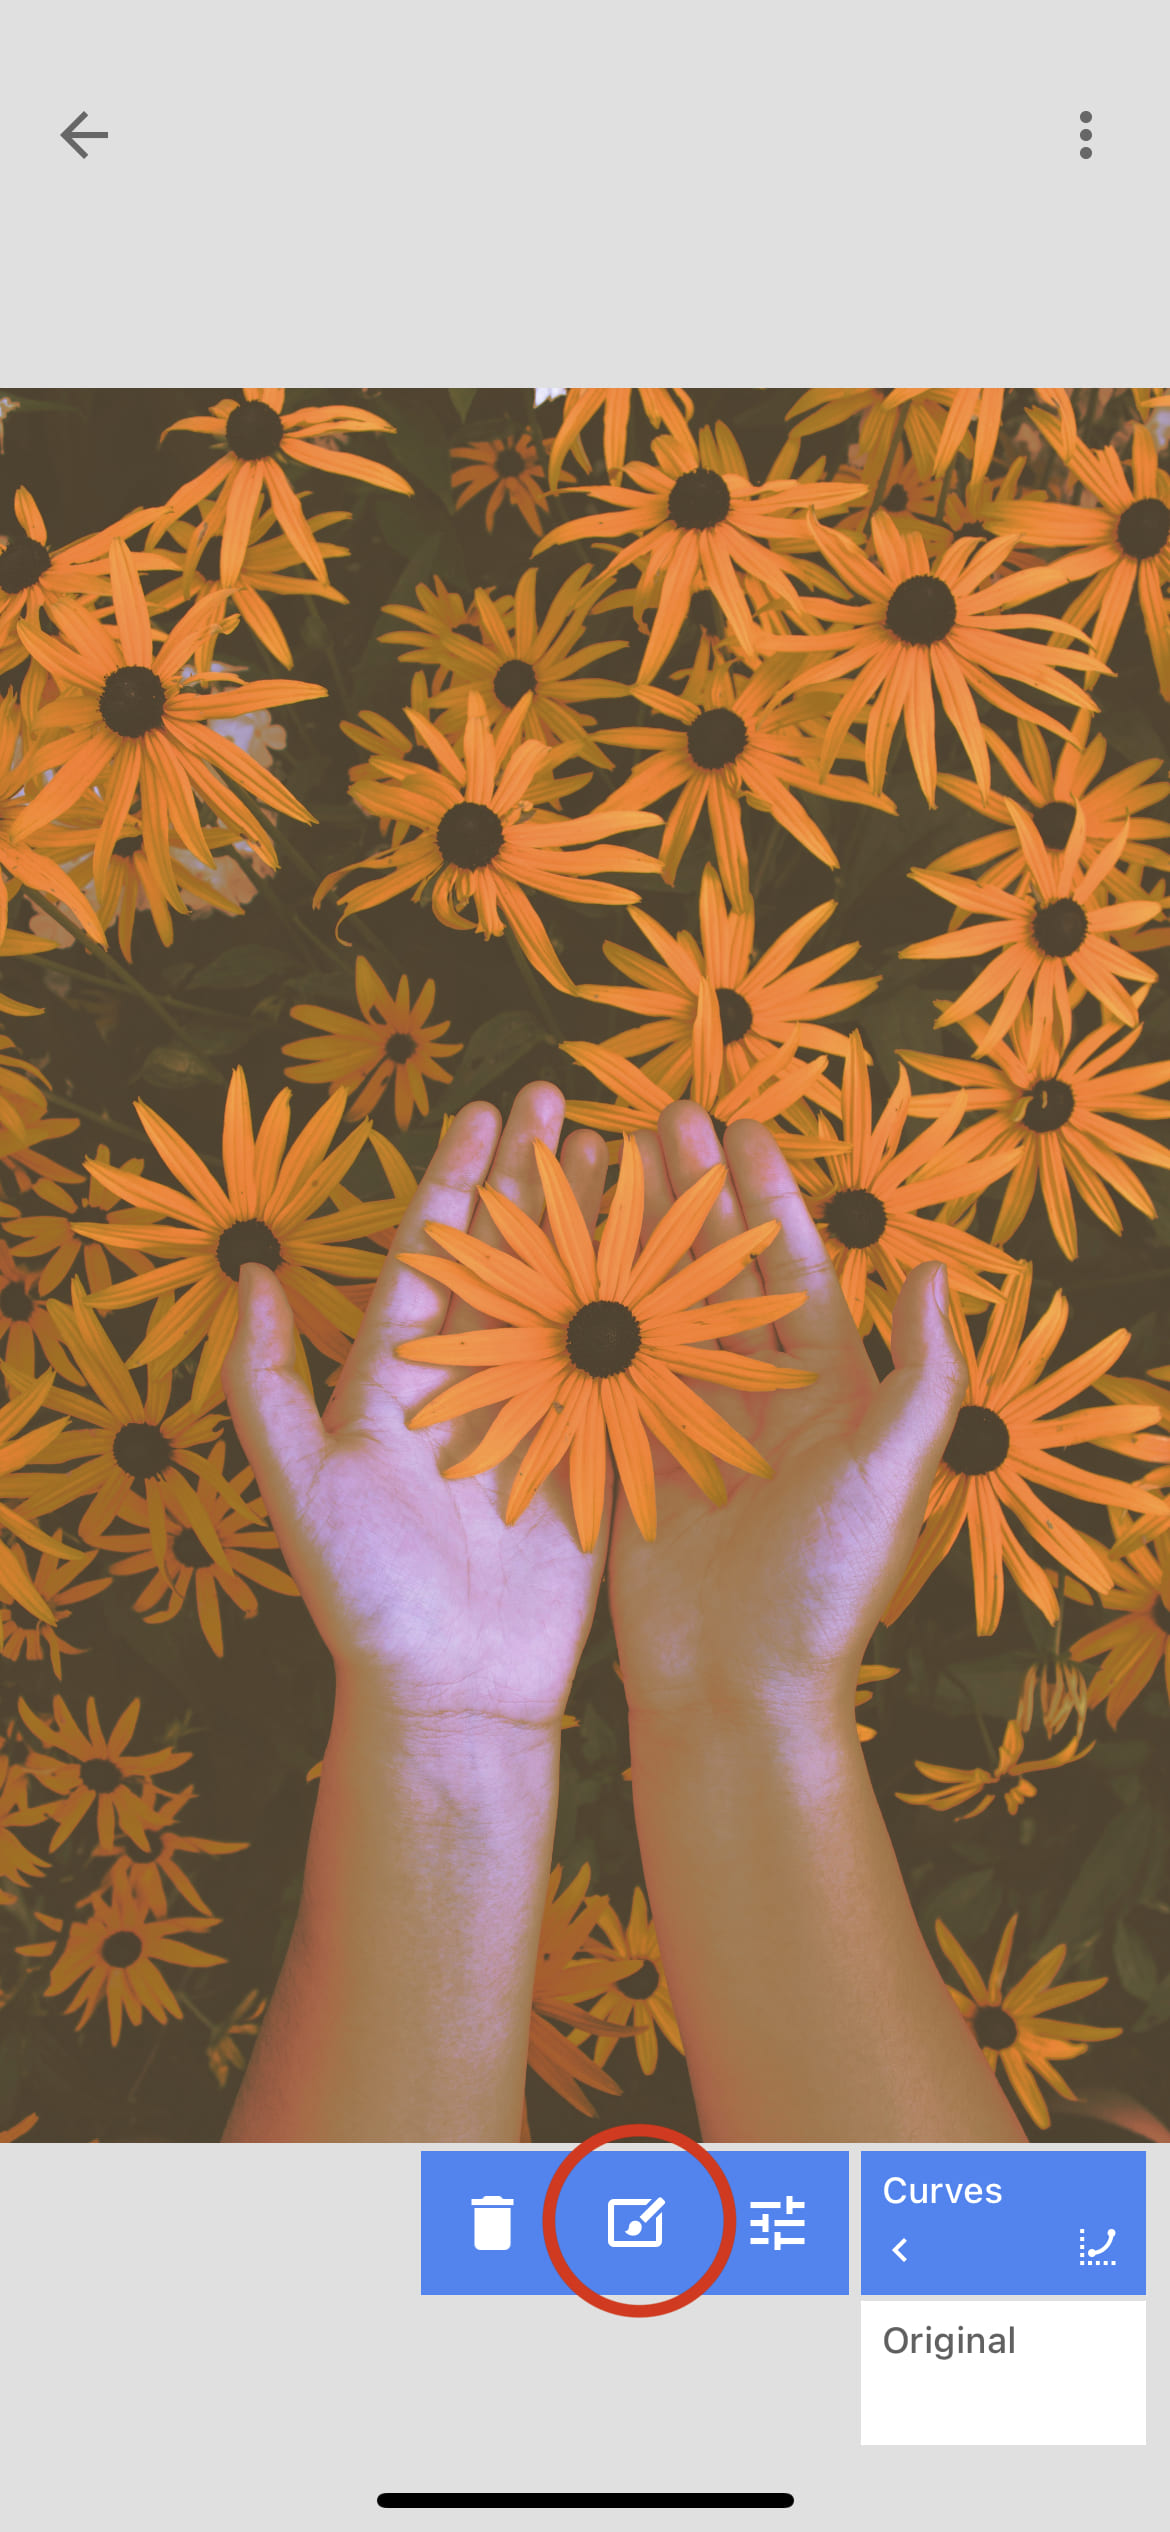
Click on the circle on the bottom panel to open the options for changing the curves. In the menu we see the RGB option, red, green, blue and luminance. We will need all channels except the last one.
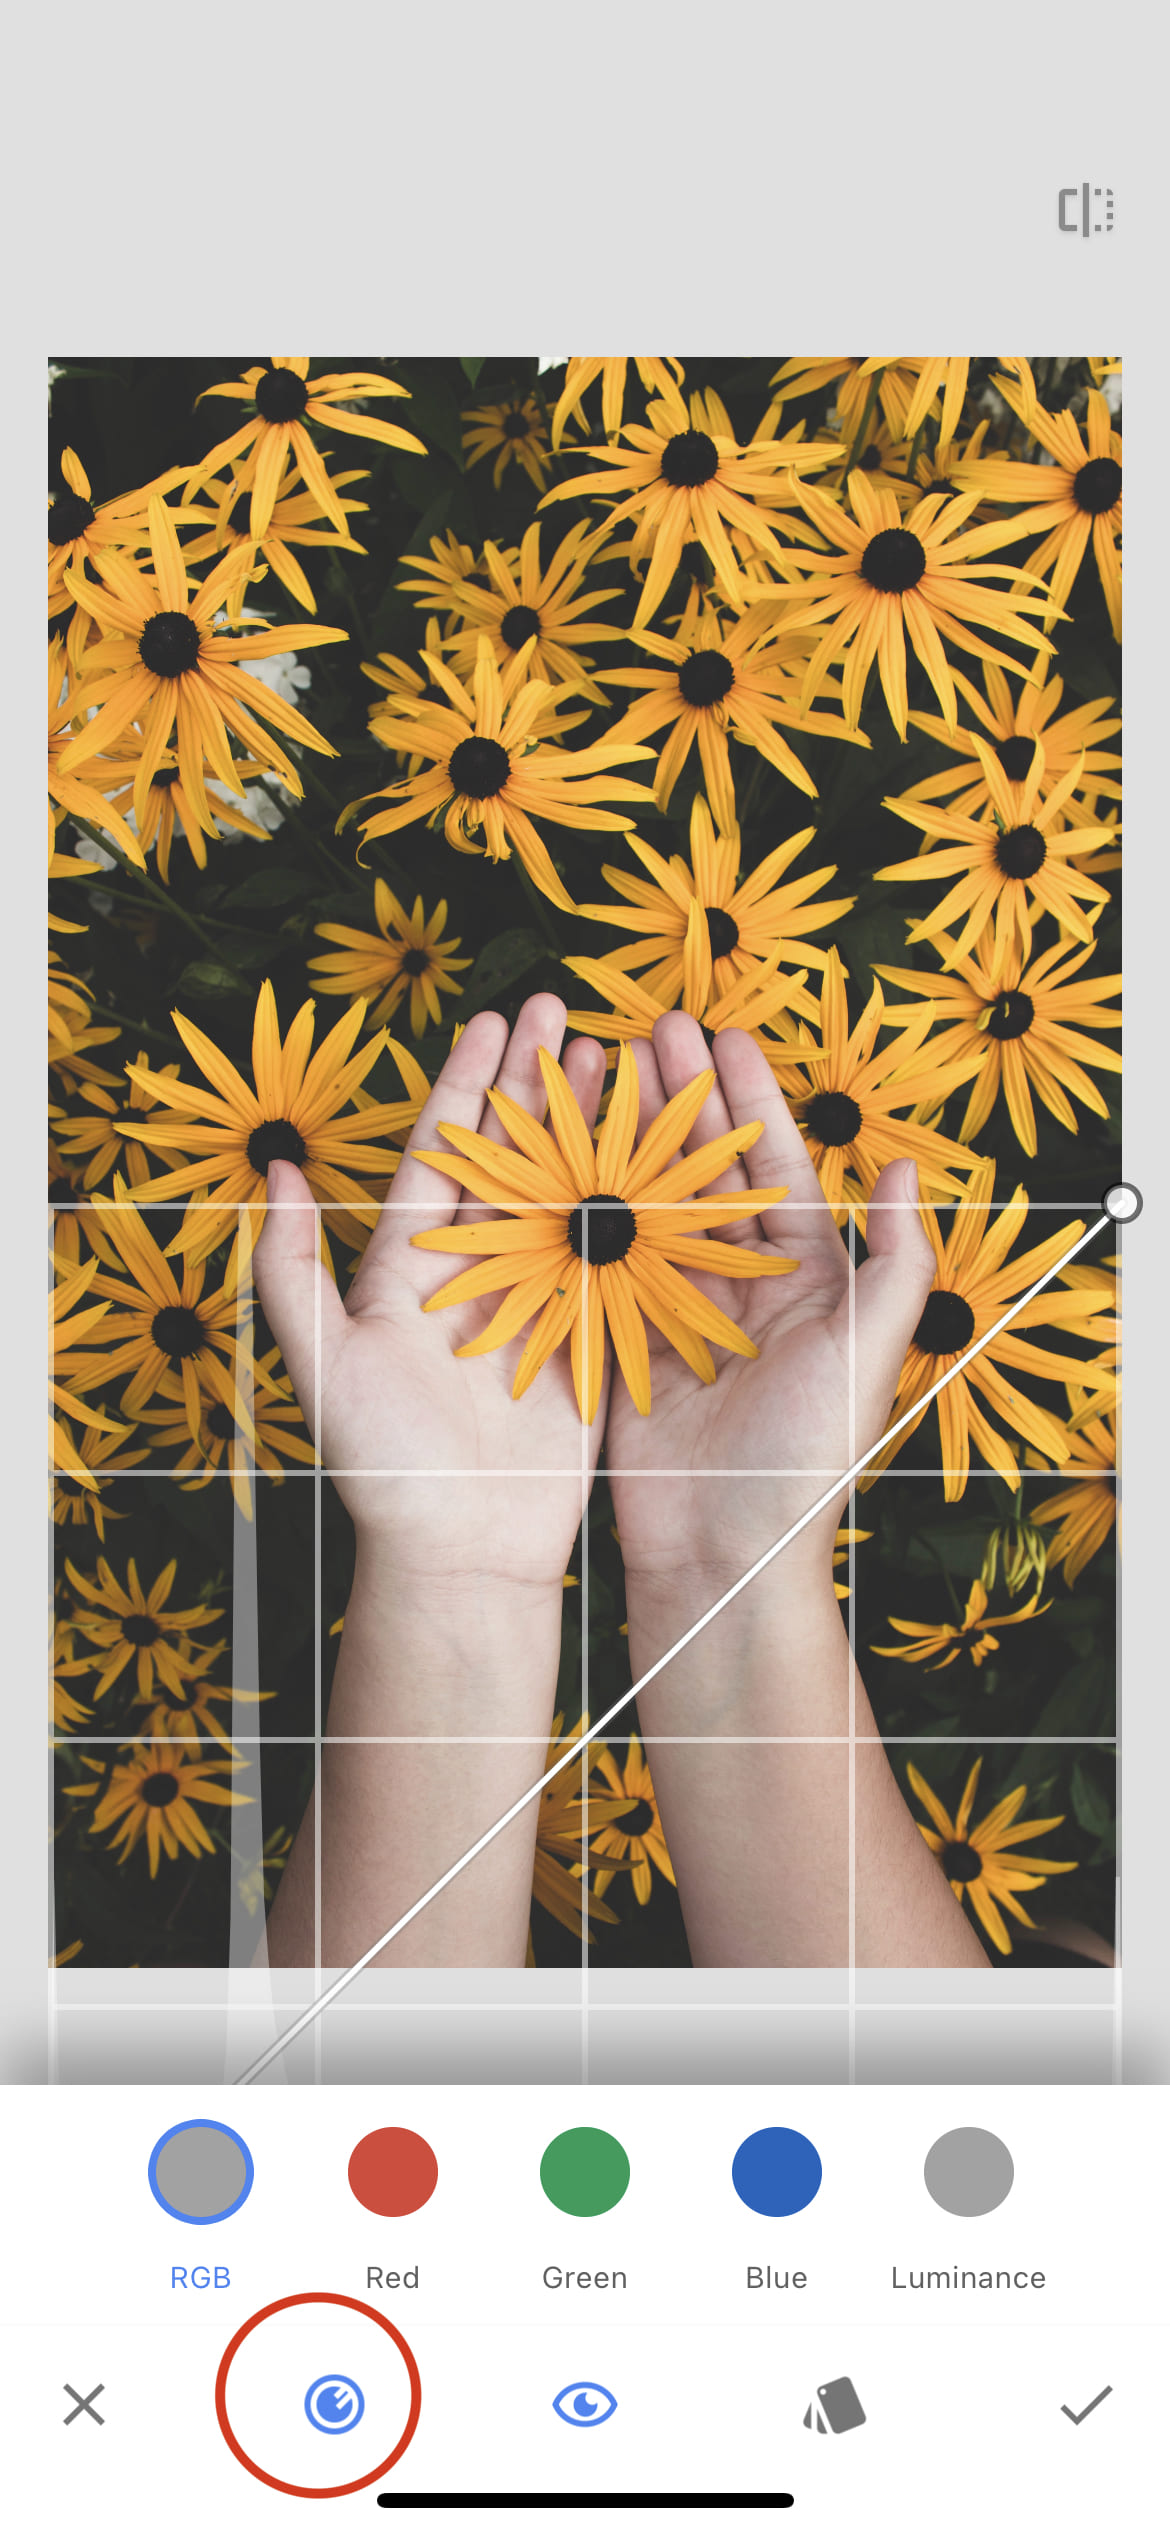
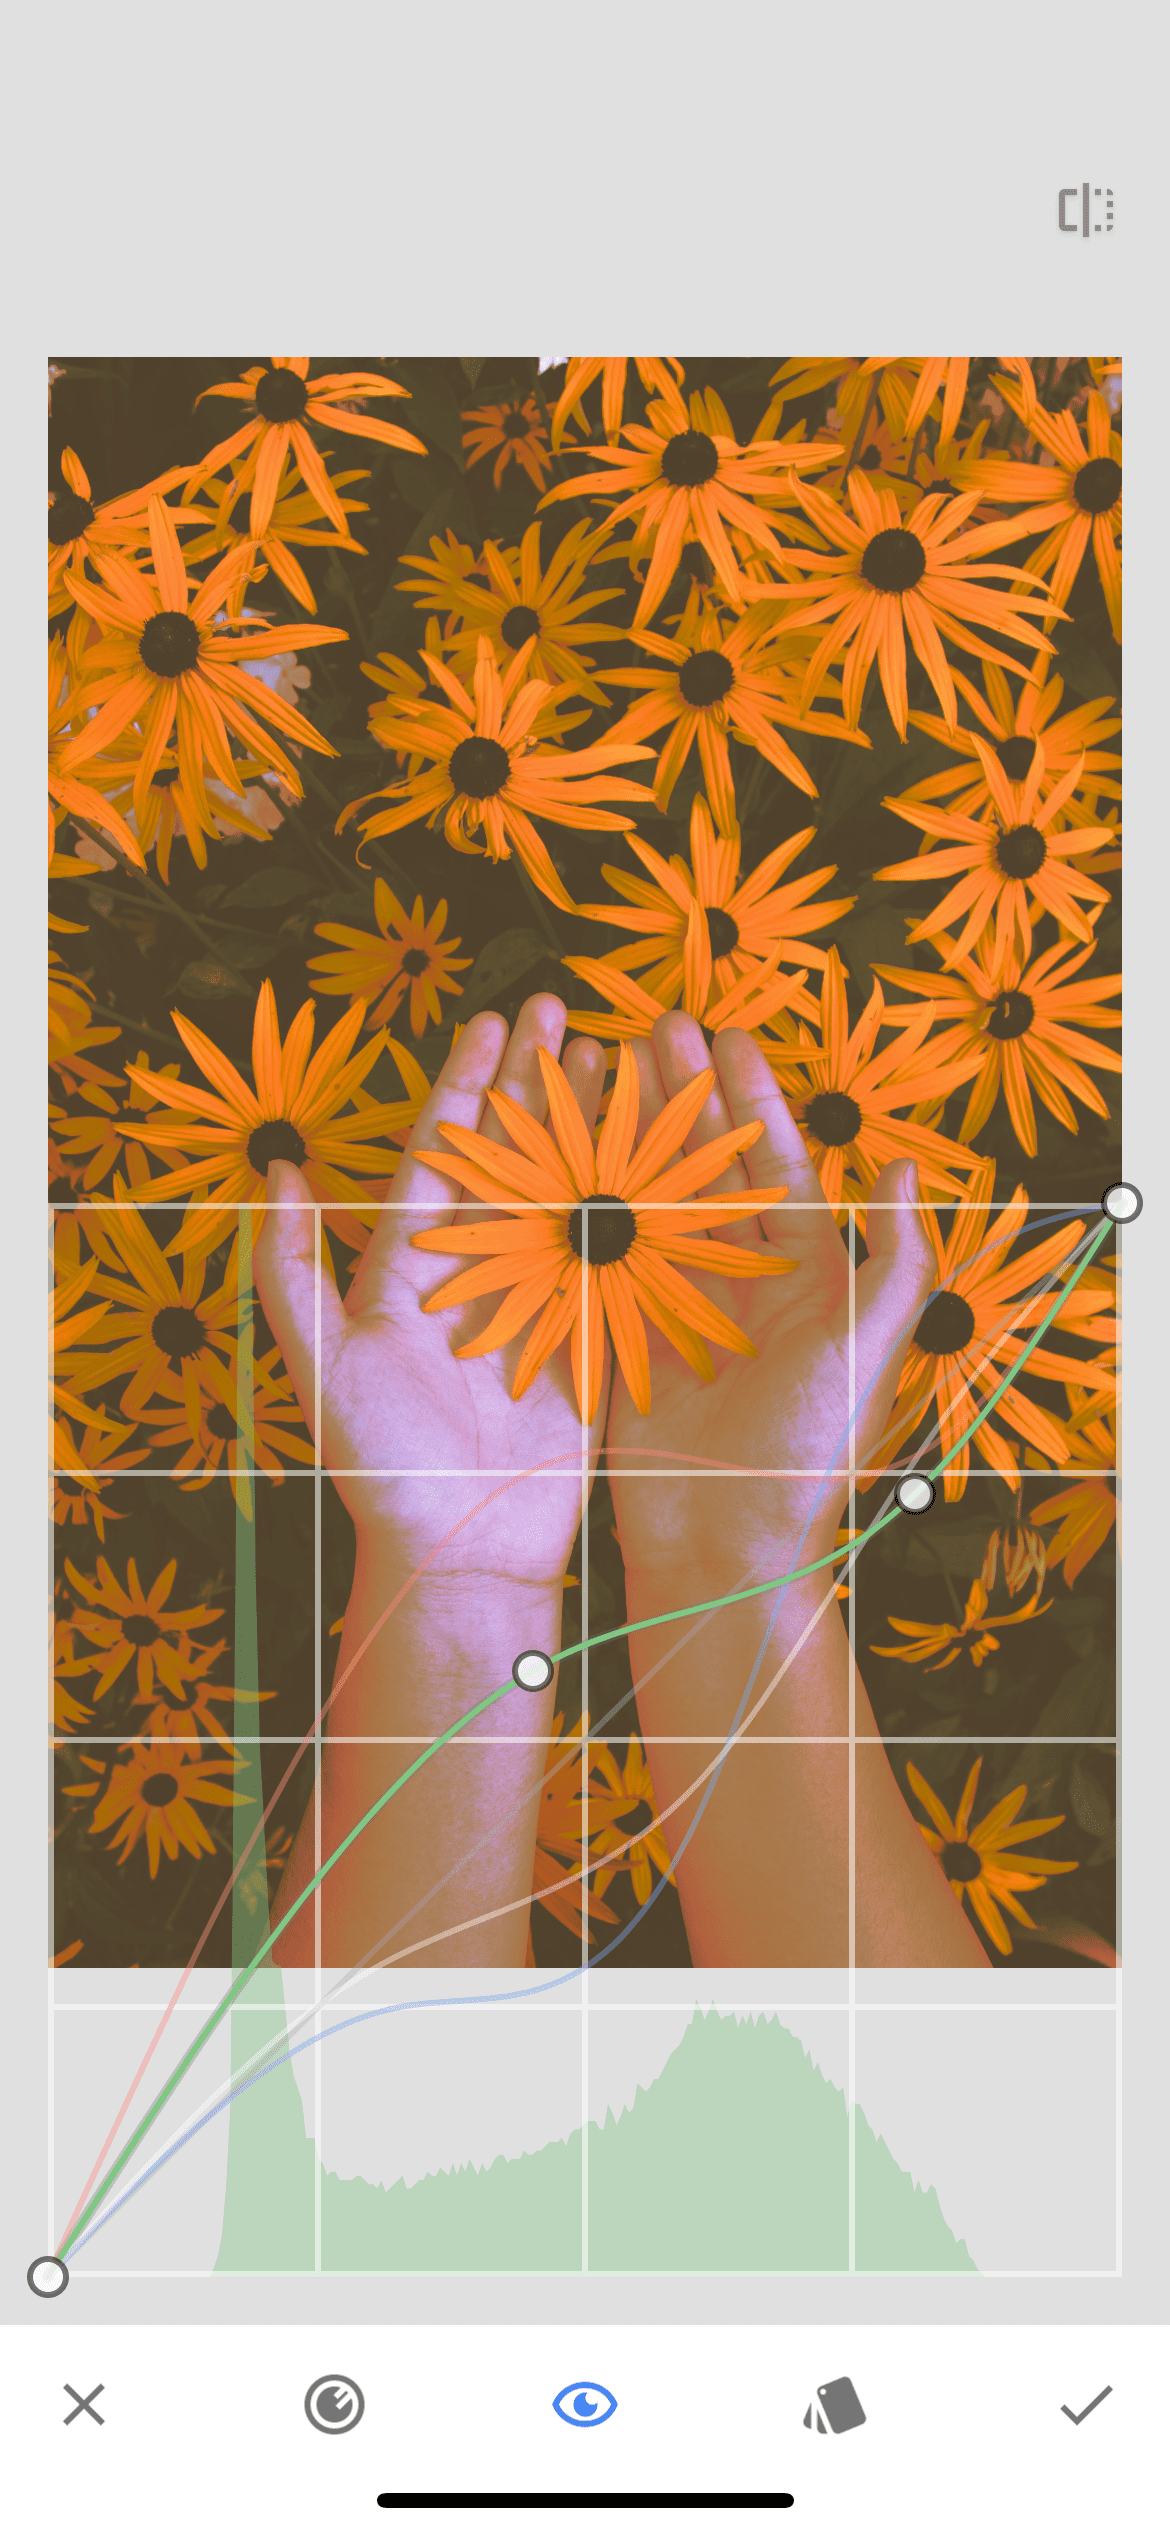
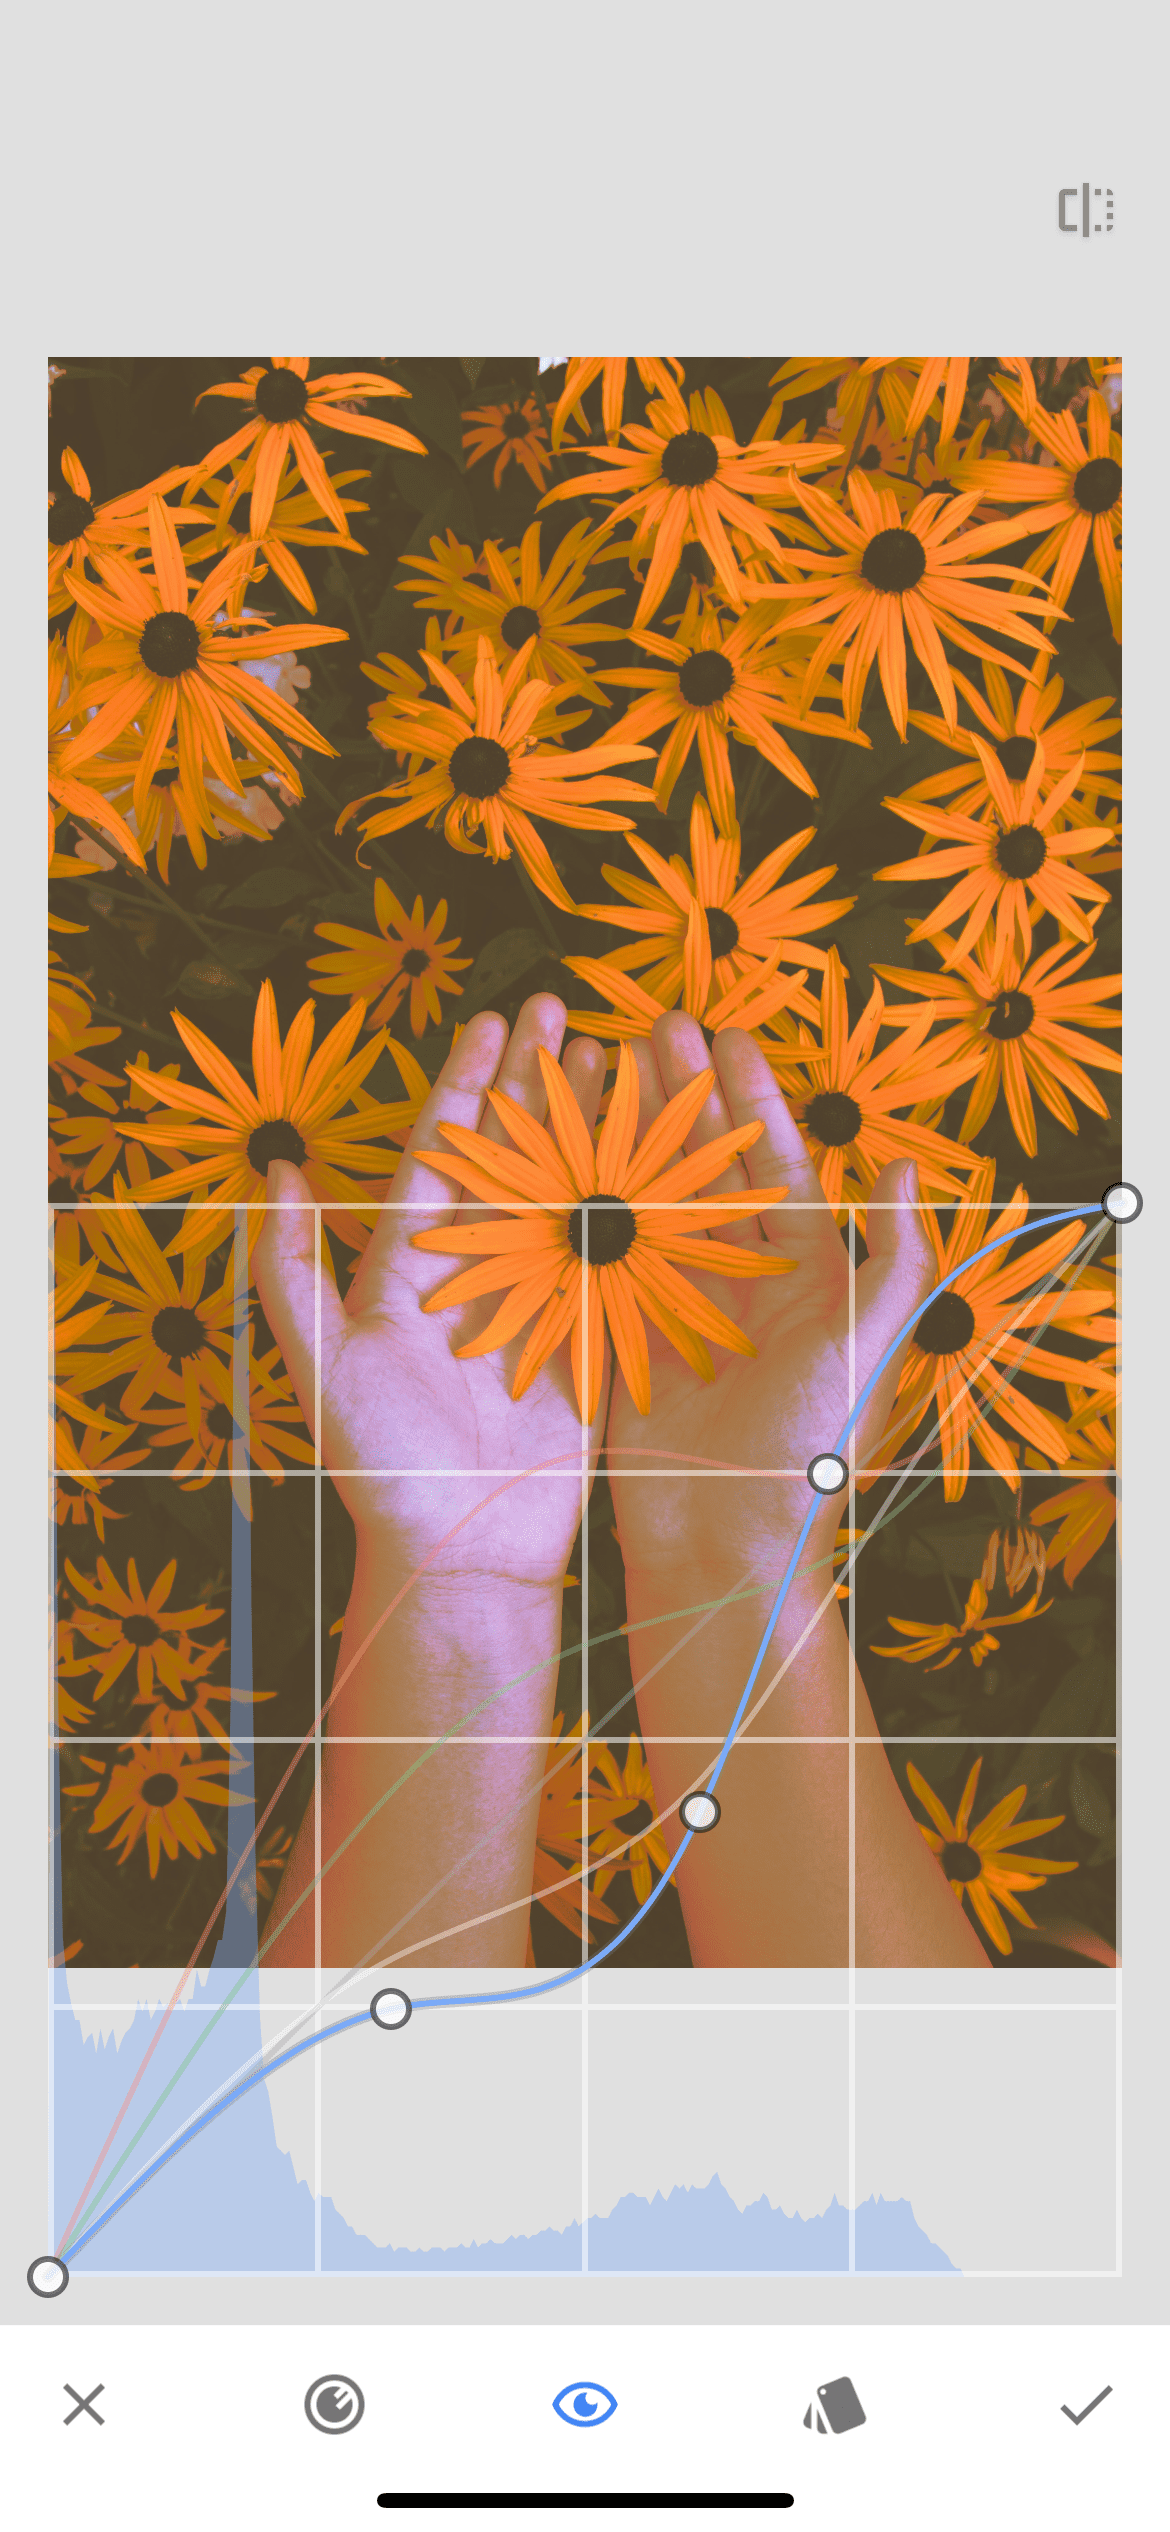
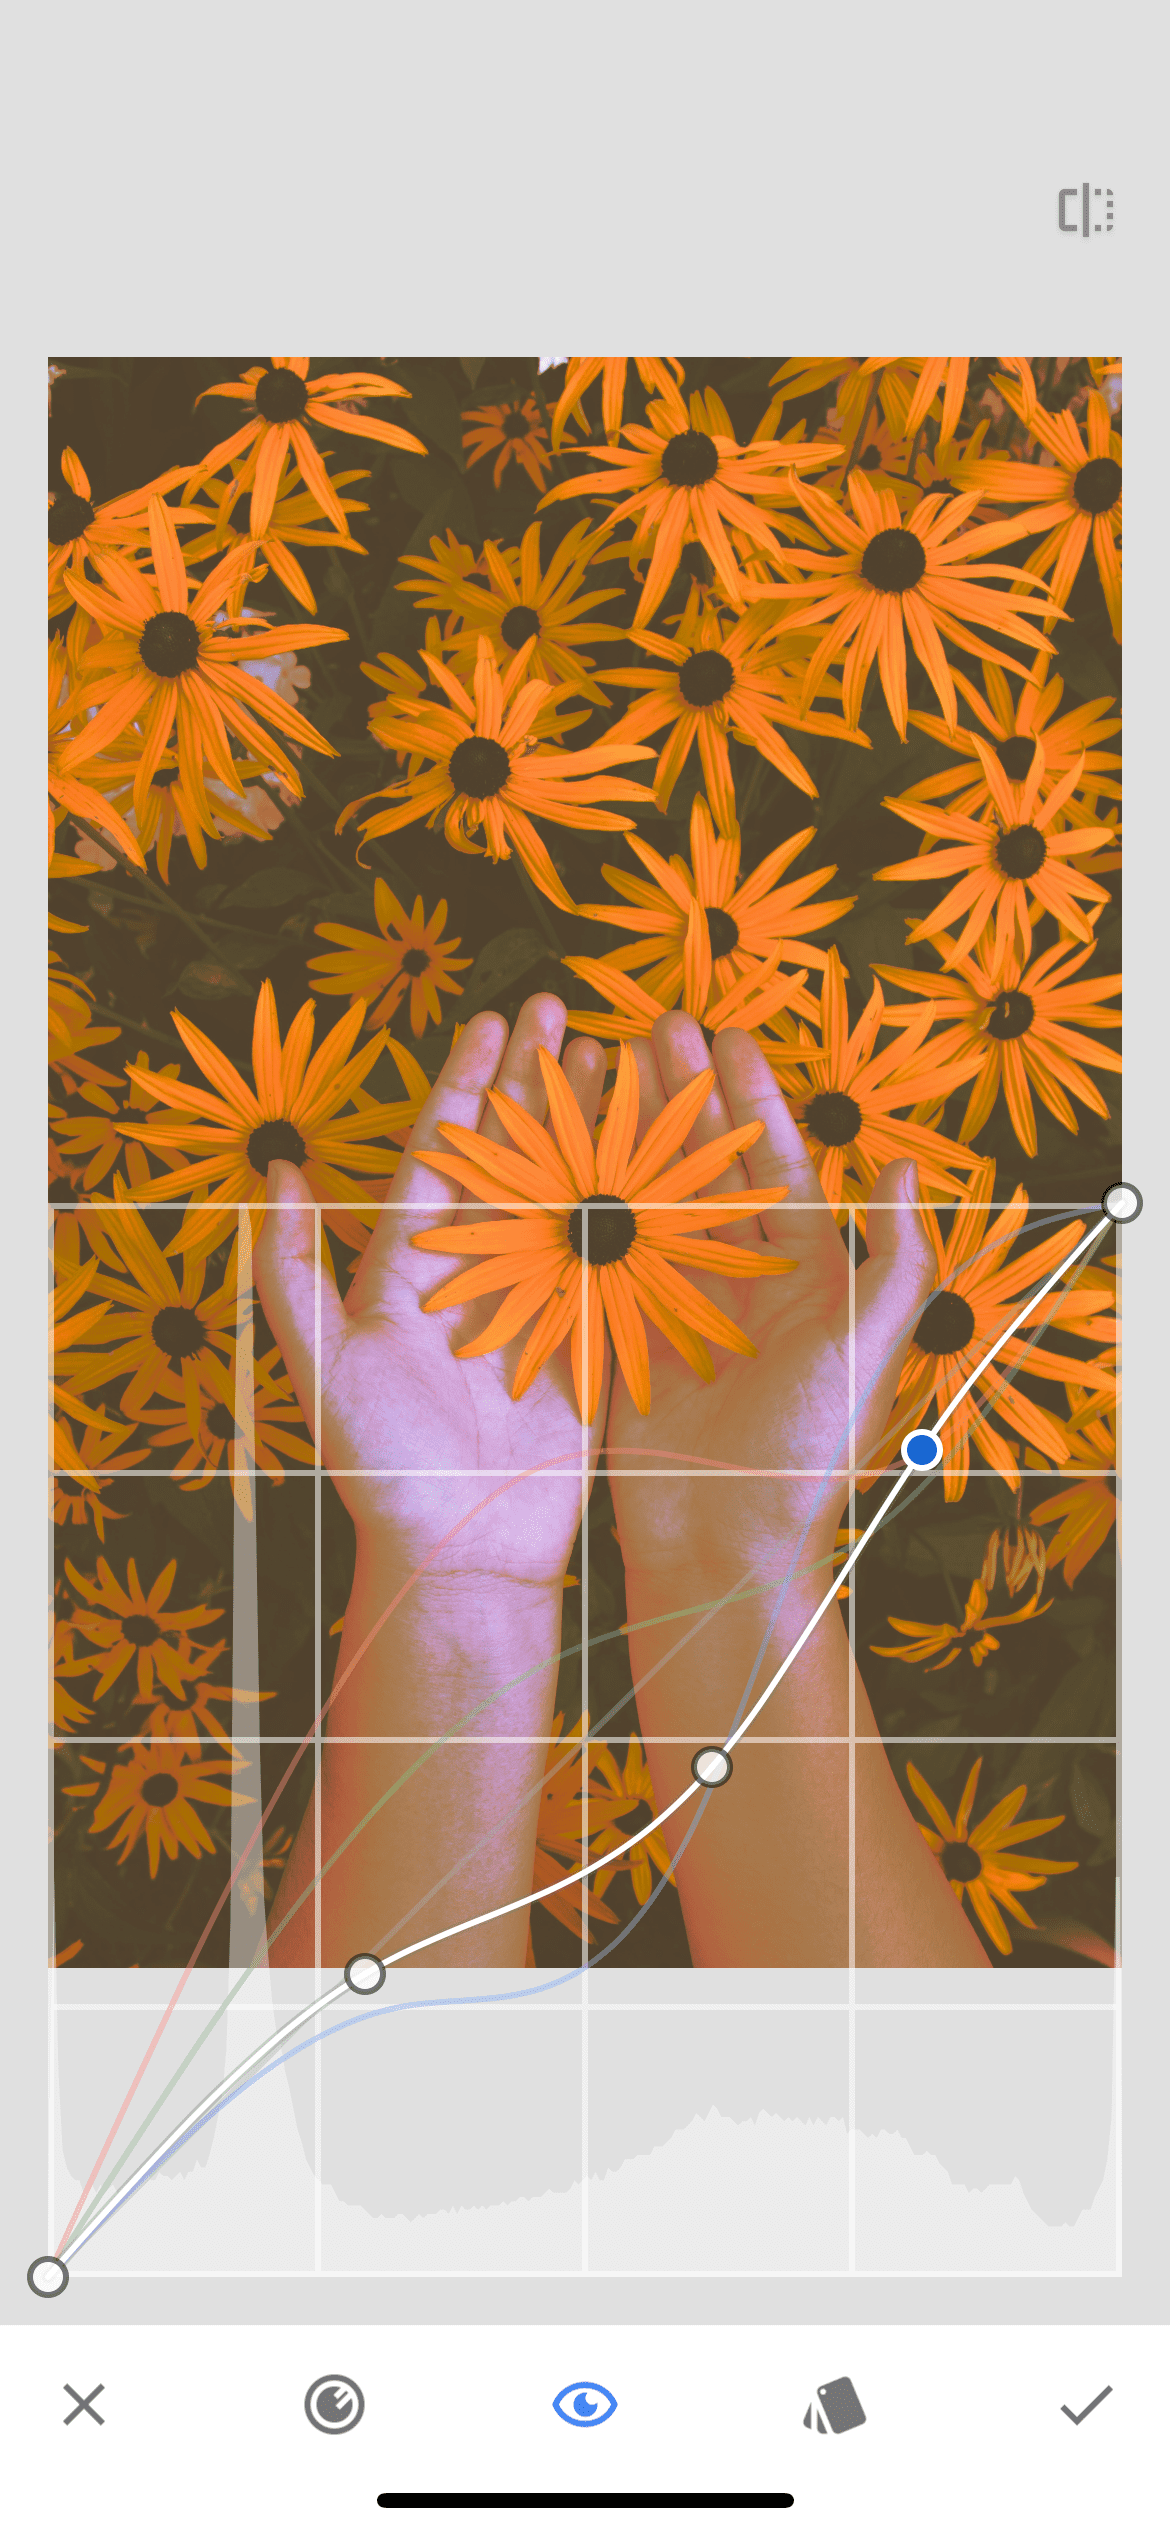
Here we need to play with the curves in each channel in turn. You can move them the way you want in each color. We recommend changing the RGB channel last.
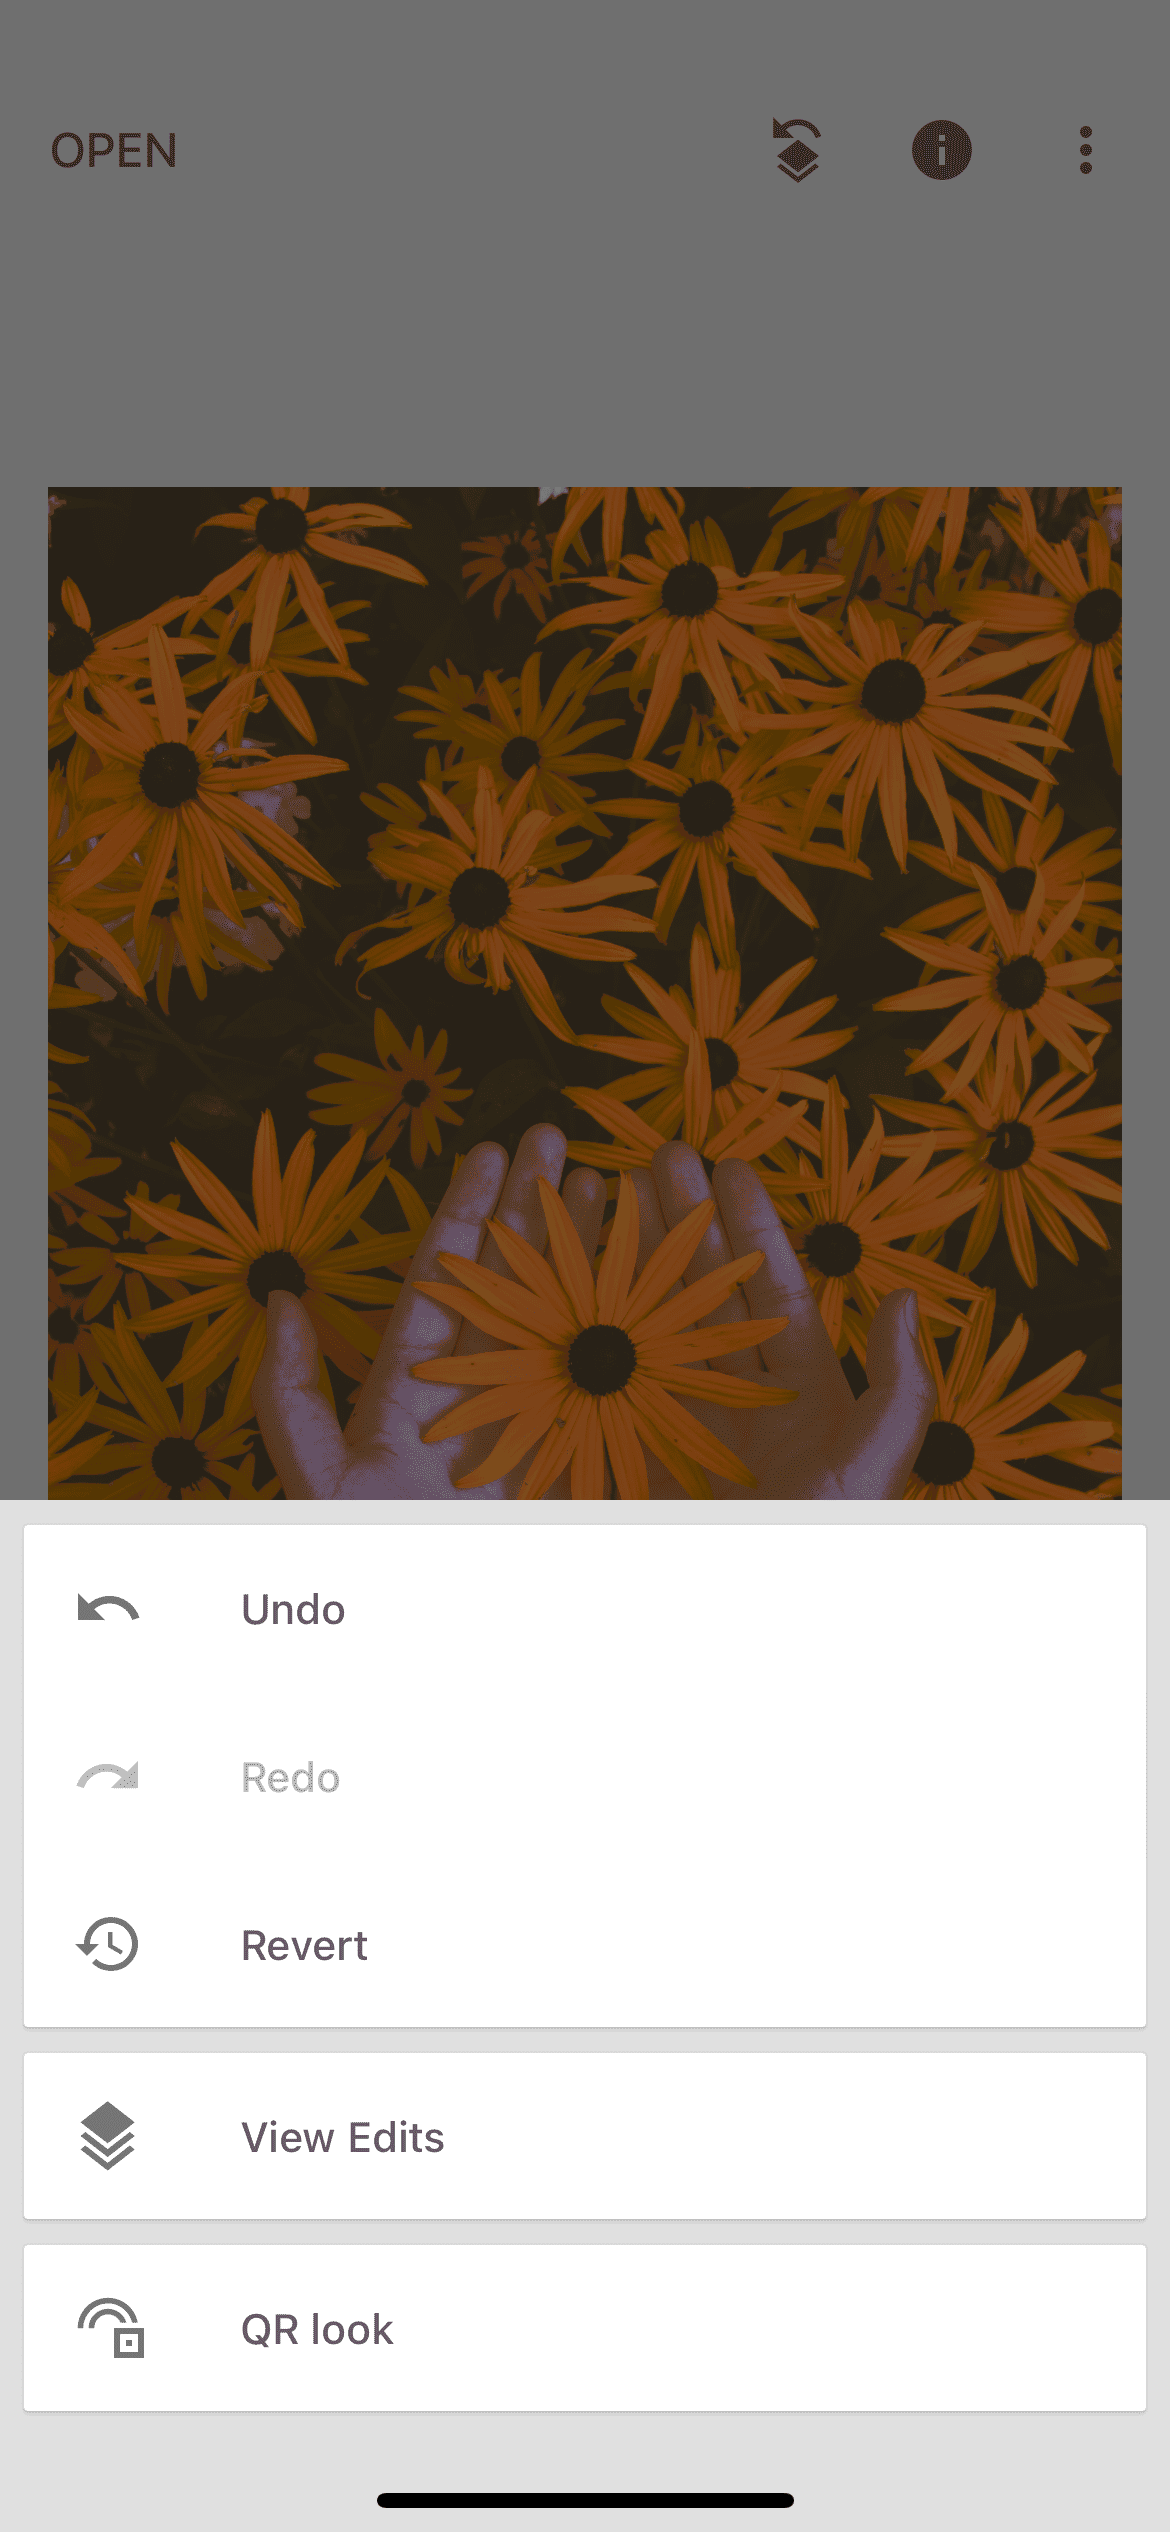
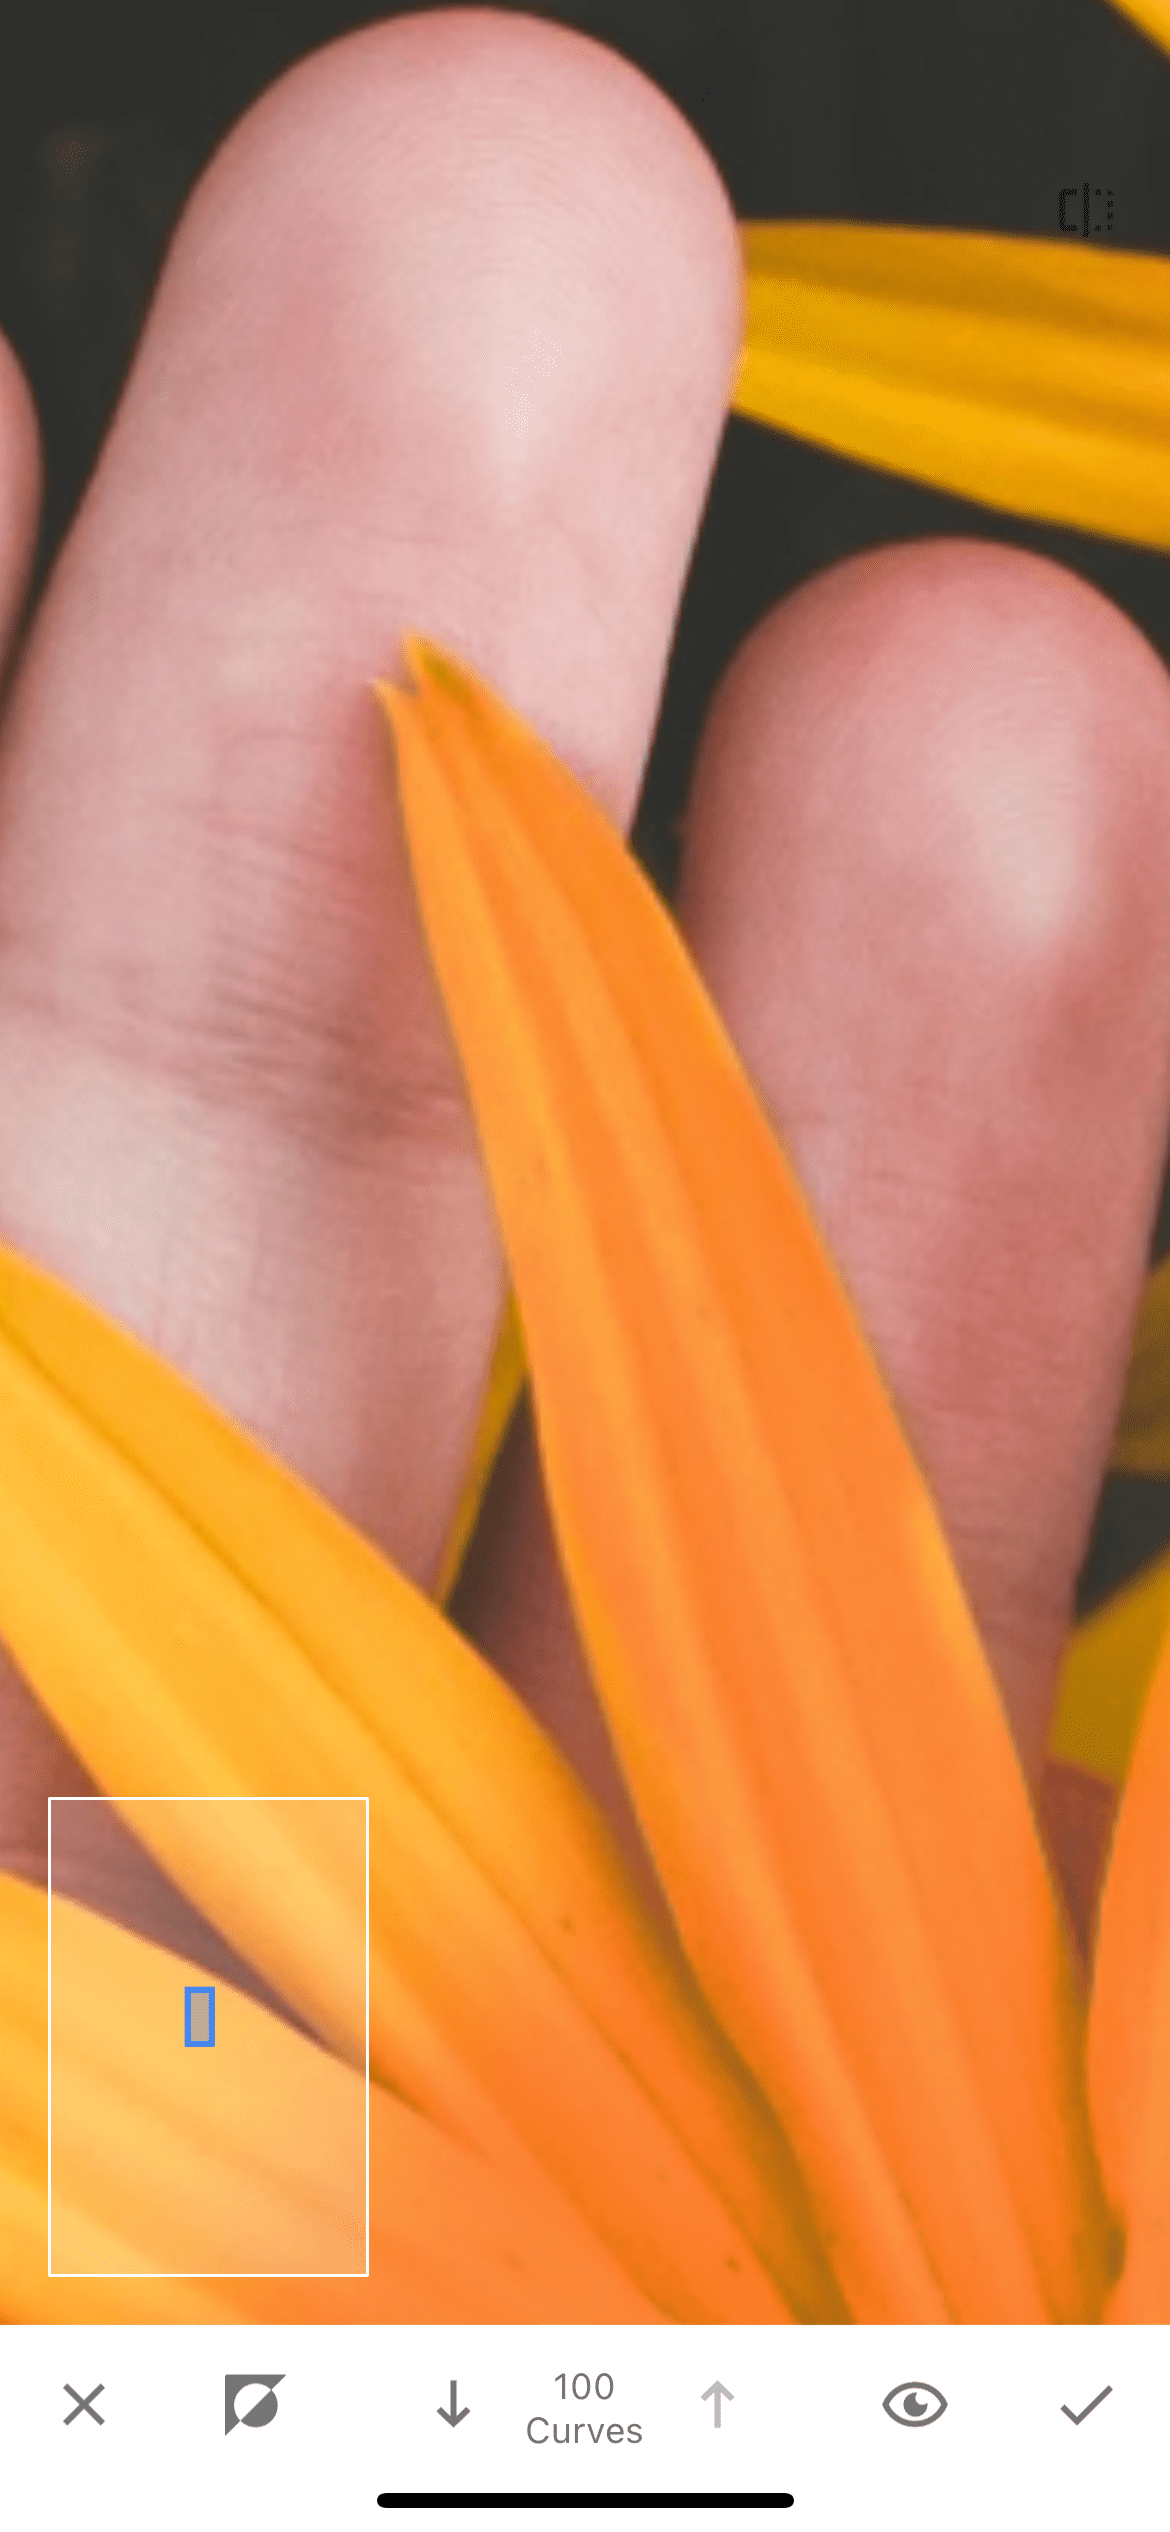
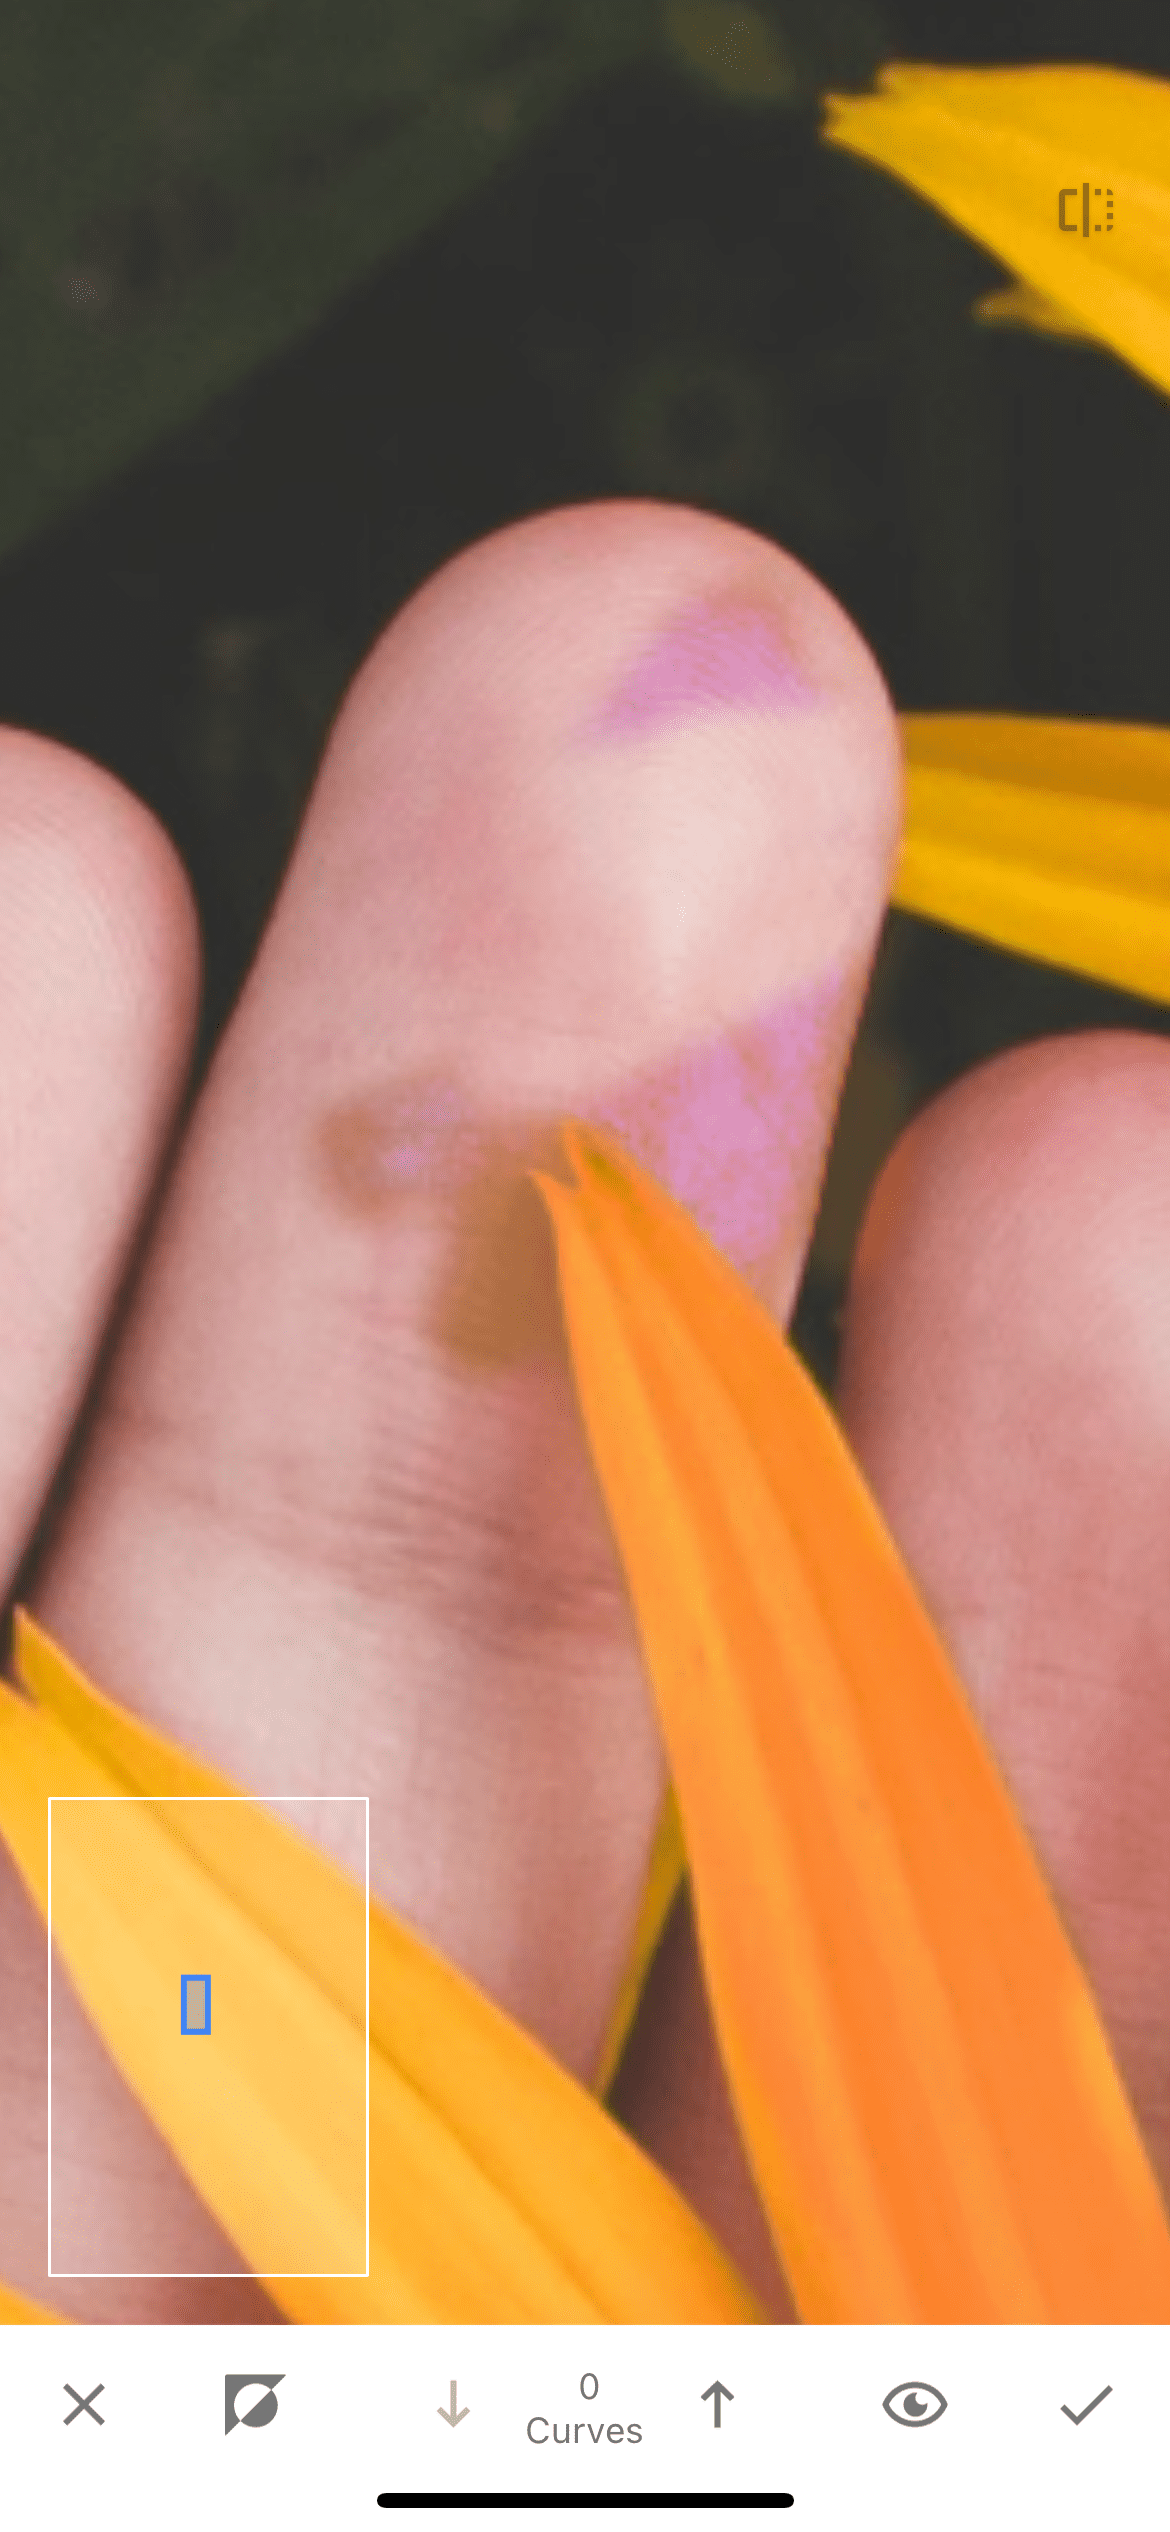
Next, we find the layers section and go to it. Then select "view changes" and click on the brush icon in the curves.
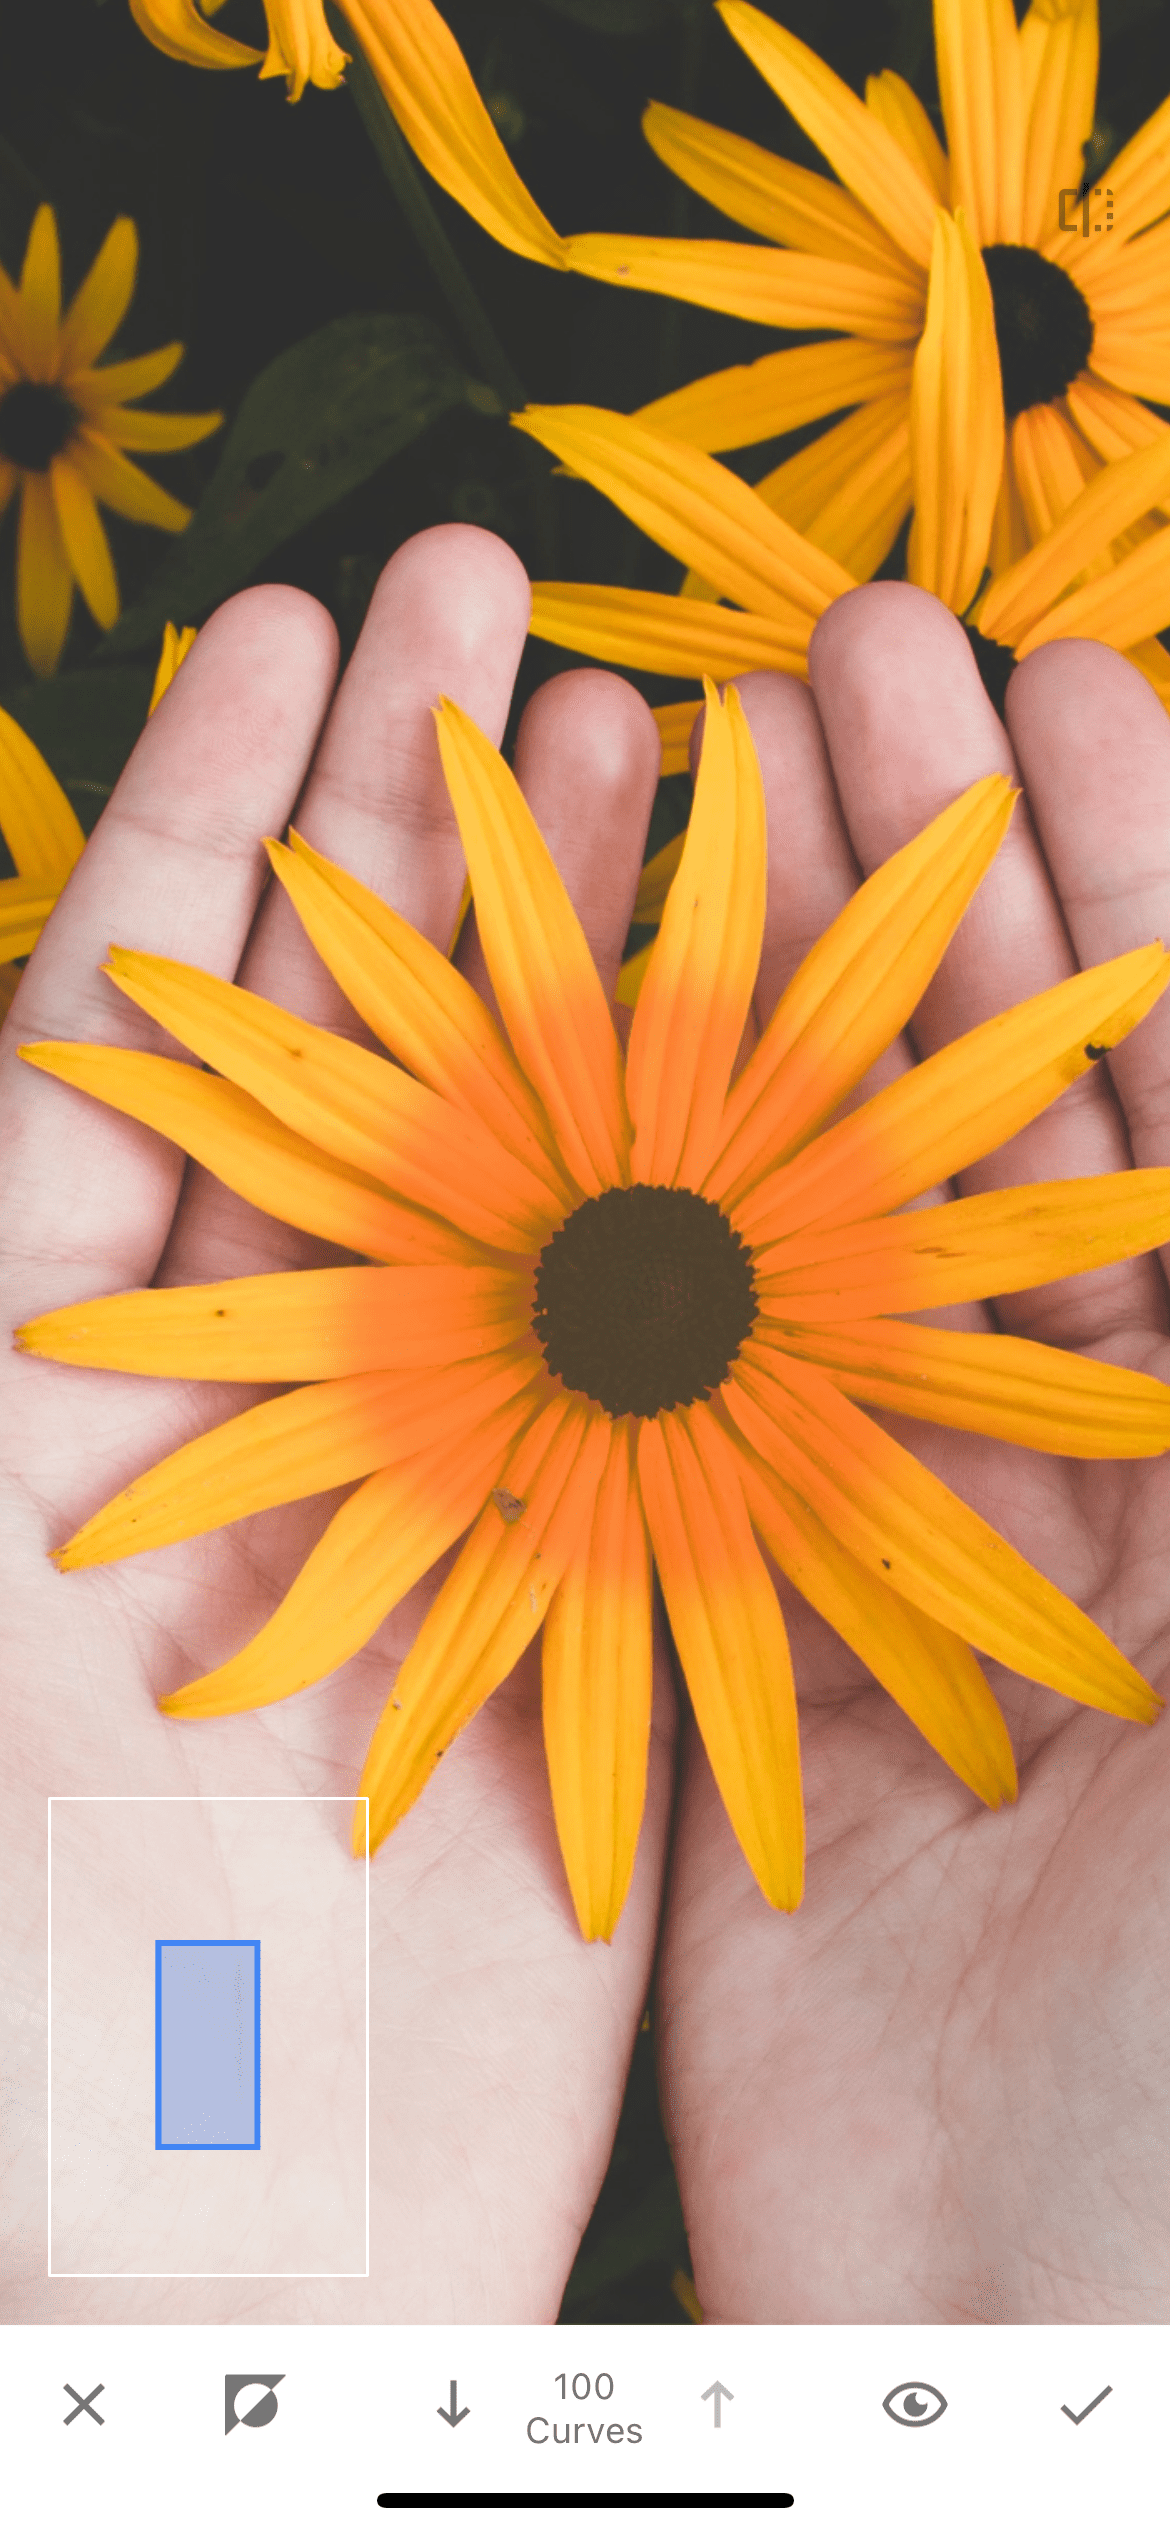
We don't need a mask here. With a brush with a value of 100, we begin to draw our subject. First, you can make a few large strokes from afar, and then zoom in on the photo and work on the details. If you have gone over the edge, then simply lower the brush value to 0 and remove unnecessary elements.
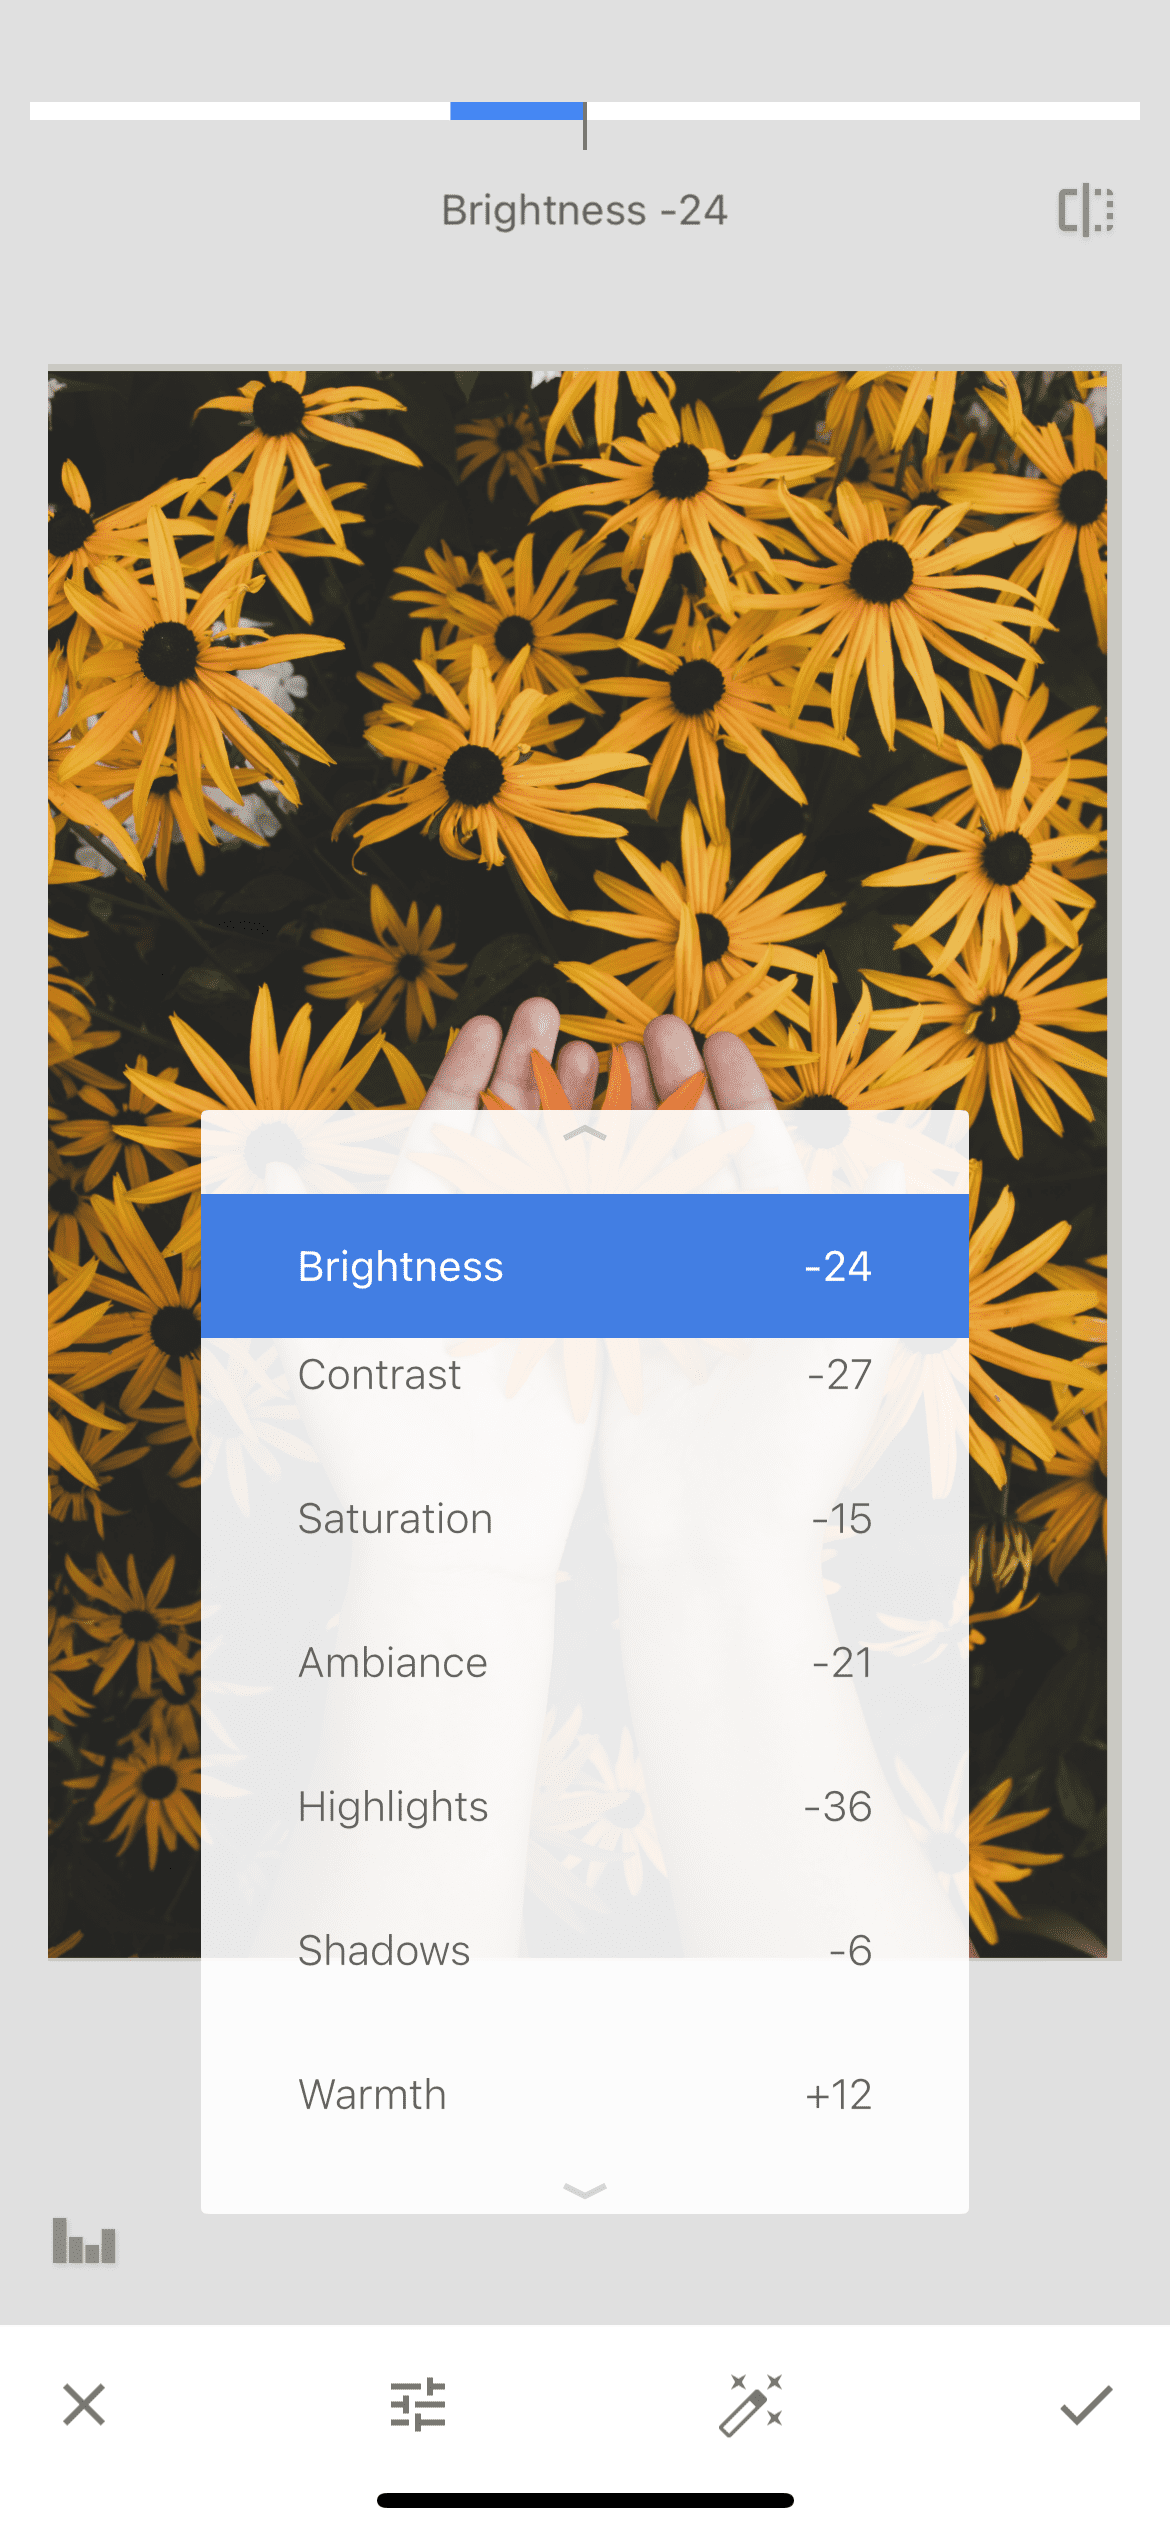
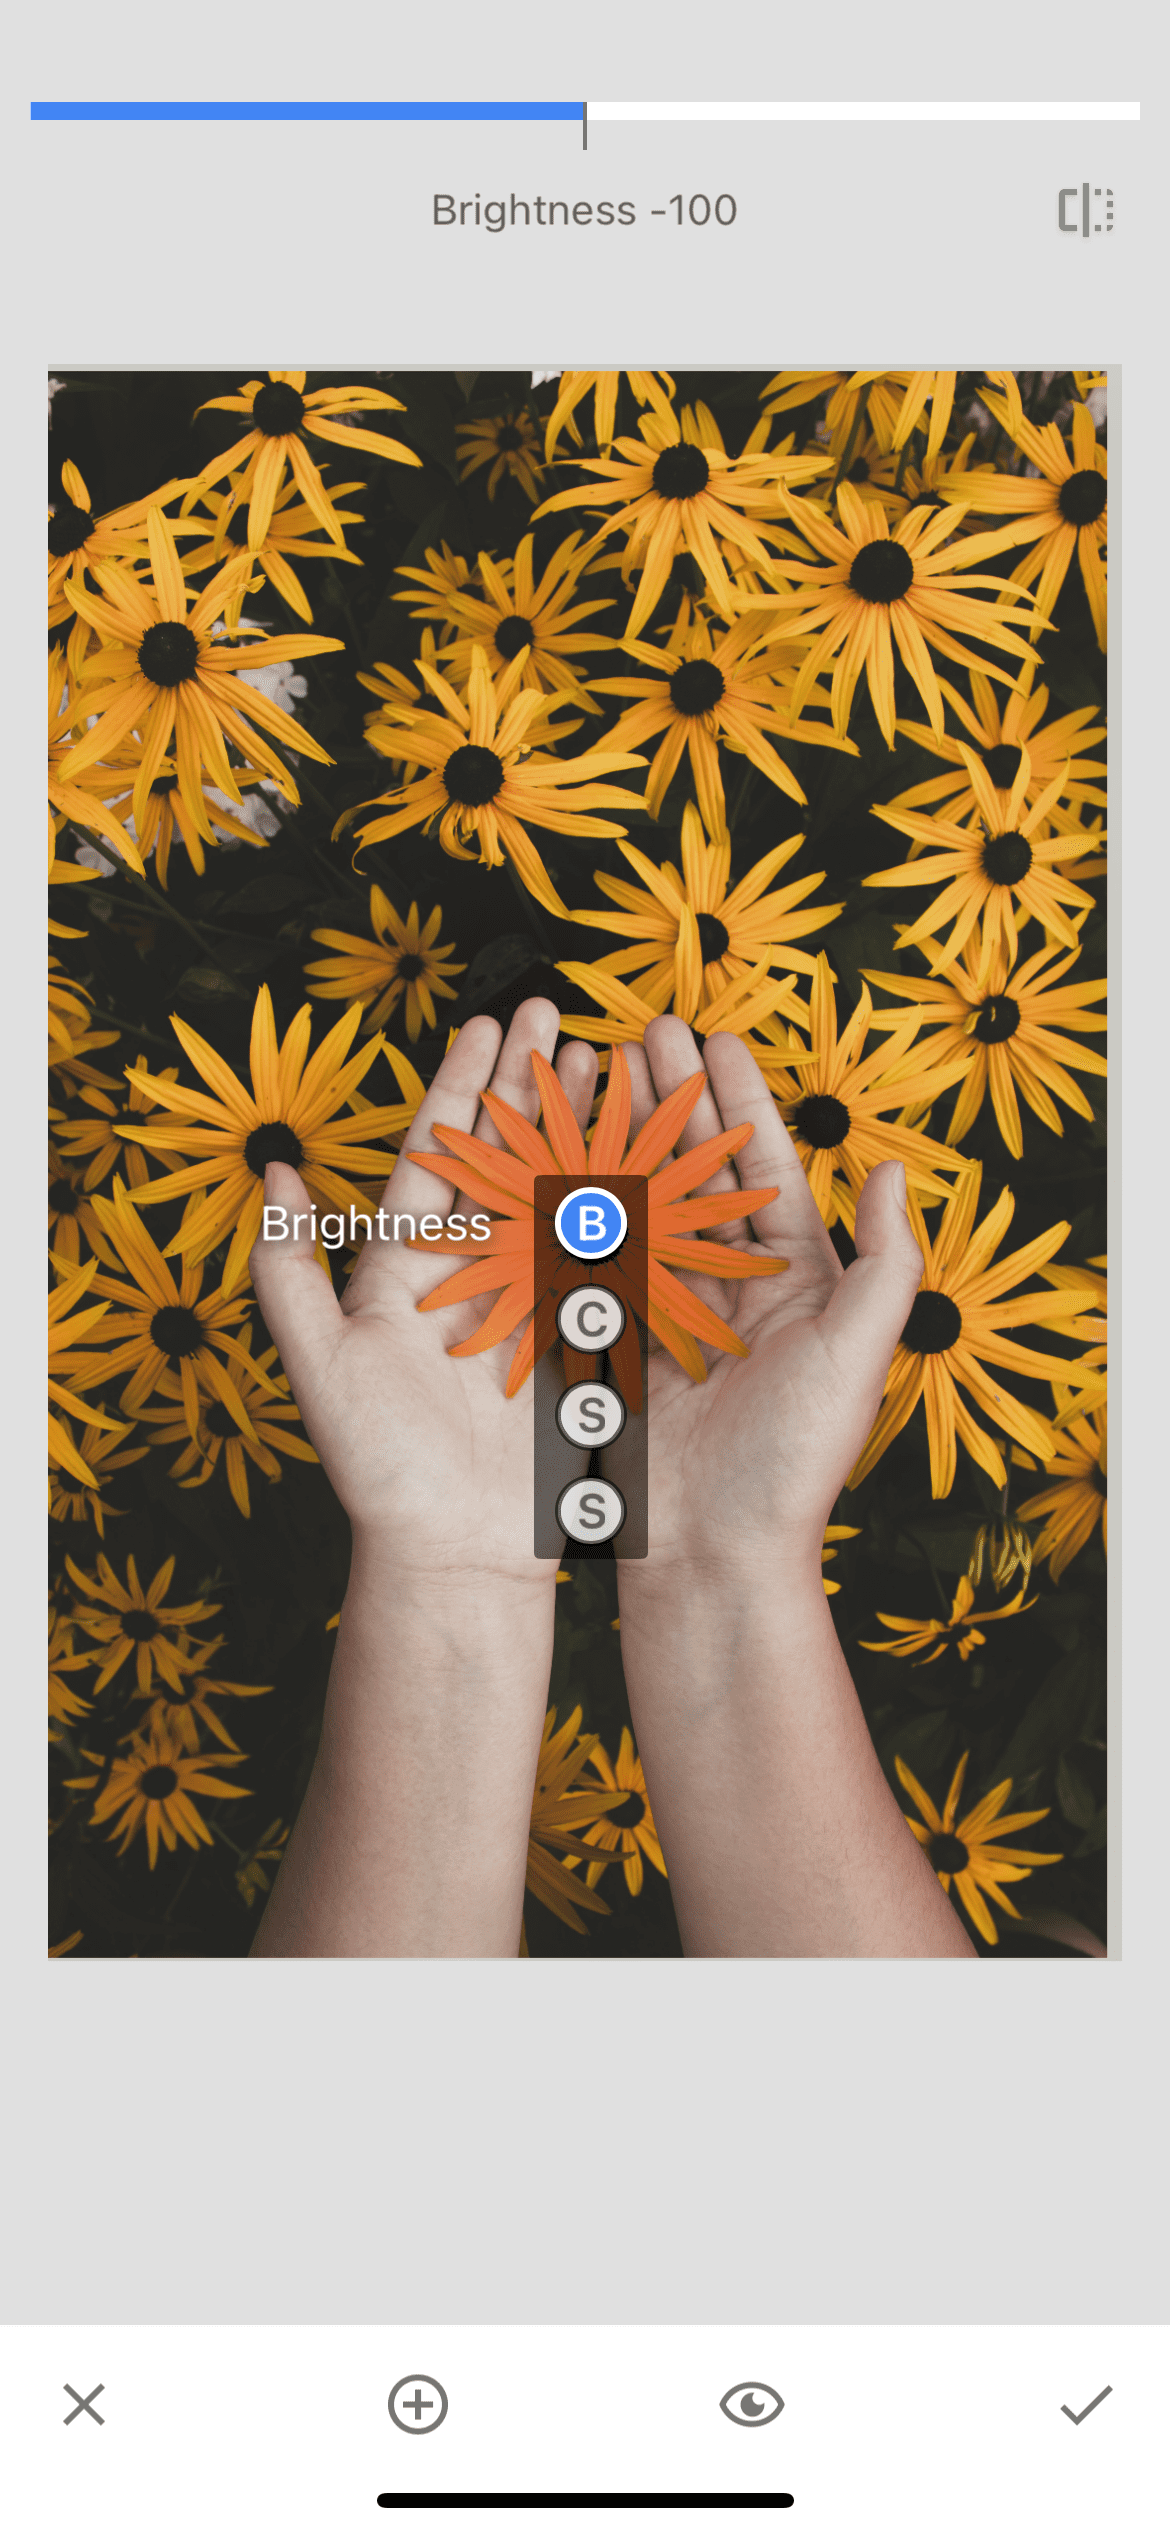
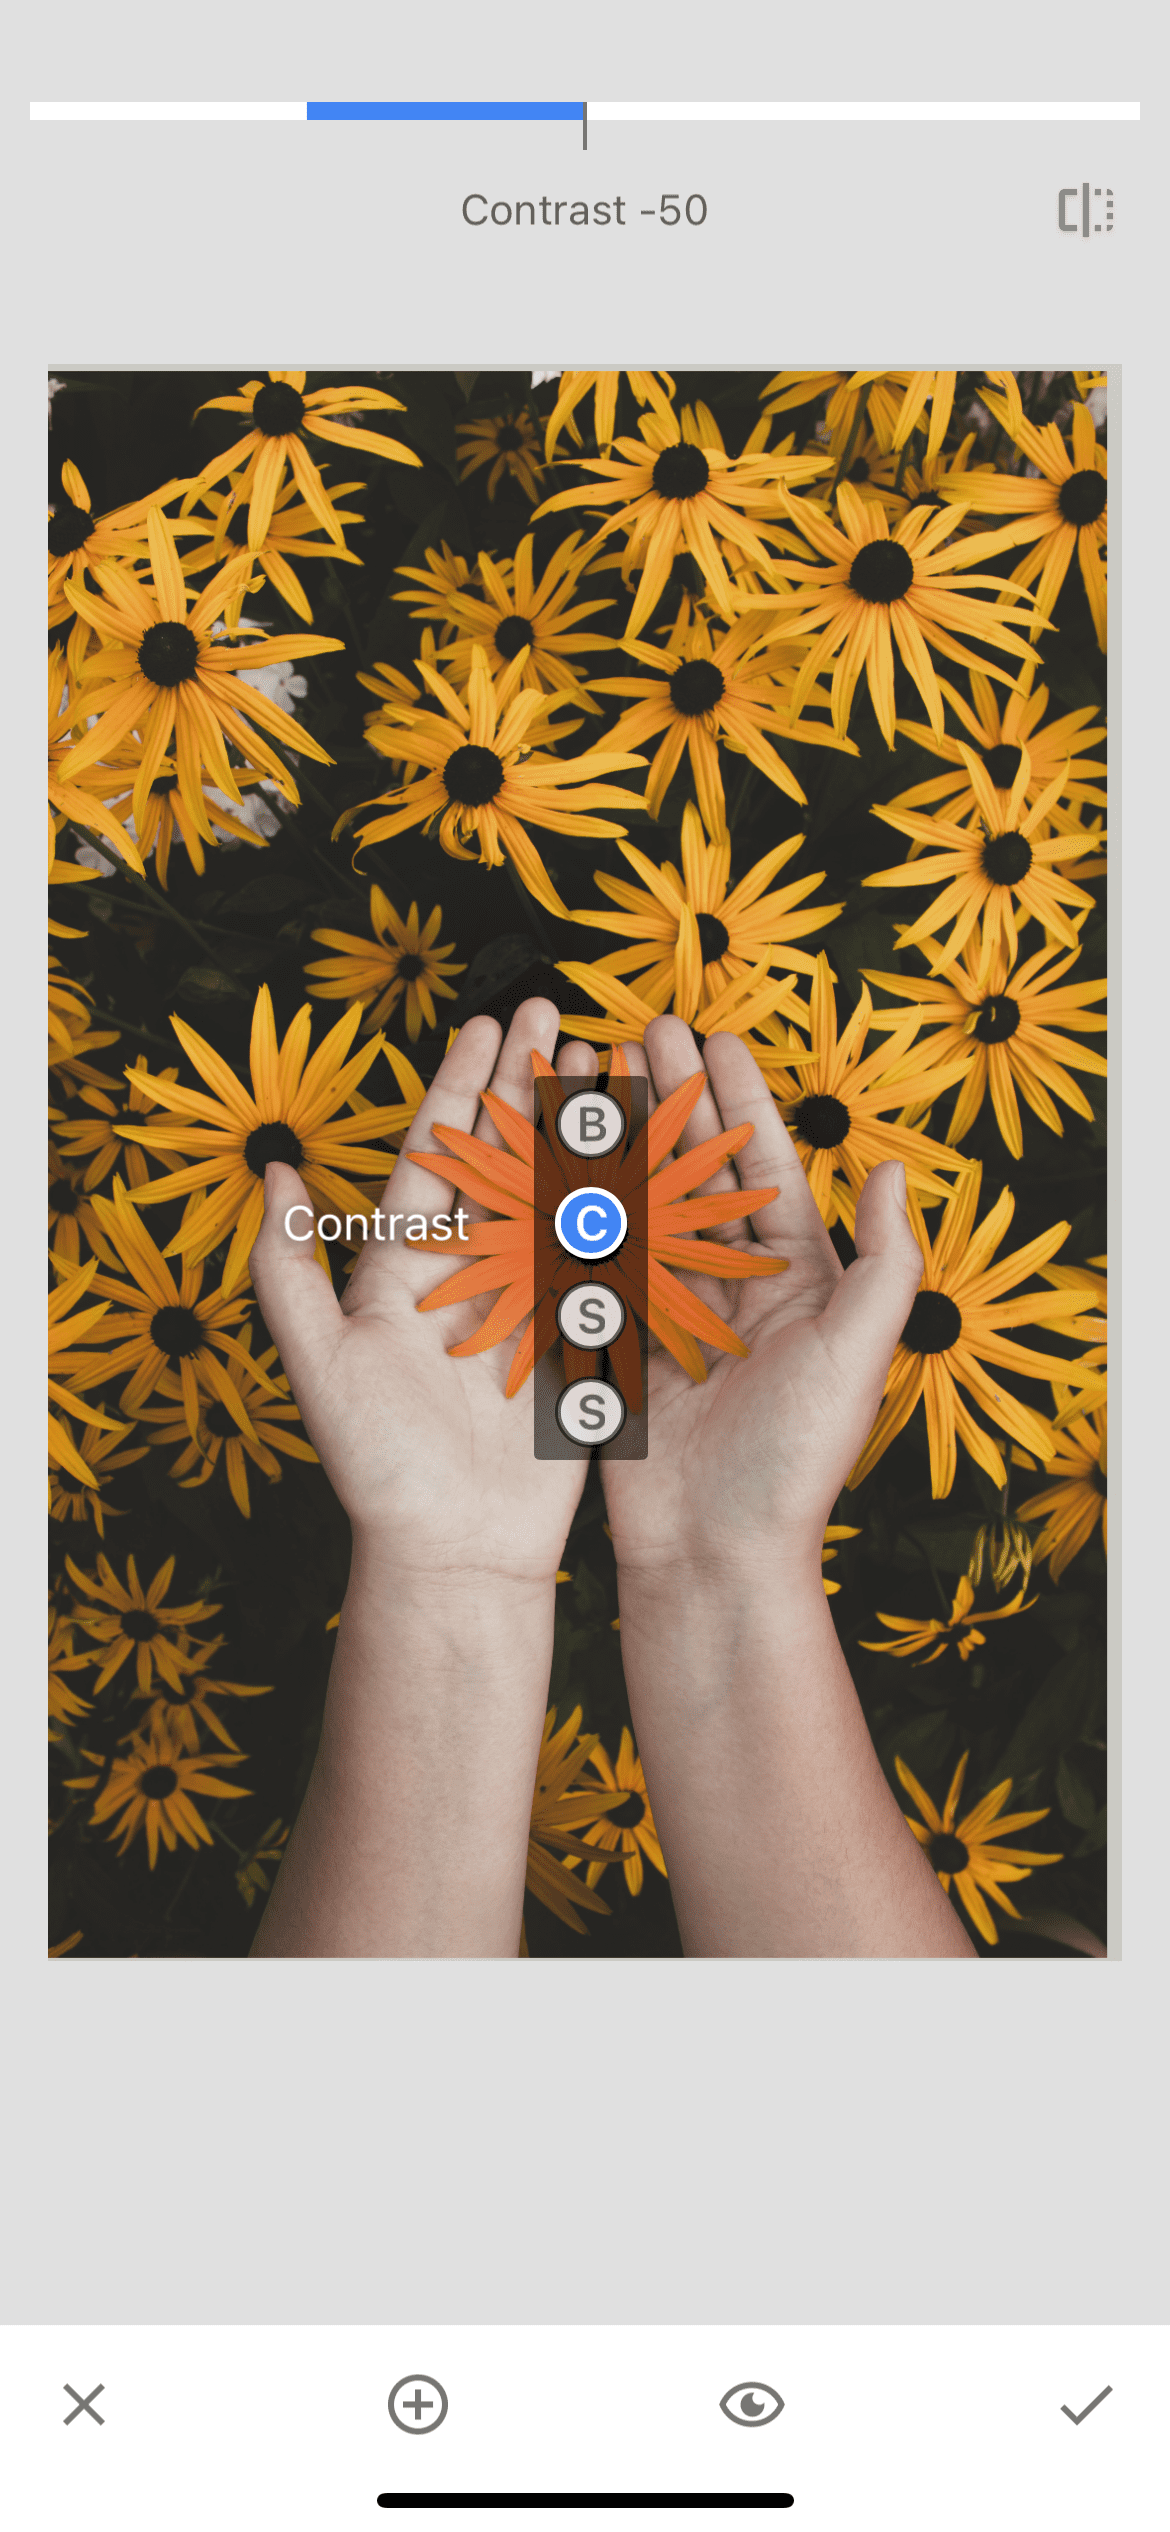
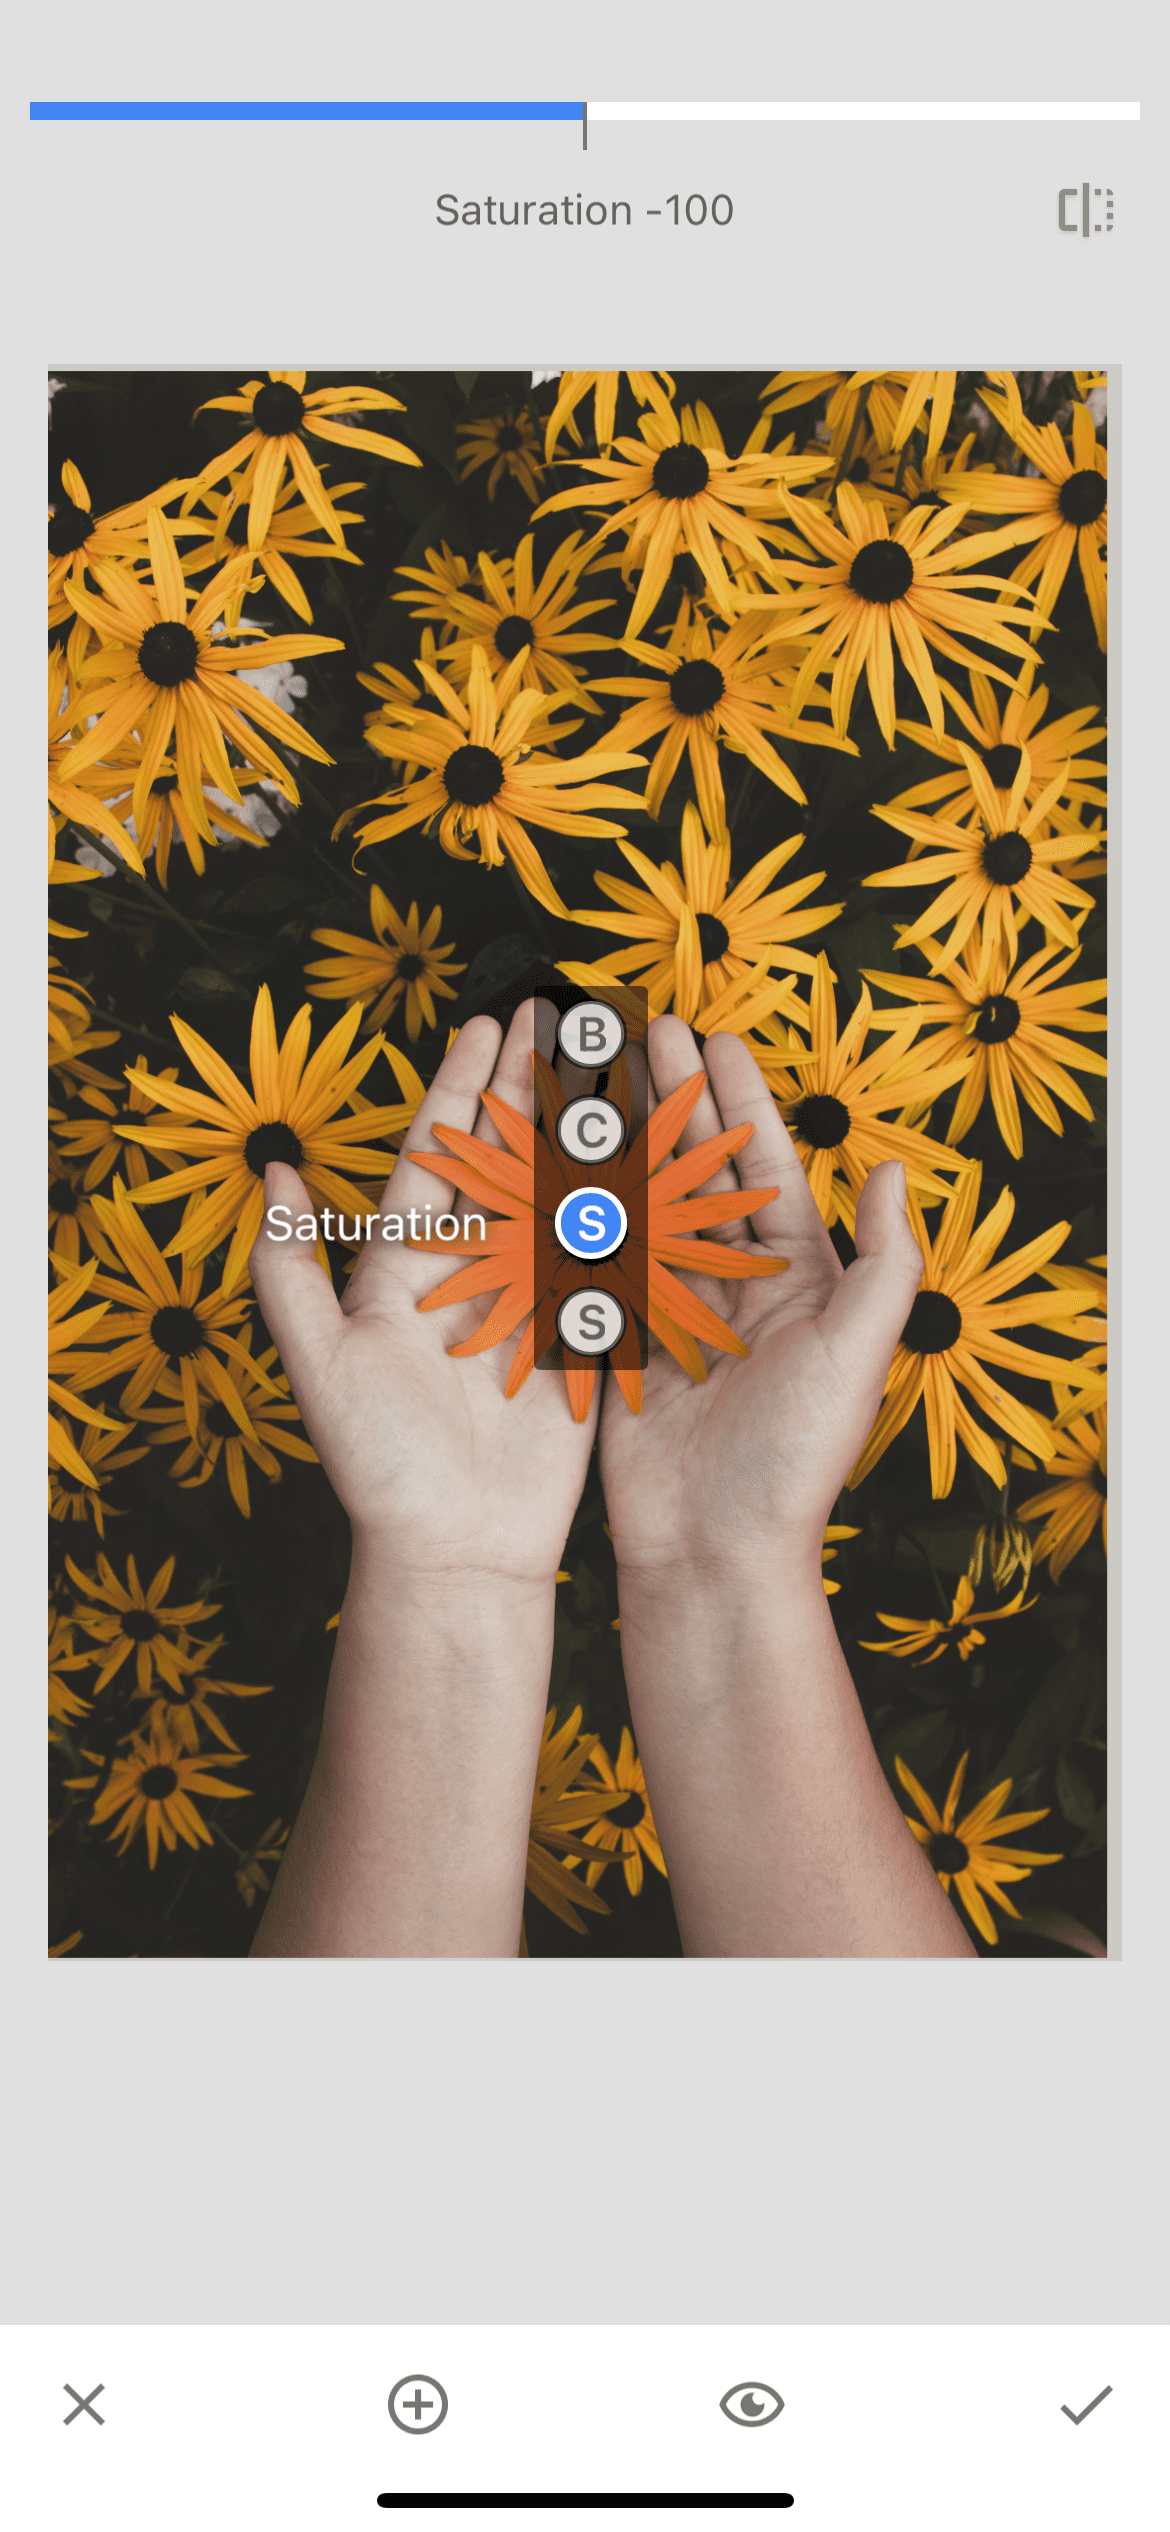
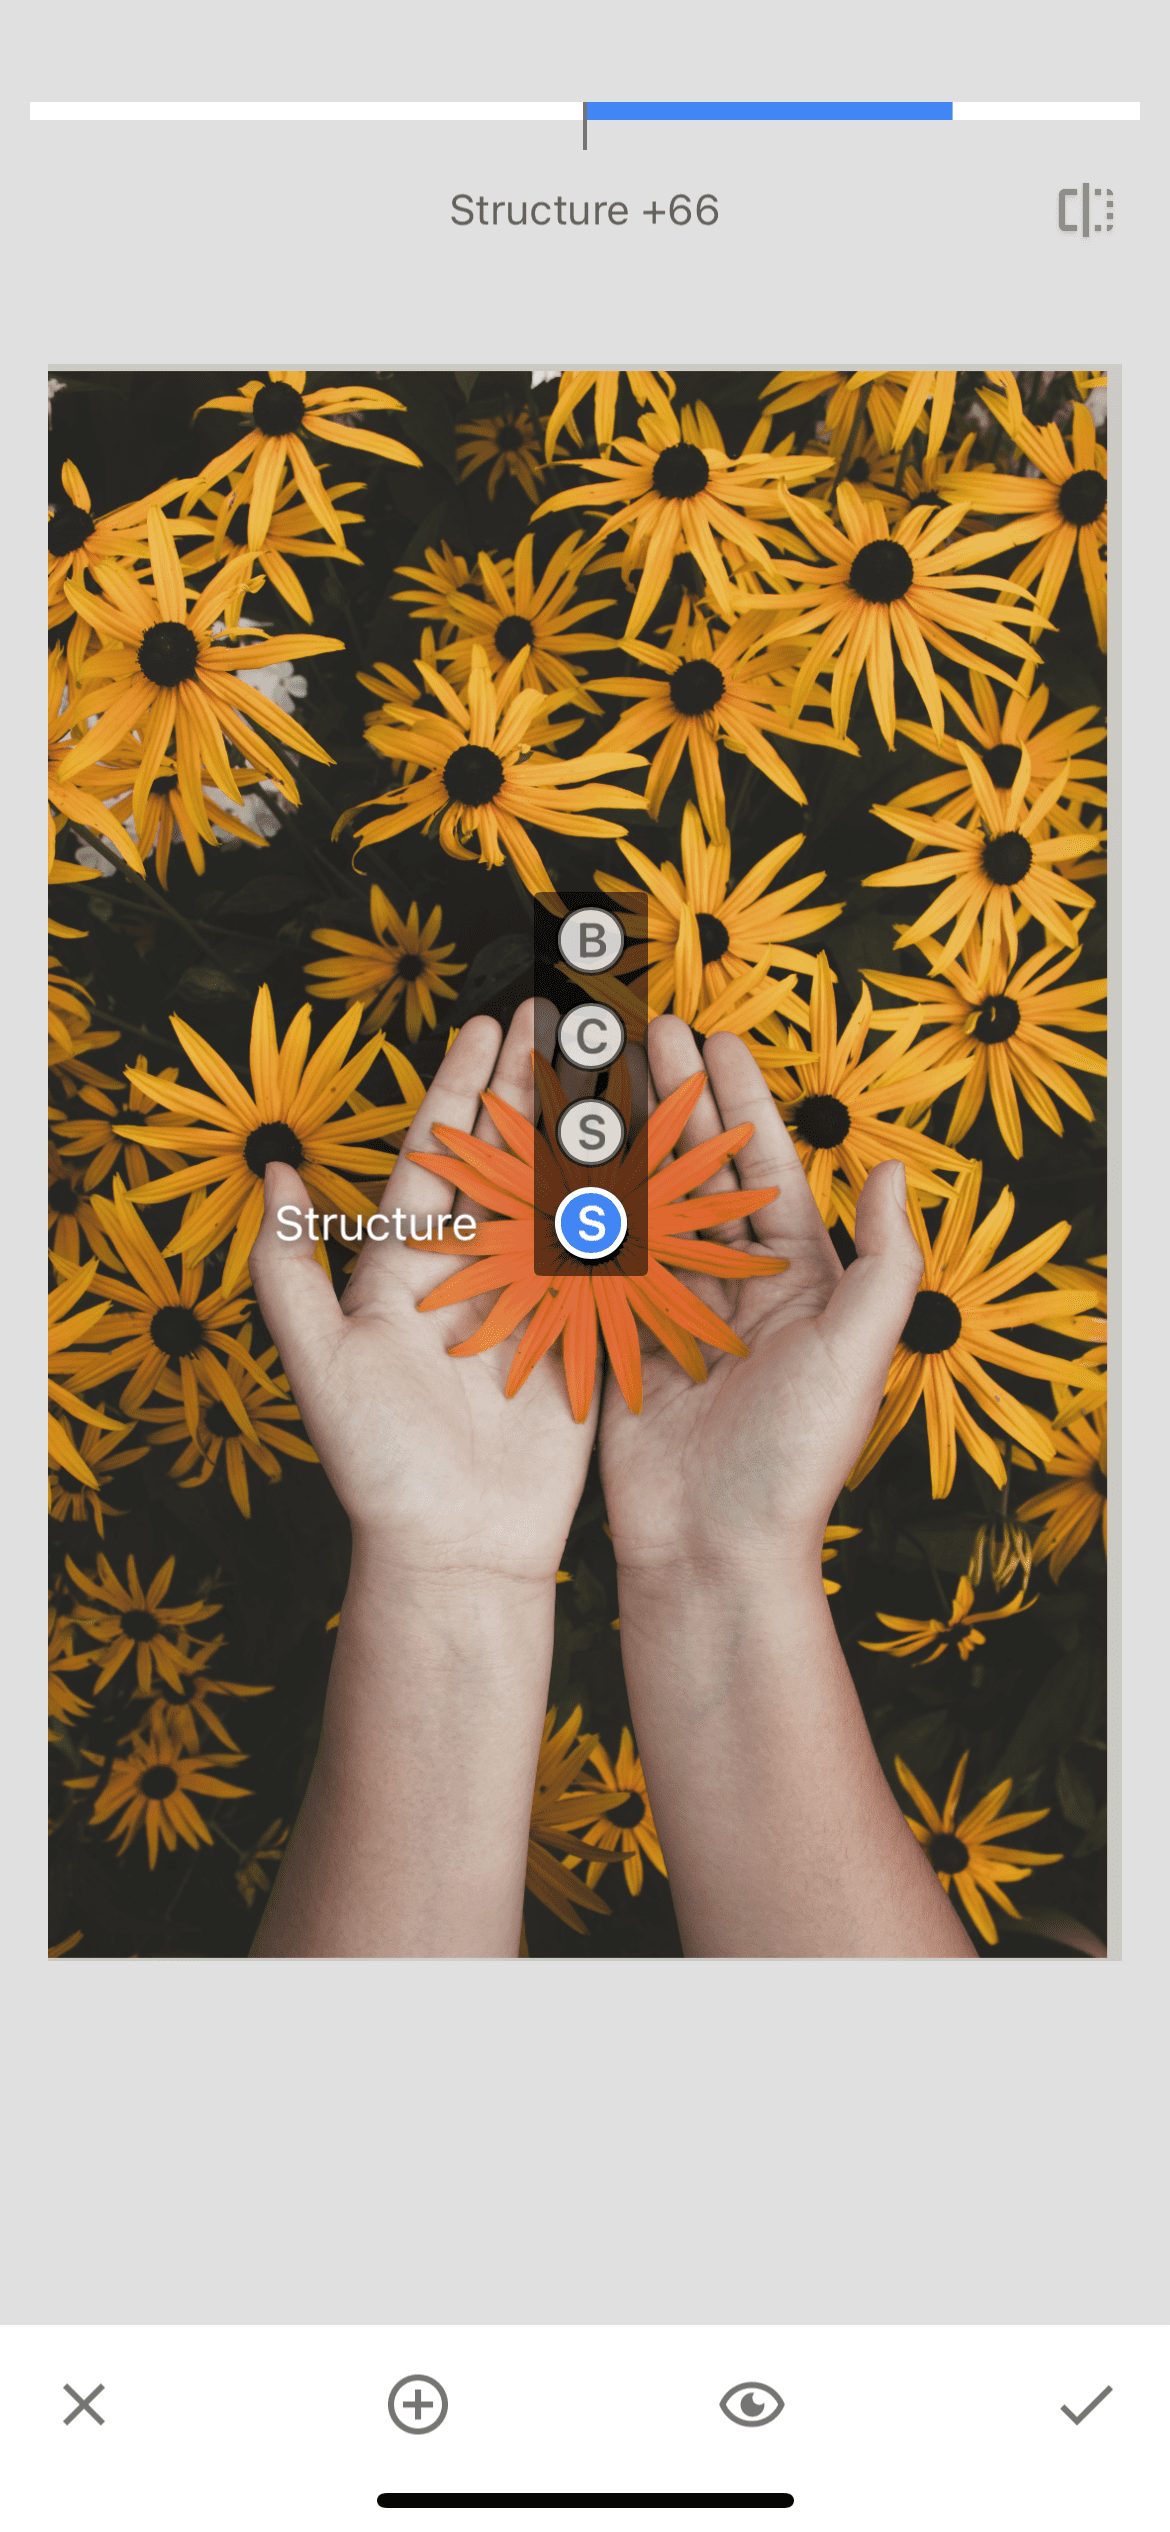
Next, go to the "tune image" tool. It is worth editing the photo a little to adjust the new color to the overall composition. In the image below you can see an example of the indicator settings of this tool.
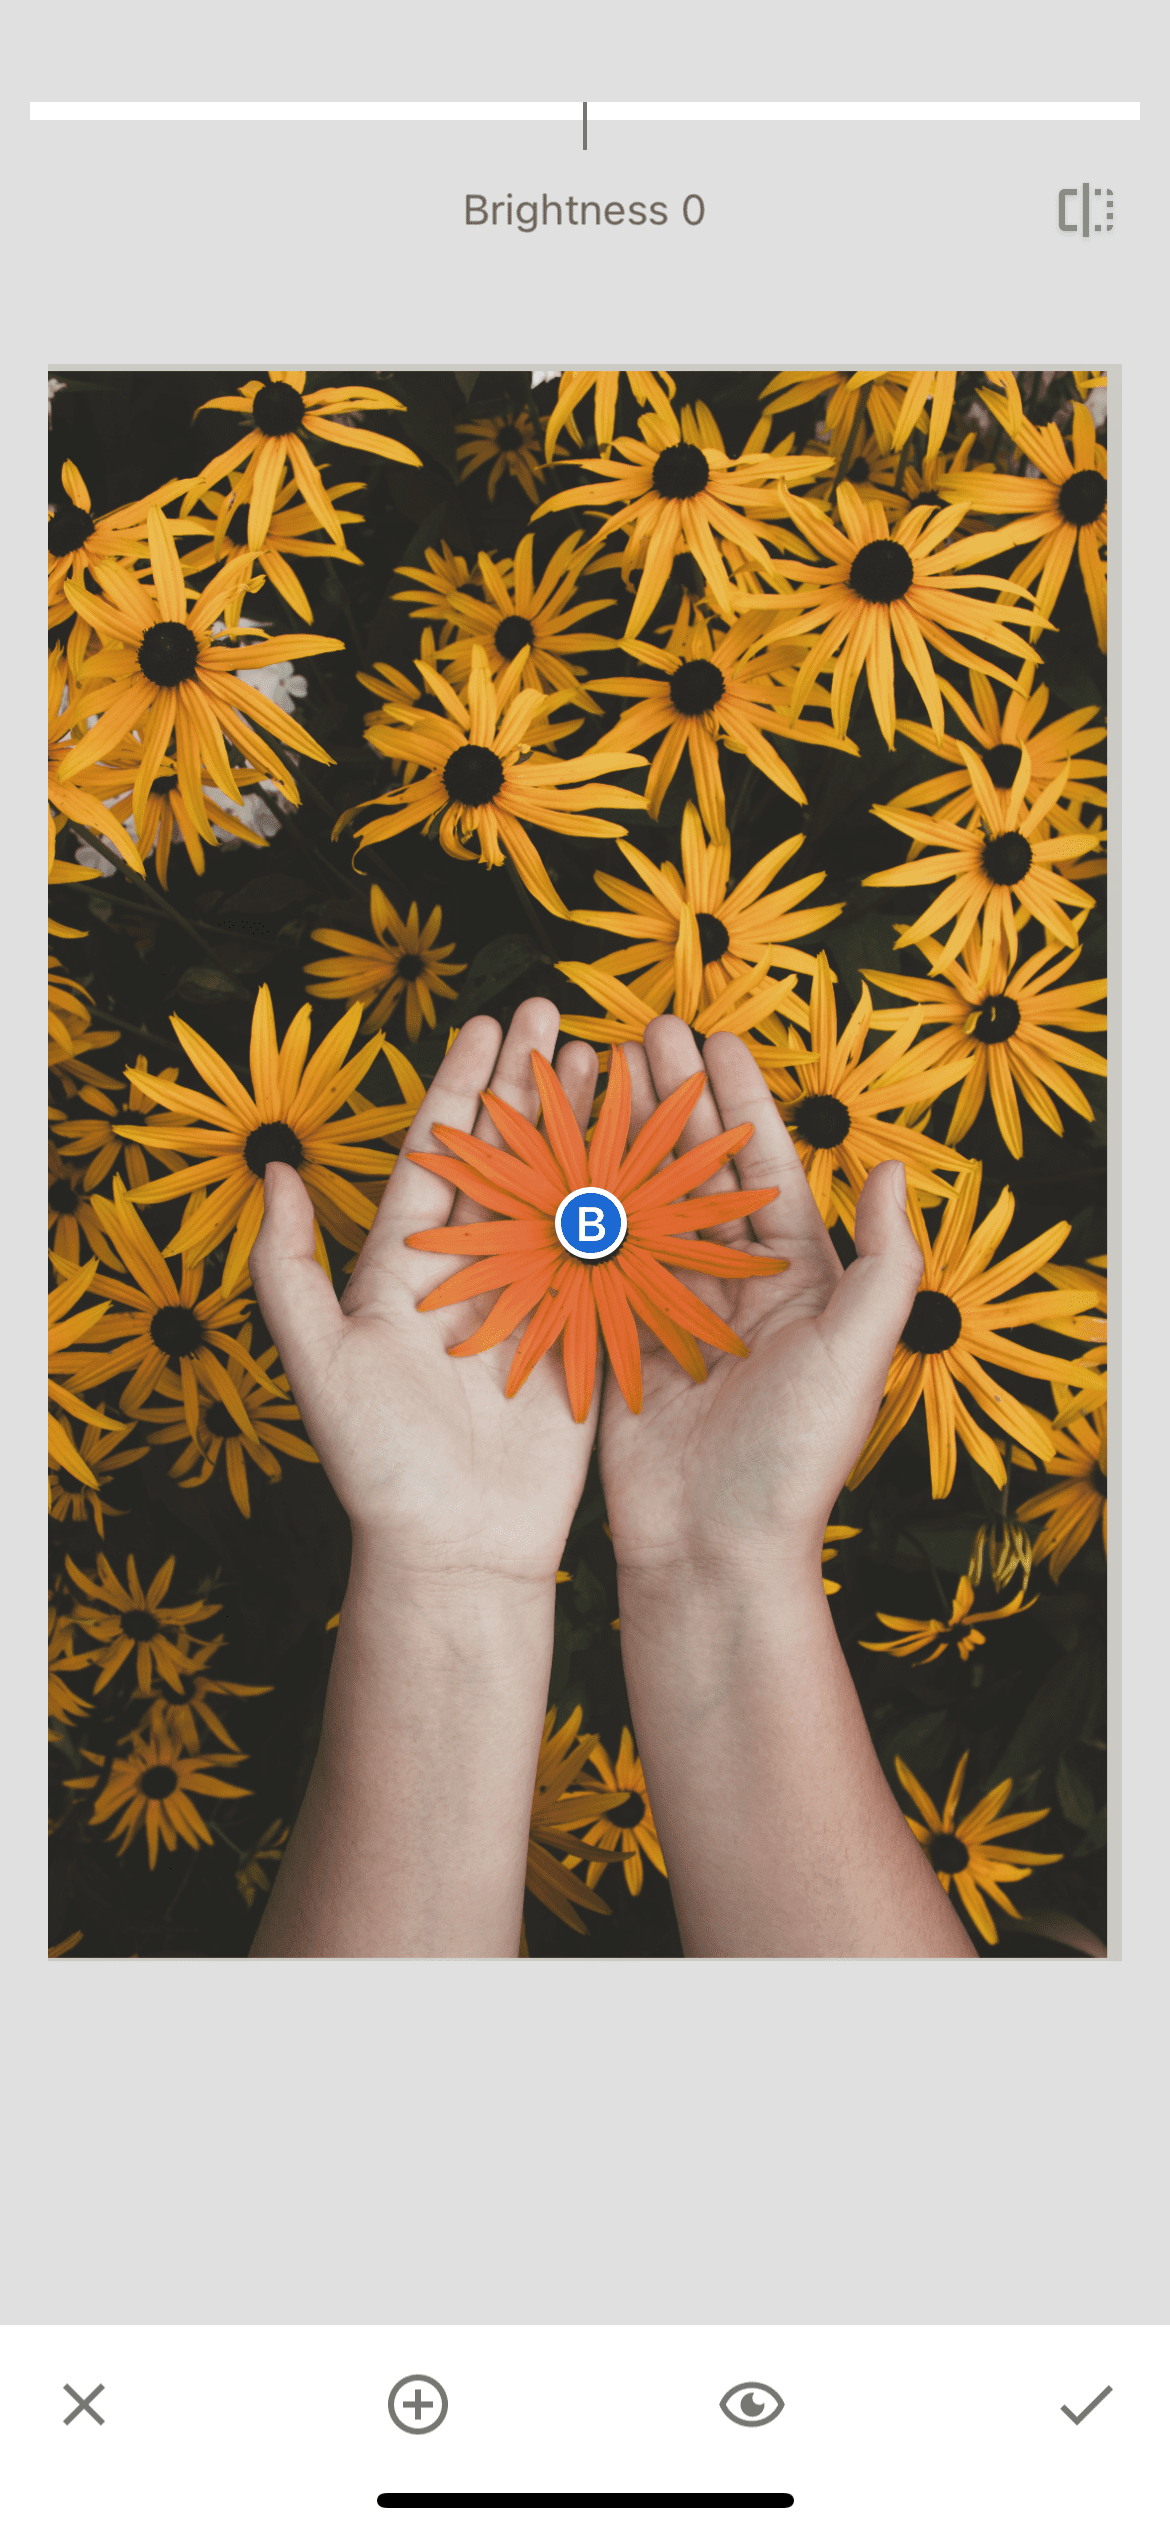
After that, we move on to the "selective " tool. We put a dot in the center of the object and reduce the area of its value.

Change the values of the indicators of this tool.
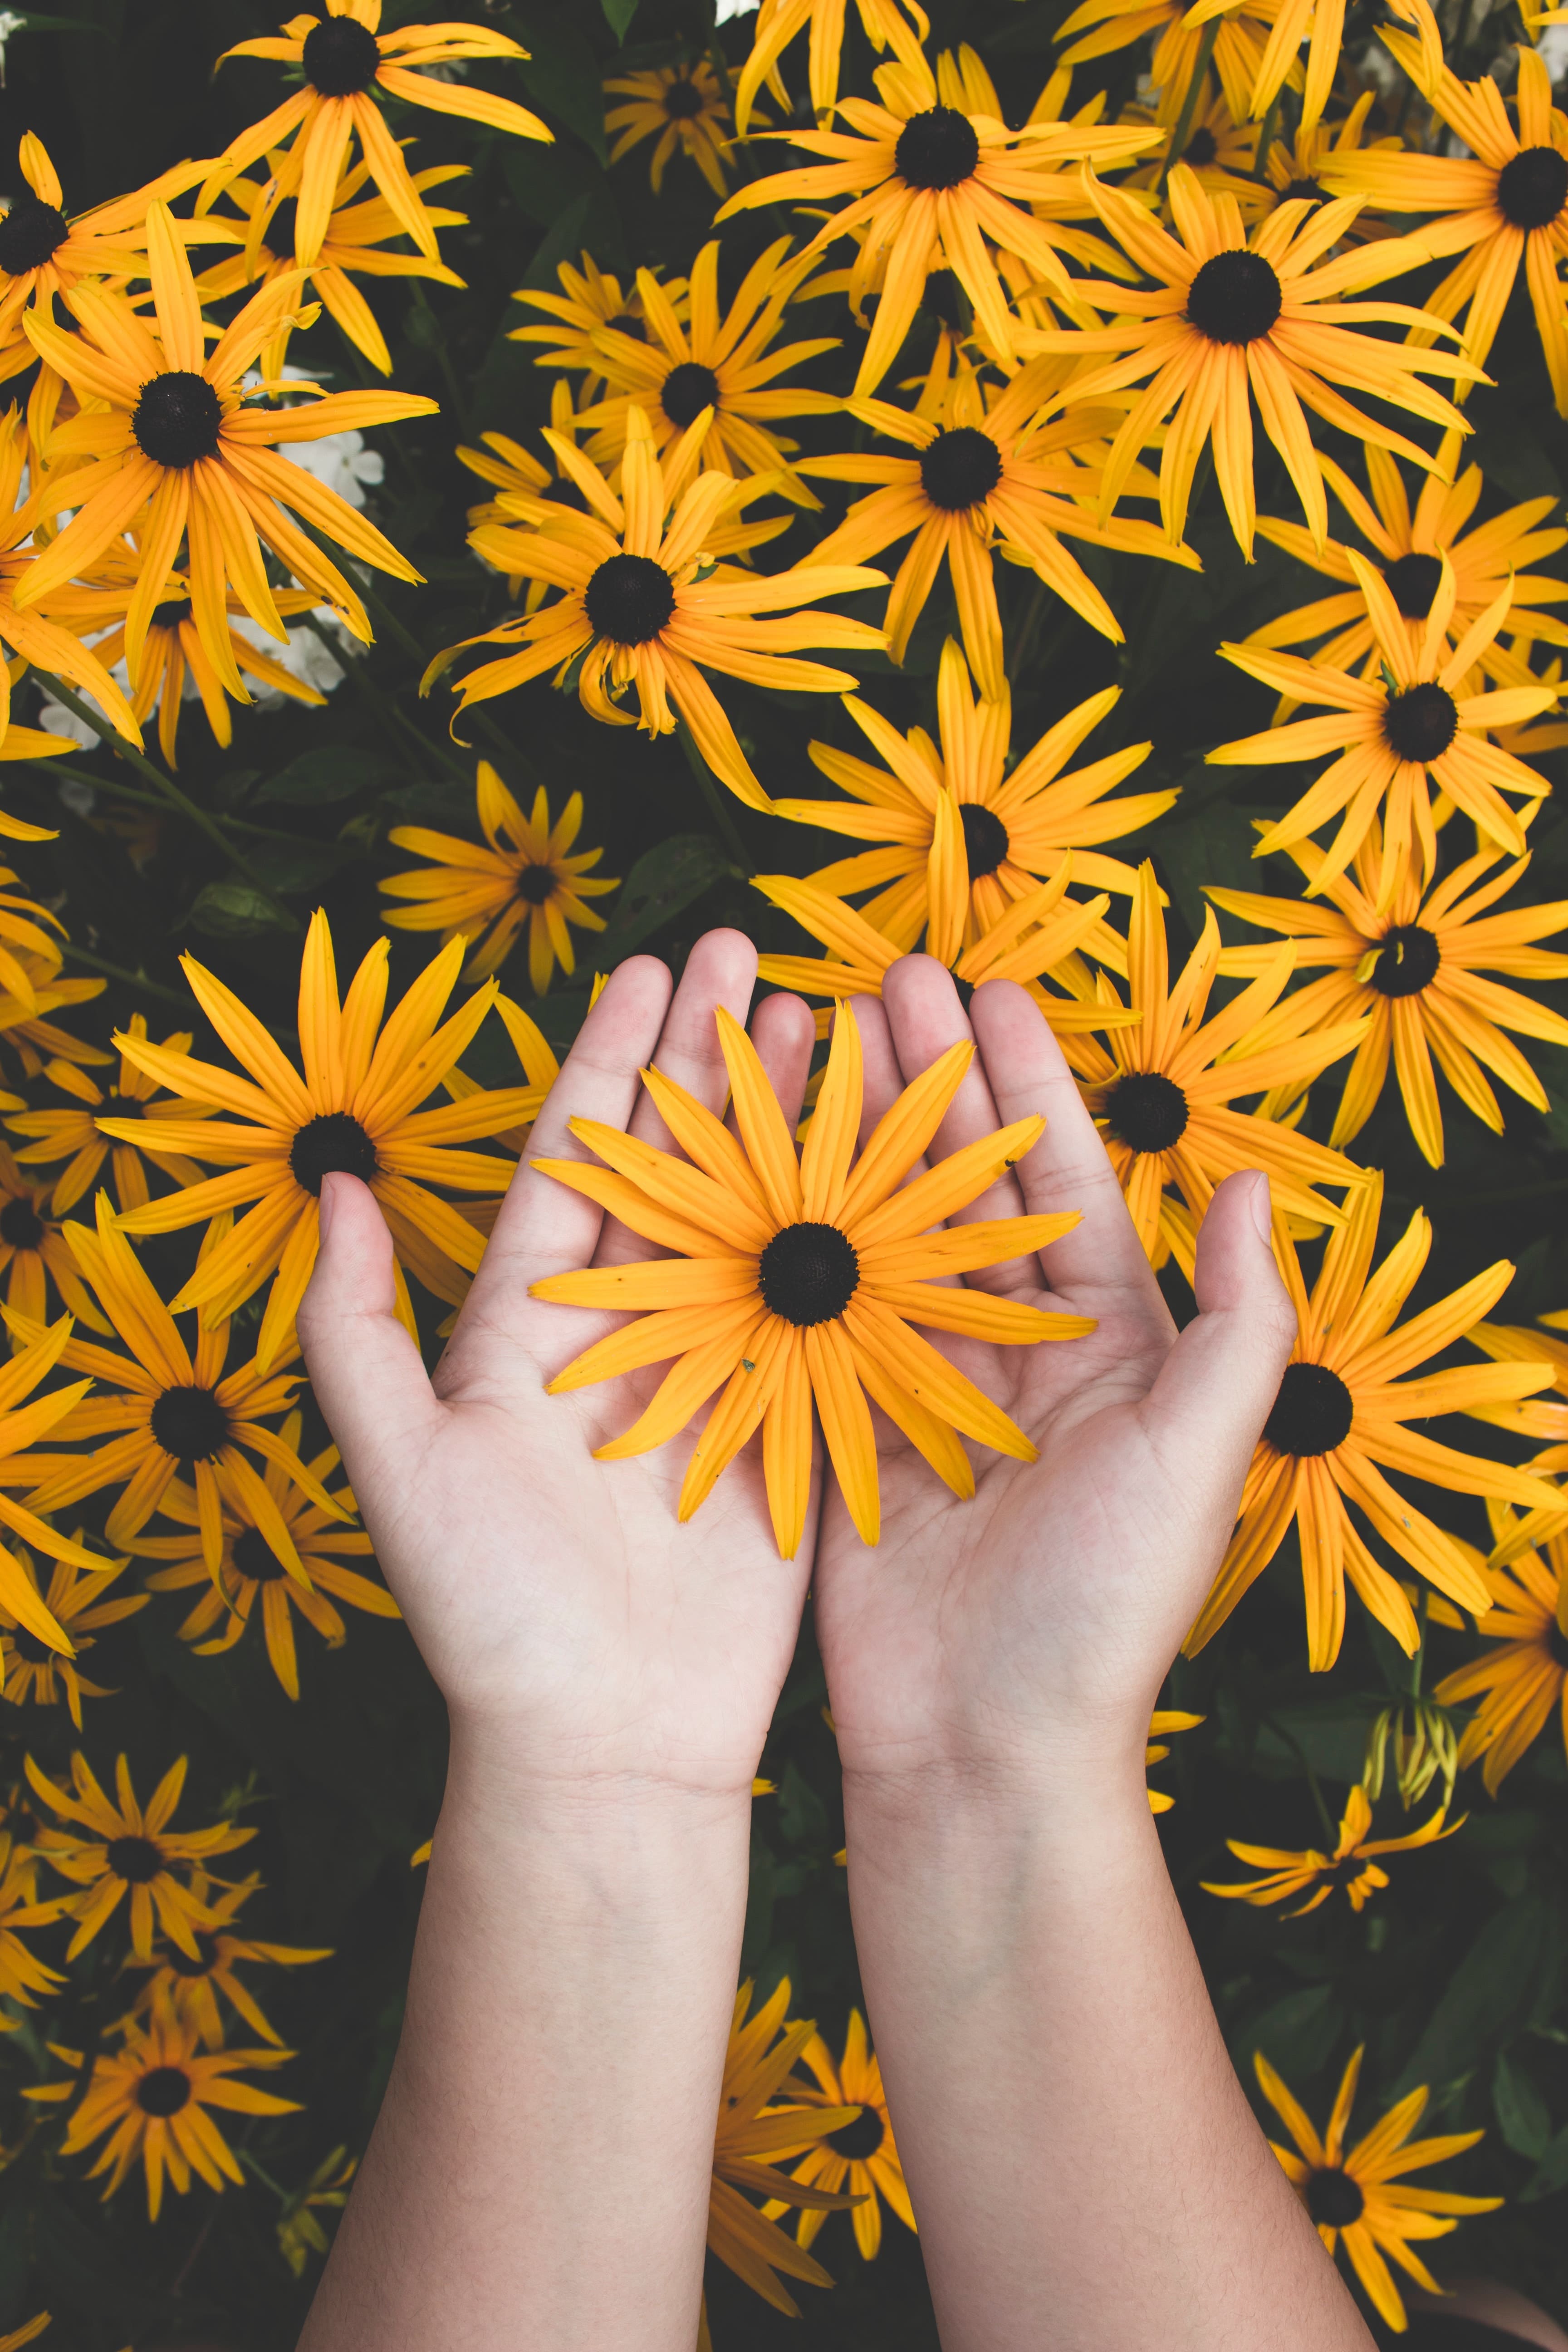
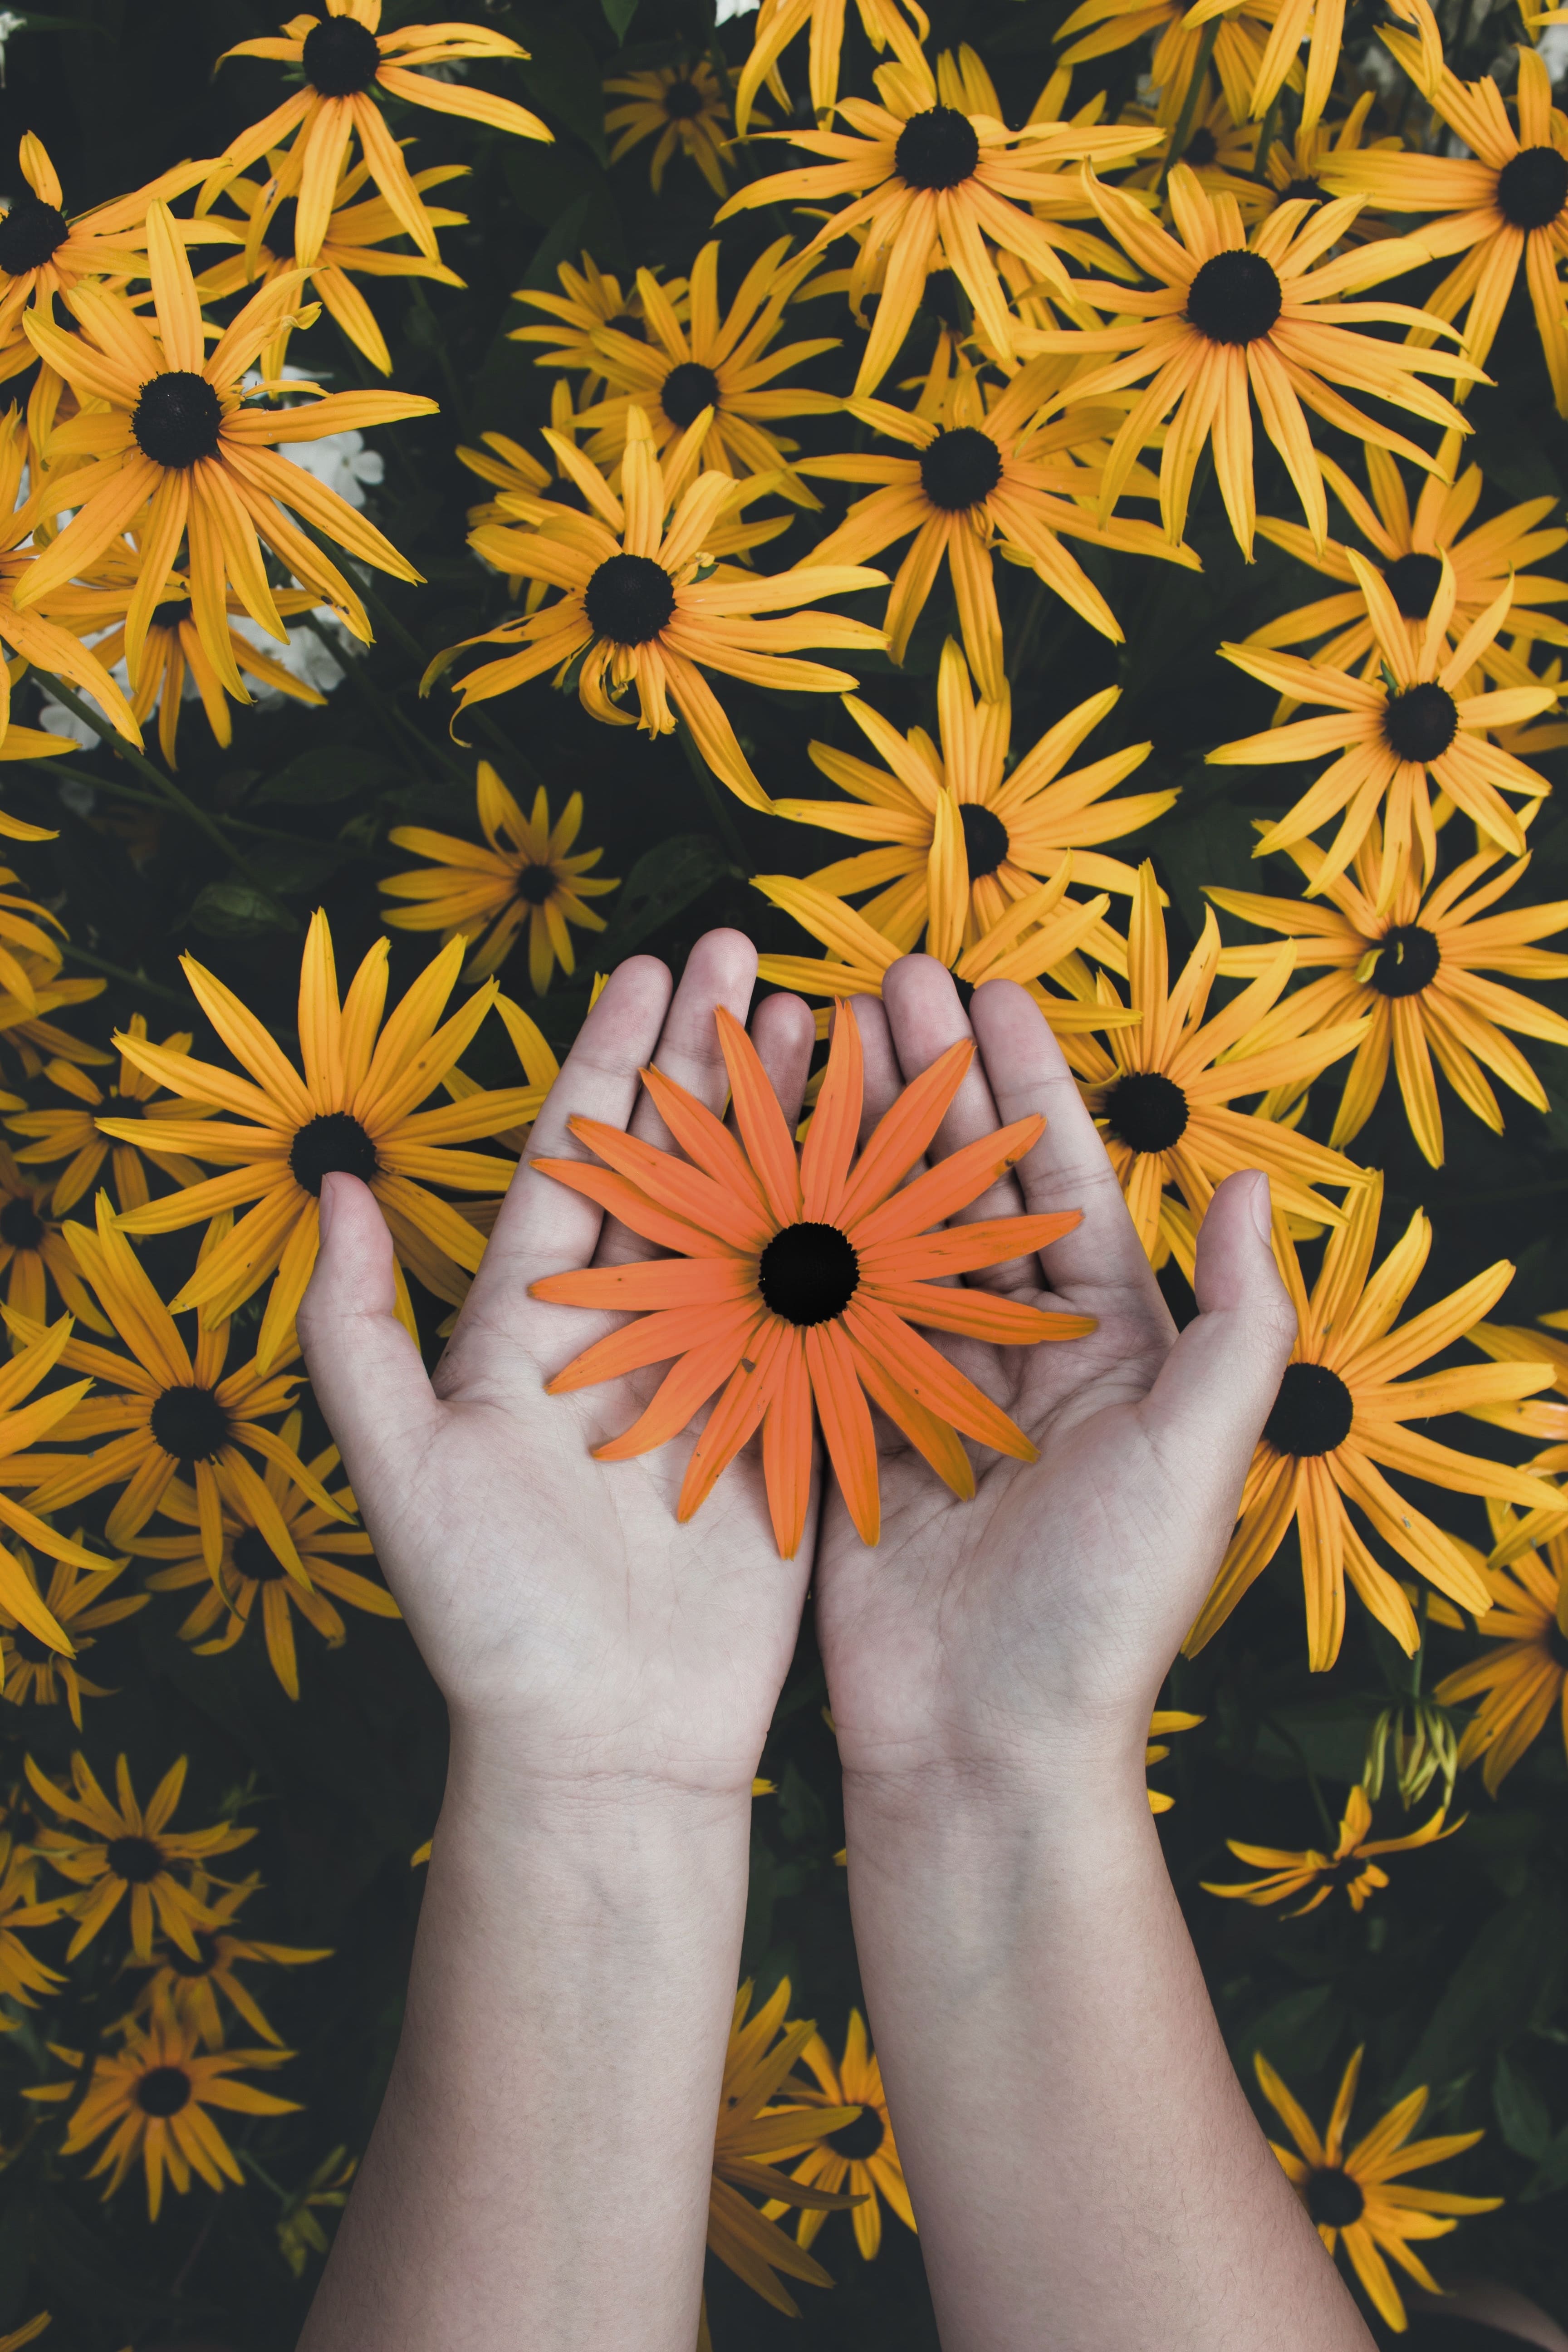
Result
After completing all the steps, we got an interesting photo and were able to change the color of the object using curves.