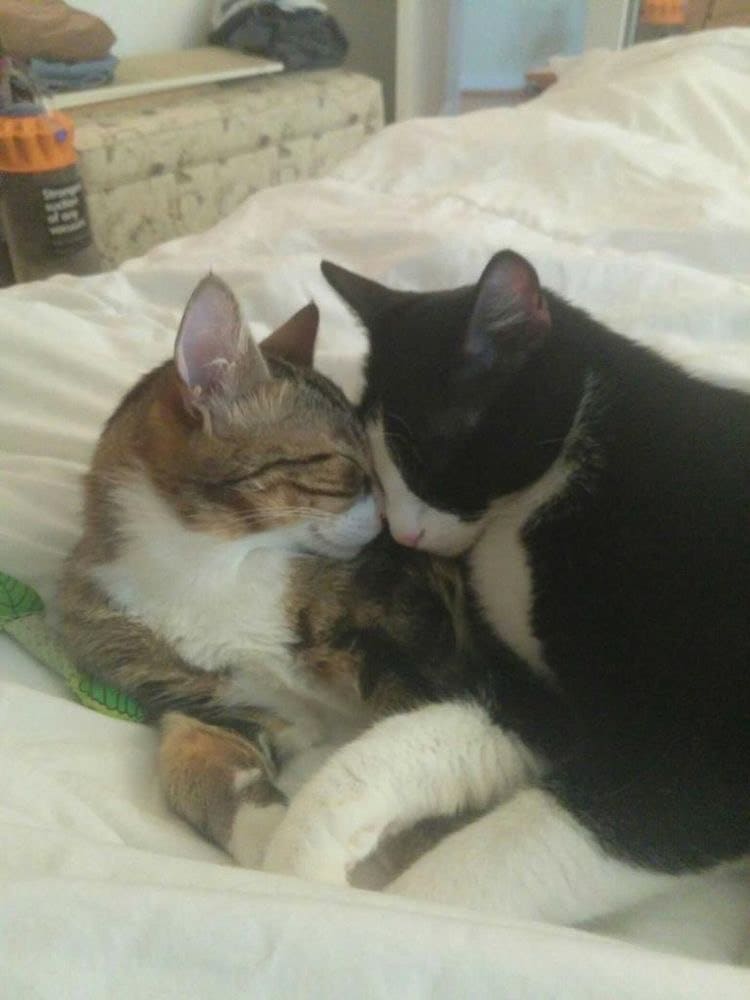


In this lesson, you will learn how to make a blurred photo of not very good quality clearer and more contrasting.
Step 1. Choosing a photo
We open our photo in the Snapseed application. By zooming in on the picture, you can see the haze on it, the lack of contrast and clarity.
Step 2. Sharpness
In the toolbar, select "details" and proceed to photo editing. In this section, you can see two indicators: structure and sharpening.
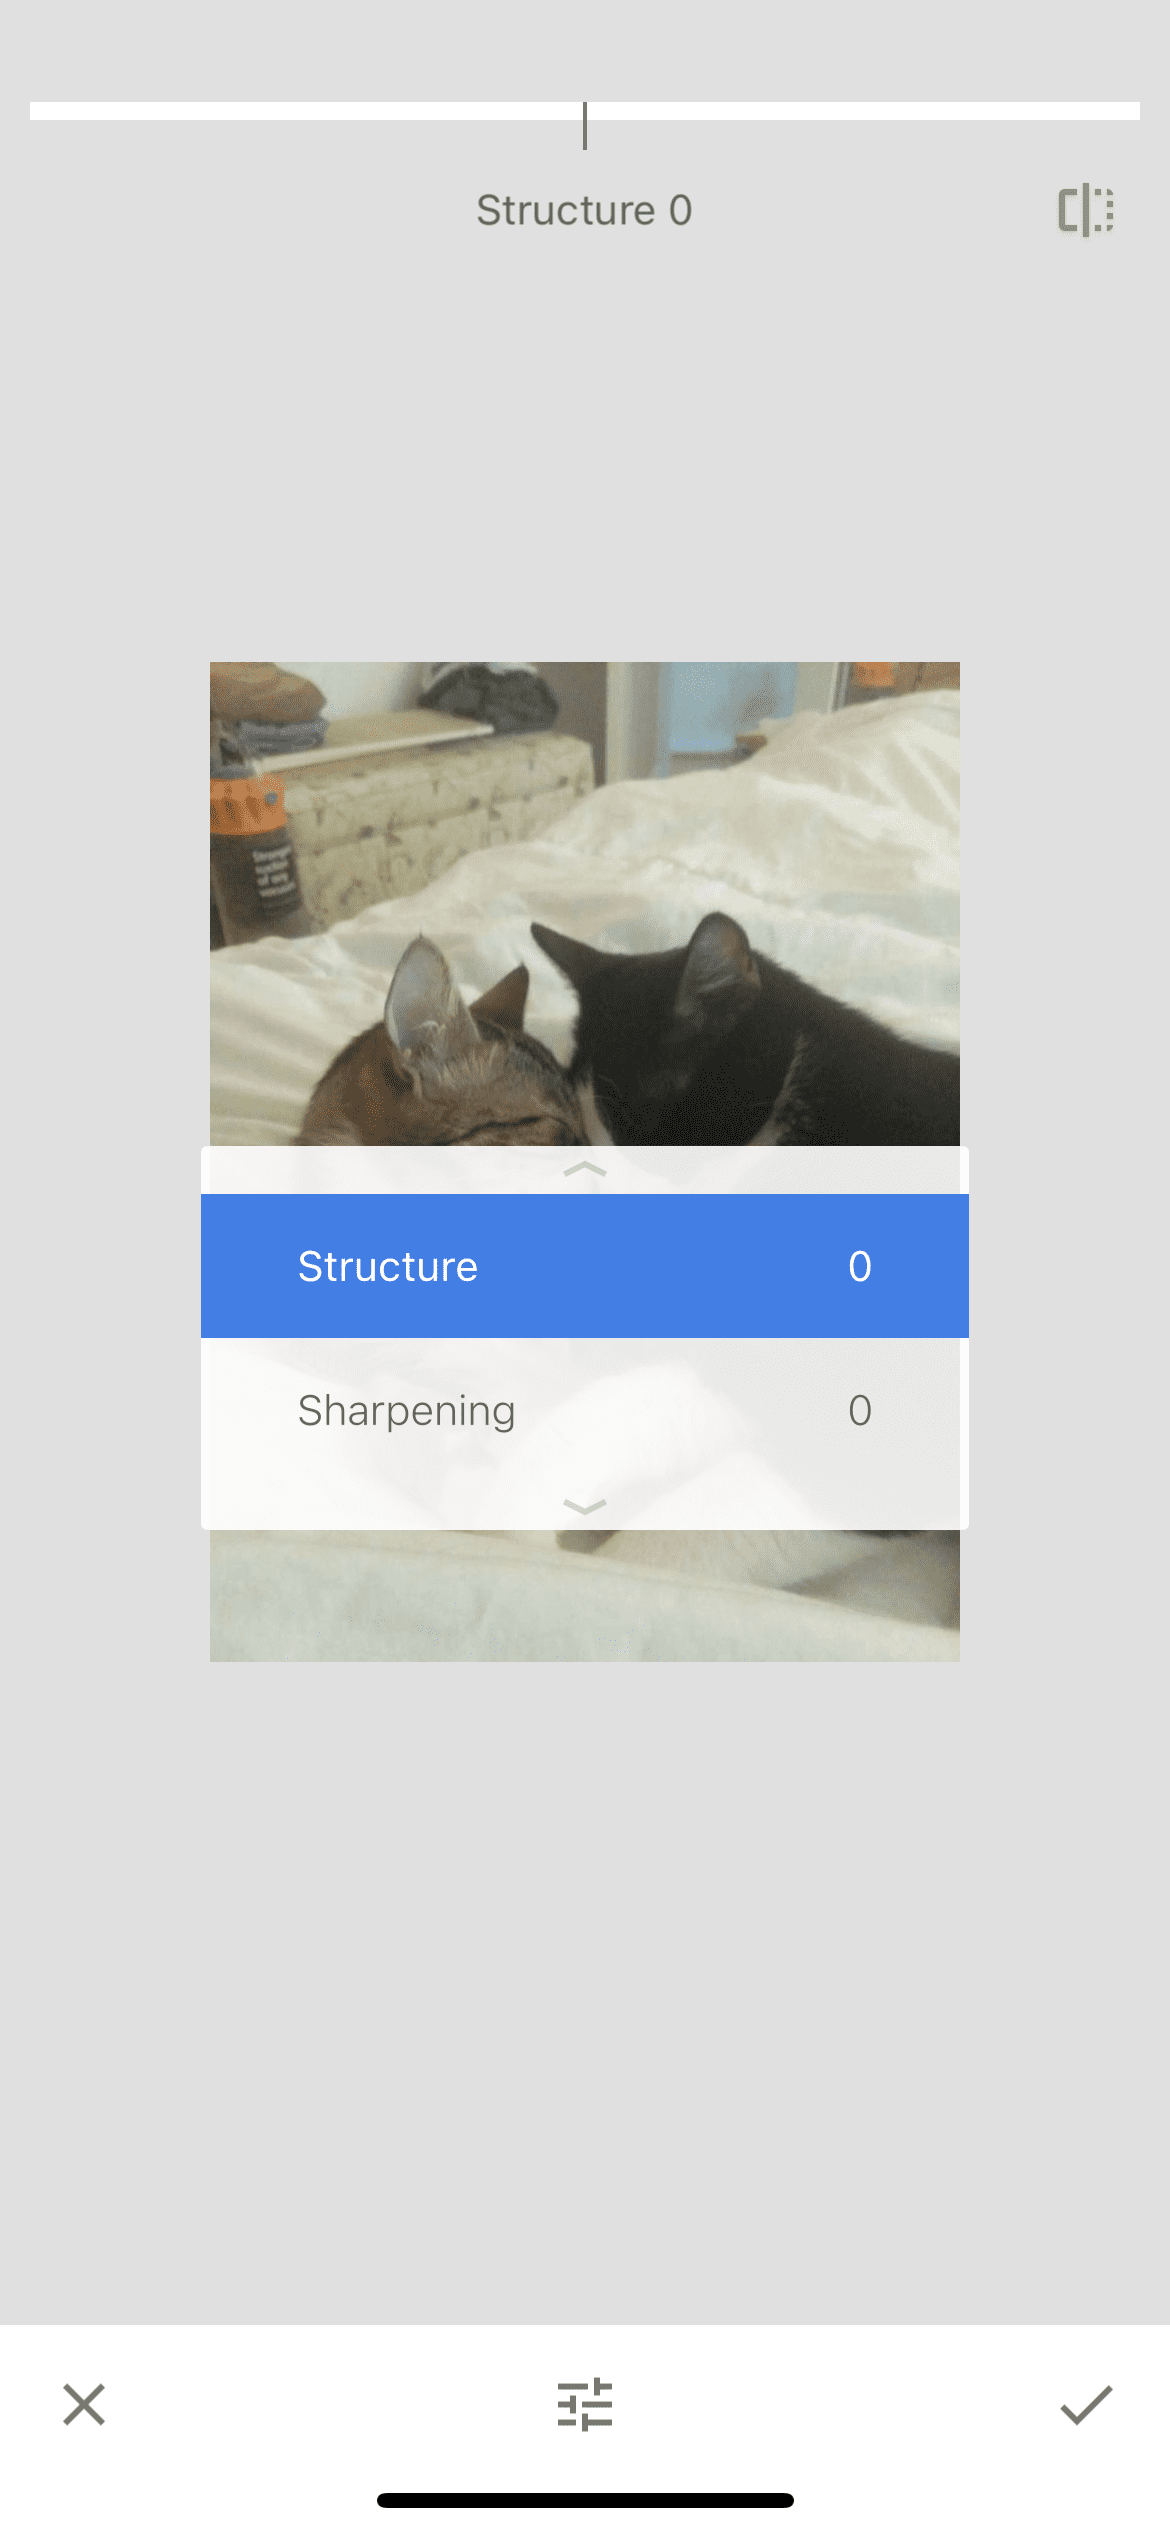
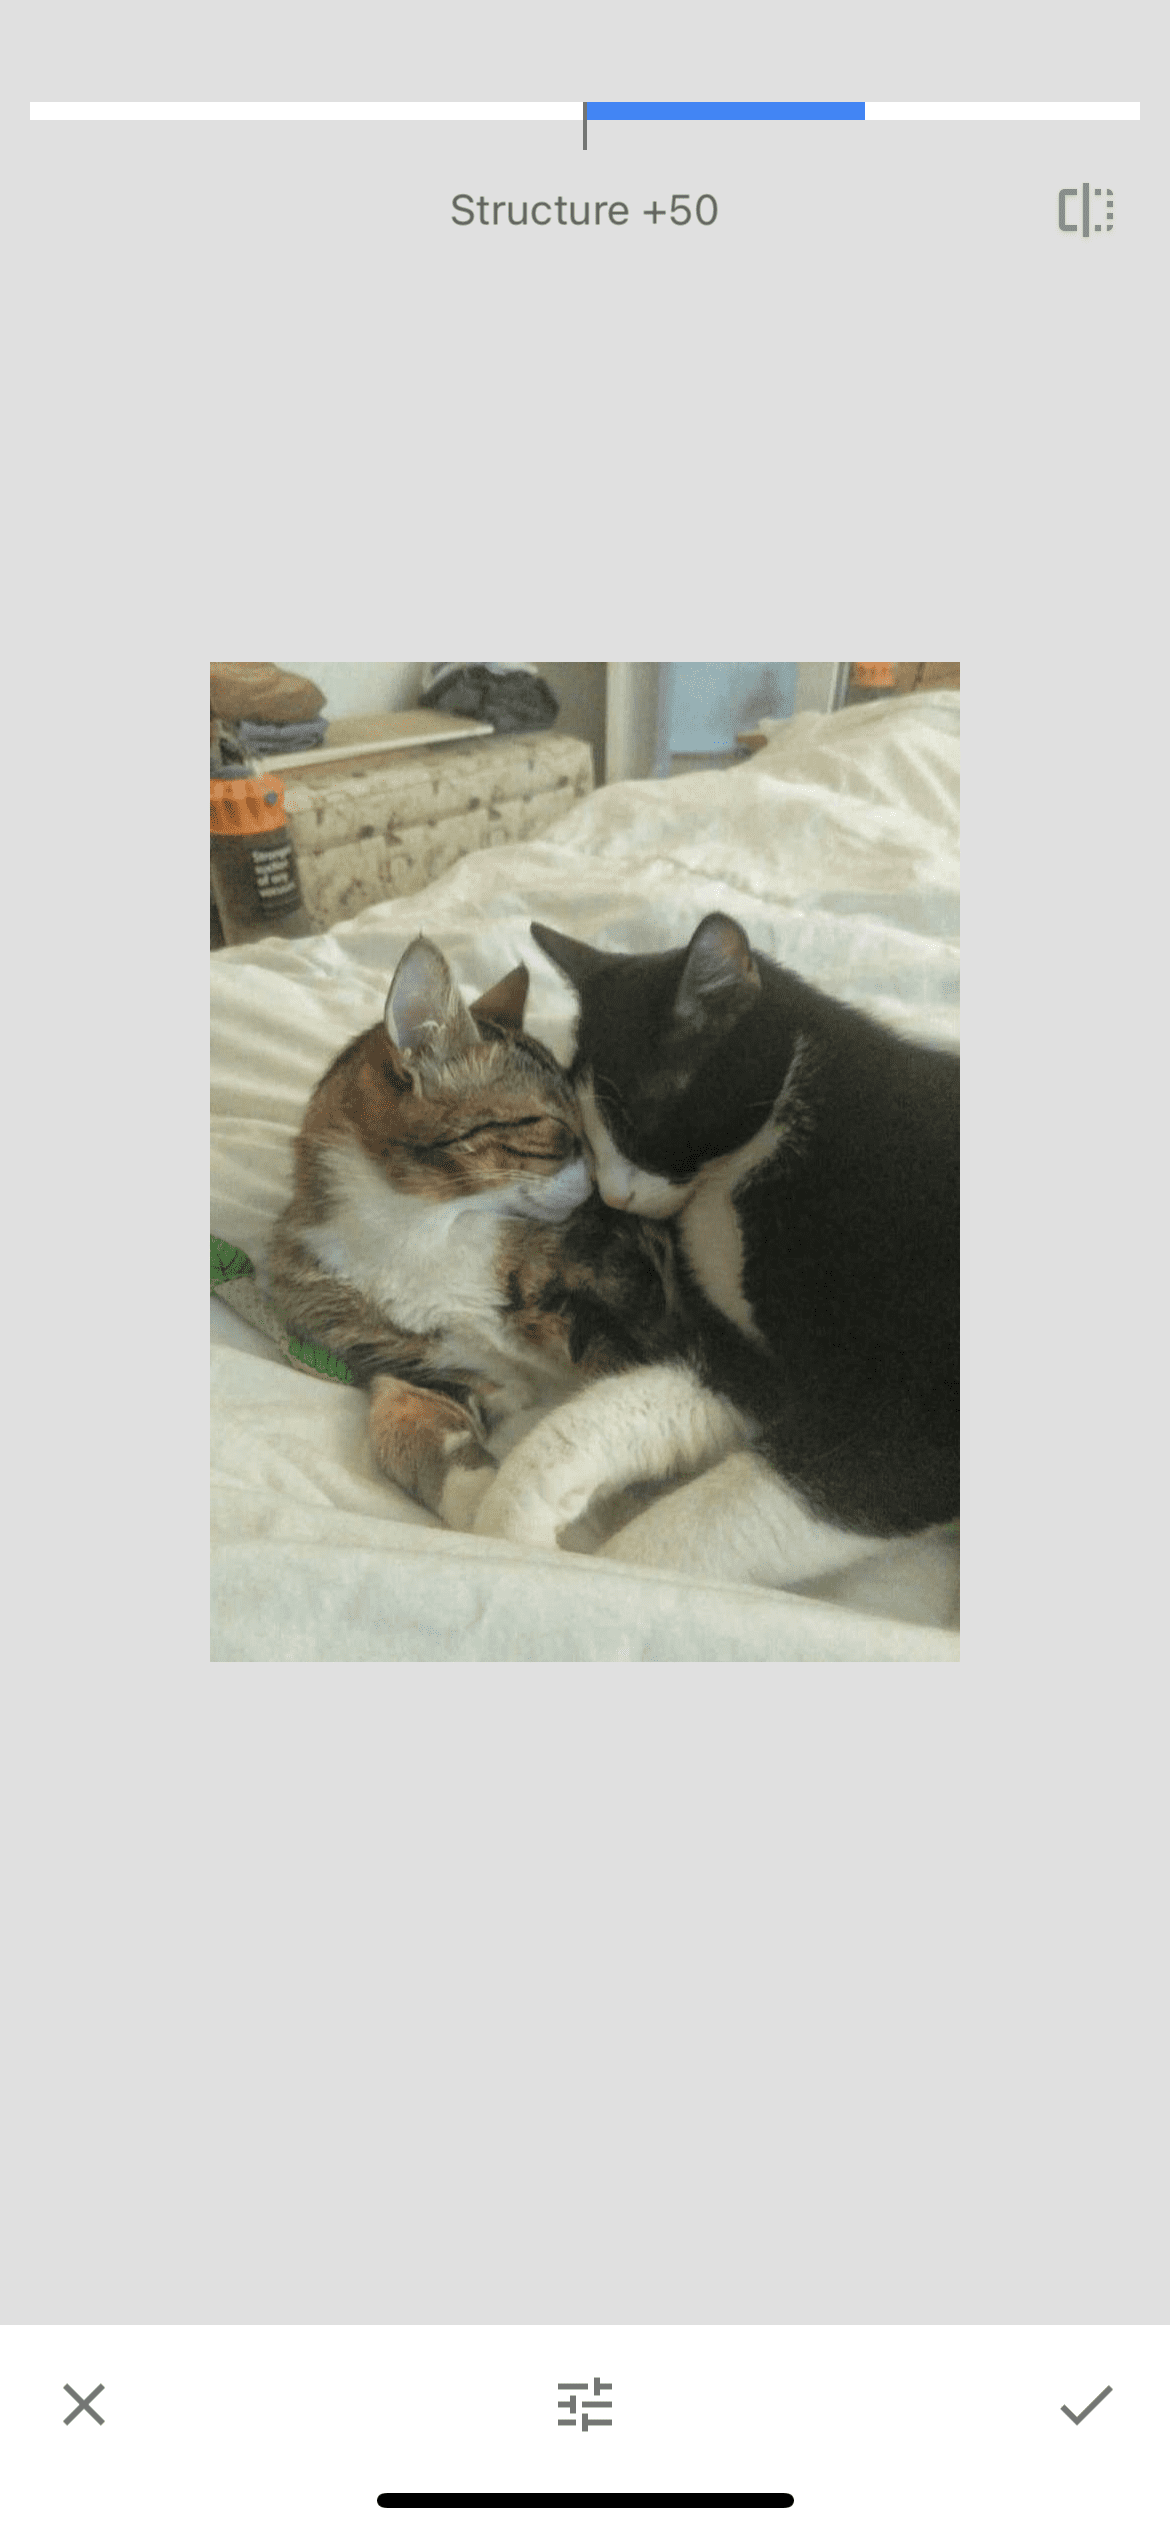
We increase the "structure" indicator by swiping the screen to the right. Thus, details appear in the photo, and the haze goes away.
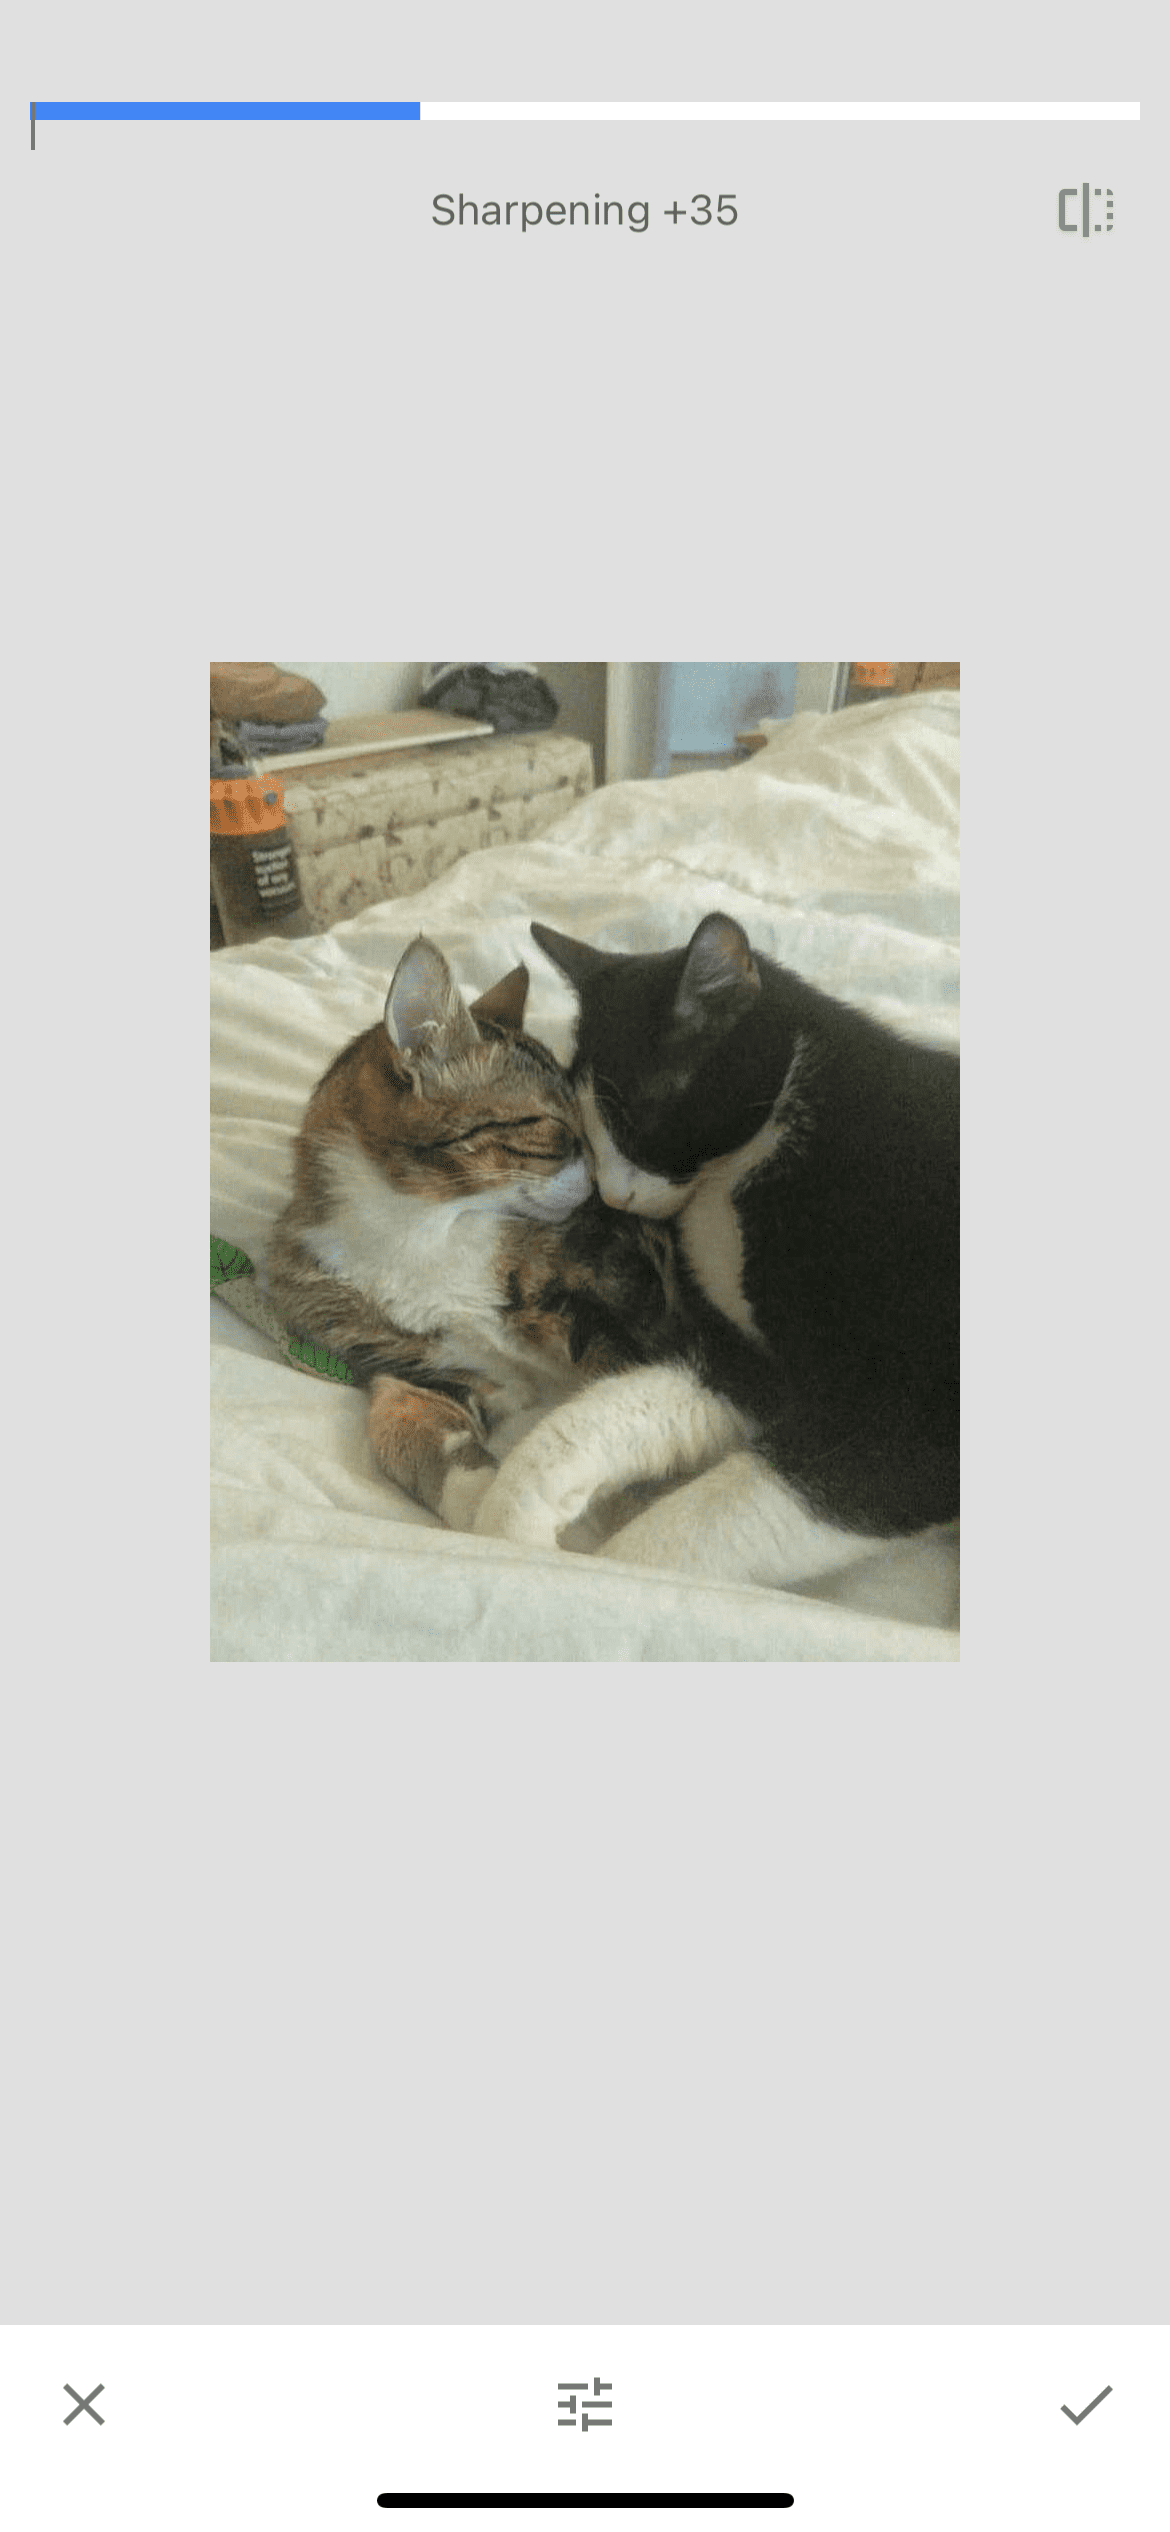
We increase the value of the "sharpening" indicator for greater detail of the image.
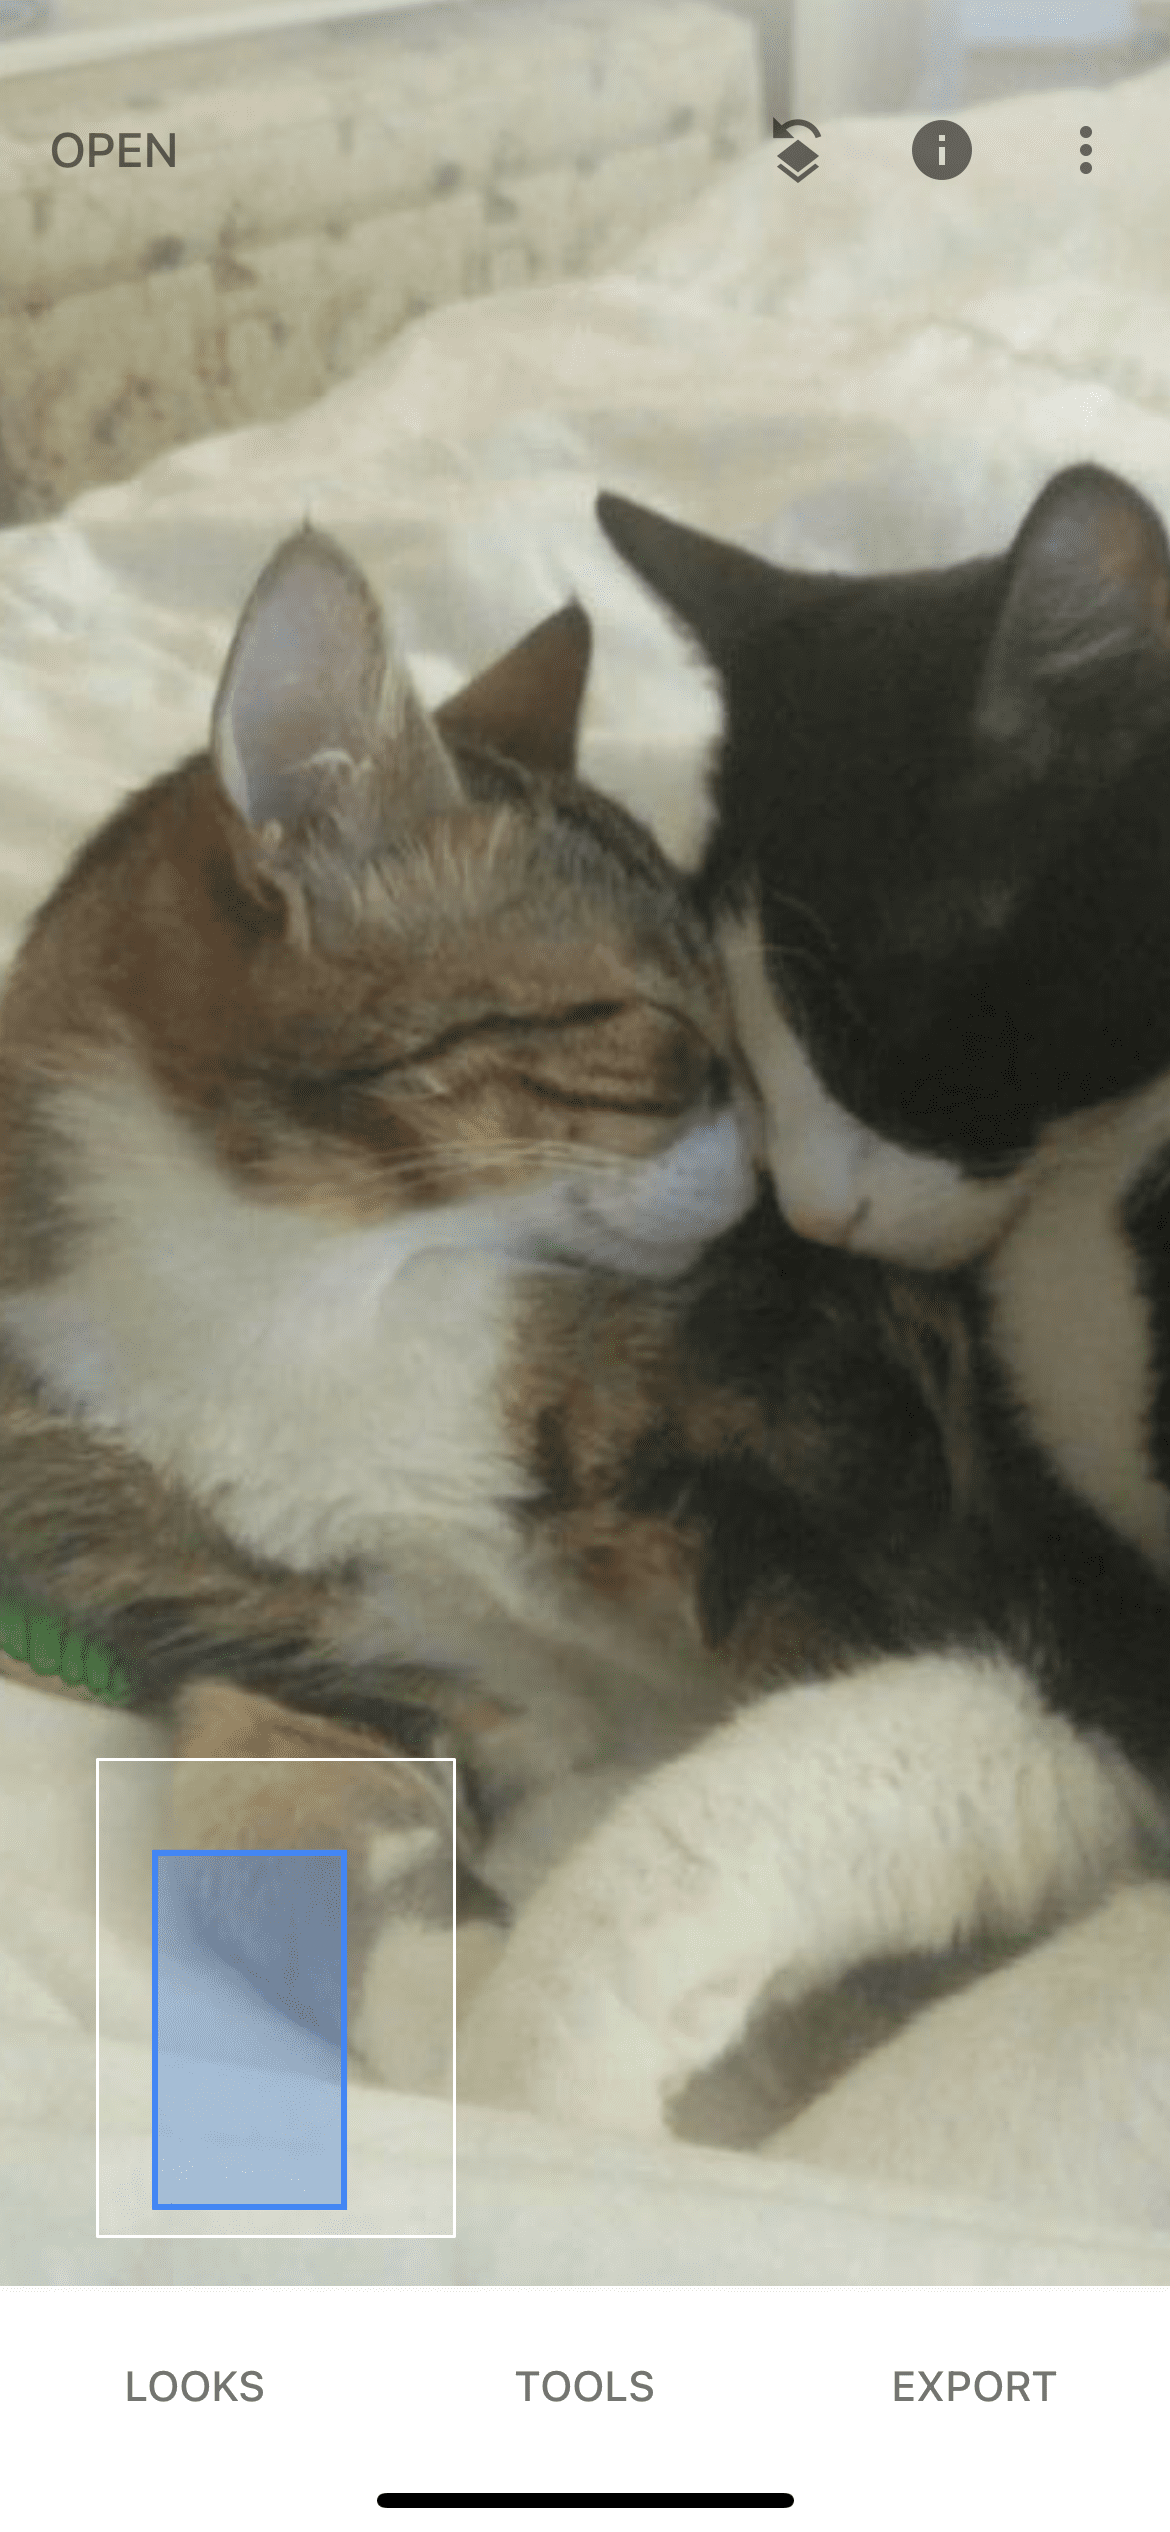
Step 3. Selective correction
Let's move on to the selective correction tool. First, we need to set a point around which the indicators of this tool will change. We put it approximately in the center of the image, concurrently in a dark area and on the "main" part of the photo, that is, on cats, which we want to make better. Note that you can change the range of the effect by decreasing or increasing it.
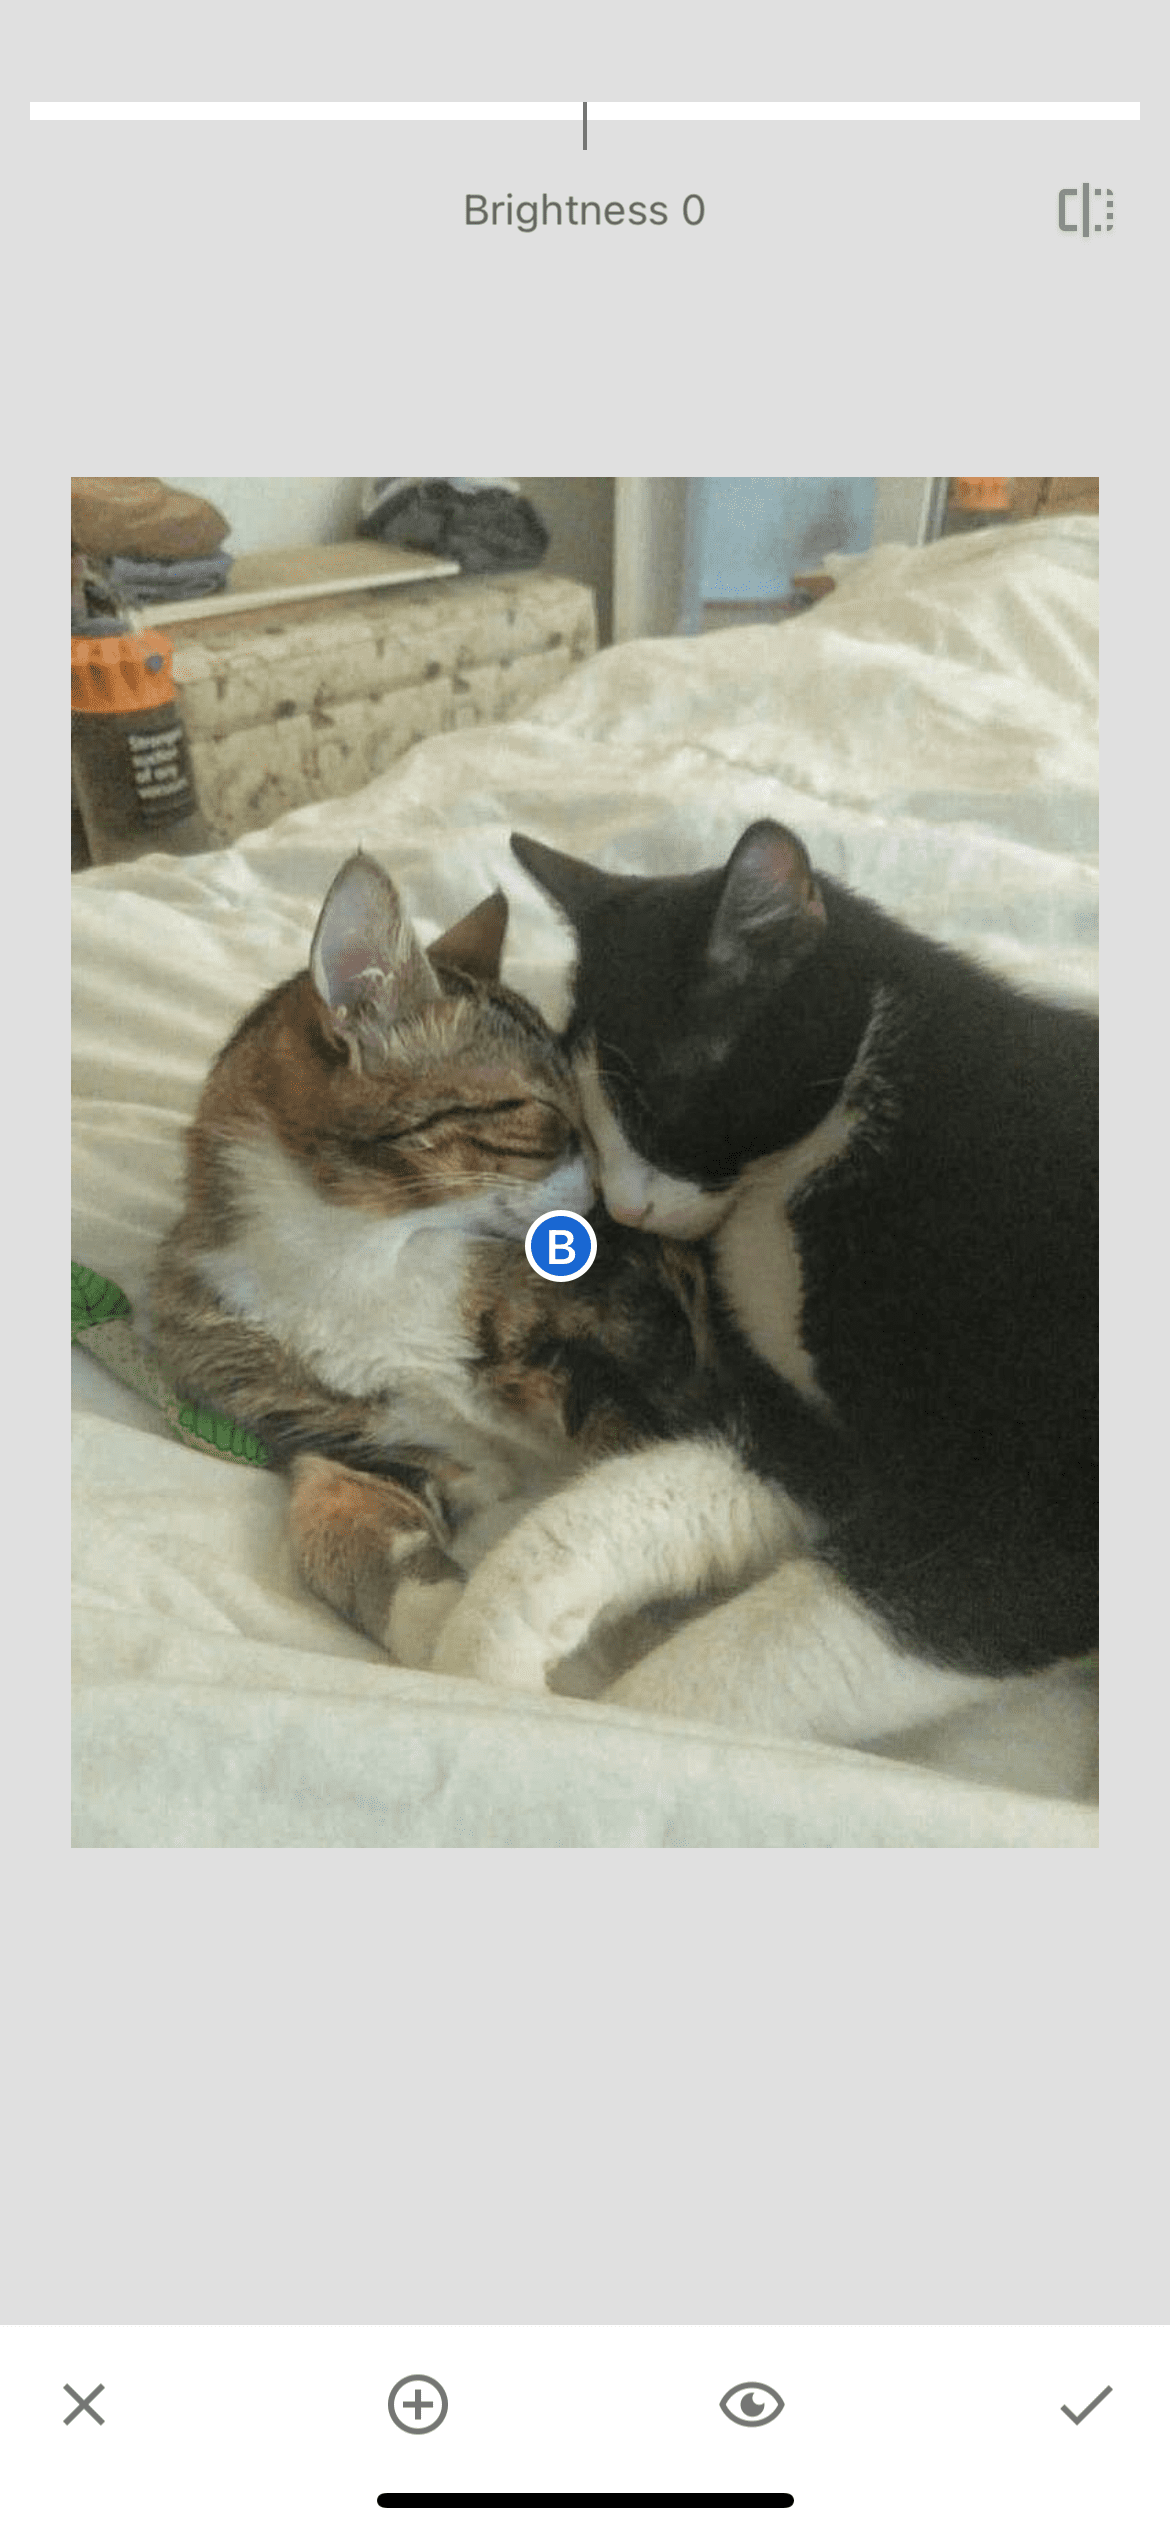
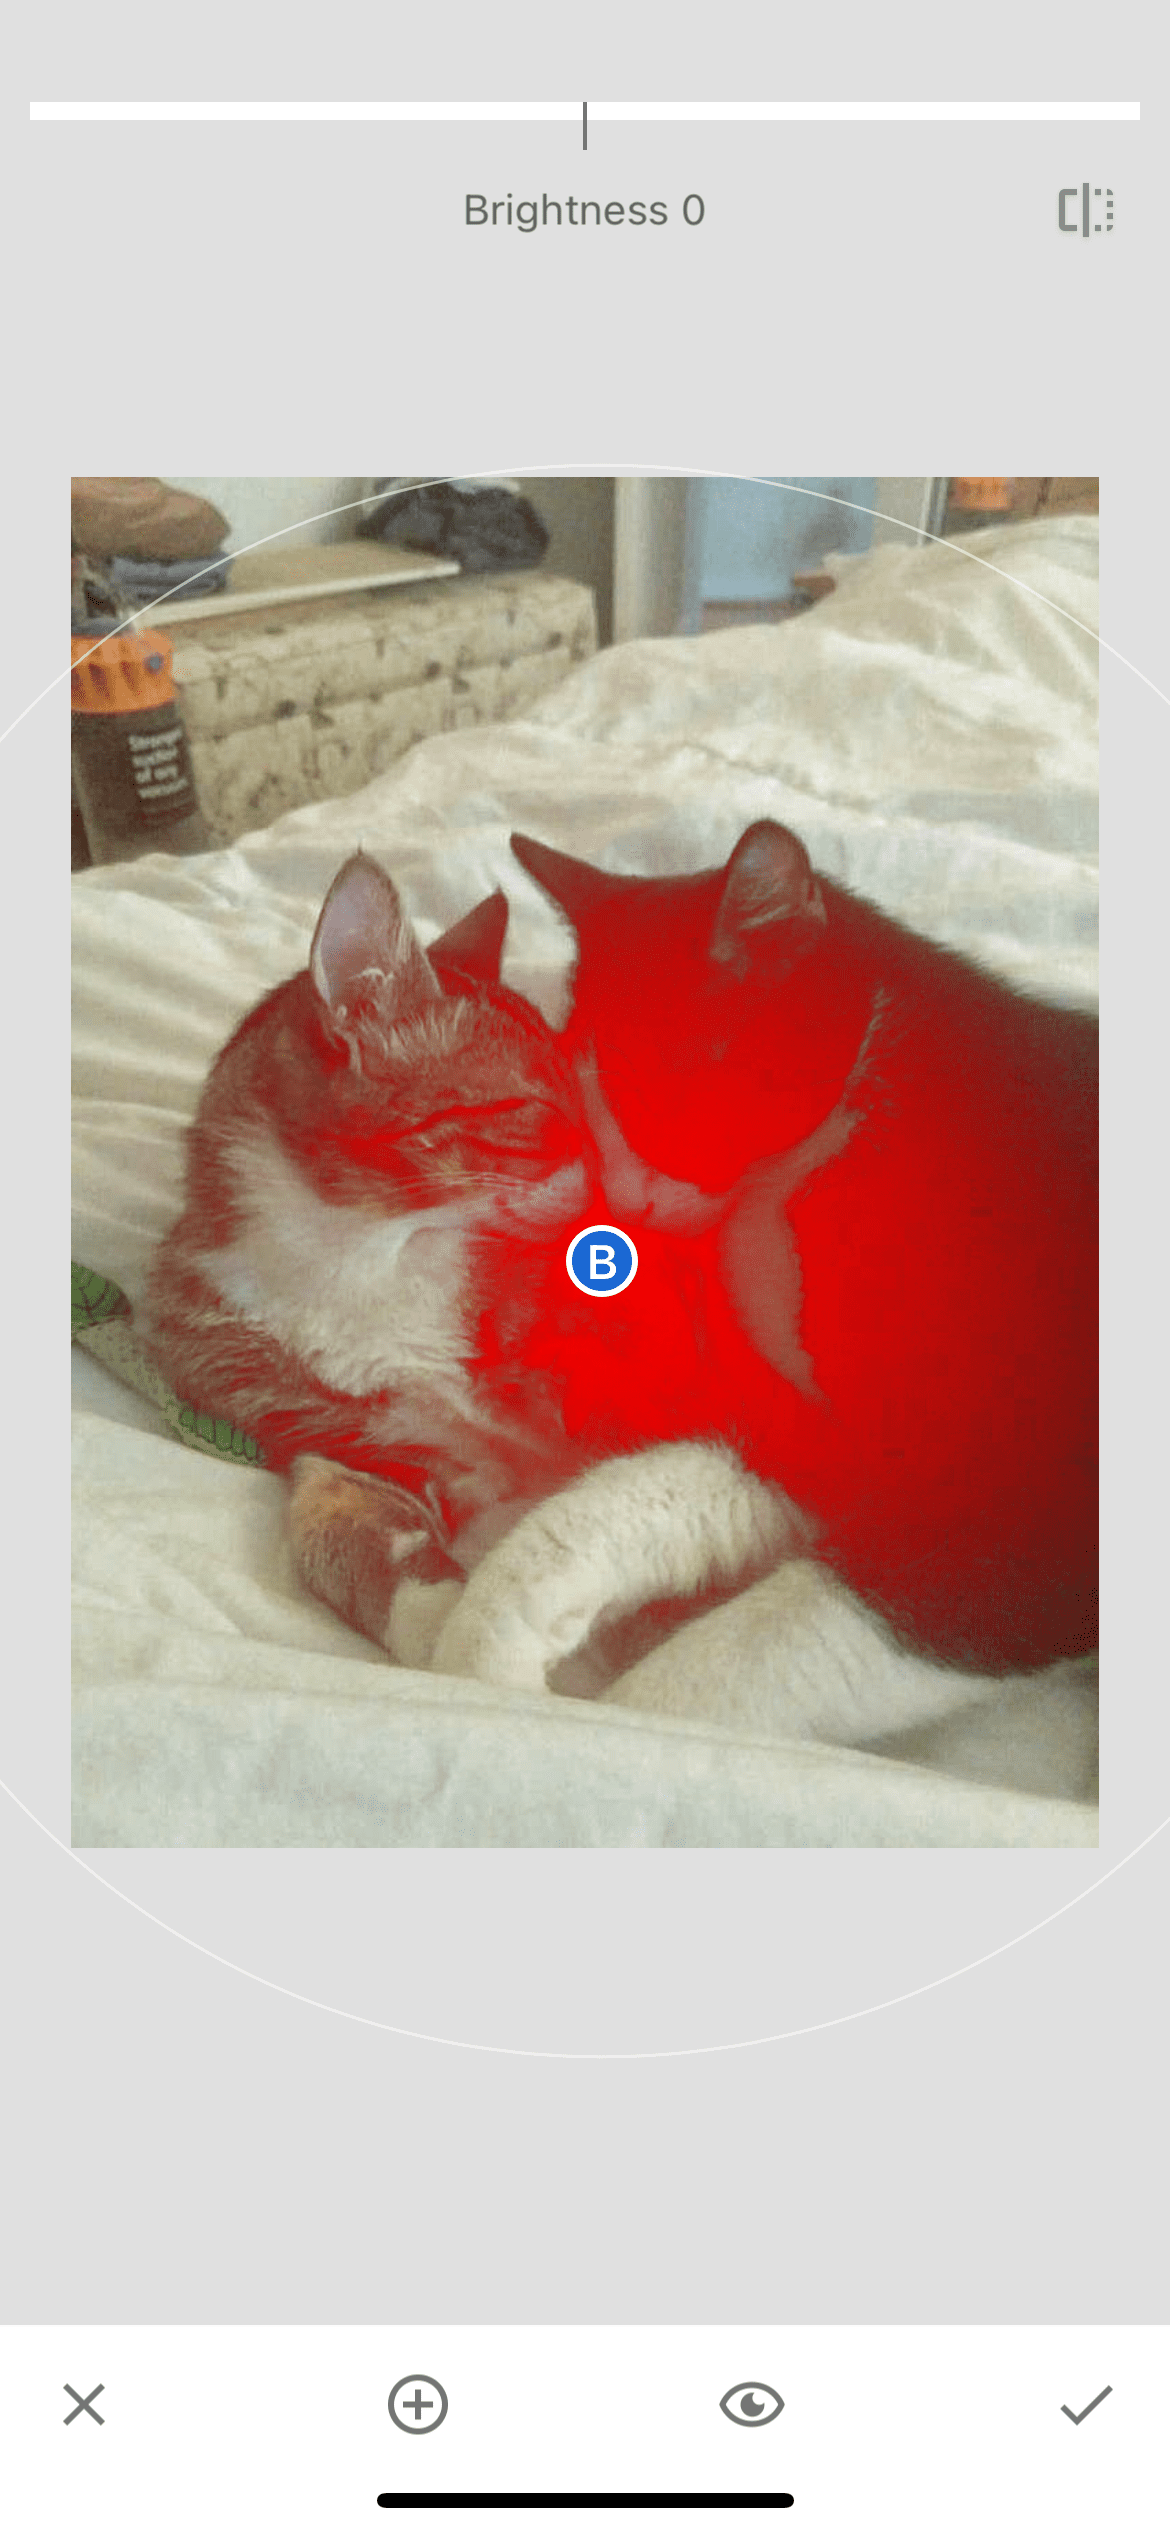
We proceed to the direct editing of the photo. The first indicator of this tool is brightness. Slightly lower the value of the indicator to remove the highlights.

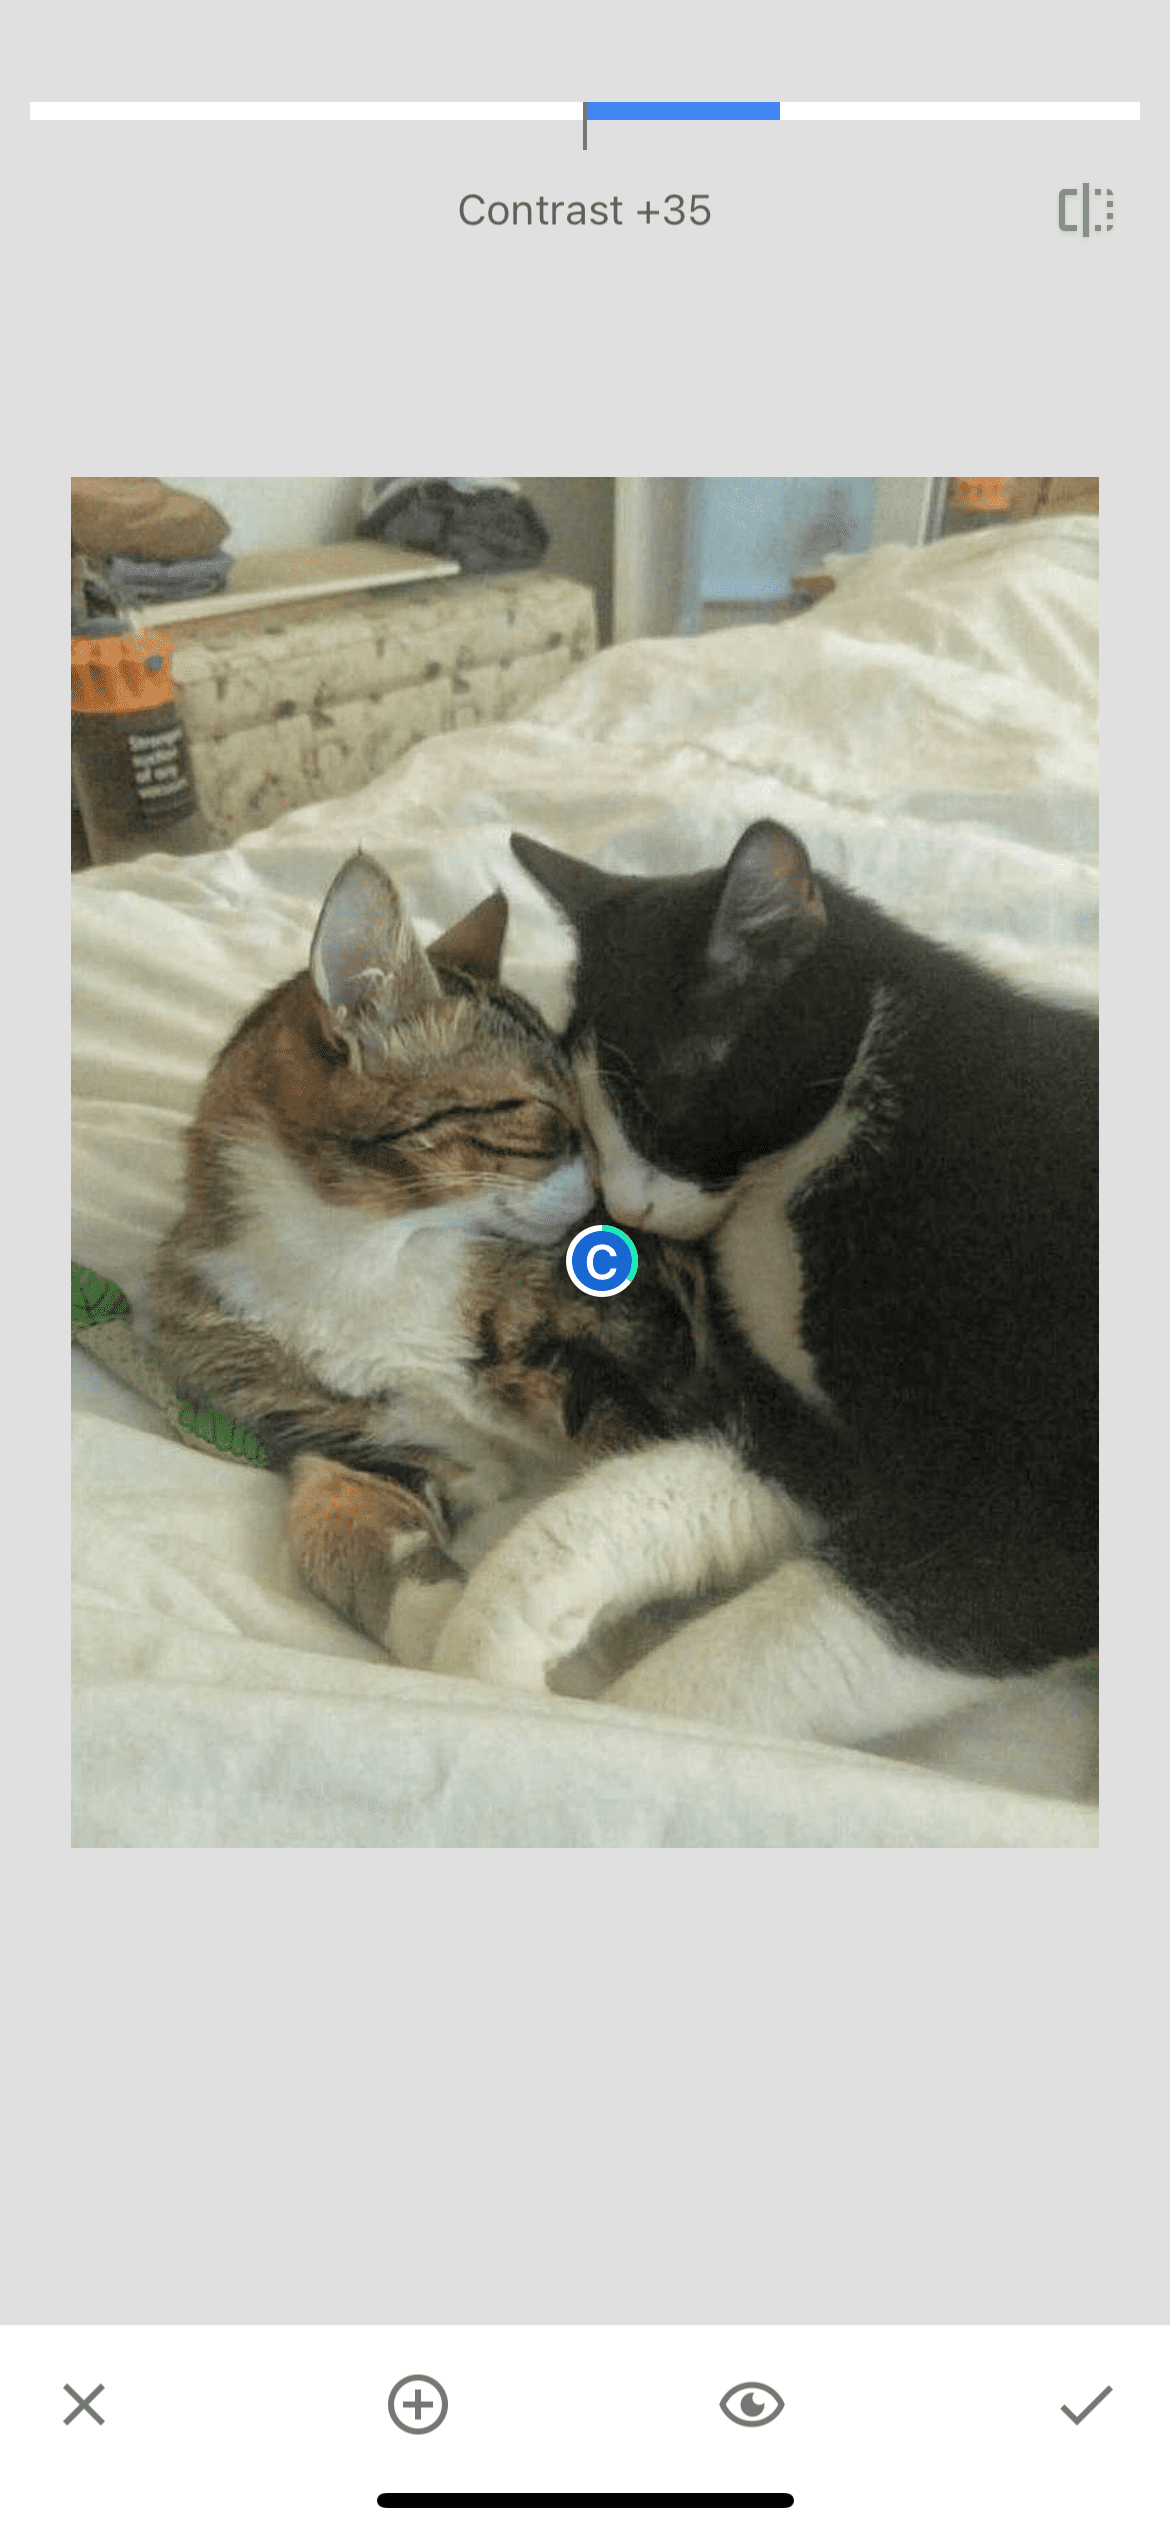
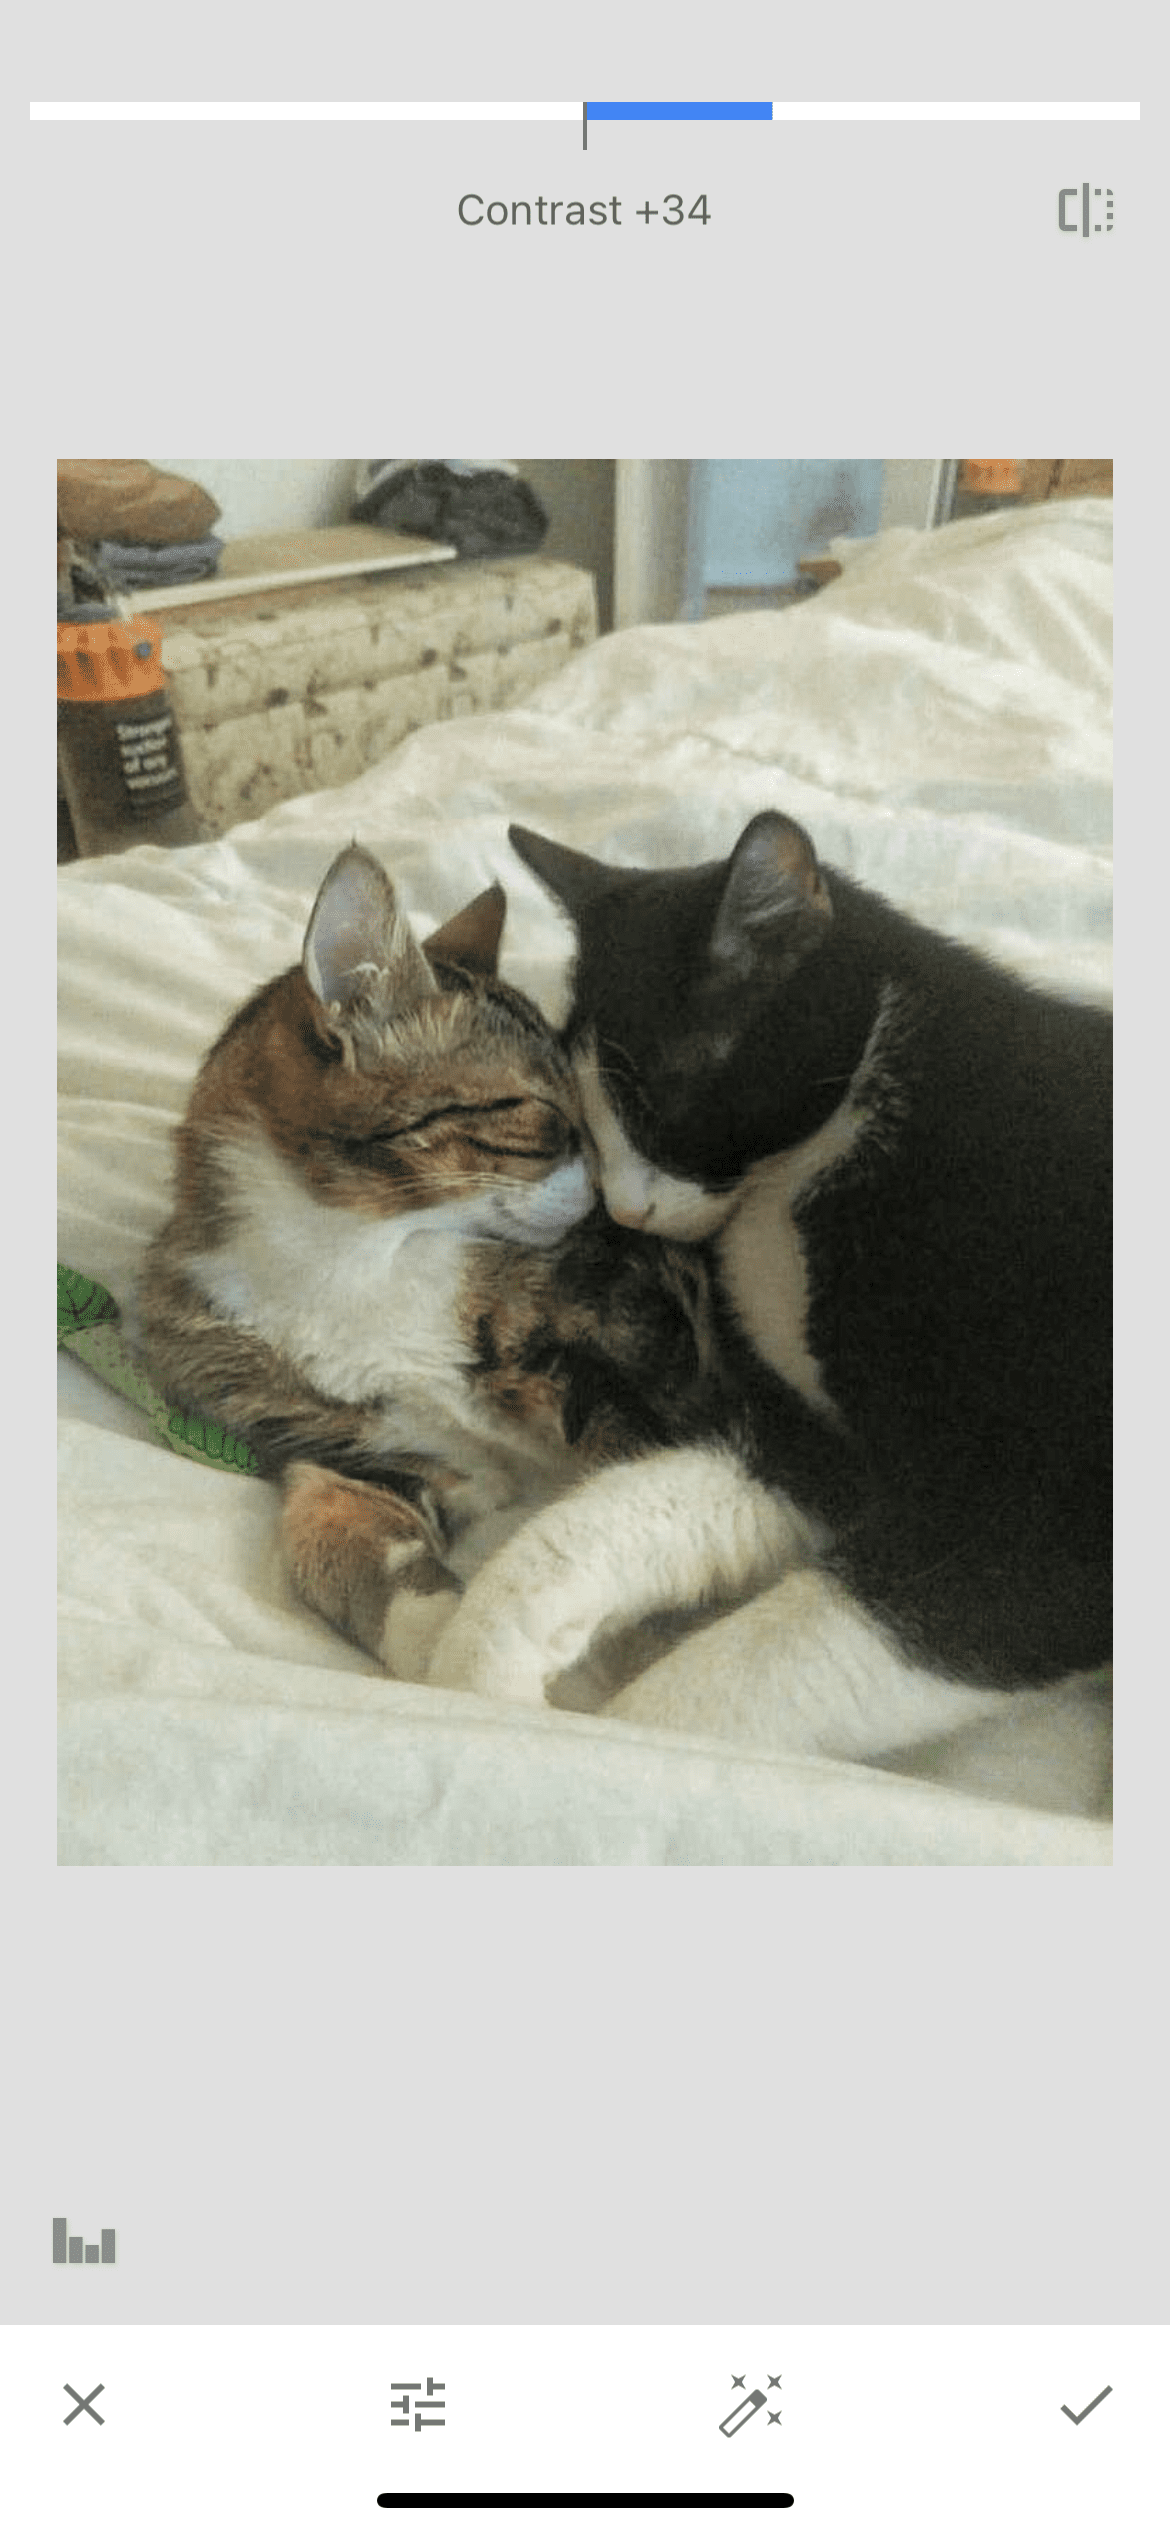
The second point is "contrast". Slightly raise the value, but not much, so that the photo does not look unnatural.
The indicator "saturation" is slightly taken into the negative to remove the yellowness from the picture.

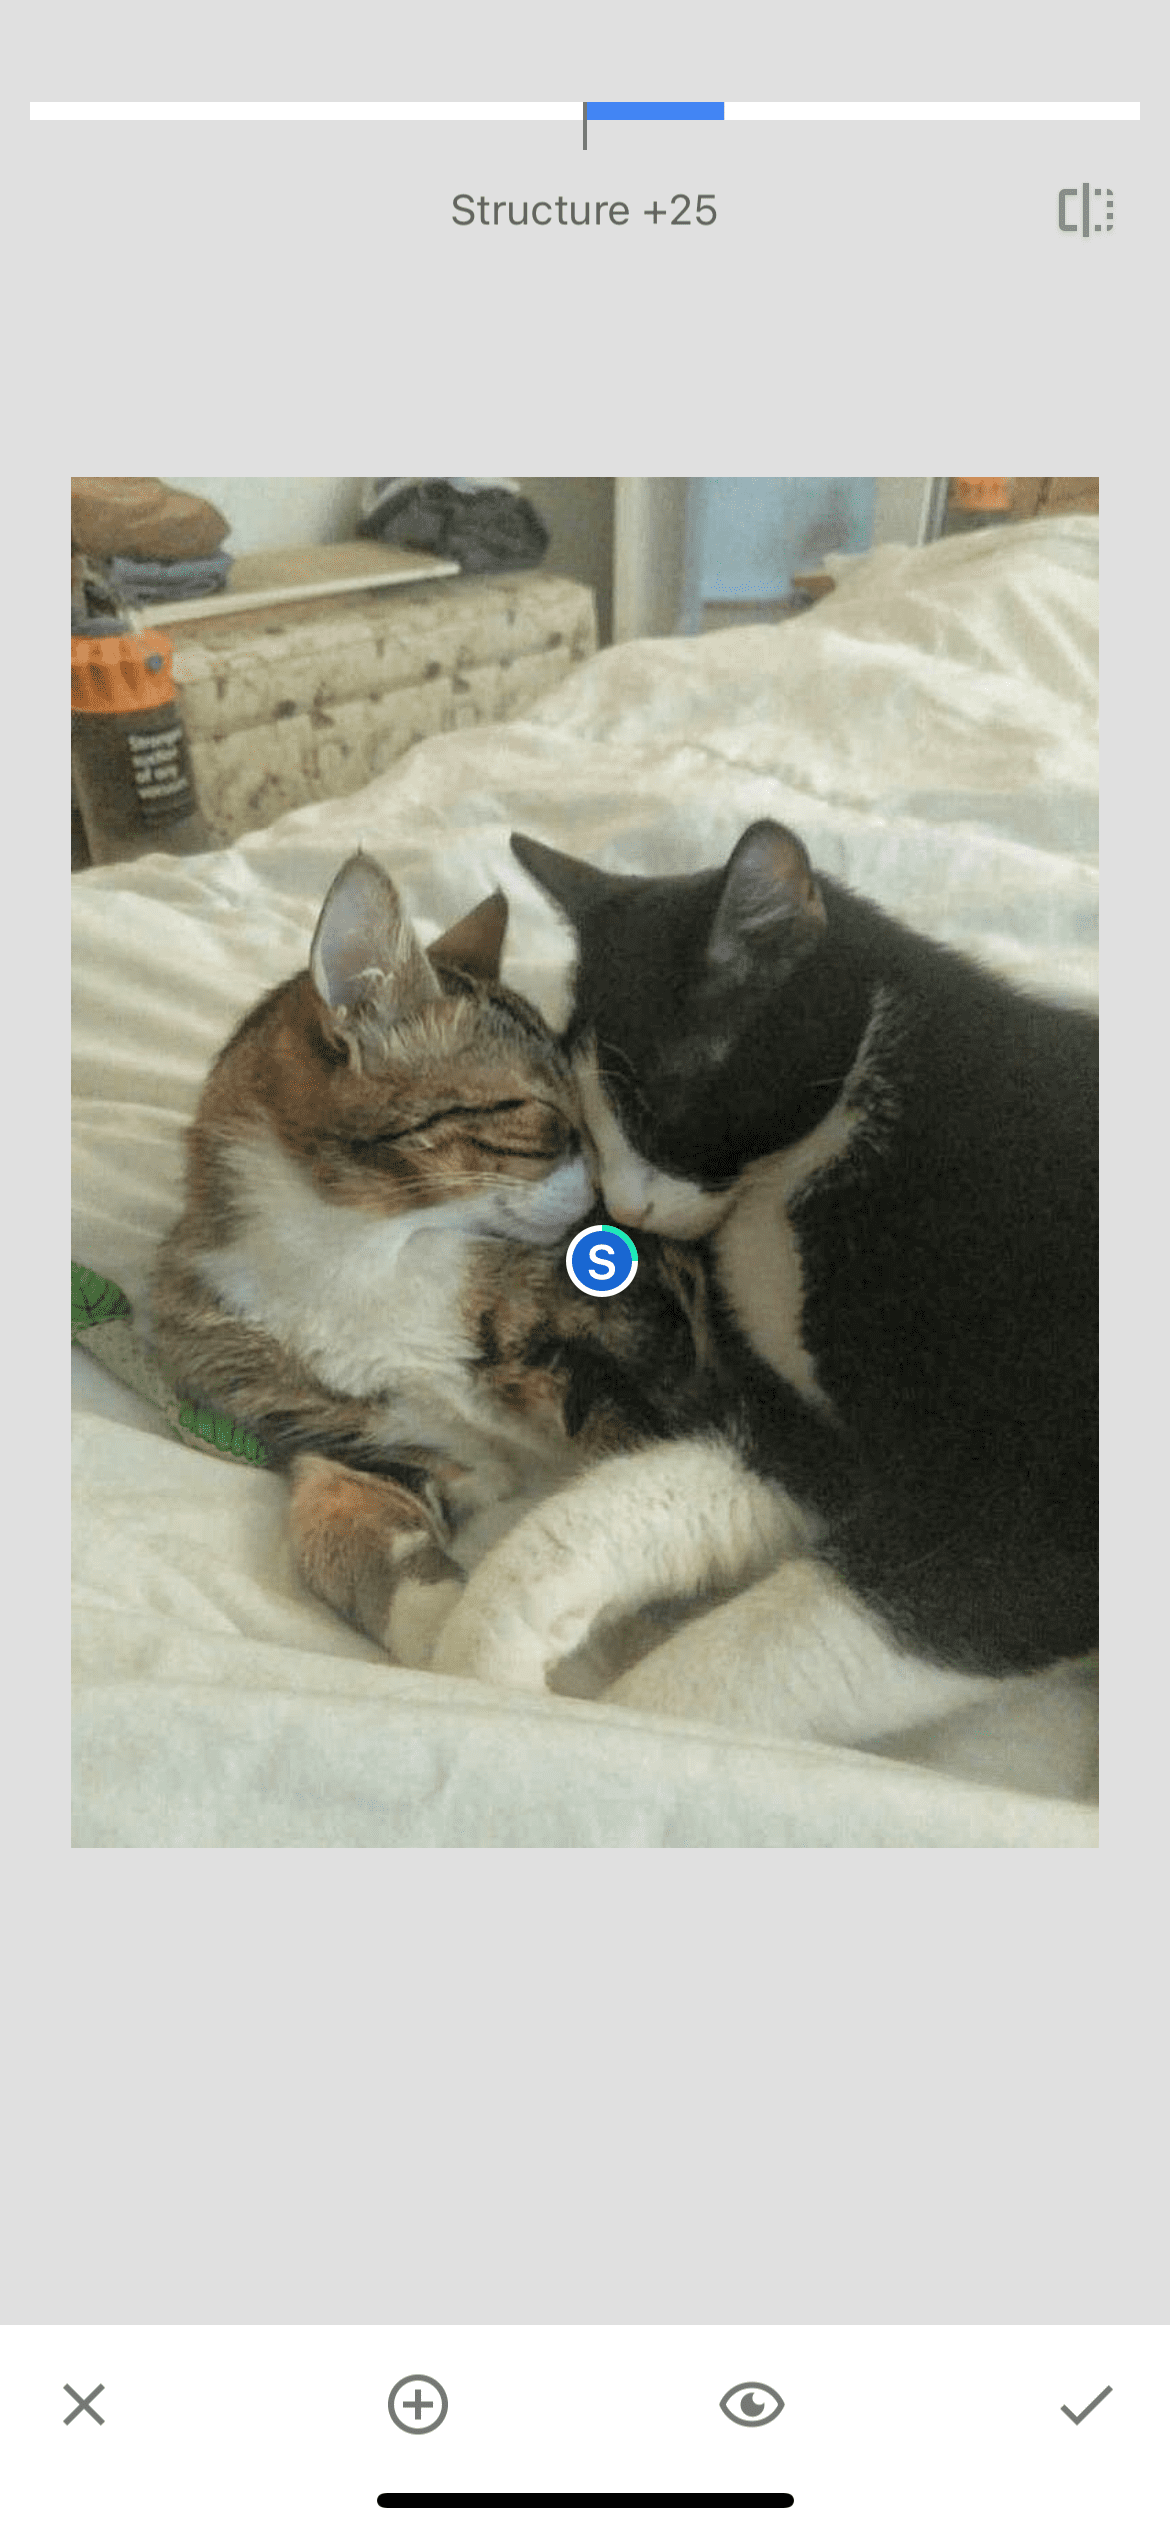
"Structure" slightly increases.
Step 4. Tune image
Selecting the "tune image" tool we see a list of several components of this section: brightness, contrast, saturation, ambiance, highlights, shadows and warmth. We will work with all indicators except brightness and warmth.
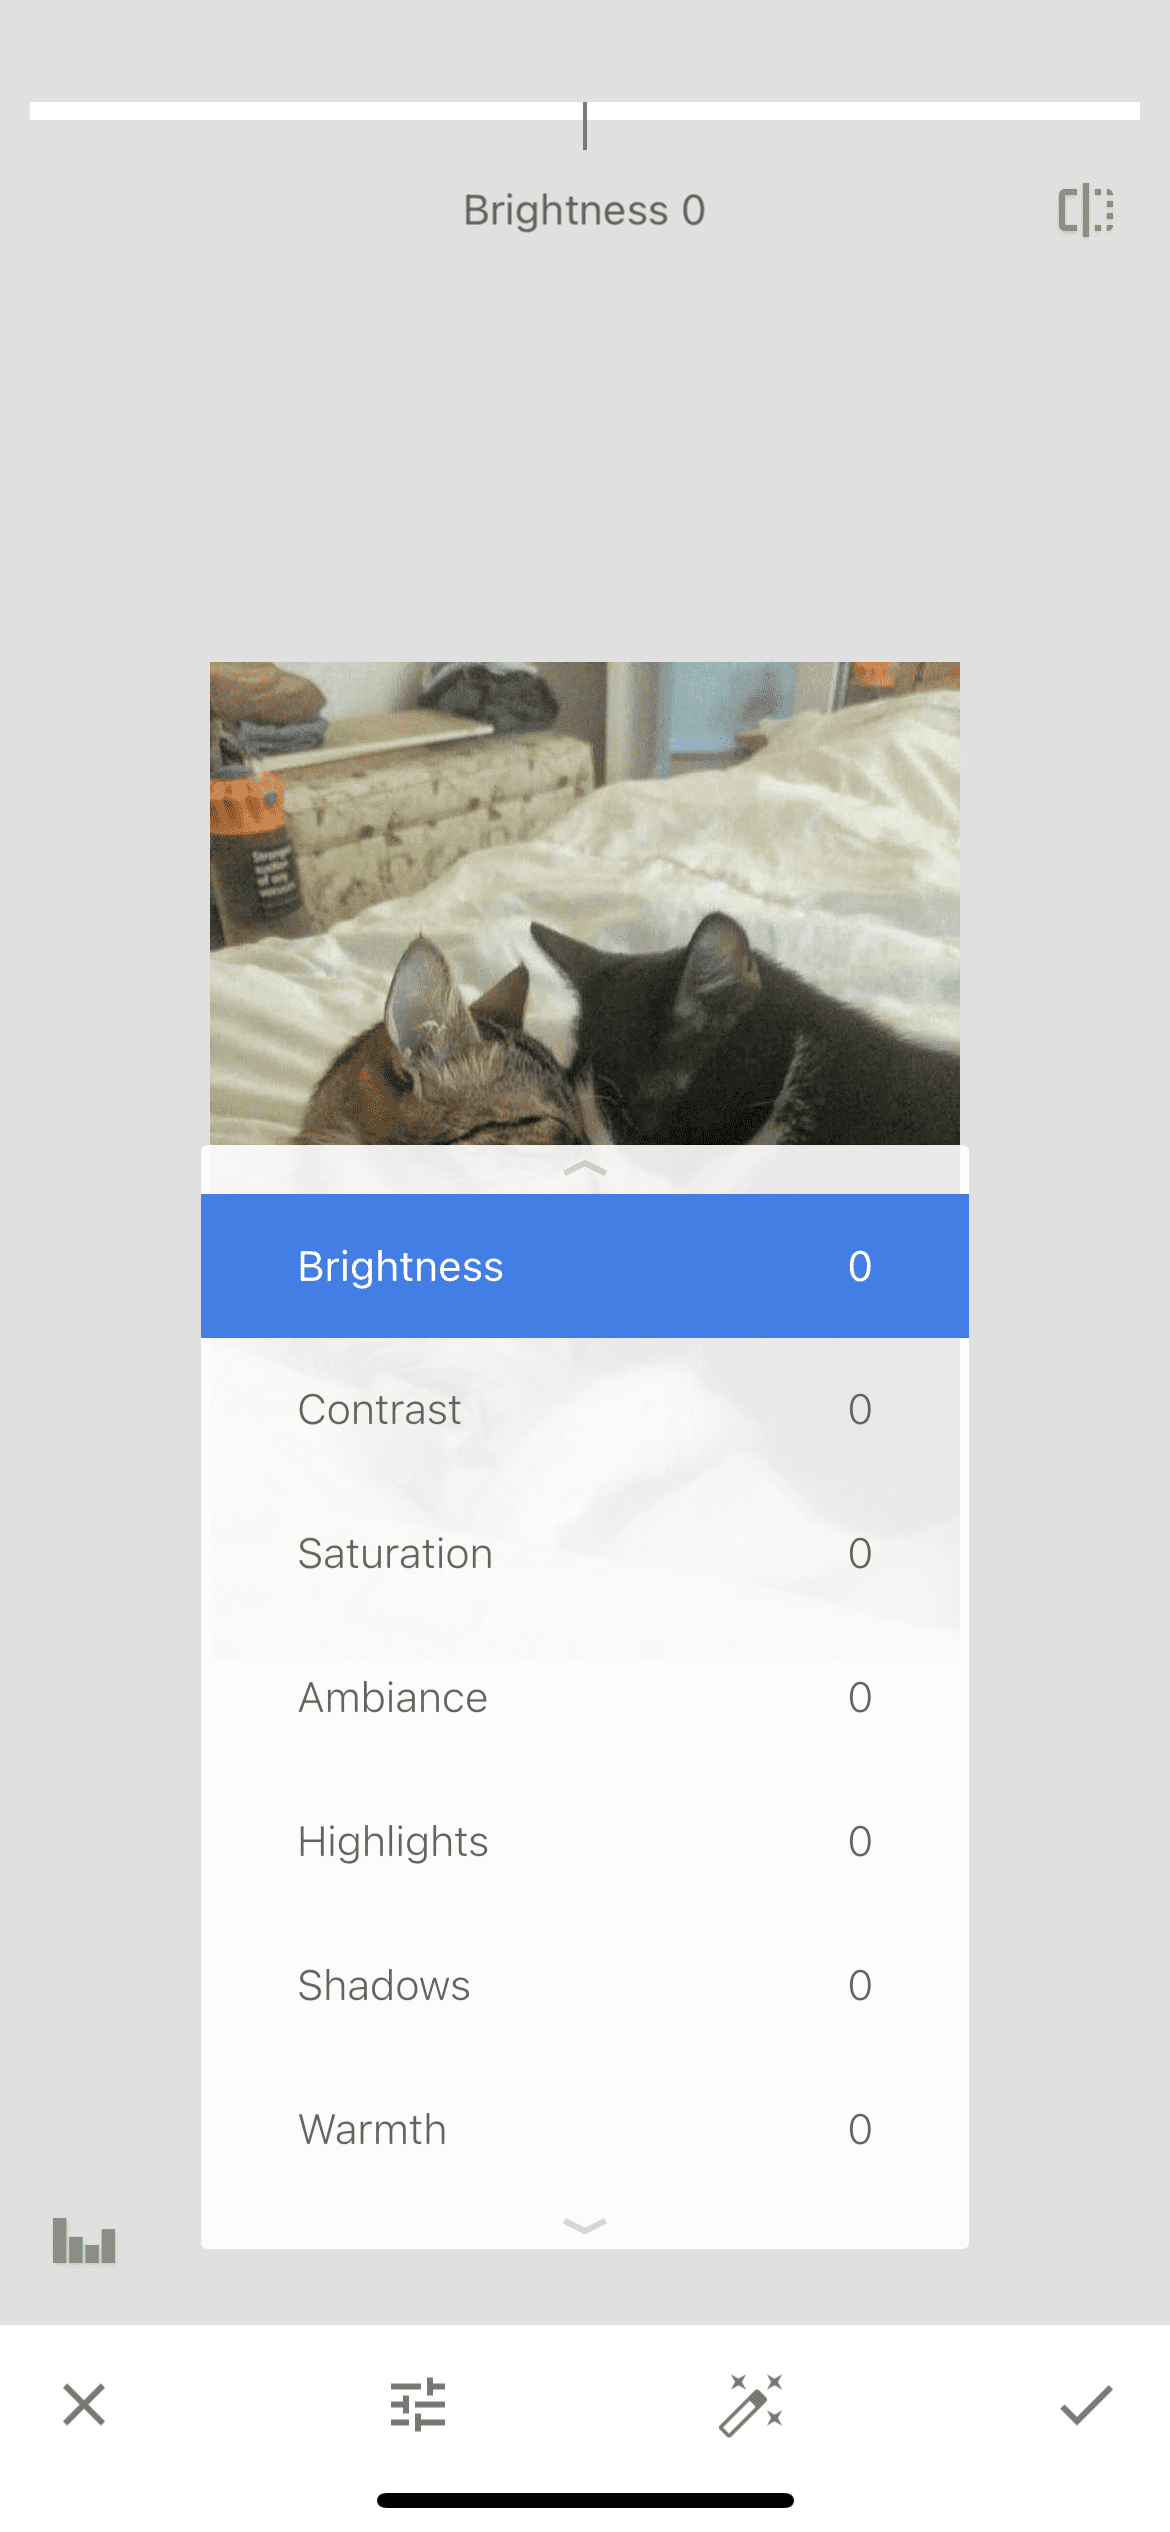
We have already added contrast to the photo in another indicator, but it is worth adding a little more using the correction tool, since it imposes an effect using a different algorithm.
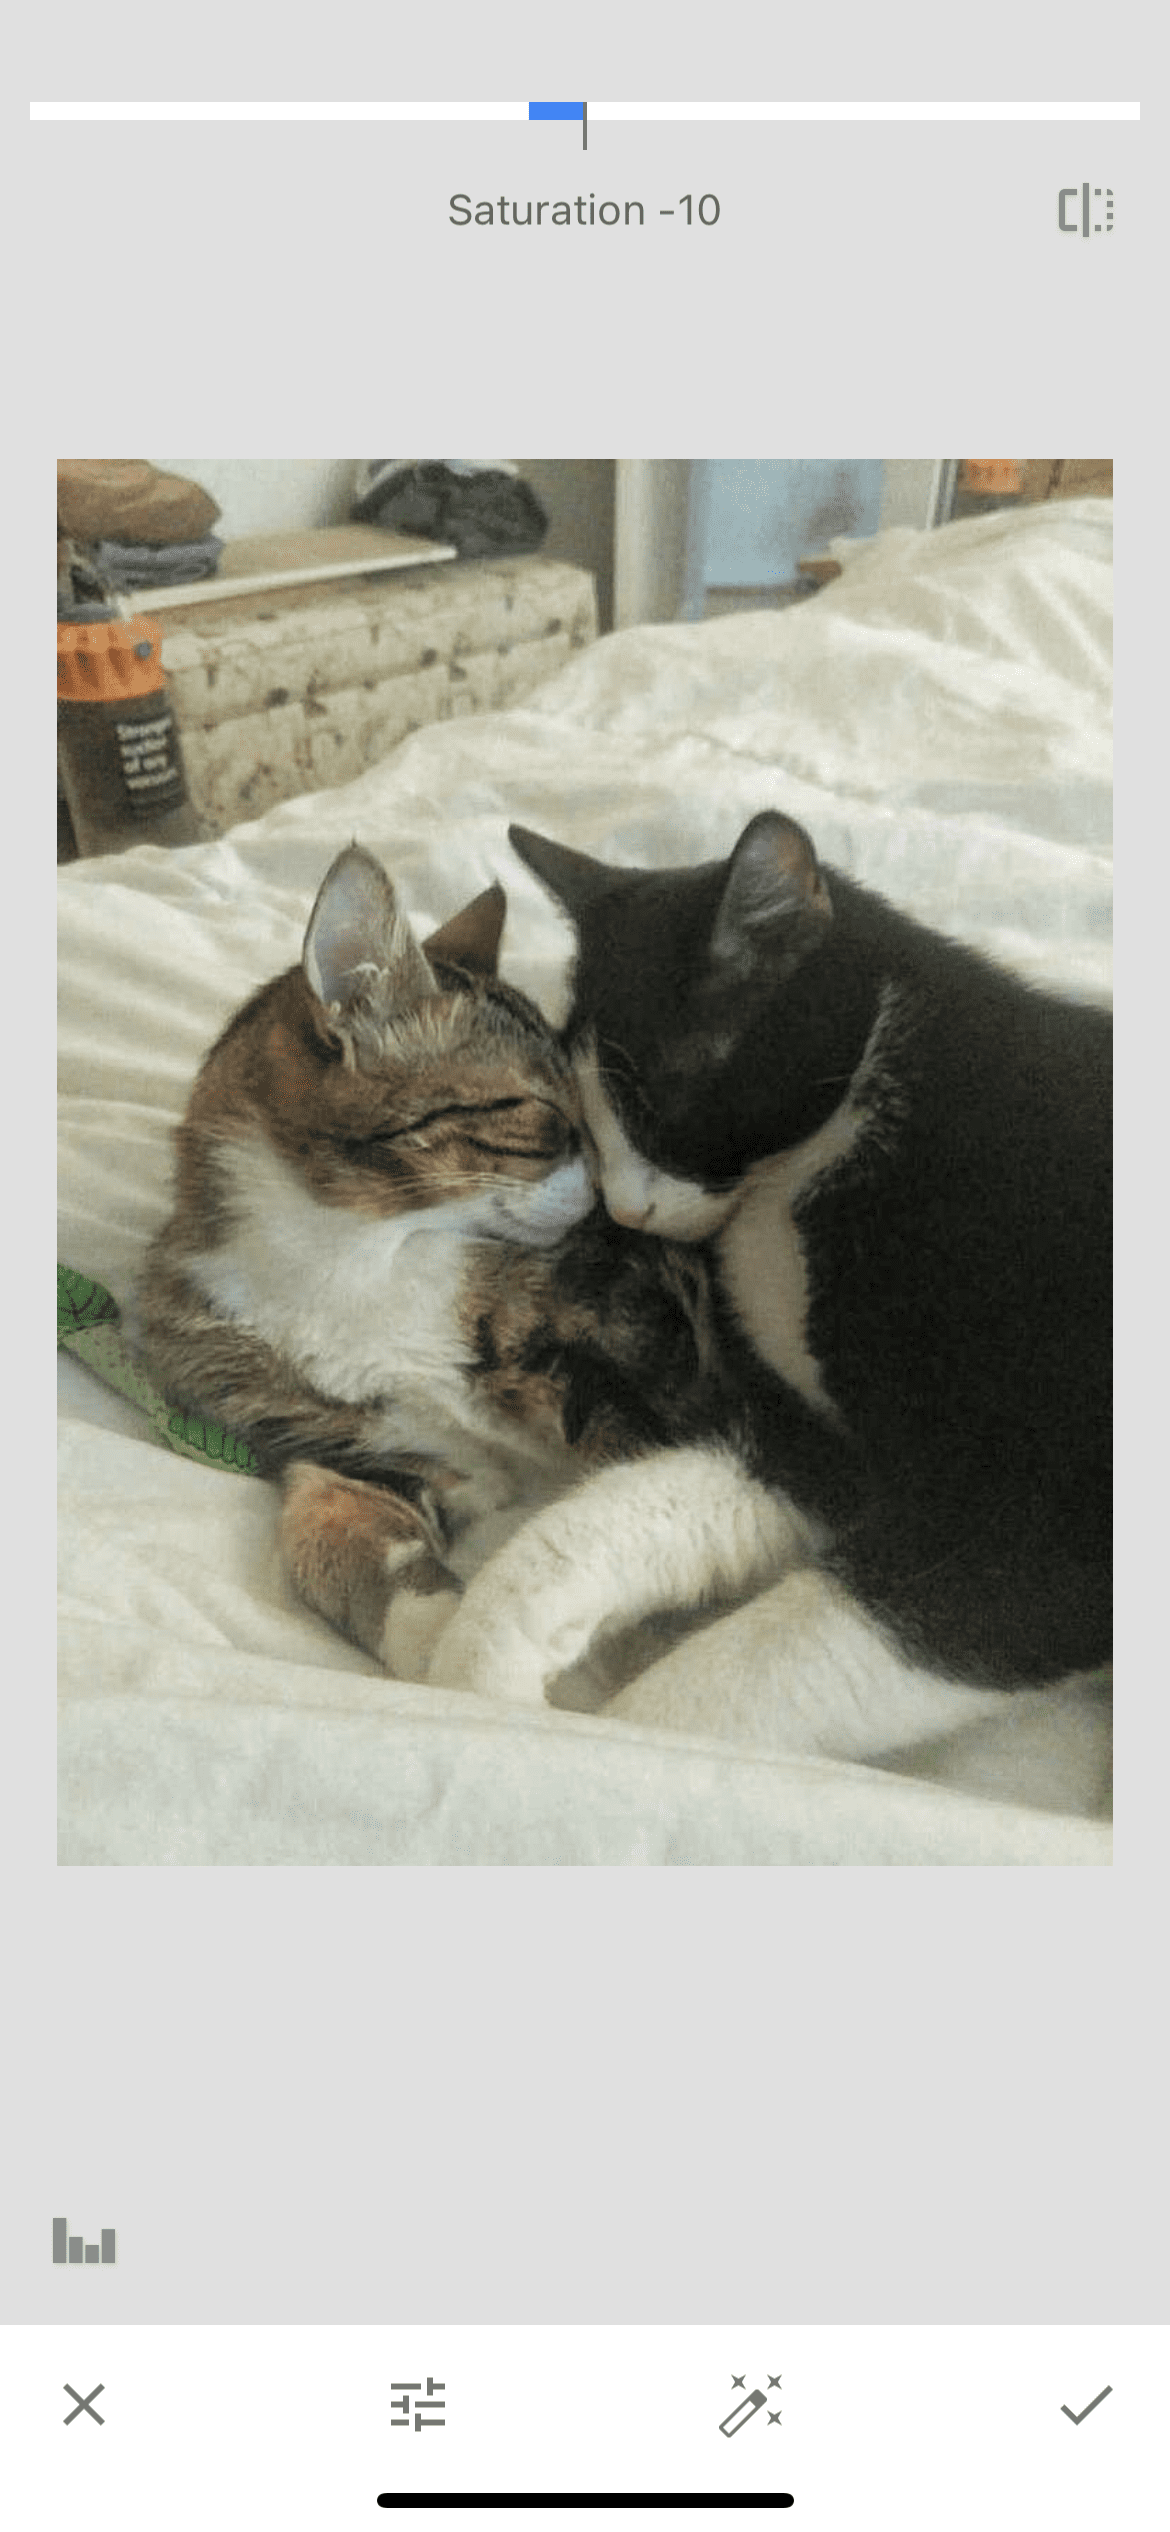
We also slightly lower the saturation indicator again in order to get rid of intrusive colors that stand out too much.
We take the ambiance to a minus, making the photo a little darker.

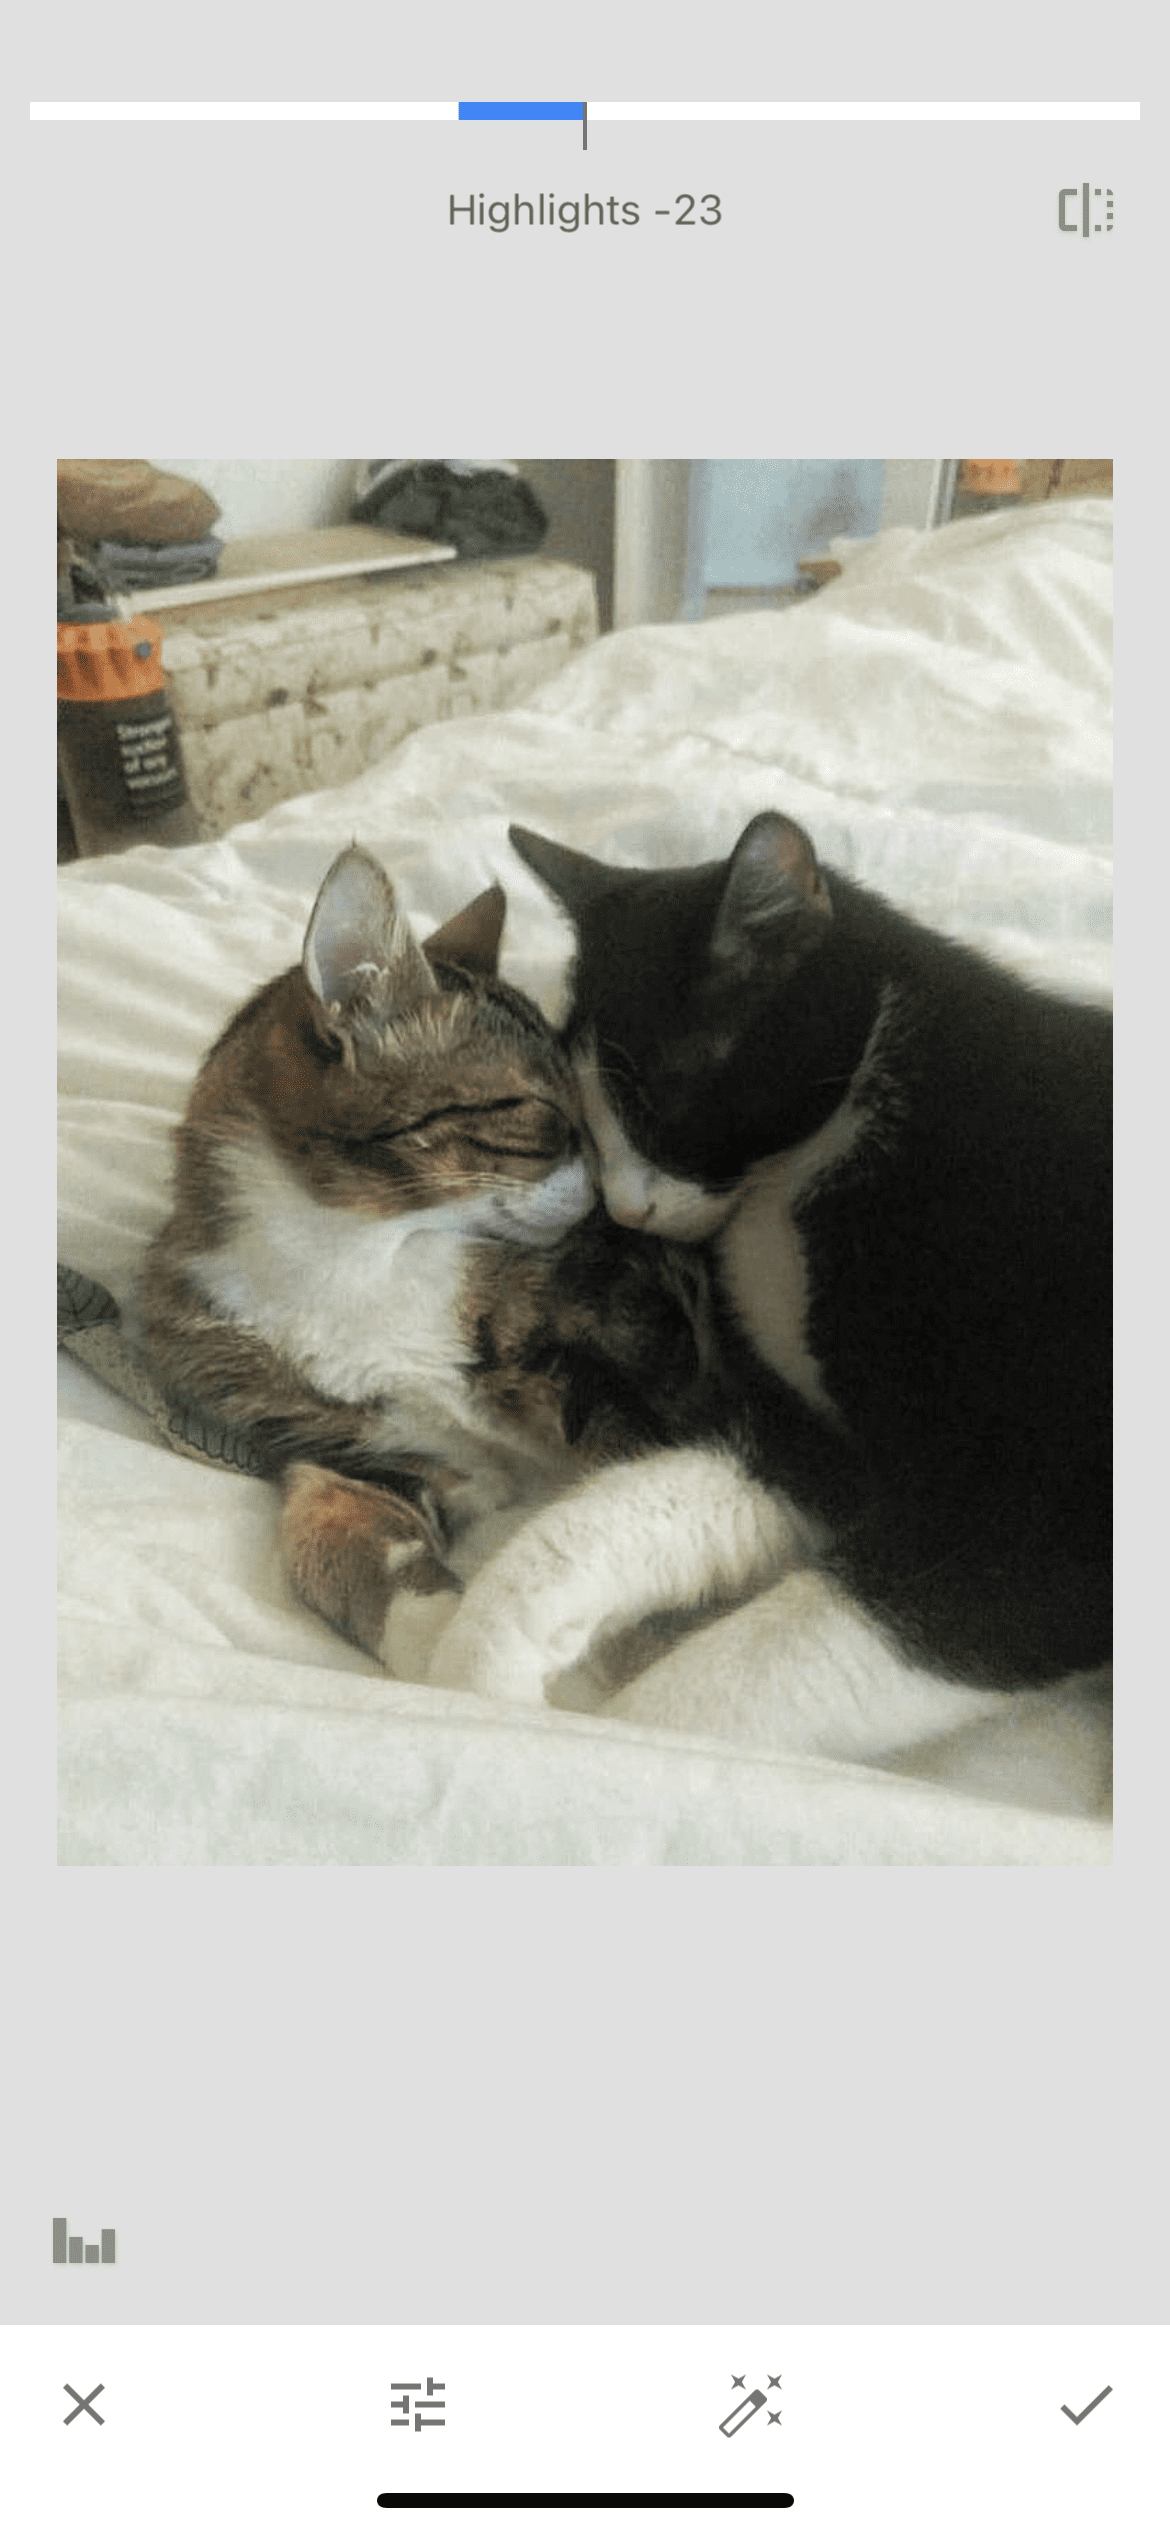
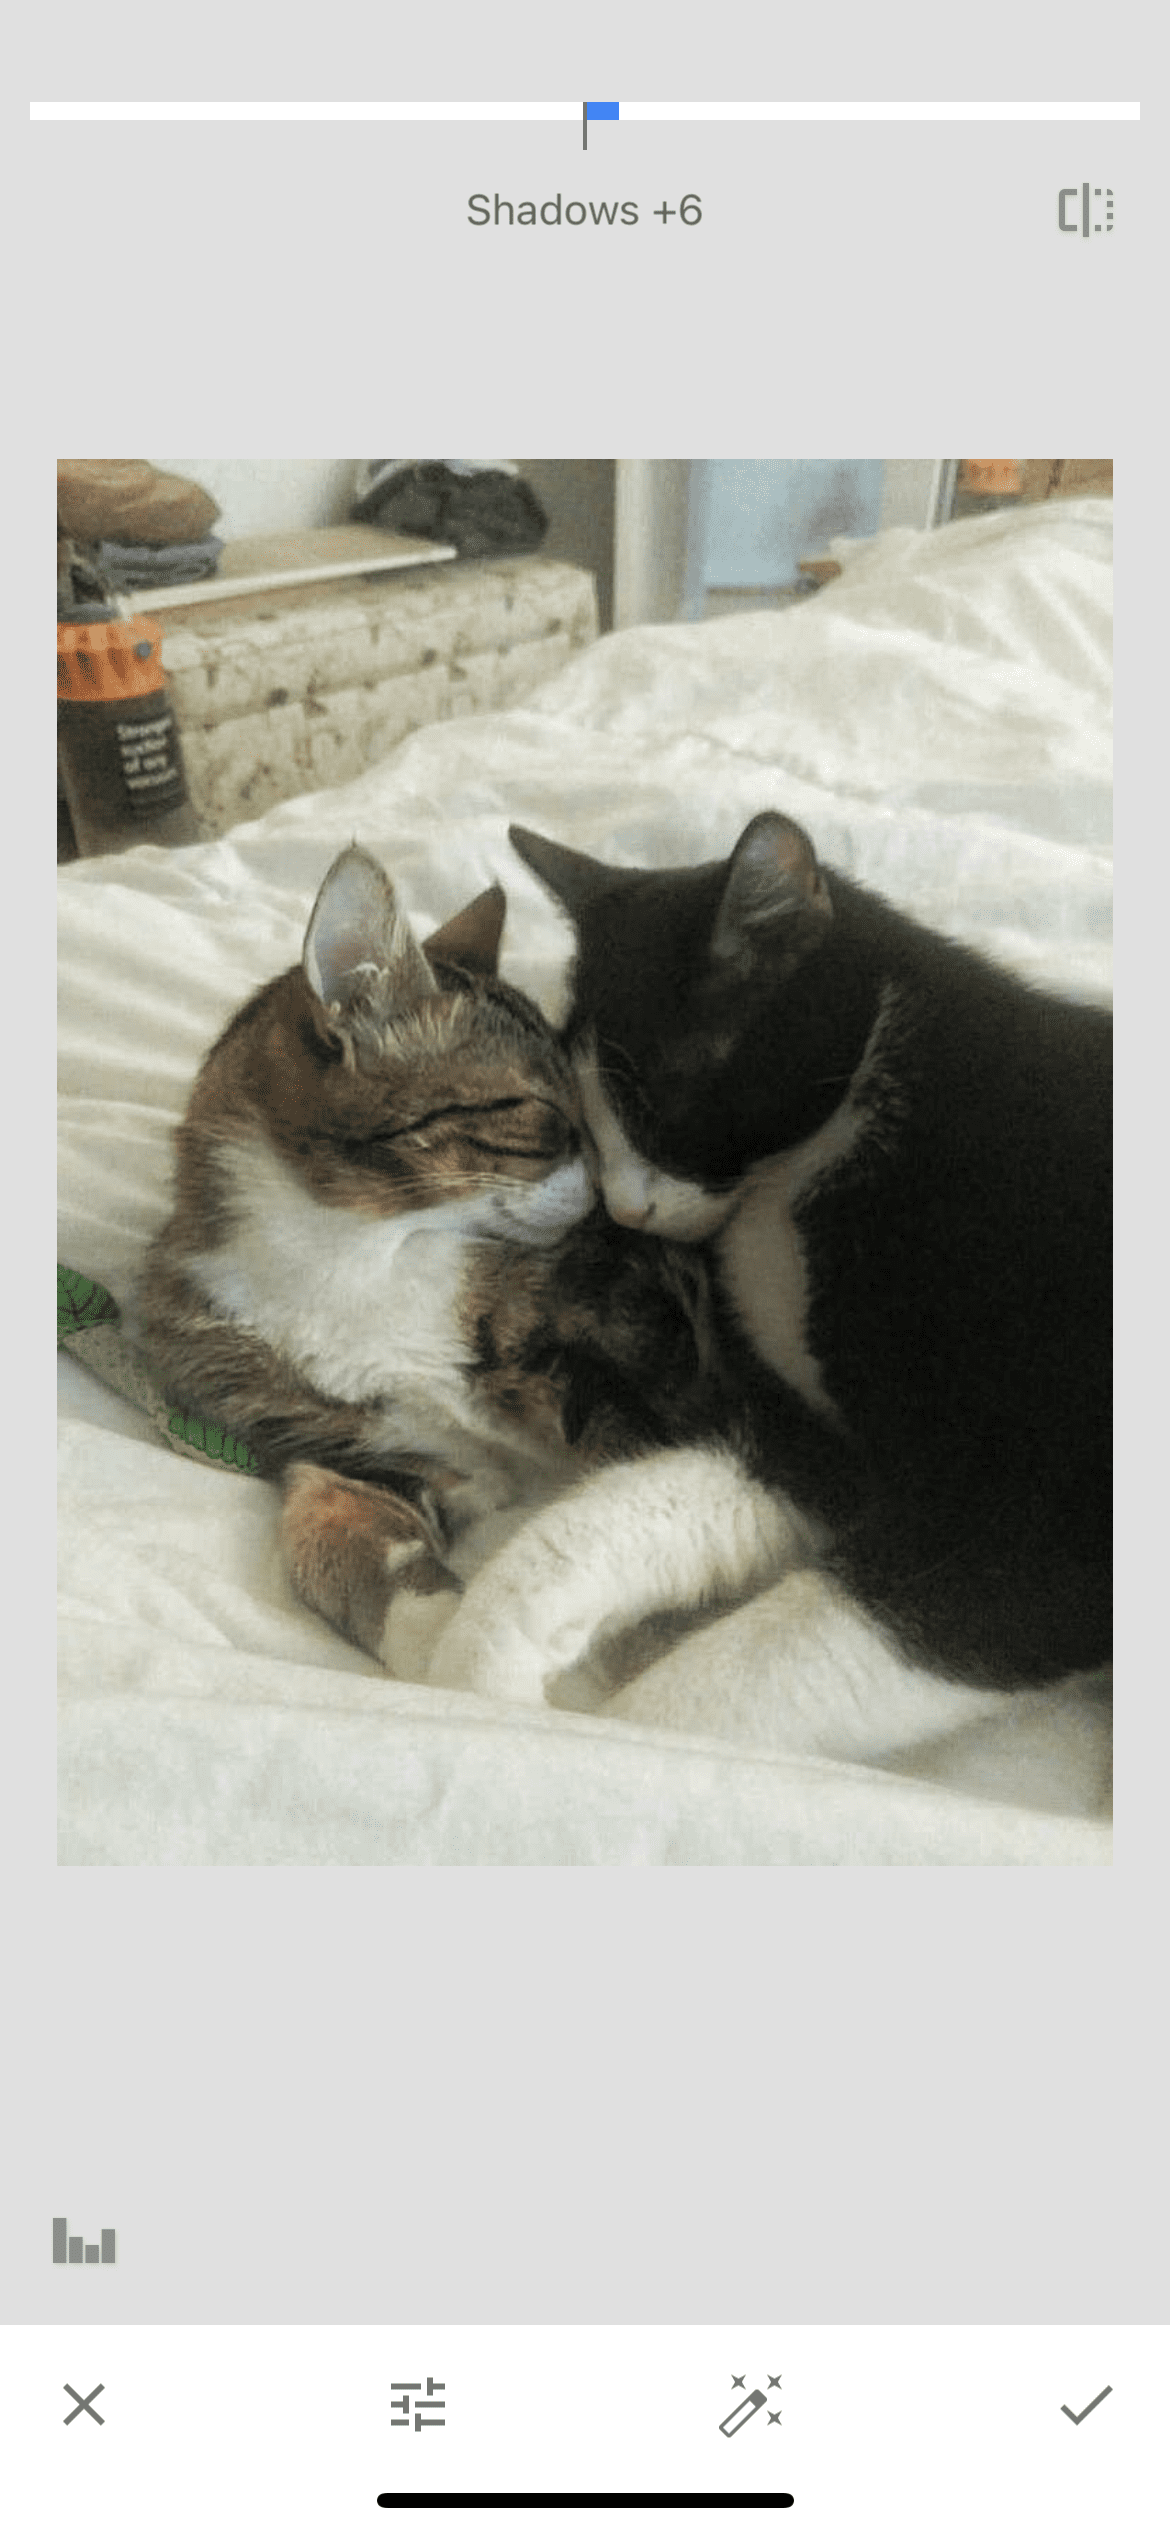
We reduce the value of the highlights so as not to lose the balance between black and white. For the same purpose, we slightly raise the value of the shadows.
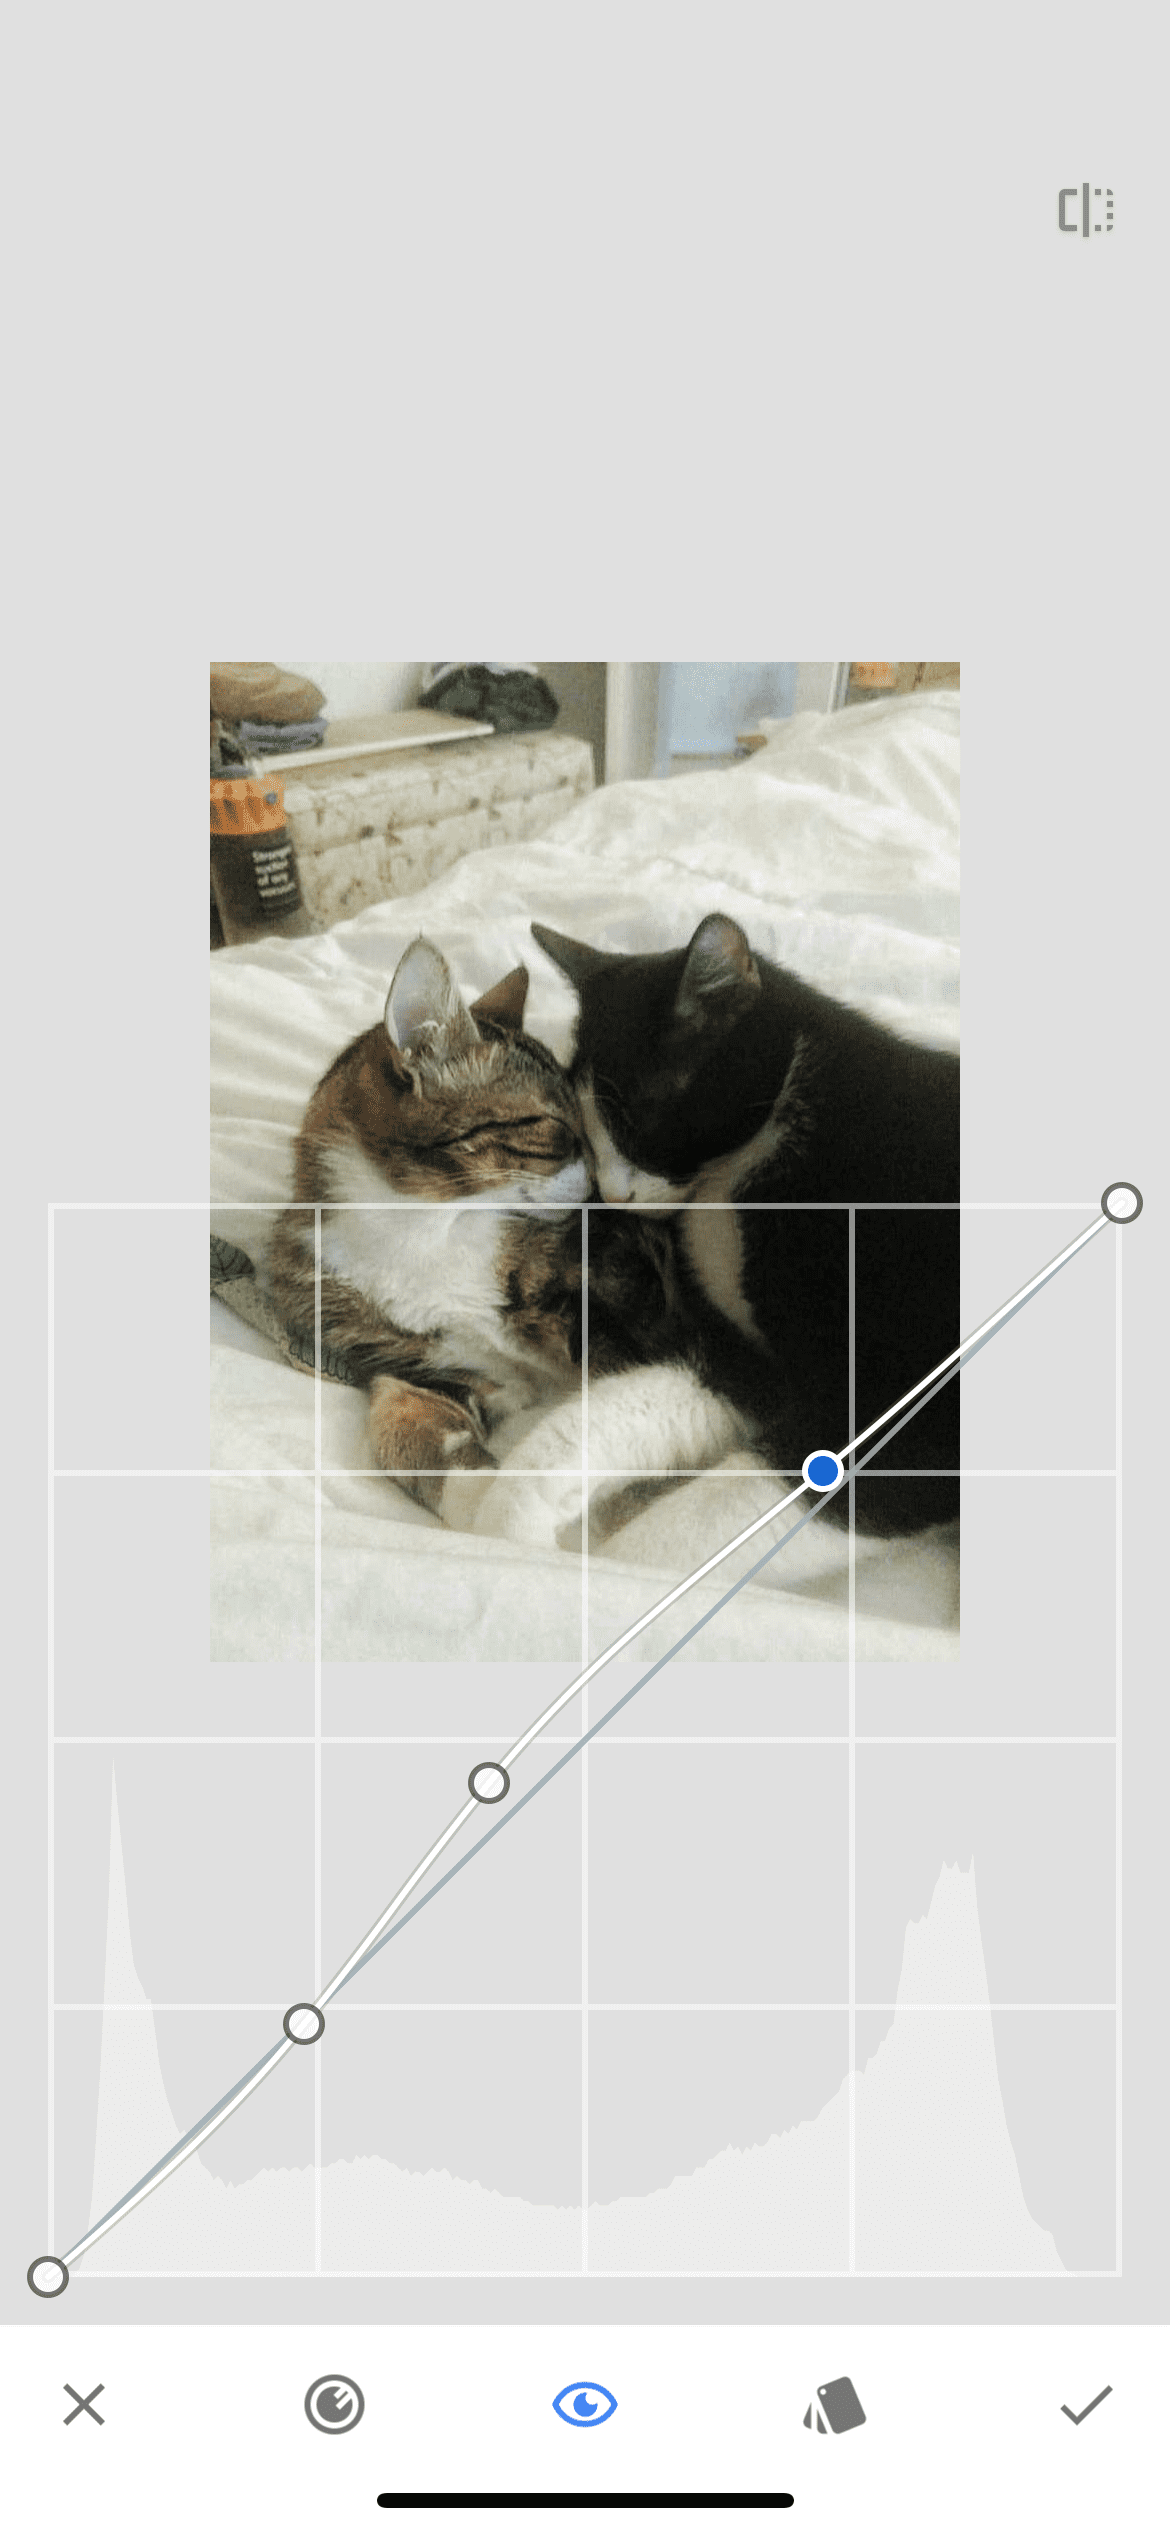
Step 5. Curves
Go back to the tools section and select "curves". This tool is better to use if you know how to set the values correctly. You can skip this step and finish editing the photo, but if you want to make the picture a little better, then you can slightly raise the value of the curve at the top of it and lower it quite a bit at the bottom.
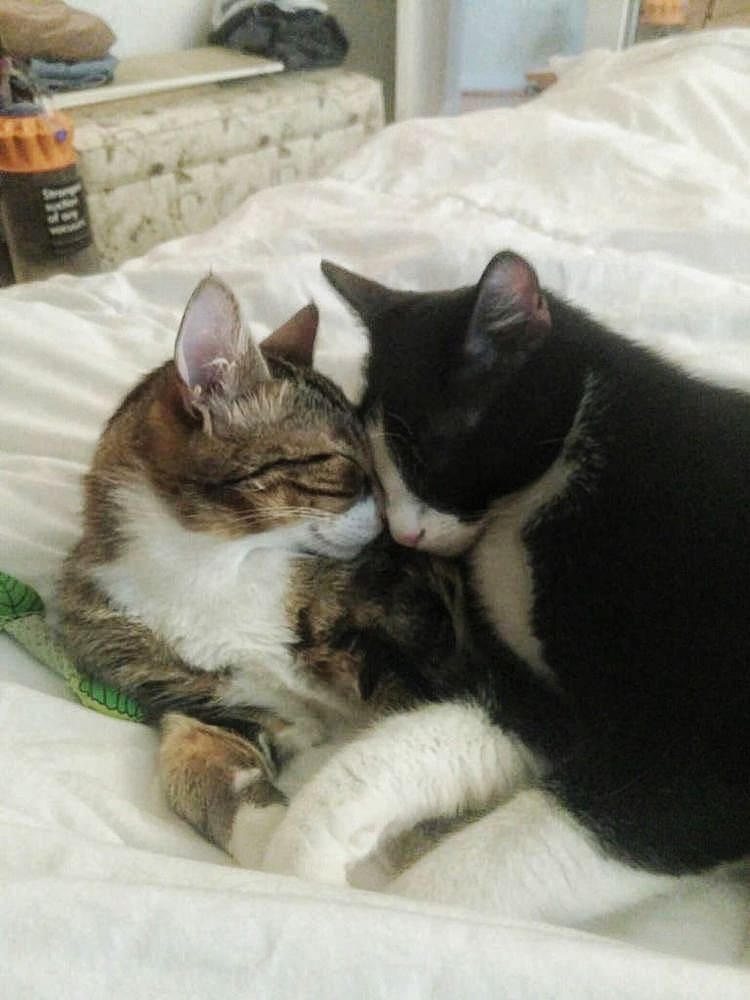
Result
So now you know how to sharpen and improve the quality of photos using the Snapseed mobile app. See how the photo has changed by comparing it with the original below.