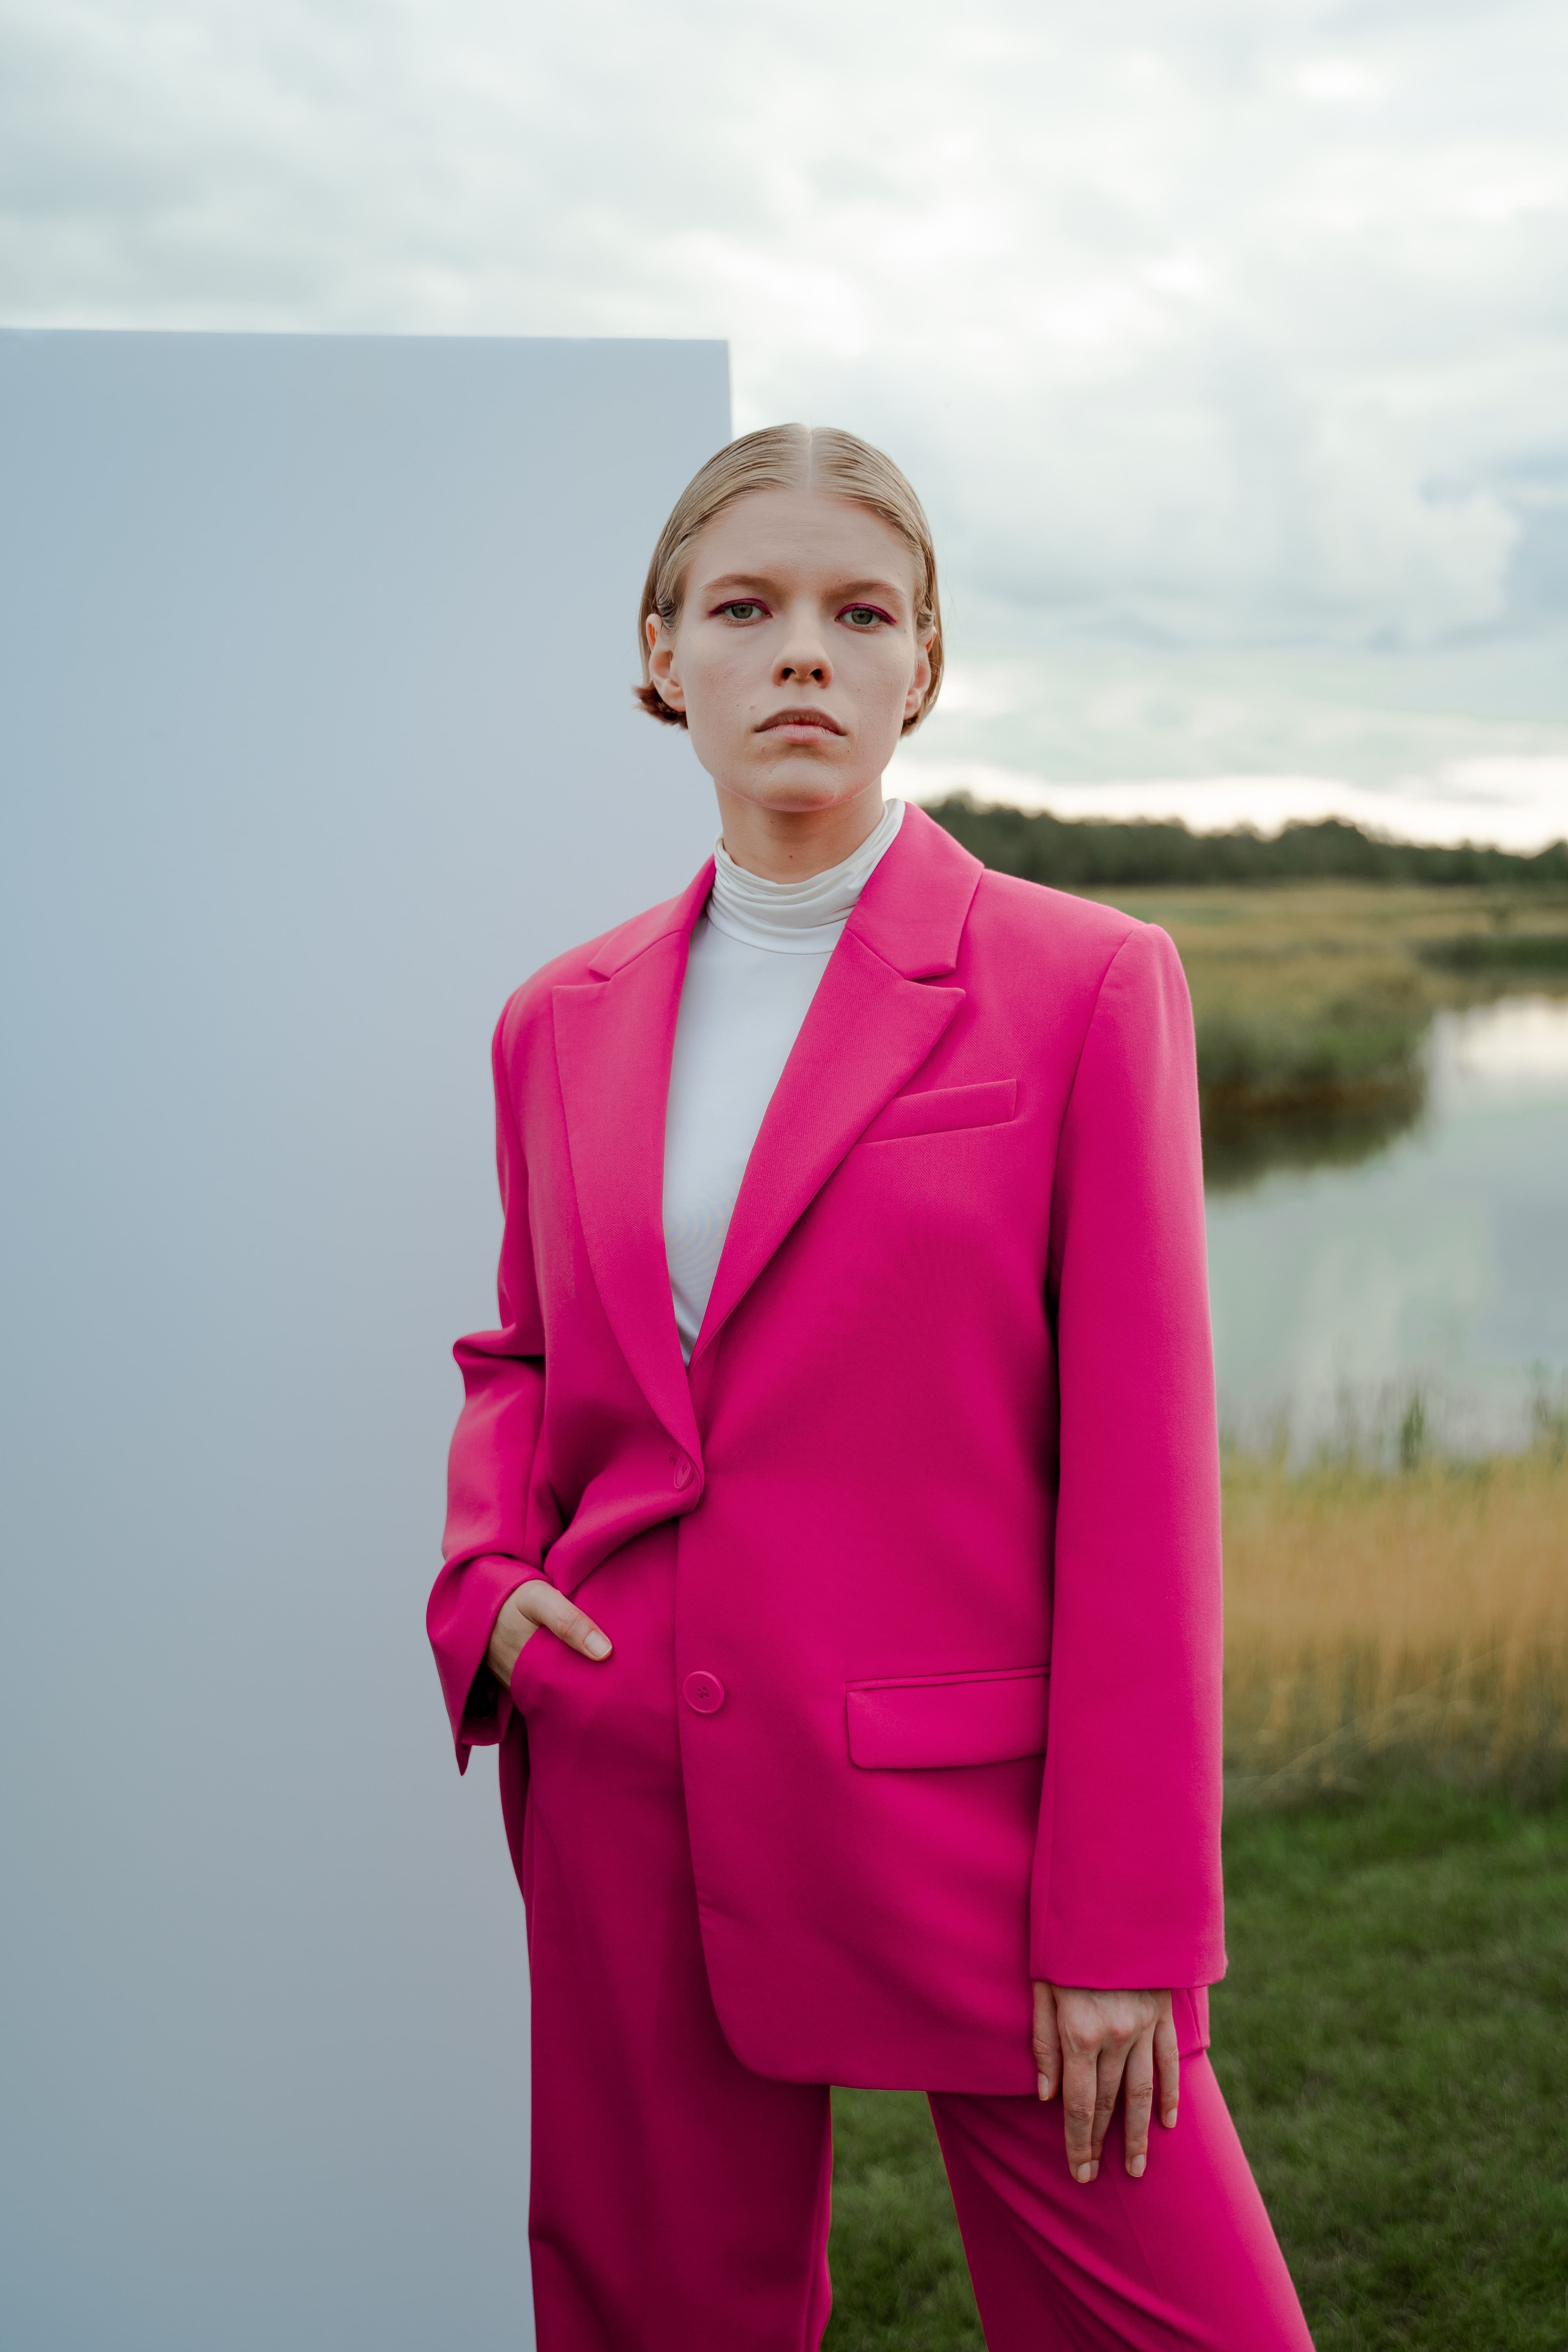


In this lesson, you will learn how to easily and quickly change the color of an object using a brush.
Step 1. Photo choosing
Open the photo we need in the Snapseed application and find and select "brush" in the tools section.
Step 2. Choosing a brush
On the edit page we see several brushes: dodge&burn, exposure, temperature and saturation. You can choose any brush. The principle of operation is described below and is suitable for each of the brushes. The difference between them is only in the effect they put on the picture.
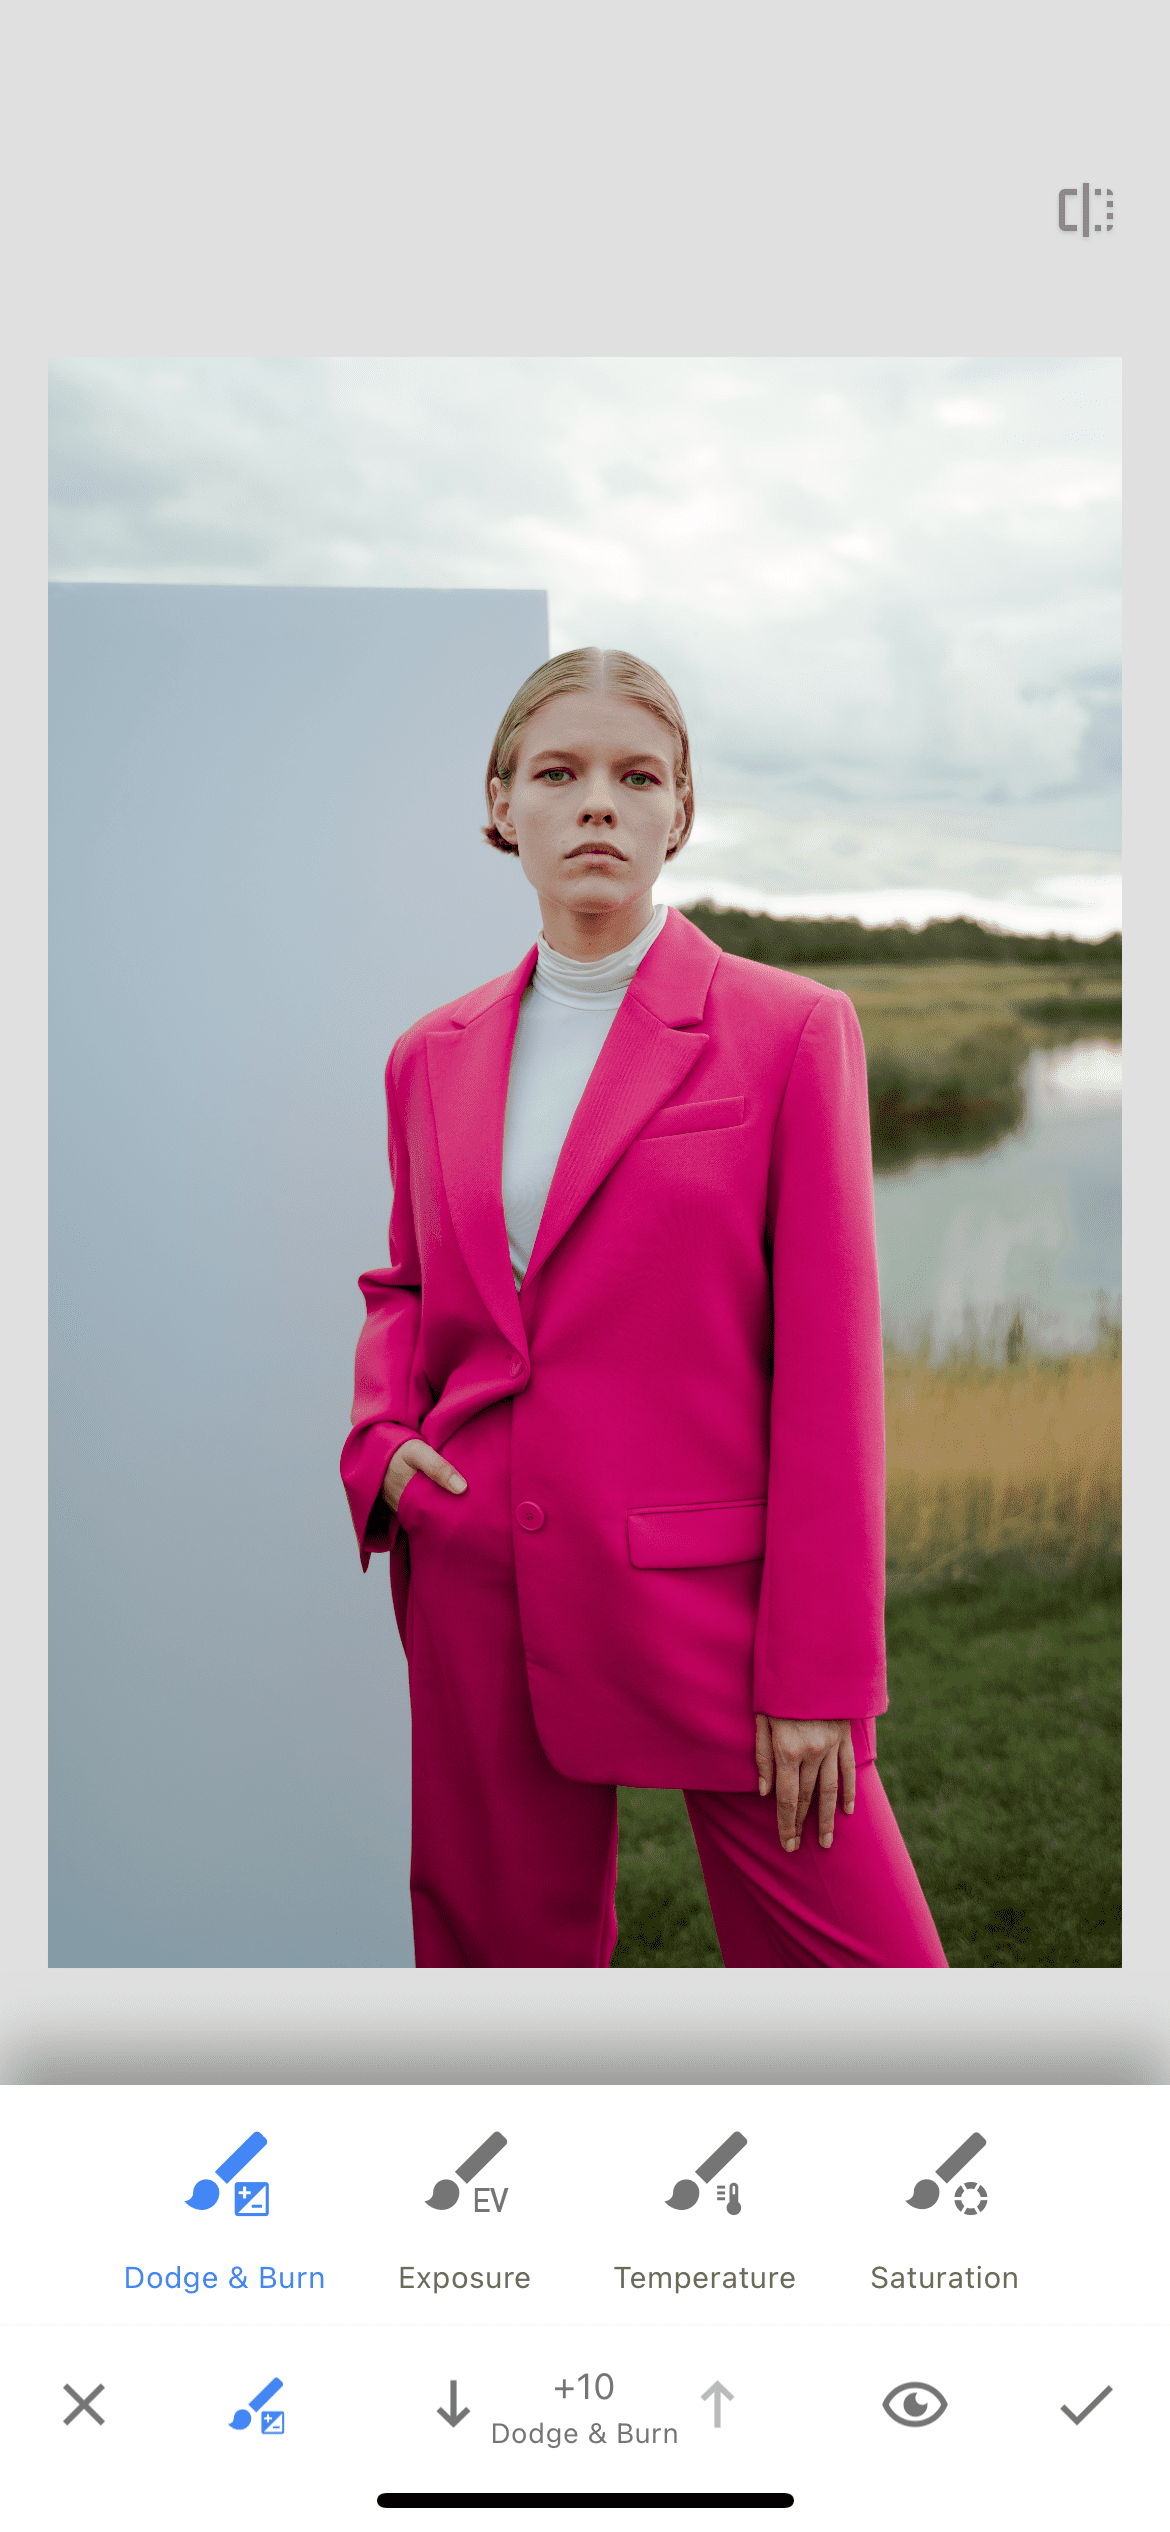
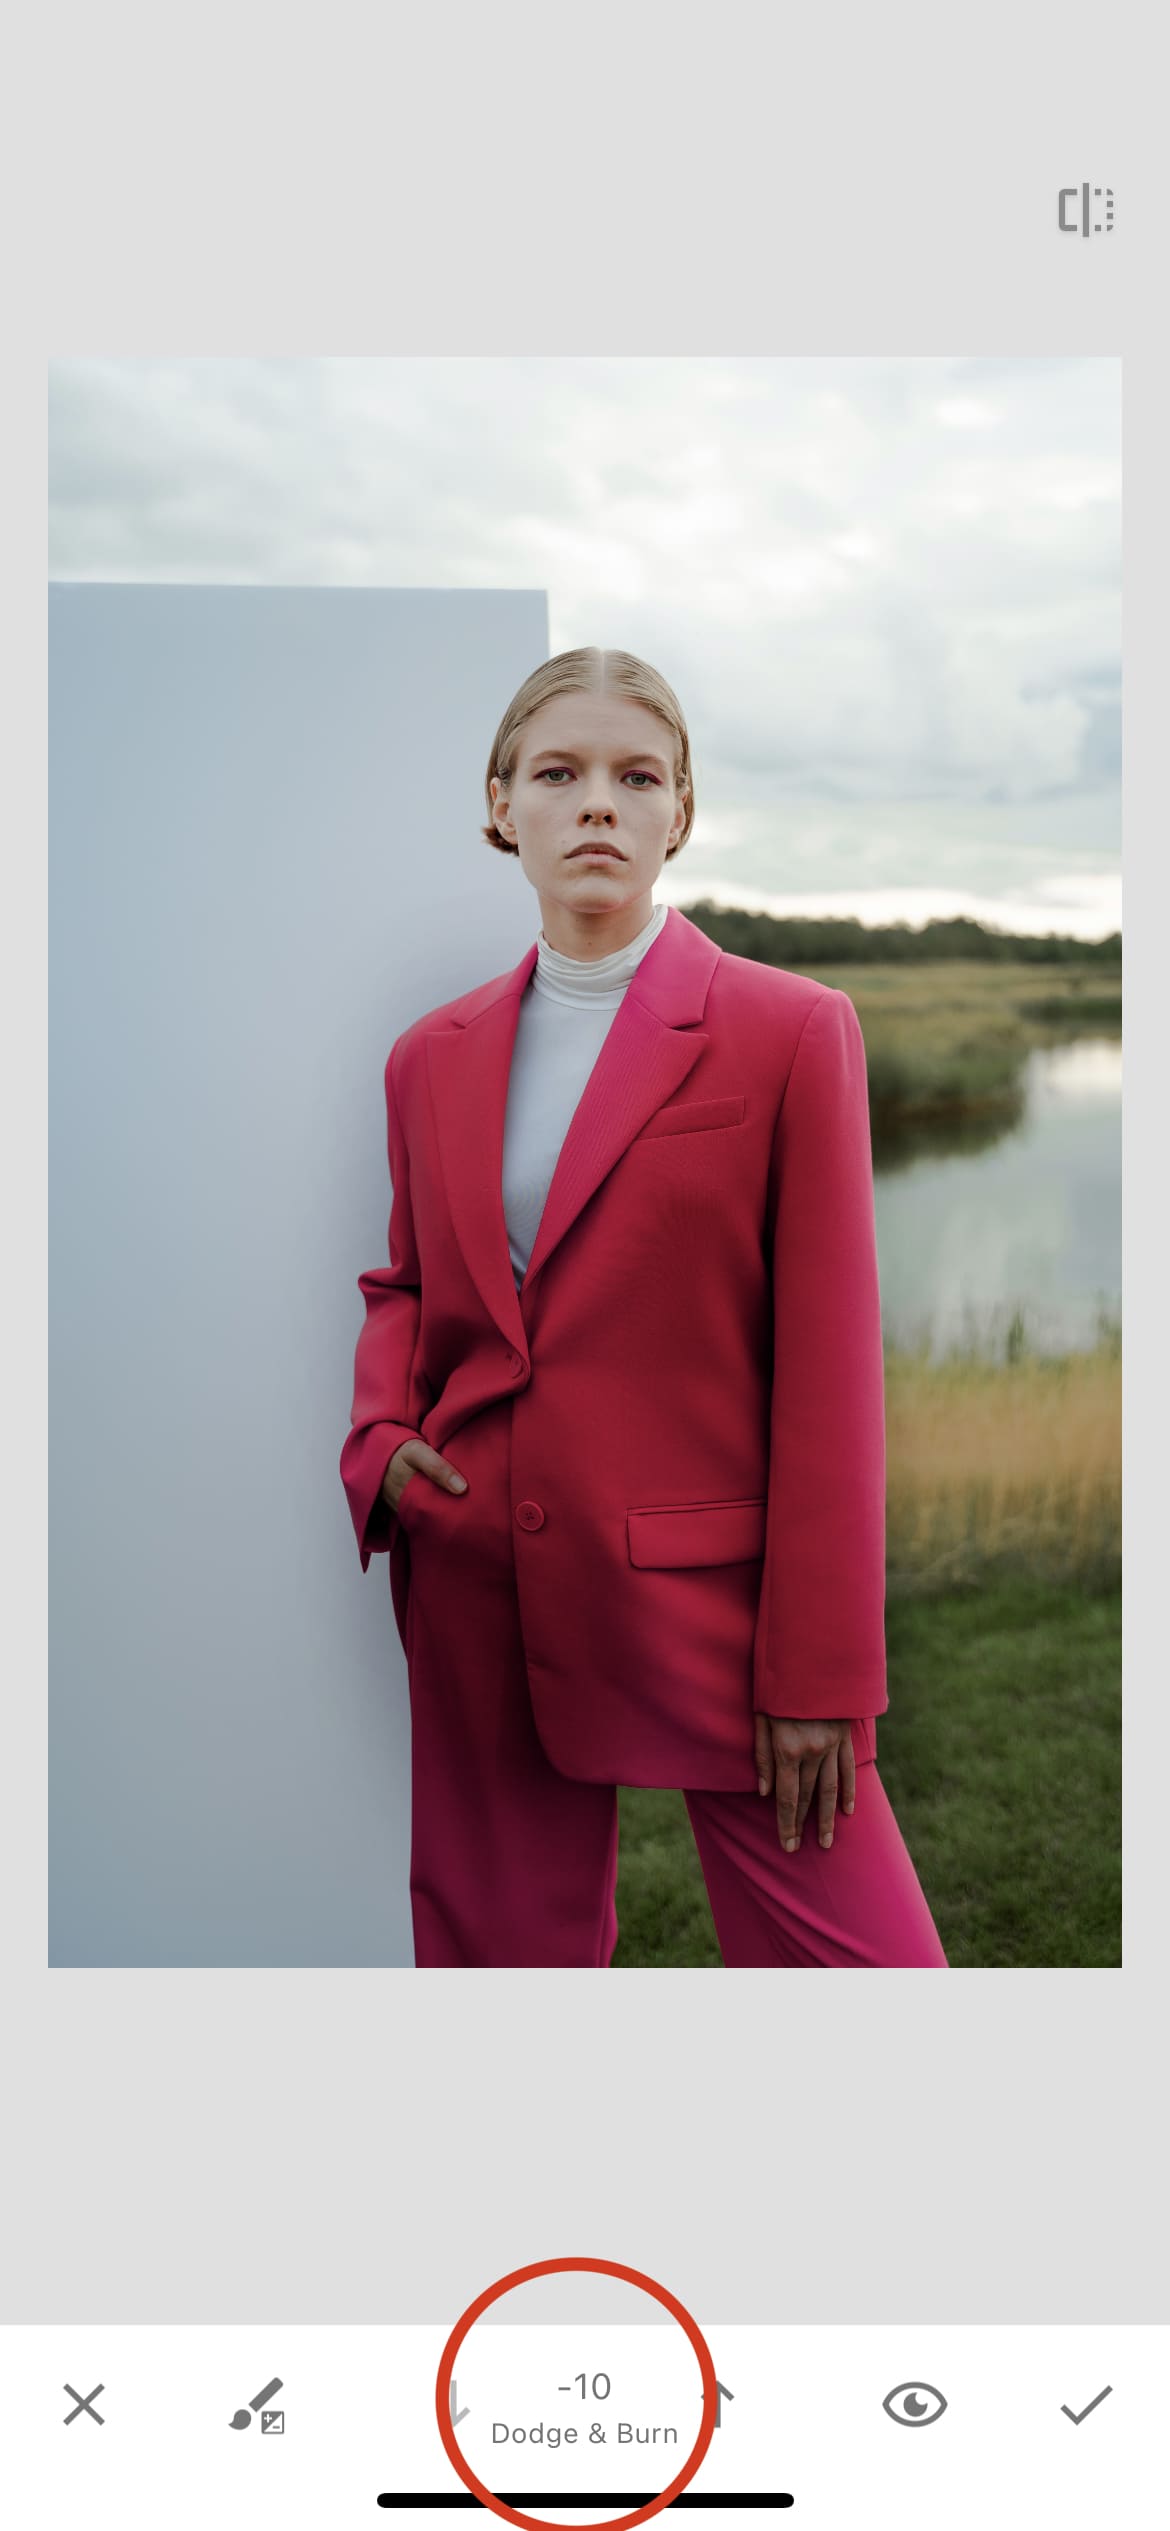
Step 3. Drawing an object
We will work with dodge&burn brush. We set its value to minus 10 to make the color of the object darker. We begin to draw our subject. You don't have to be afraid to go beyond the contour, as everything can be corrected later.
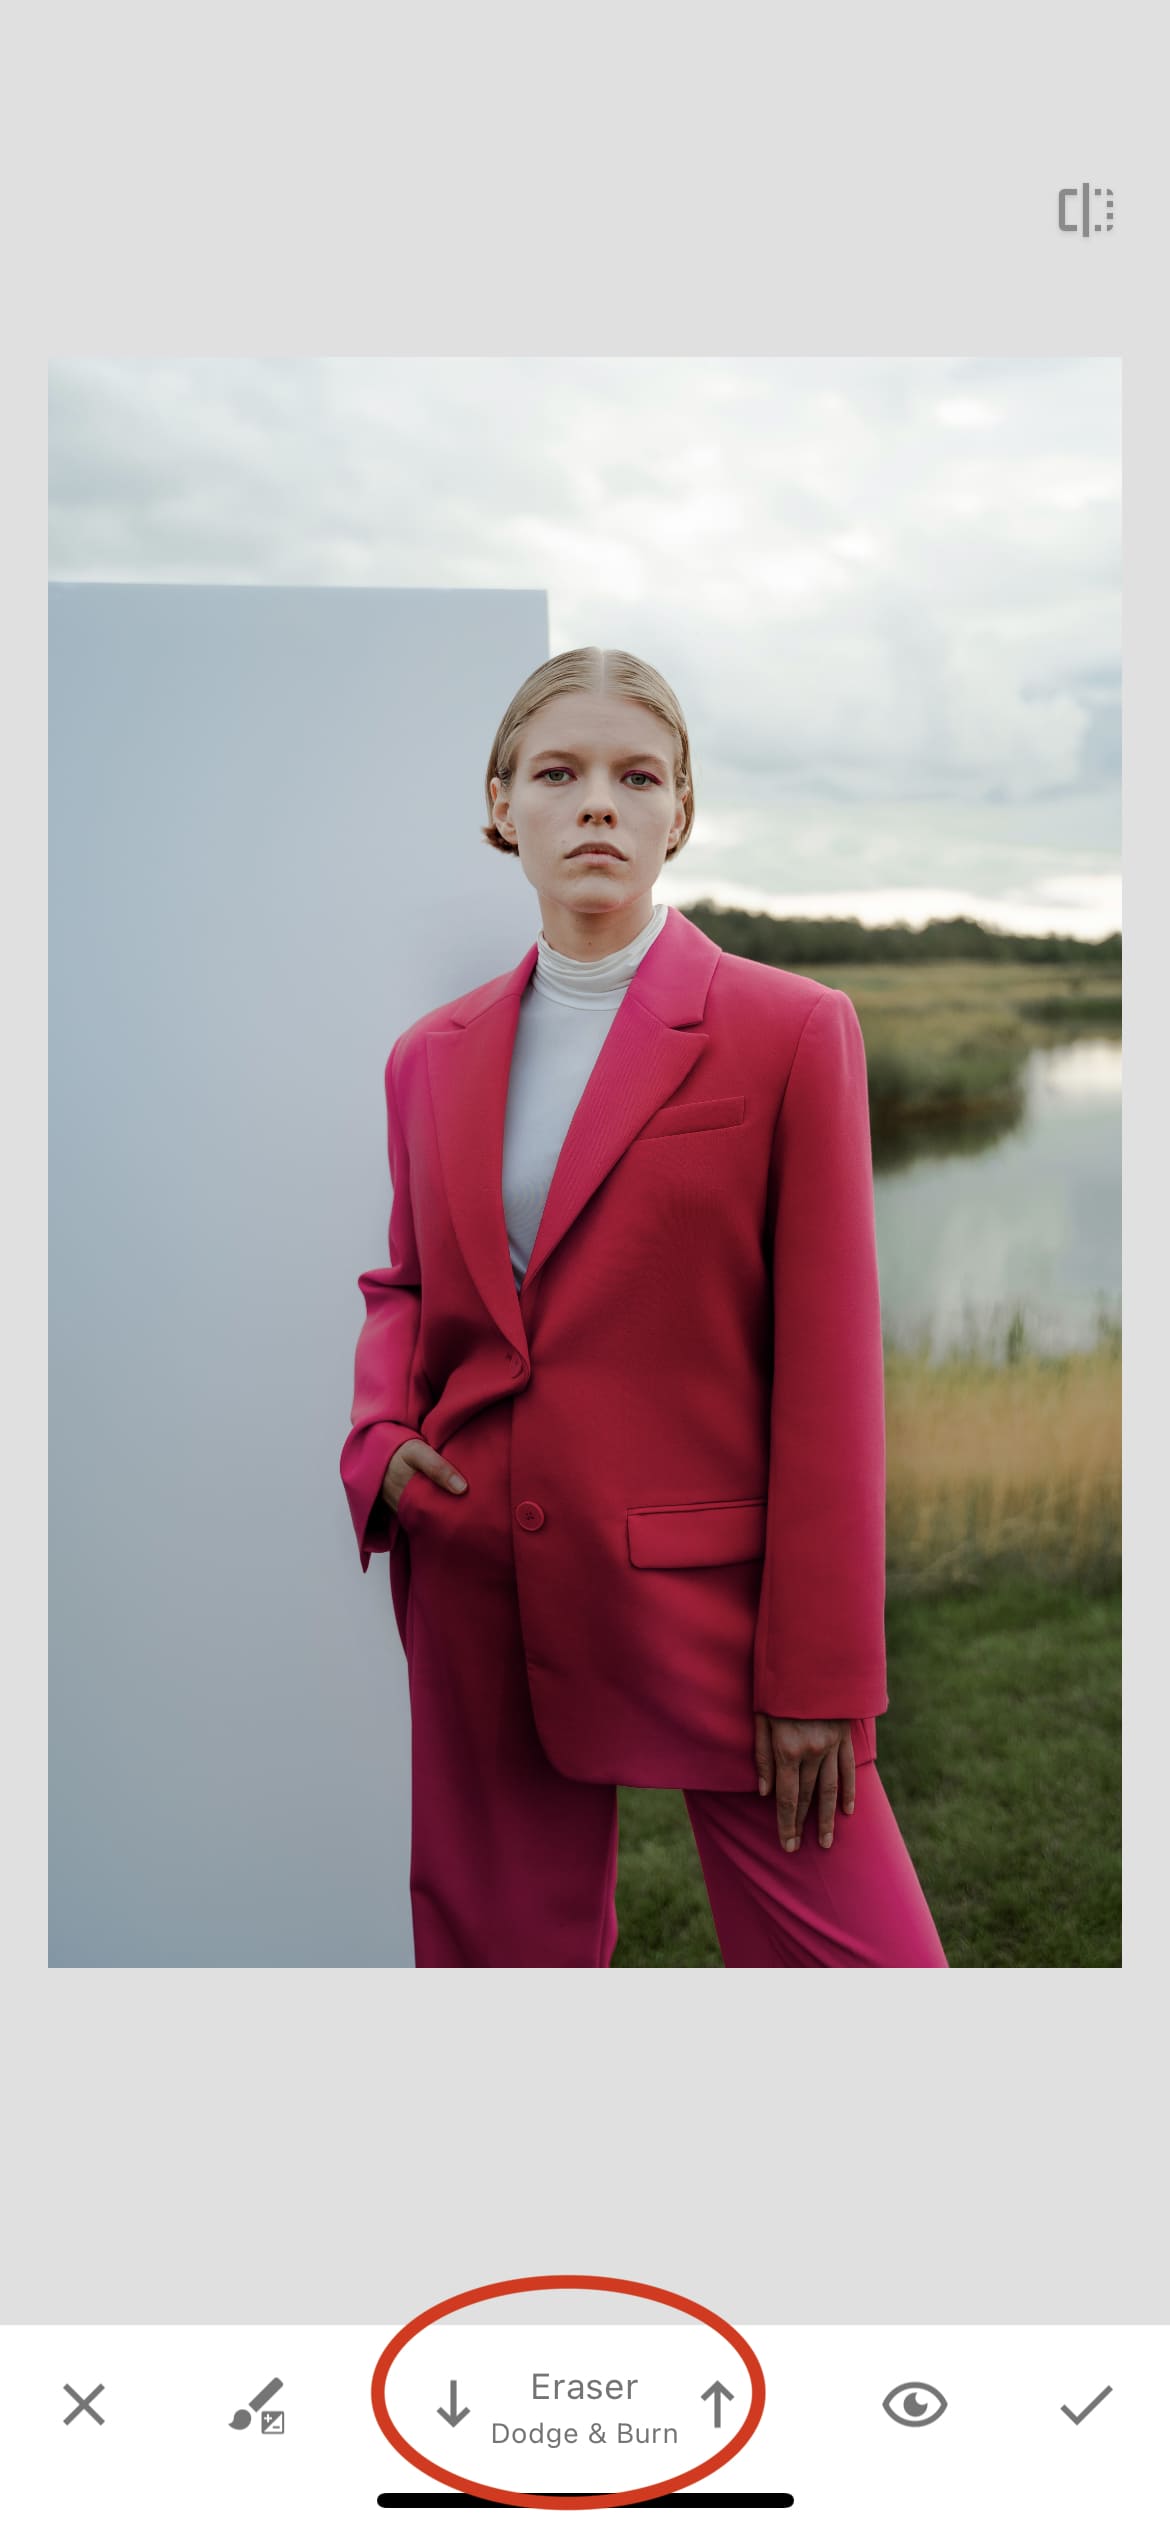
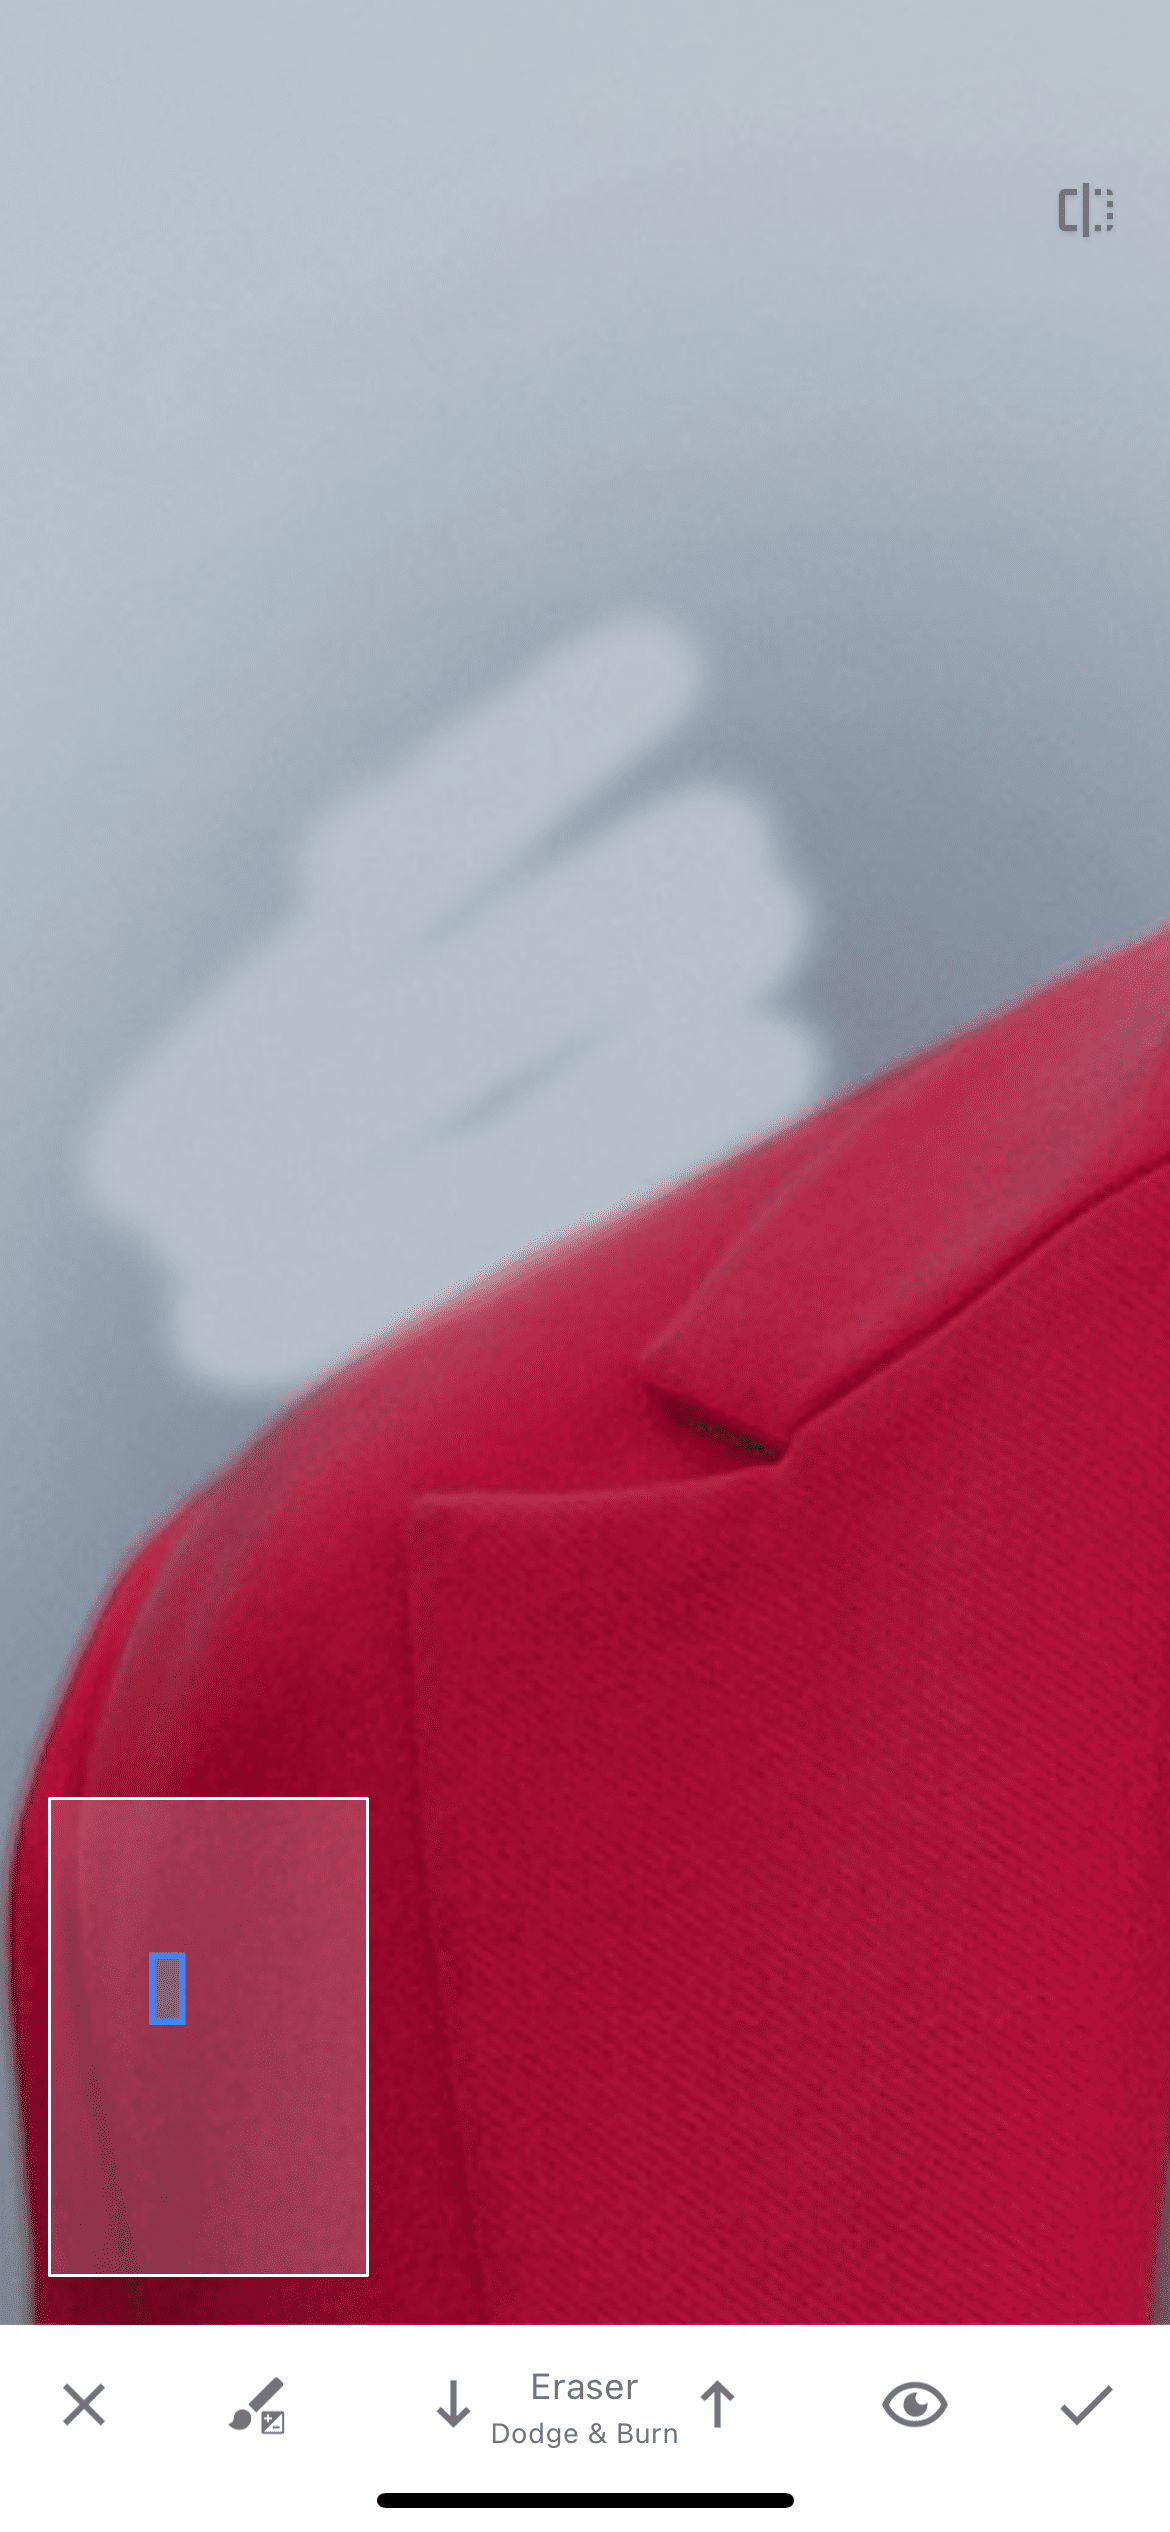
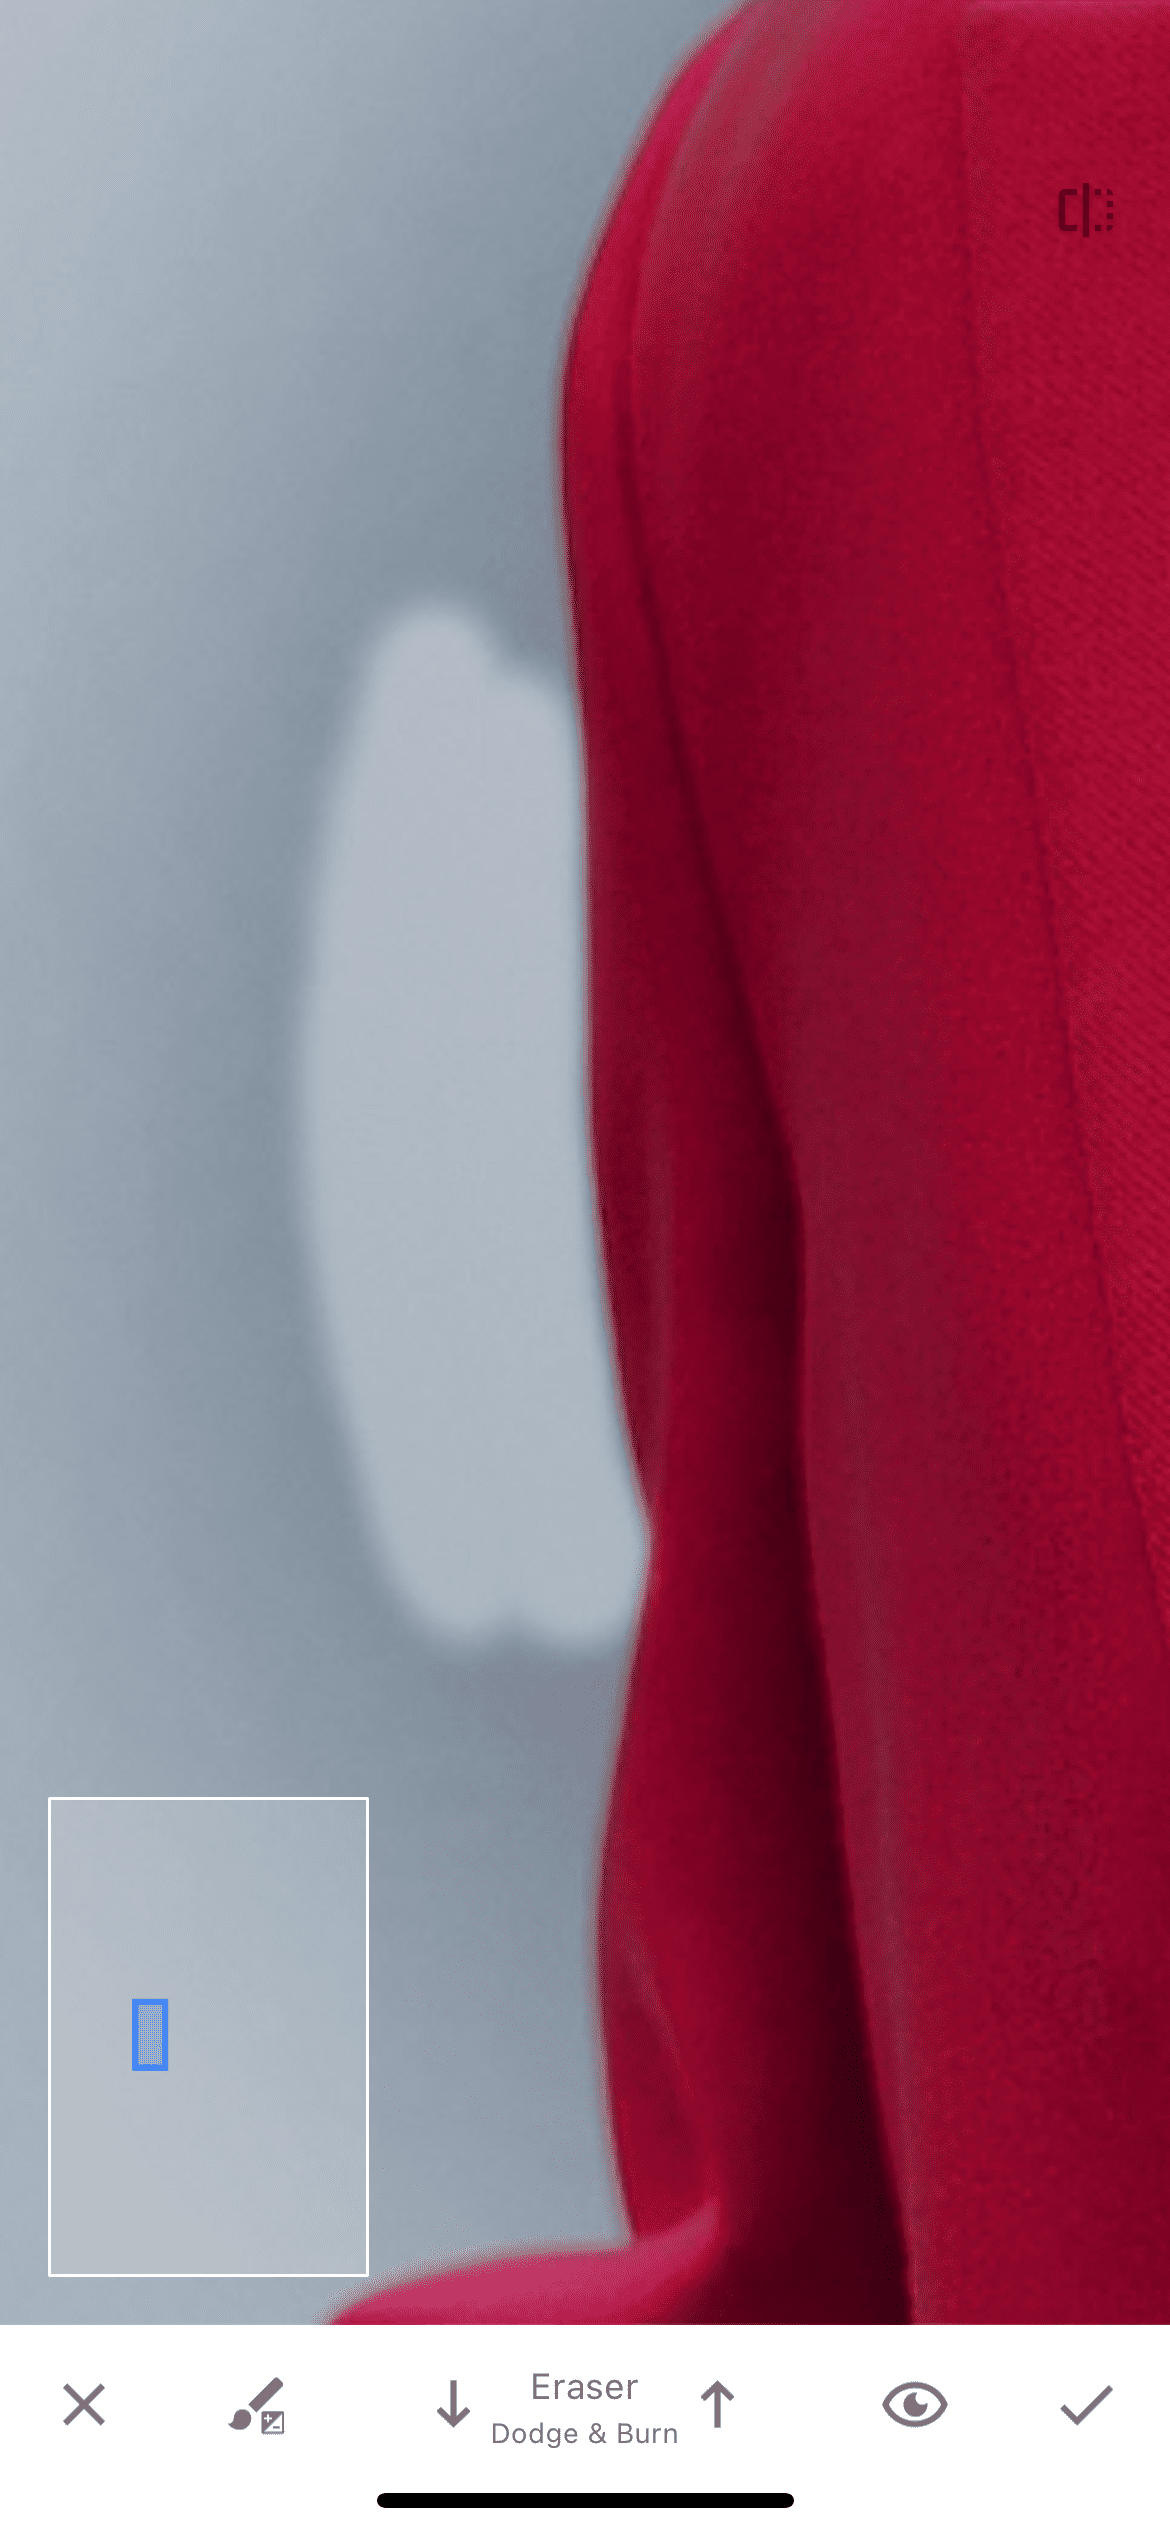
Step 4. Using an eraser
Reduce the brush value to the "eraser" parameter and, having brought the image closer, we begin to erase everything that has gone beyond the boundaries.
After working through the entire image, we save it to the gallery.
Result
That's how quickly and easily we changed the color of the object we needed. In this way, you can make things in the photo not only darker, but also brighter or lighter by experimenting with brushes. Below are the original photo and the result of its editing.