


An interesting way to change the color of an object in a photo using the "double exposure" tool.
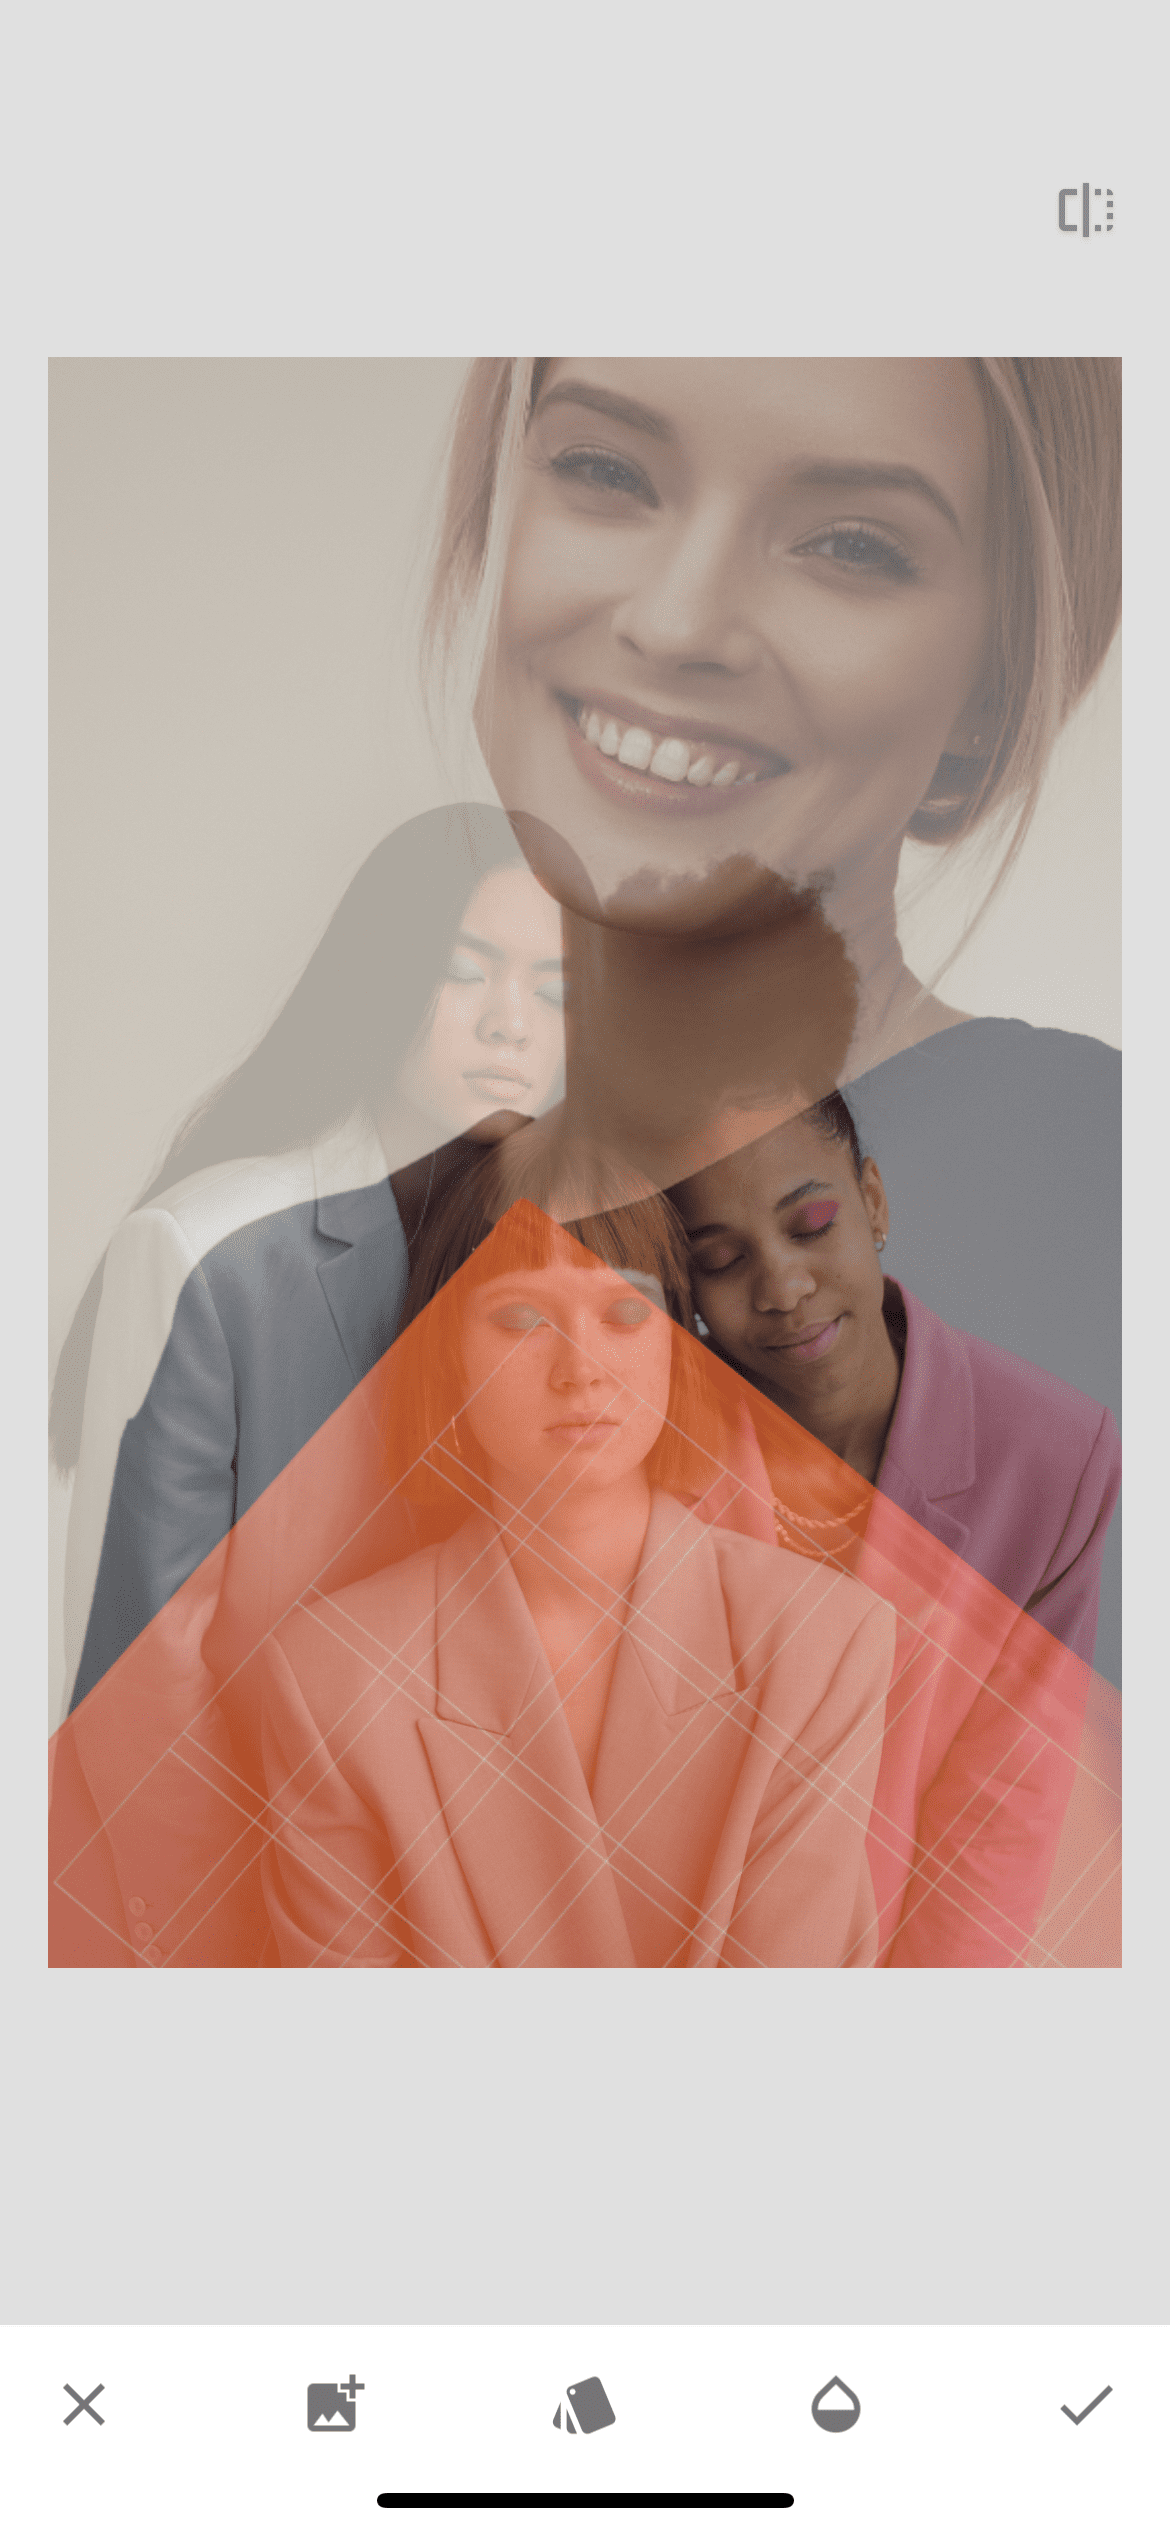
Step 1. Photo selection
First we need to open the photo in the Snapseed app. After opening the photo on the toolbar, we find a double exposure and add a second photo on top. We move it, change the size and adjust it so that the new color we need overlaps the object we want to change.
Step 2. Color overlay effect
We change the overlay type of the second photo to the first one, select the "overlay" option. This way we will achieve the desired effect and color.

Step 3. Editing layer transparency
We also change the opacity of the new layer. No need to make it too bright or too dim. It is impossible for the color to overlap the texture of the original object.

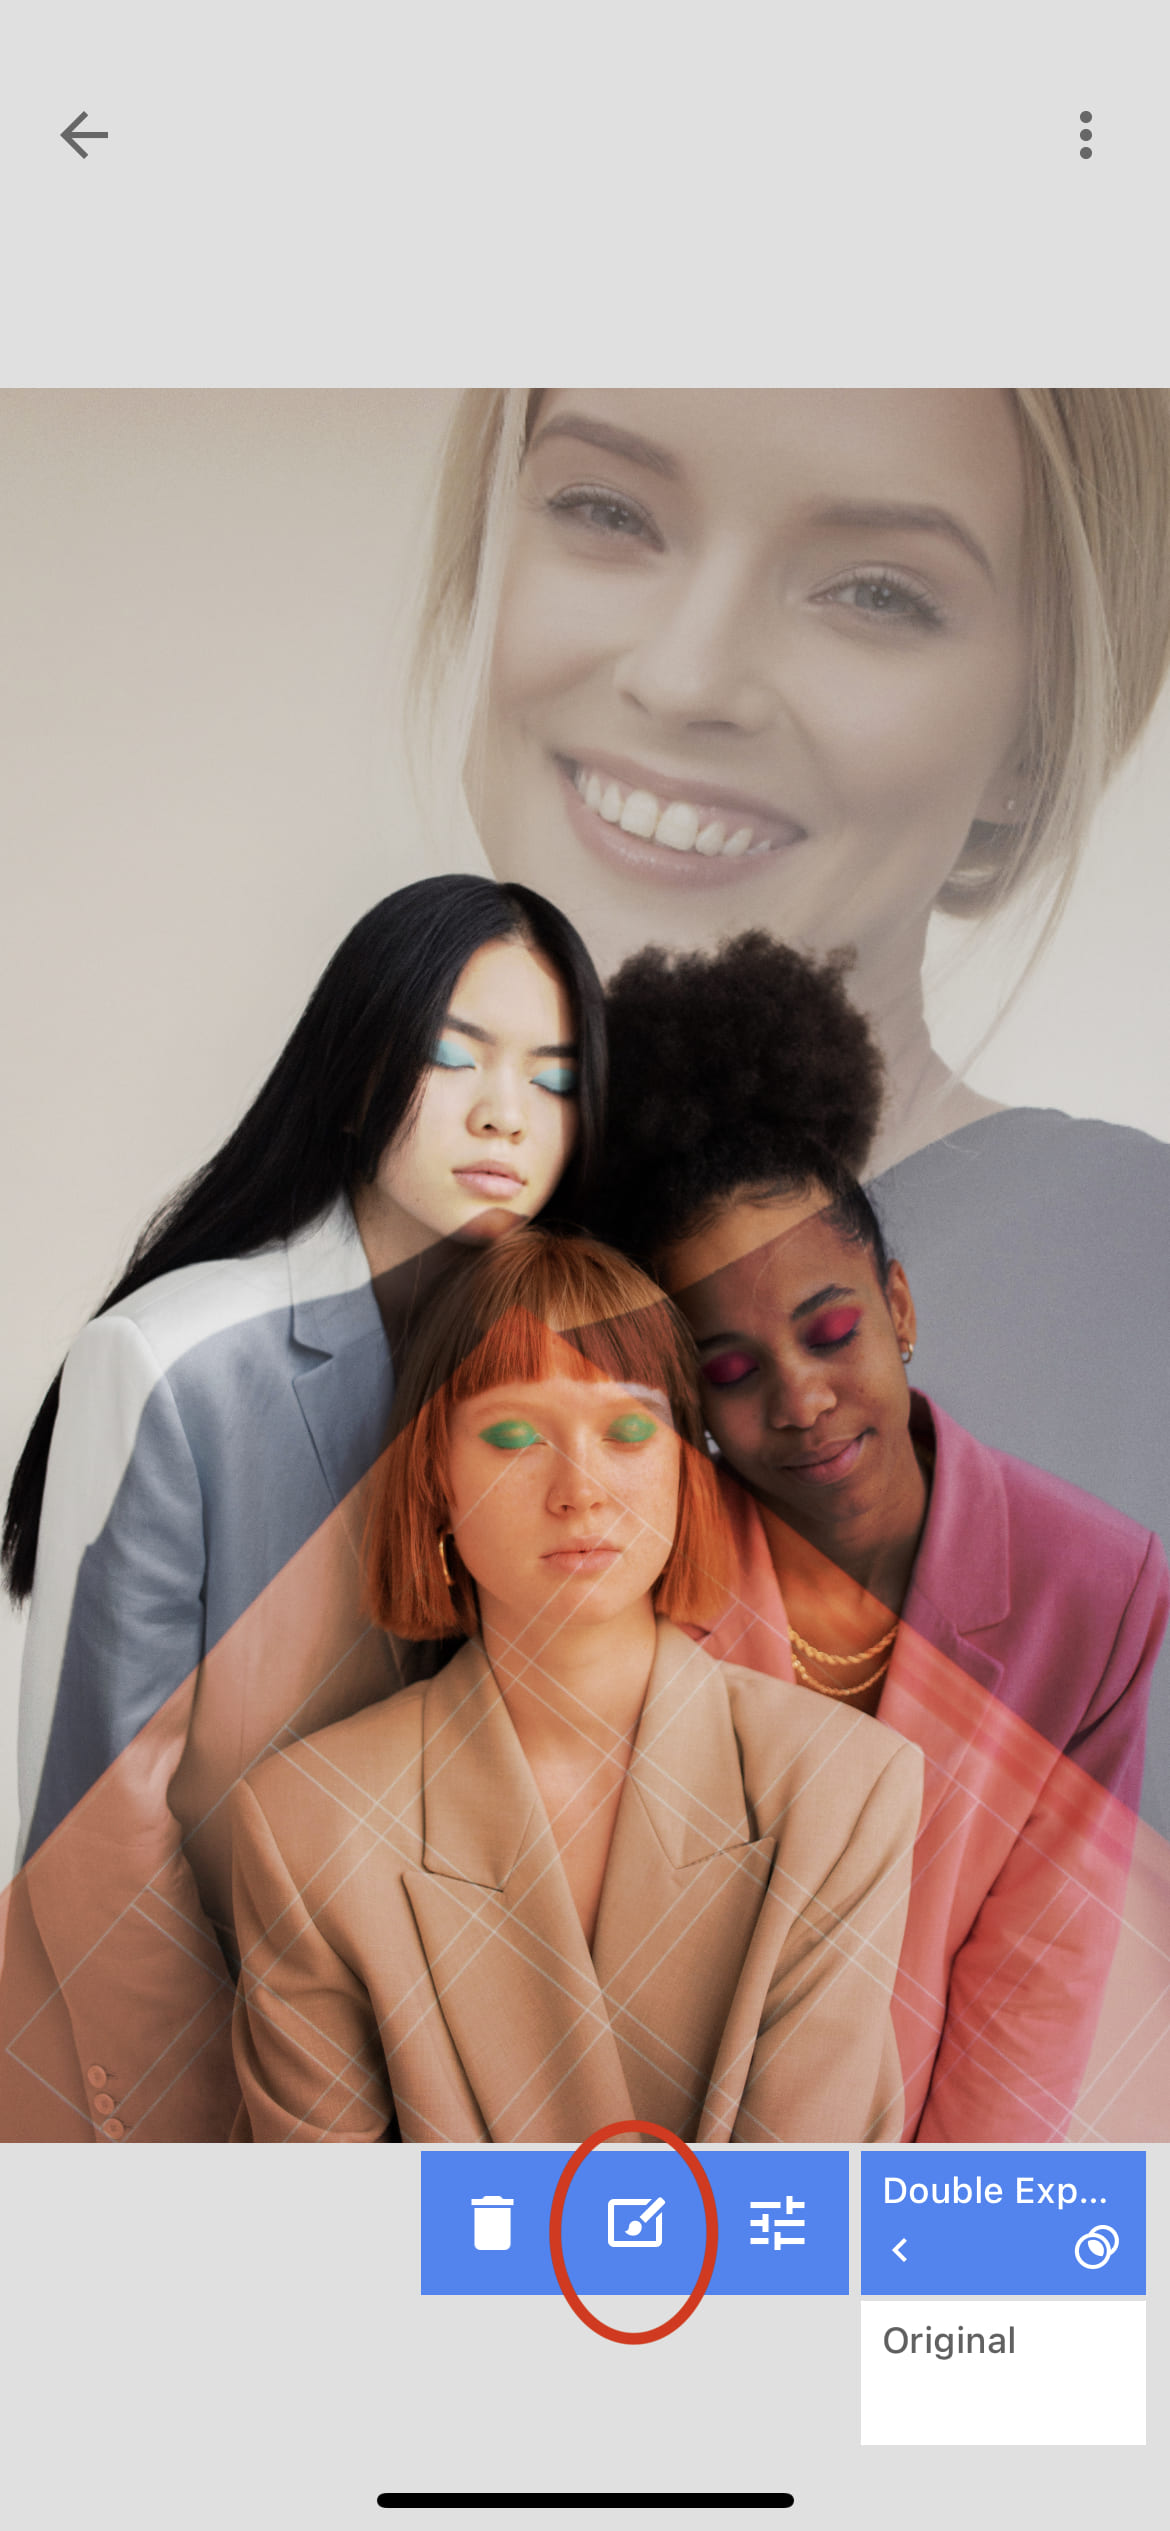
Step 4. Editing photo
After saving the changes, we proceed to the editing stage. We need to remove all unnecessary elements from the photo. To do this, click on the layers icon on the top panel, select the line "view changes", and then click on the brush in the double exposure section.


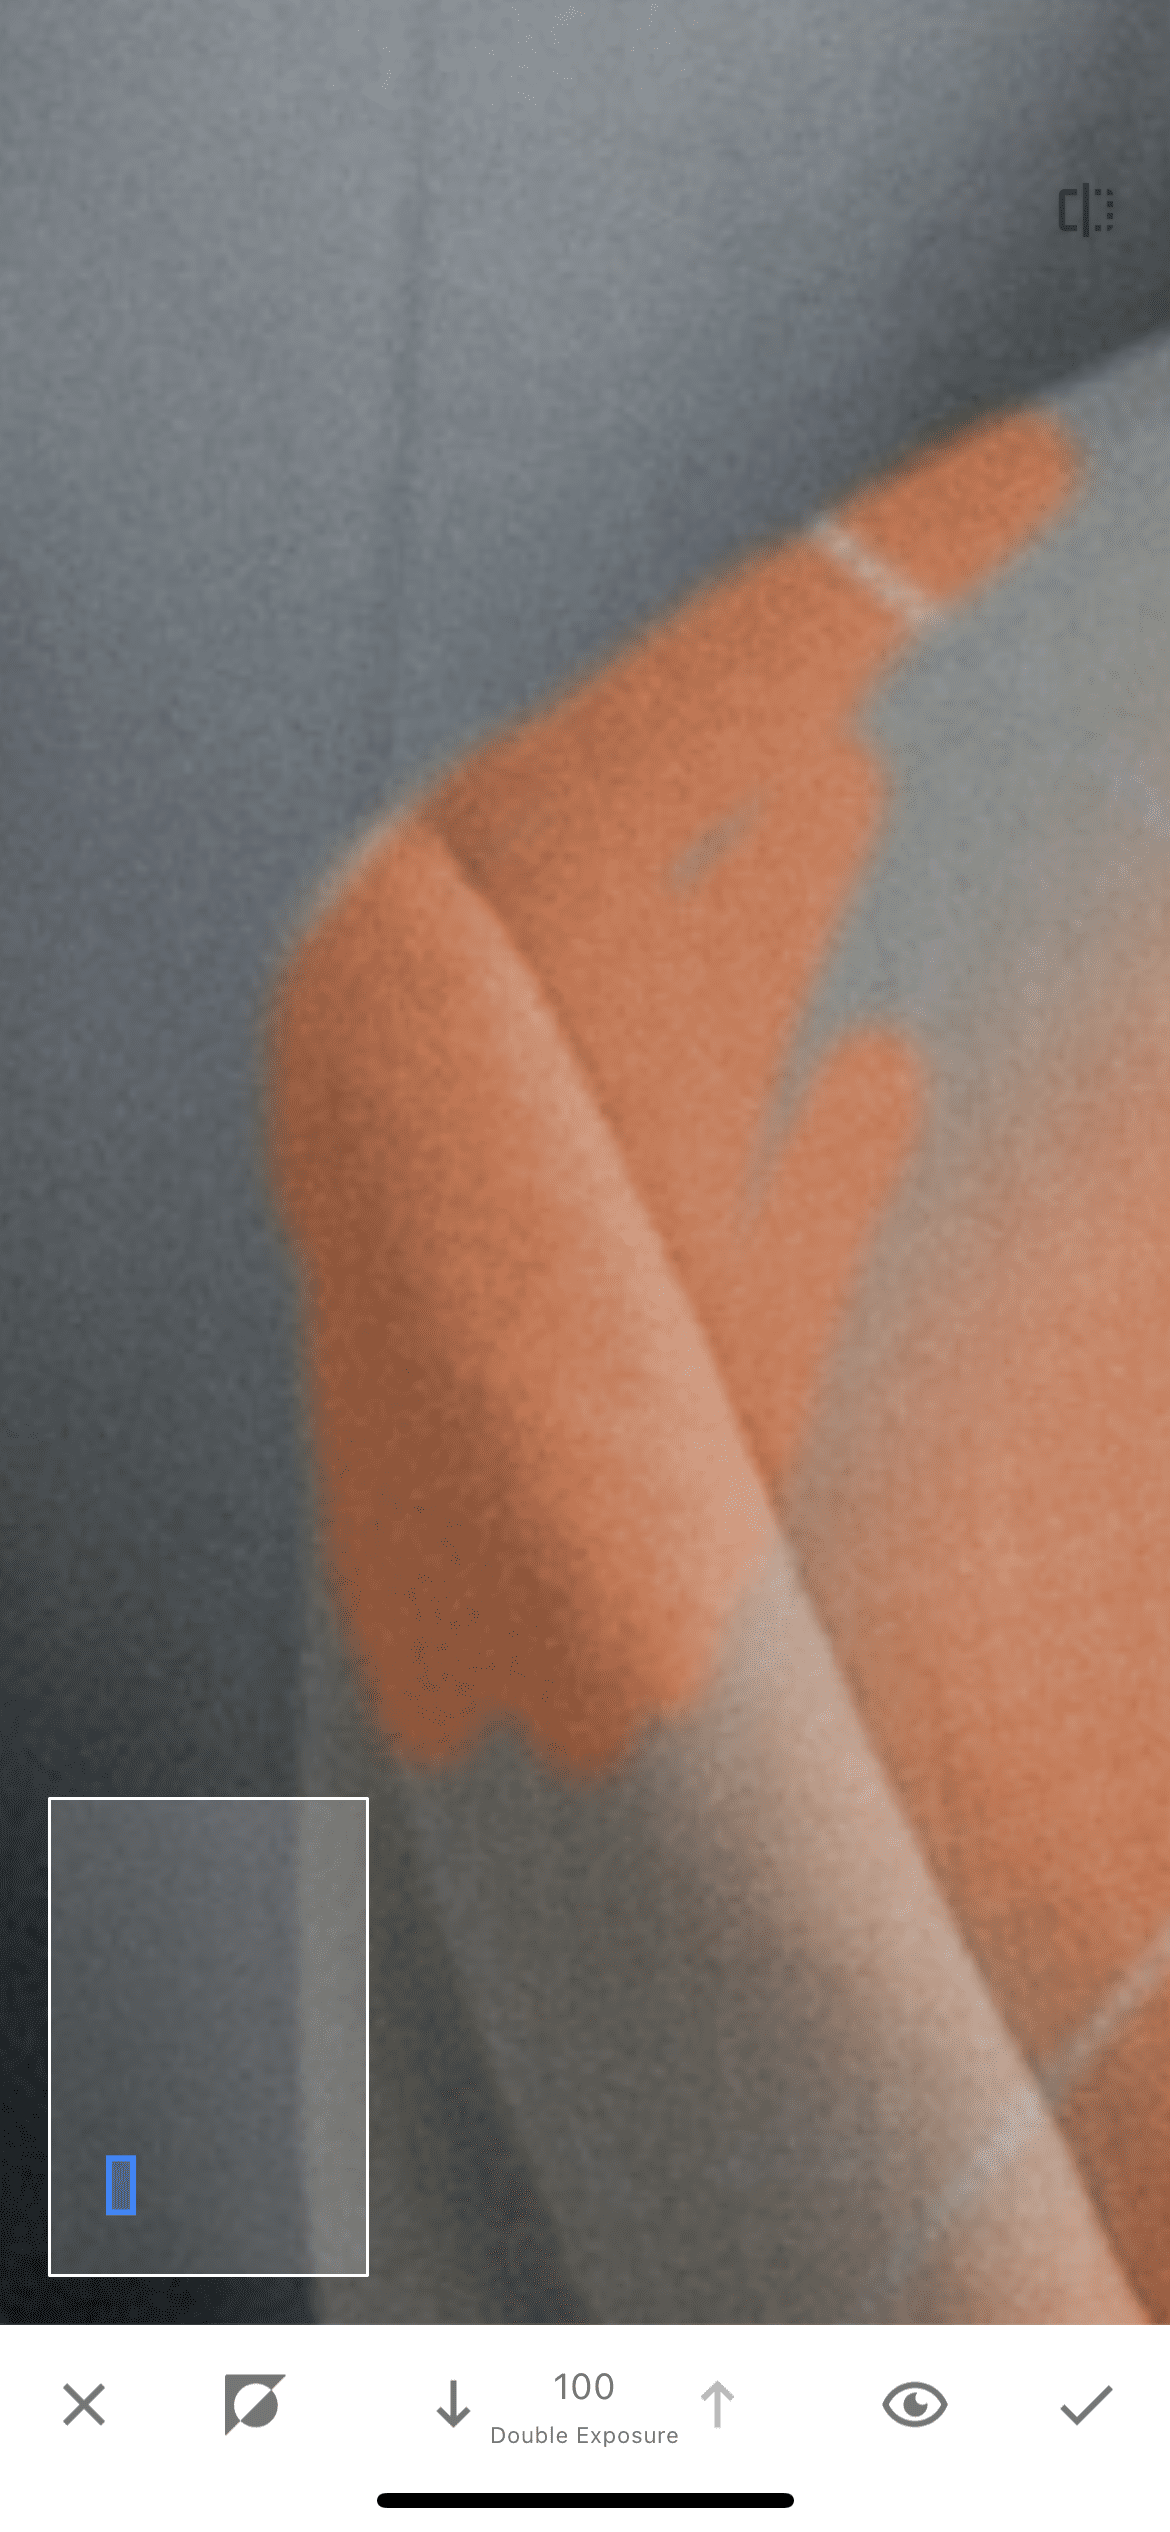
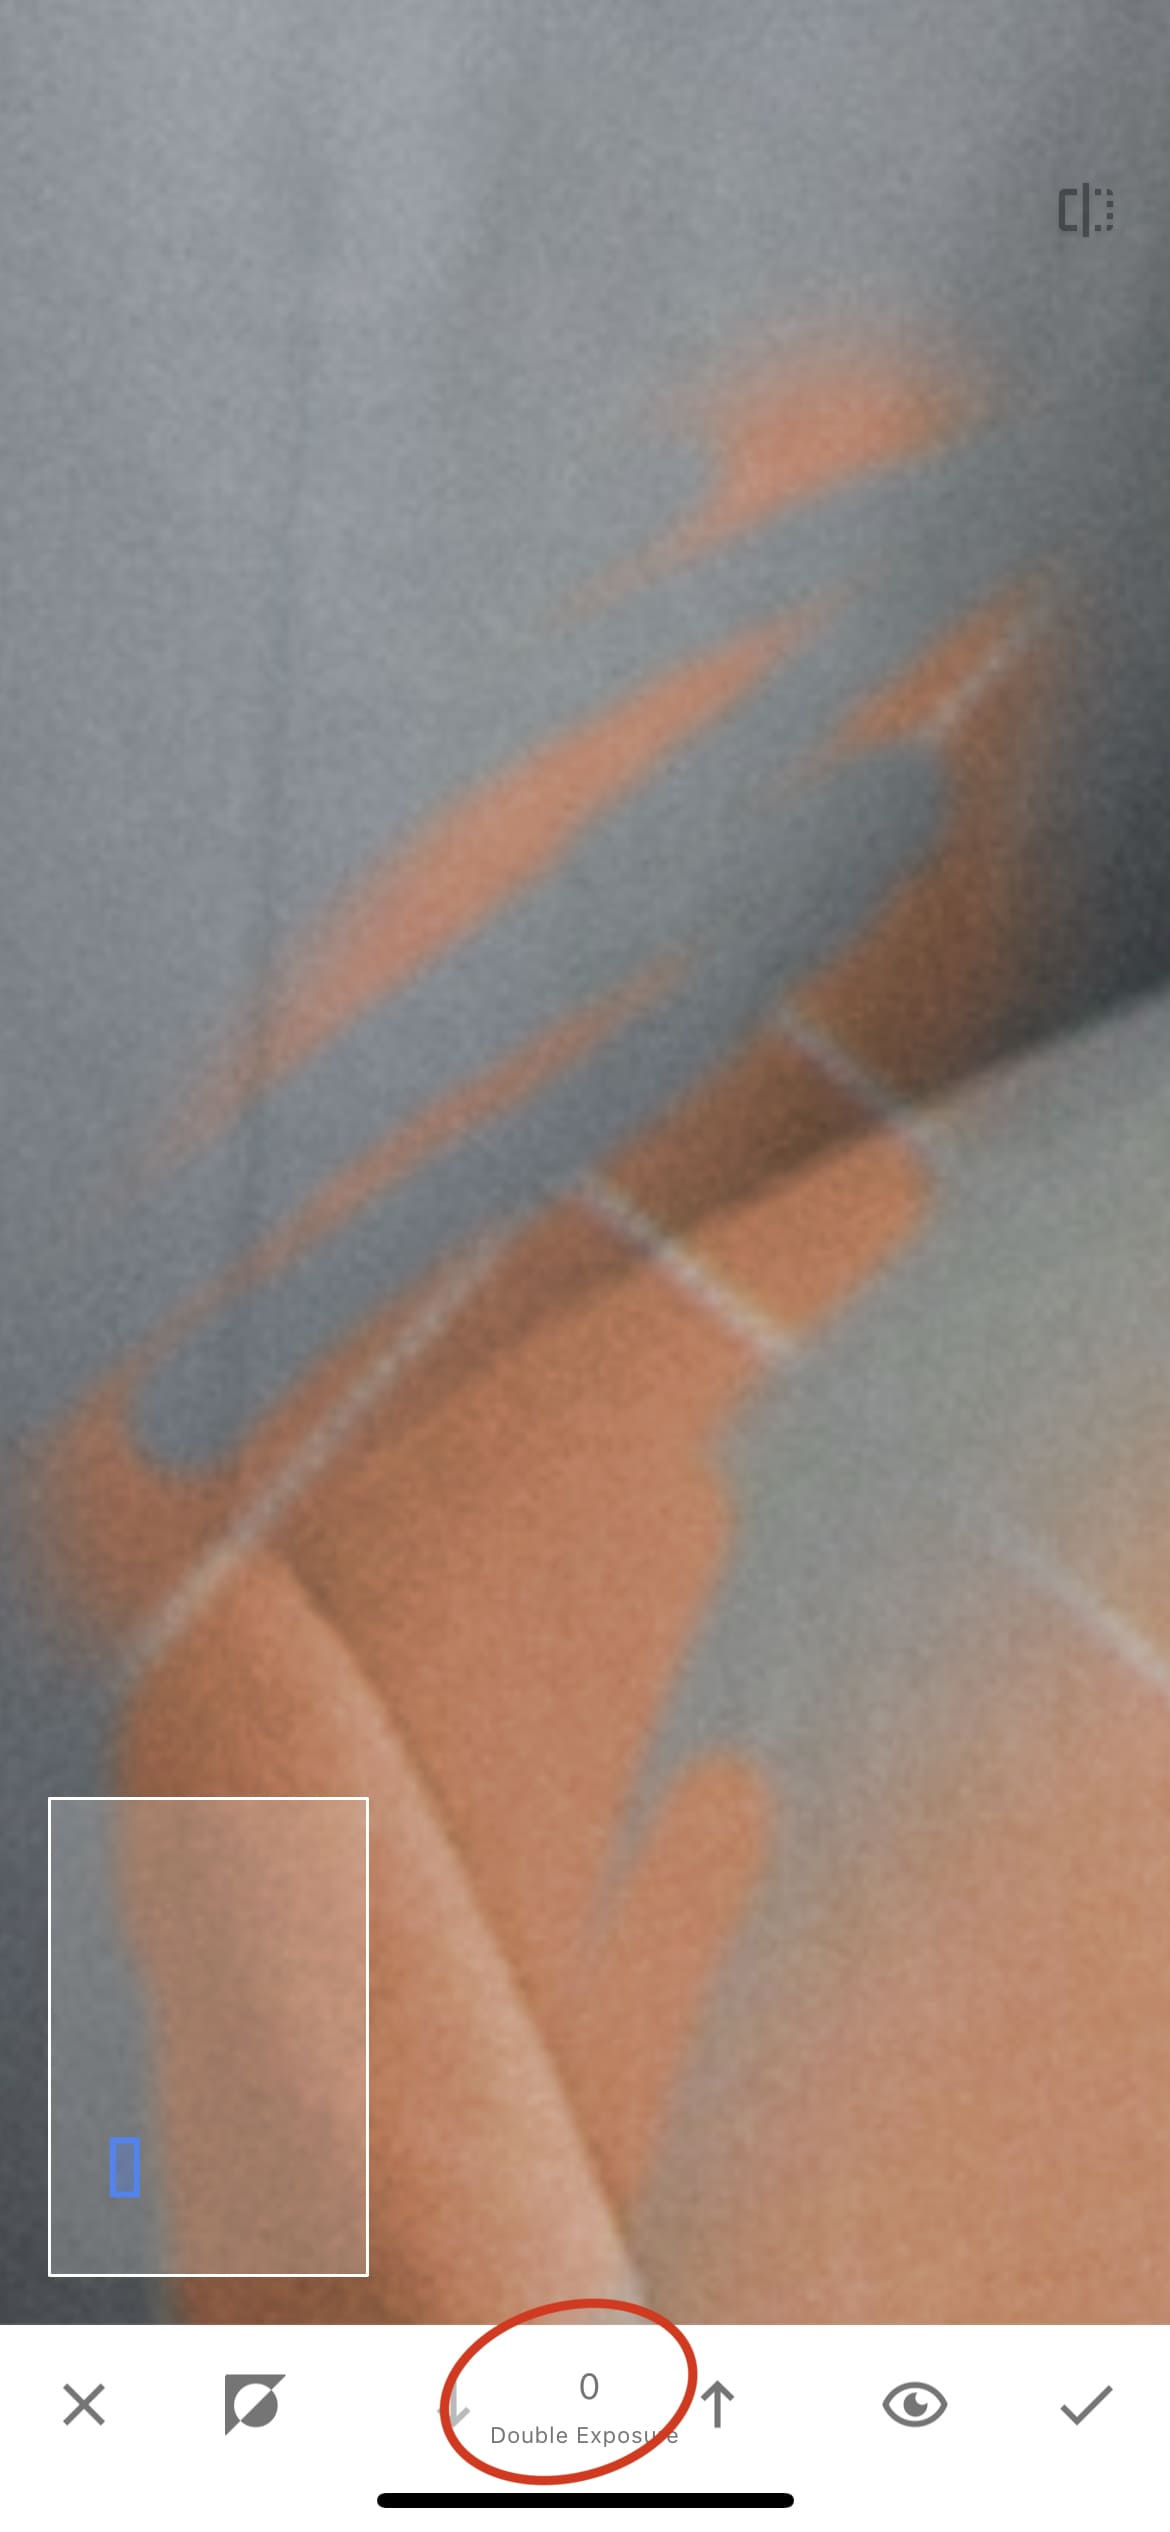
Step 5. Drawing a new color
With the help of a brush, we begin to draw a new color on our subject. By zooming in on the photo, you can draw the color in more detail.

Result
Thus, we changed the color of the object and, moreover, added a drawing to it. With the help of double exposure, you can add color, texture, drawings and much more to objects. You can compare the original photo with the resulting one below by looking at the "before" and "after" pictures.