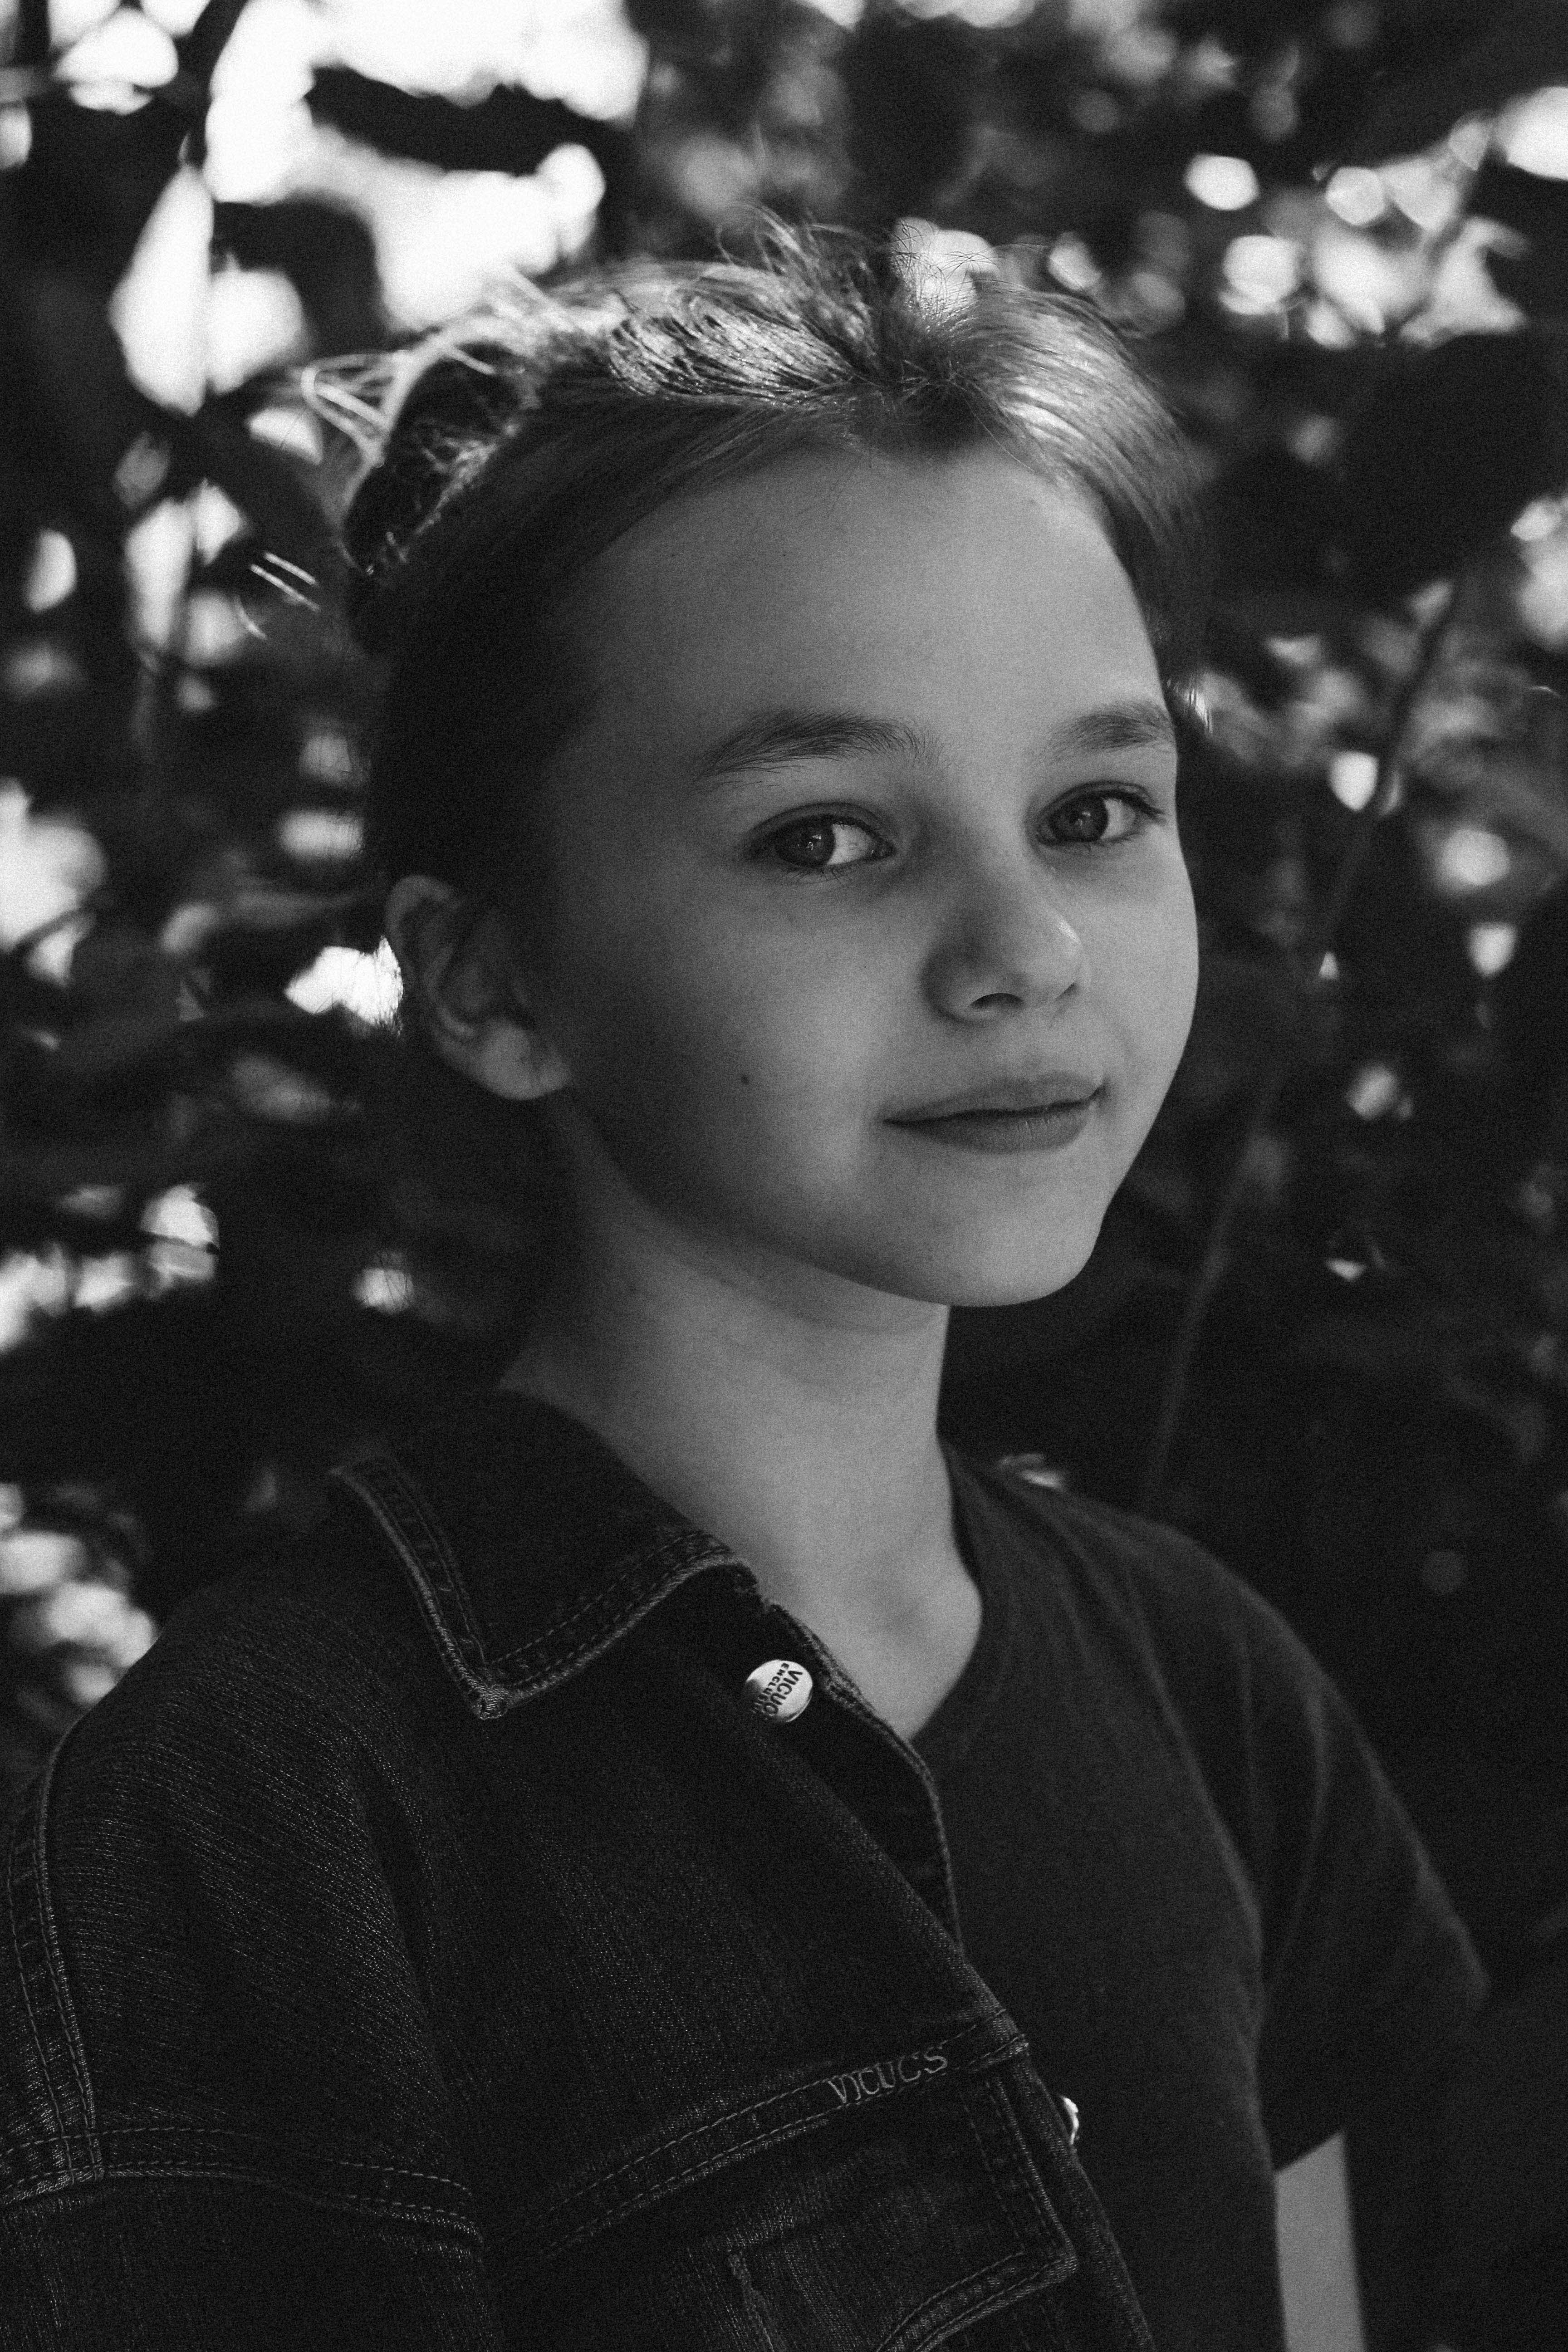


In this lesson, we will learn to create a color image from a black and white picture.
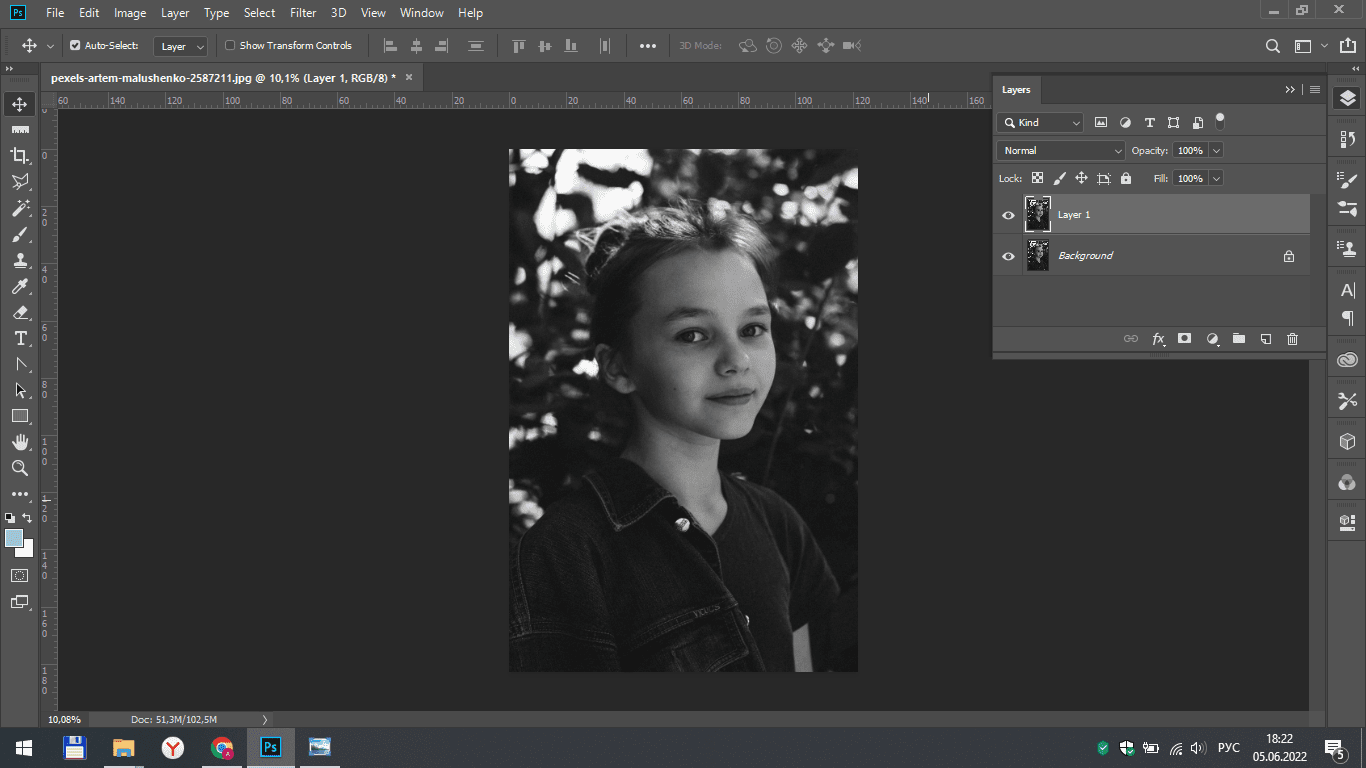
Open our photo in Photoshop and create a copy layer for it.
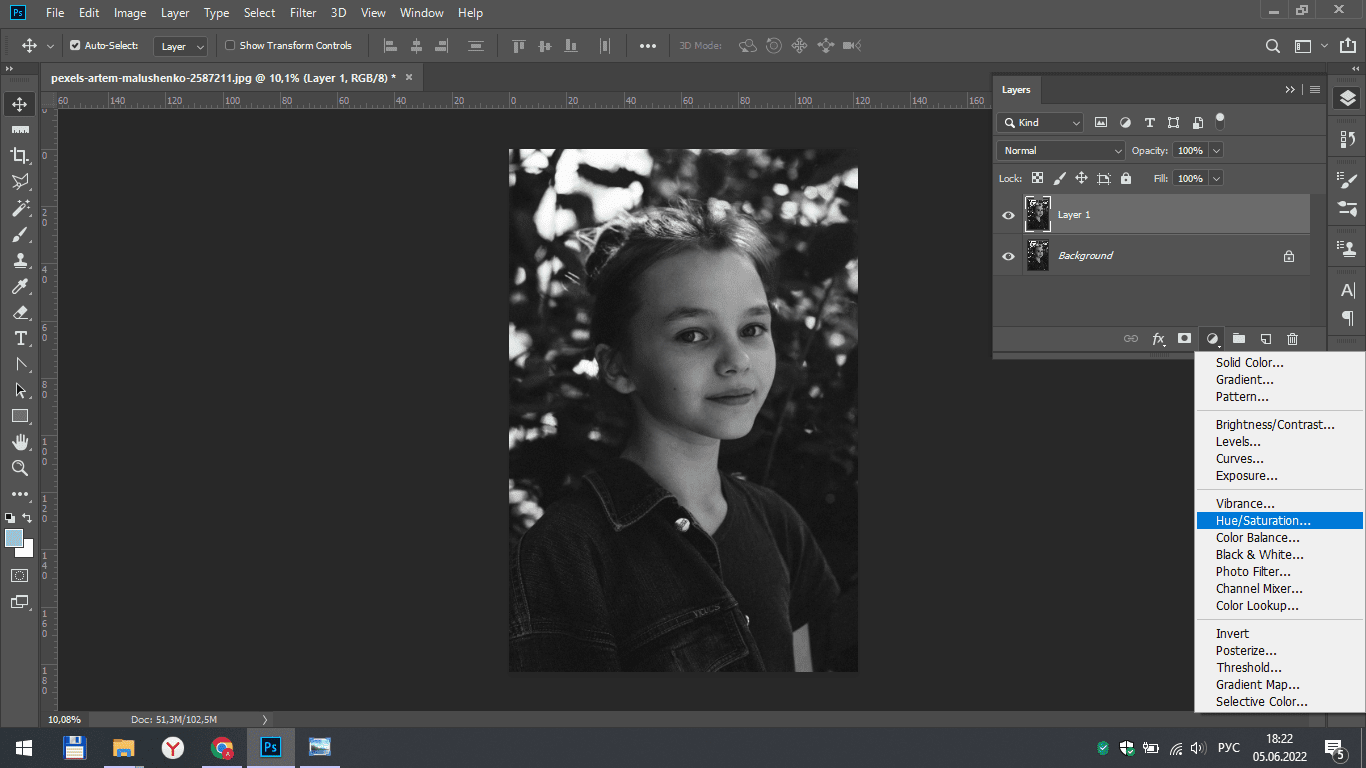
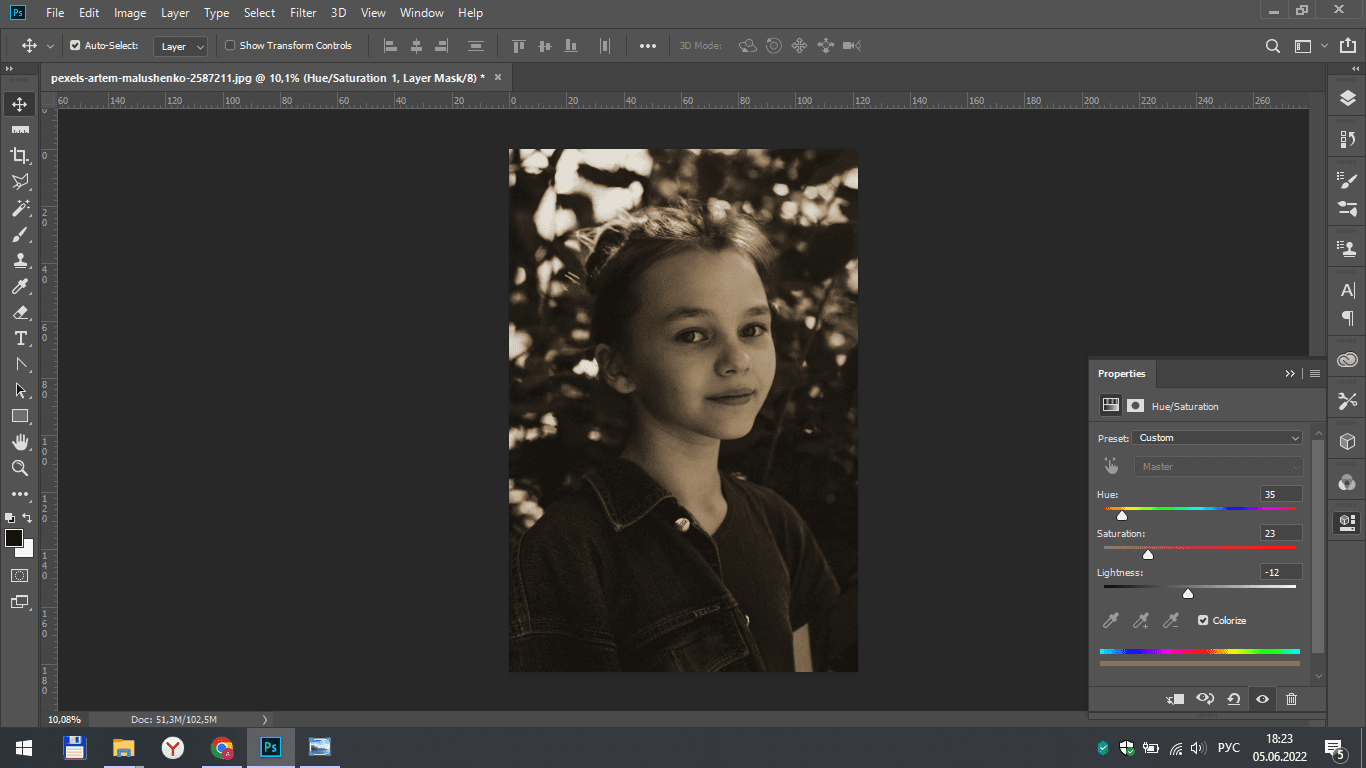
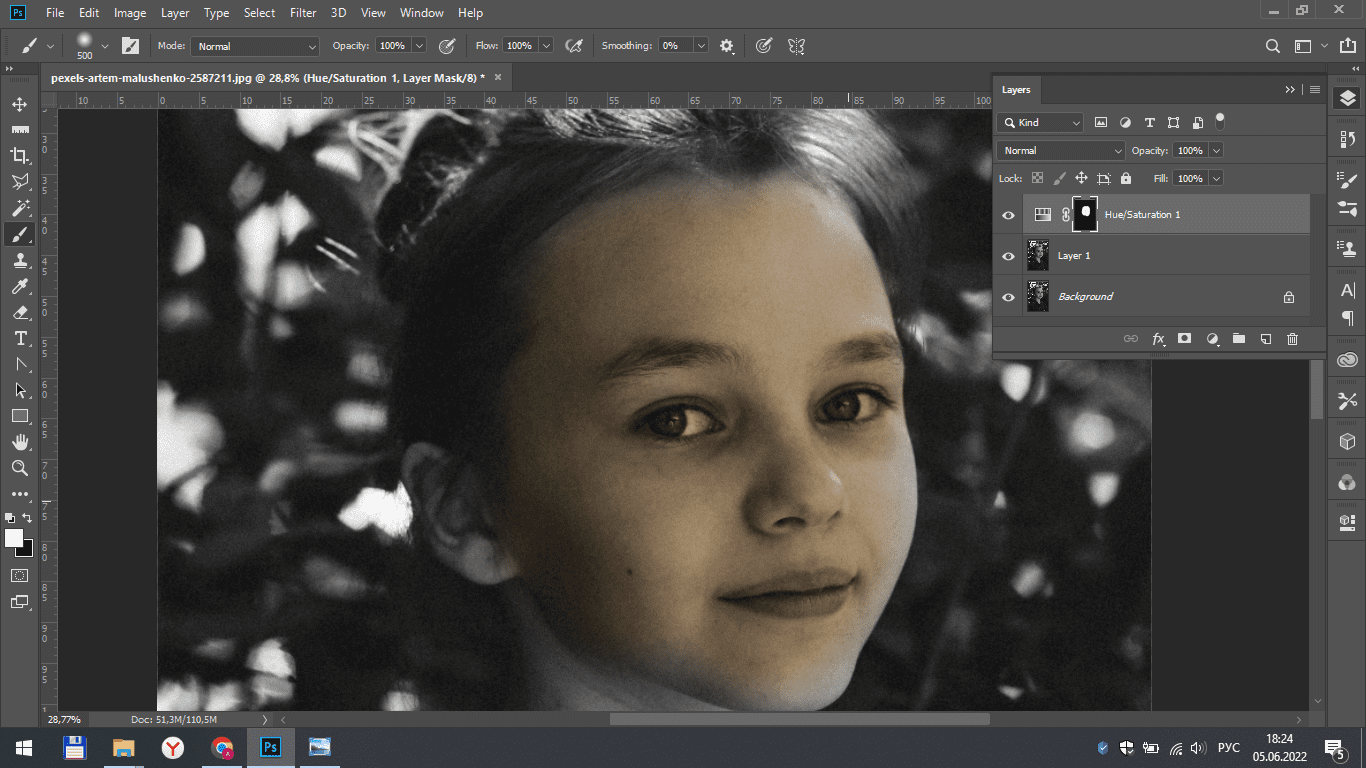
For the copy, we apply an adjustment layer called hue/saturation.
In the editing window that opens, turn on the colorize function and move the sliders so as to get a skin tone close to natural.
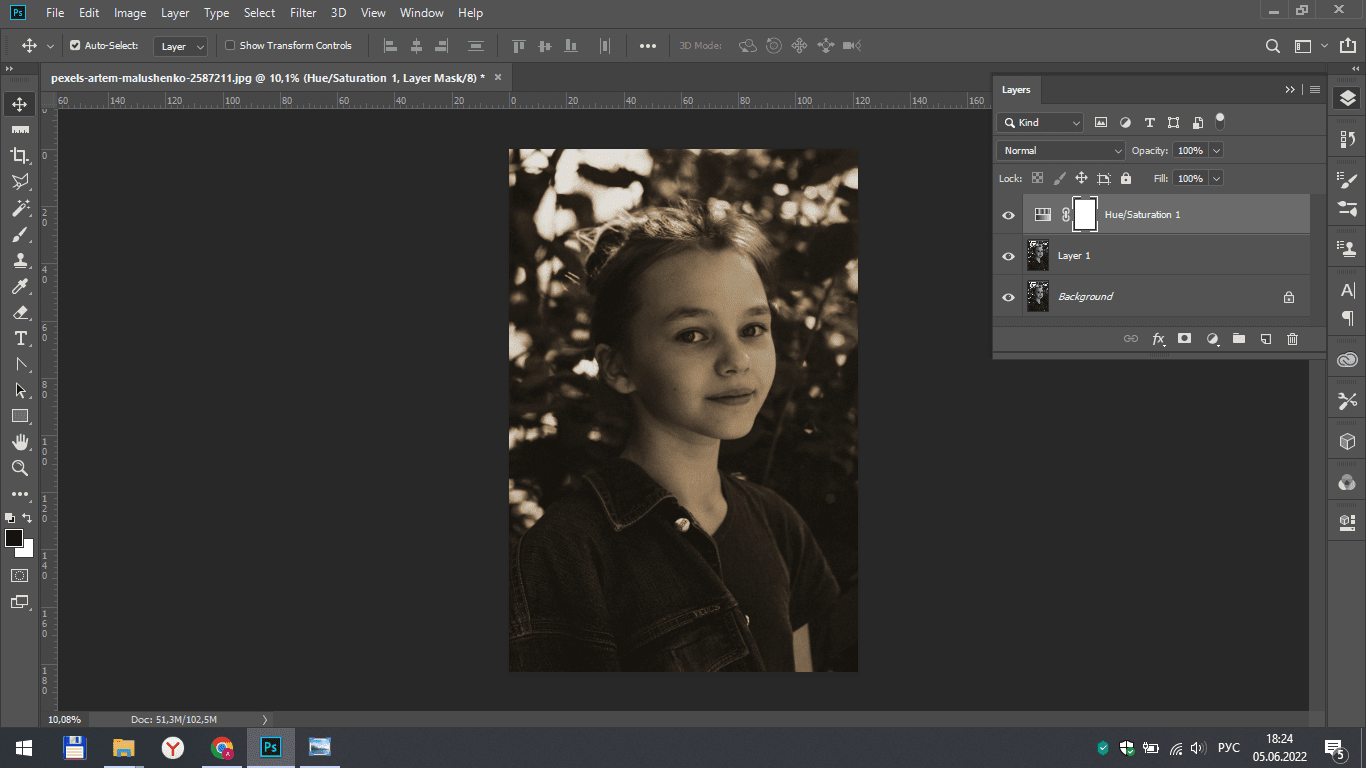
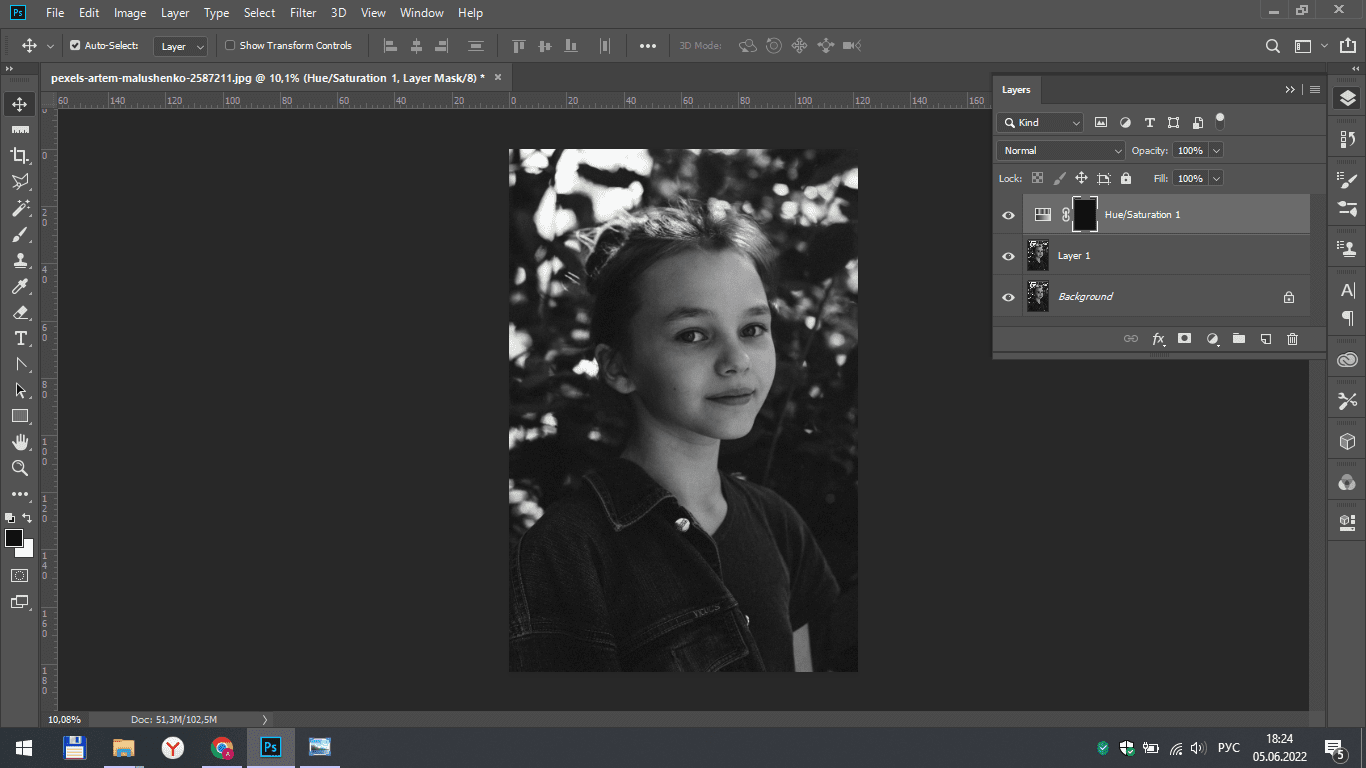
In the layers window, select the mask on the editing layer and press ctrl + I to invert the layer.
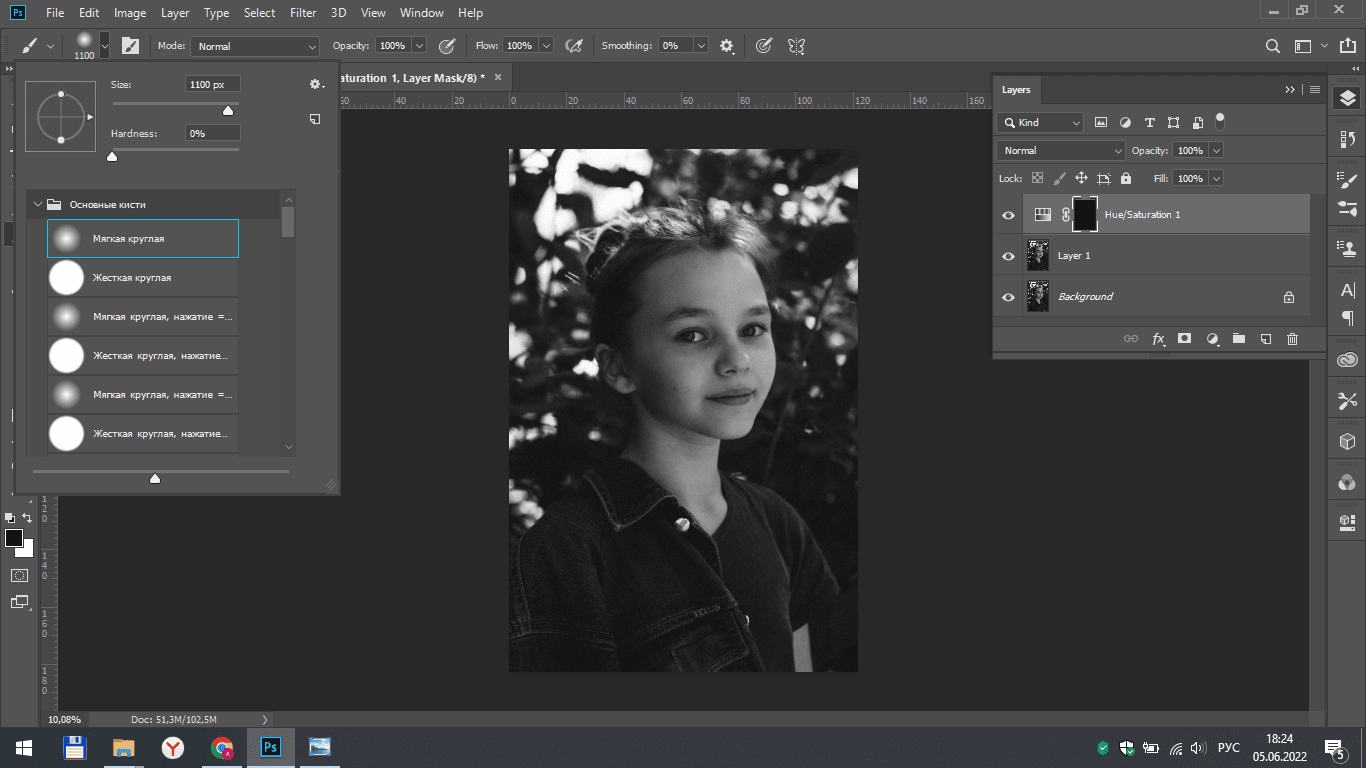
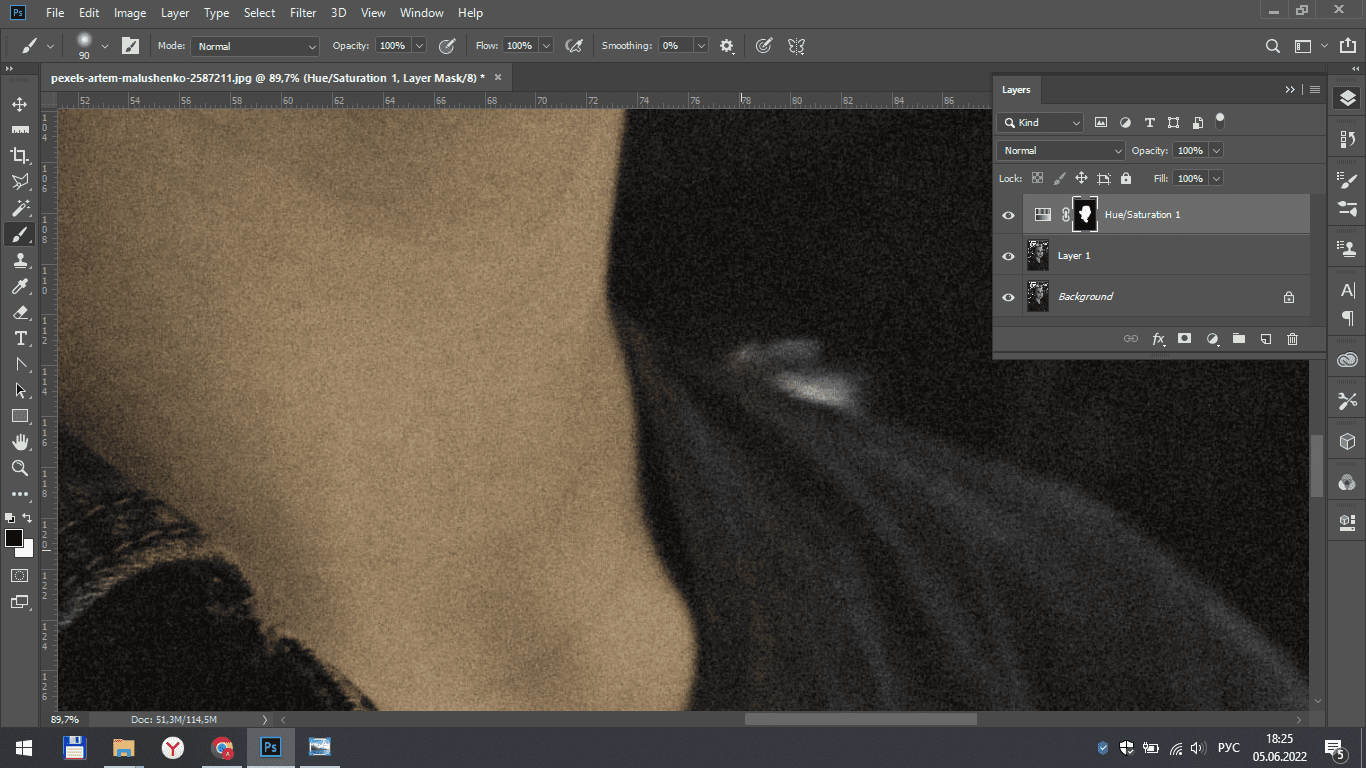
We take a white brush with minimal hardness and begin to draw a person's face. If you have gone beyond the contour, just change the color of the brush to black and erase the excess paint. We draw the whole face leaving only the eyes and lips colorless, since they are slightly richer than the skin color.
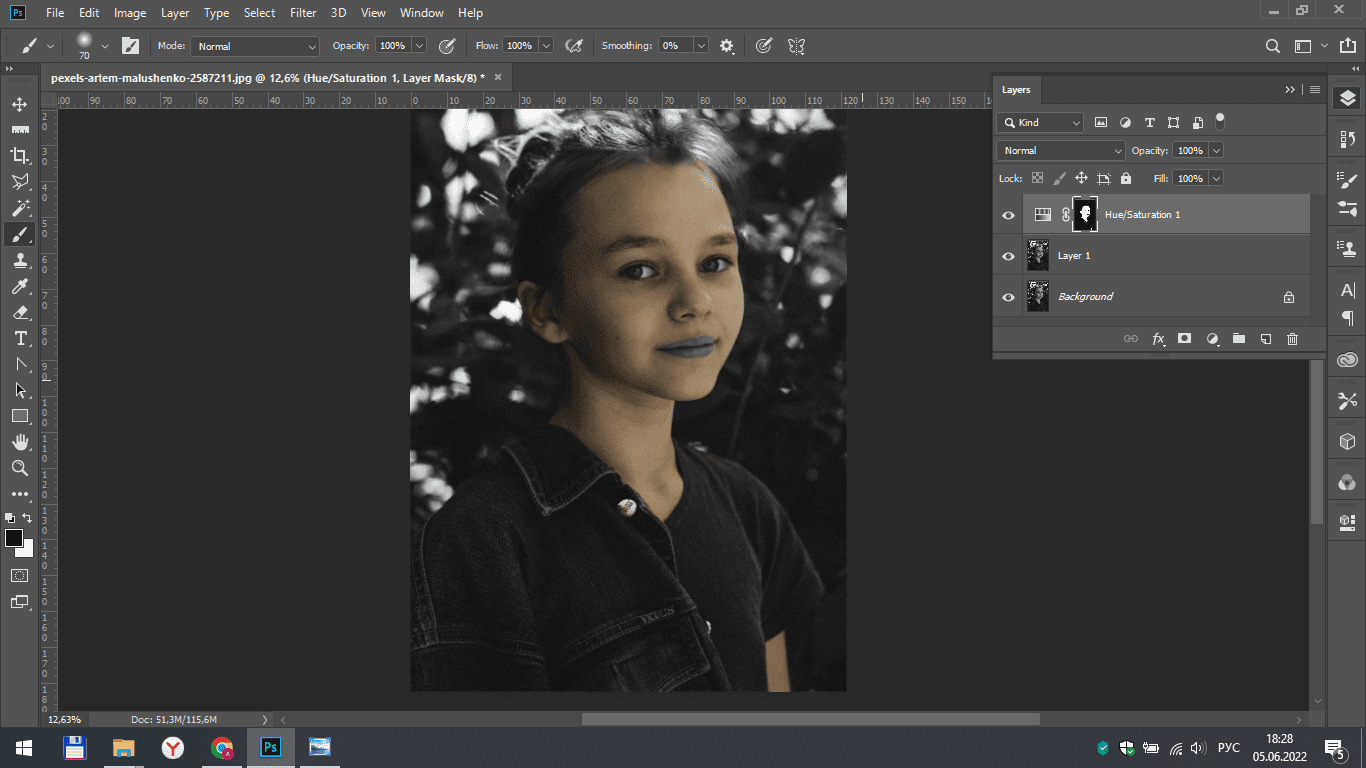
Select our copy layer again and add a second adjustment layer to it. This time we select the color for the lips, also moving the sliders and not forgetting to turn on the colorize function.
Invert the layer and use a brush to draw only the lips.

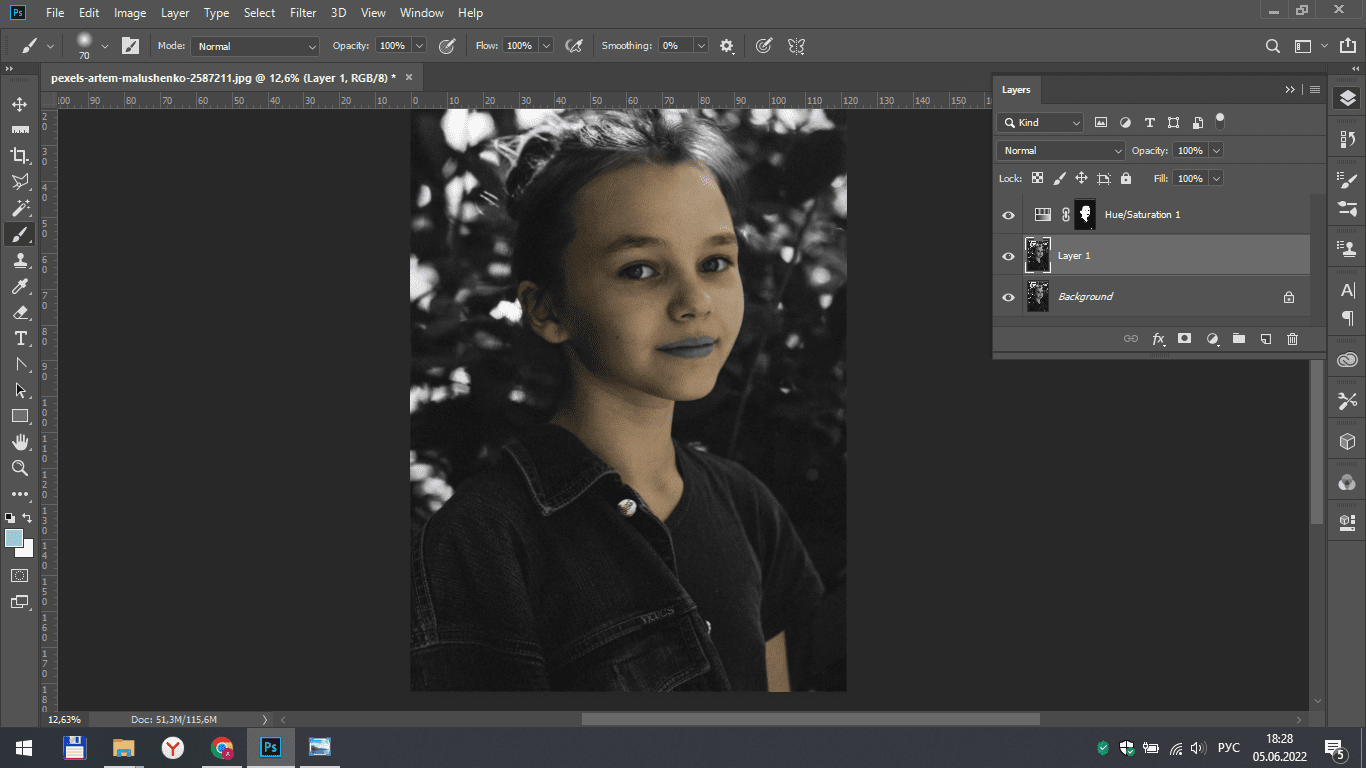
Again, we add an adjustment layer to the copy and, by analogy, select the color of hair, eyes, and background.
Result
That's how, with the help of digital technologies and photoshop algorithms, we were able to make a color photo out of a colorless one and so that it looks quite realistic.