


This tutorial is designed for novice Photoshop users. The settings of this utility and its capabilities are discussed here. In order to start working in the program, you first need to configure it for yourself and understand all the subtleties of its functioning.
Opening the Settings window
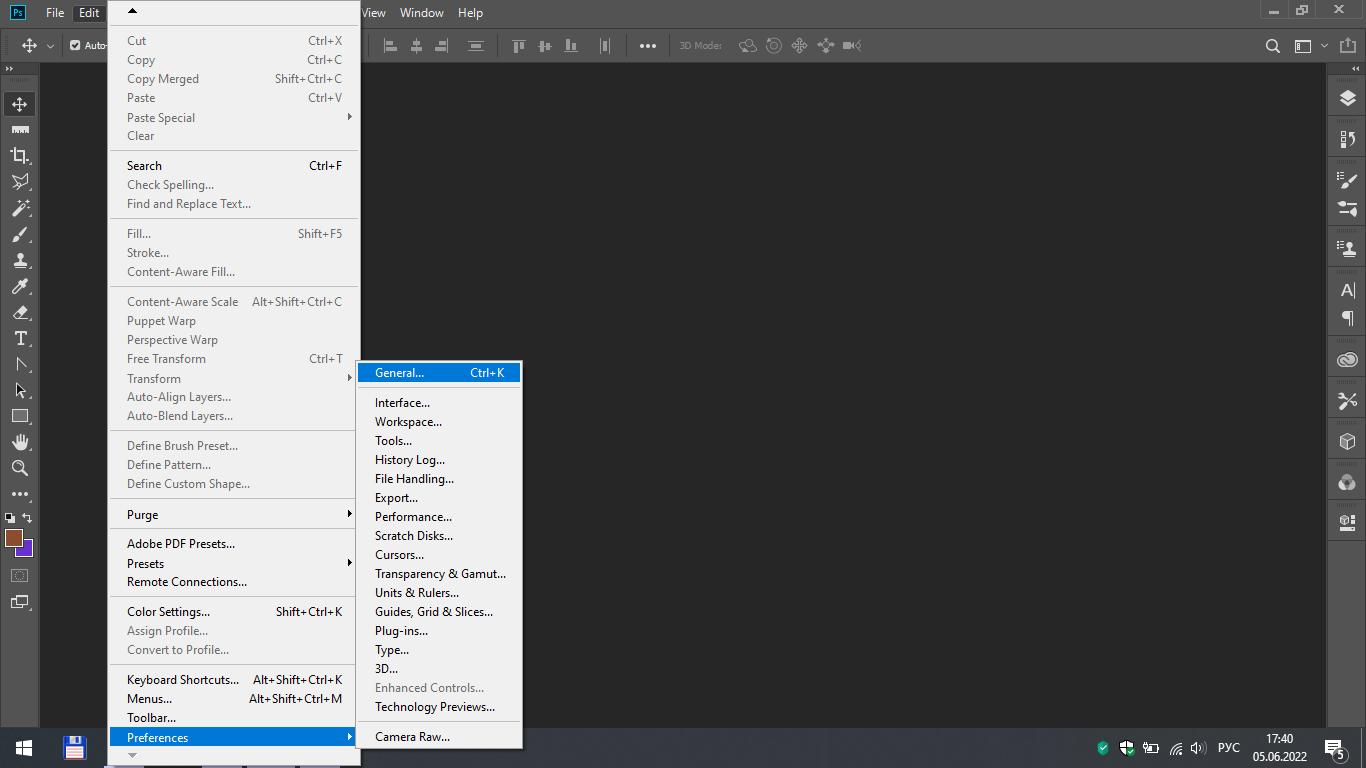
To open the settings, click on the "edit" section on the top panel, scroll through the list a little lower, and then click on "preferences" and "general ...".
General Settings
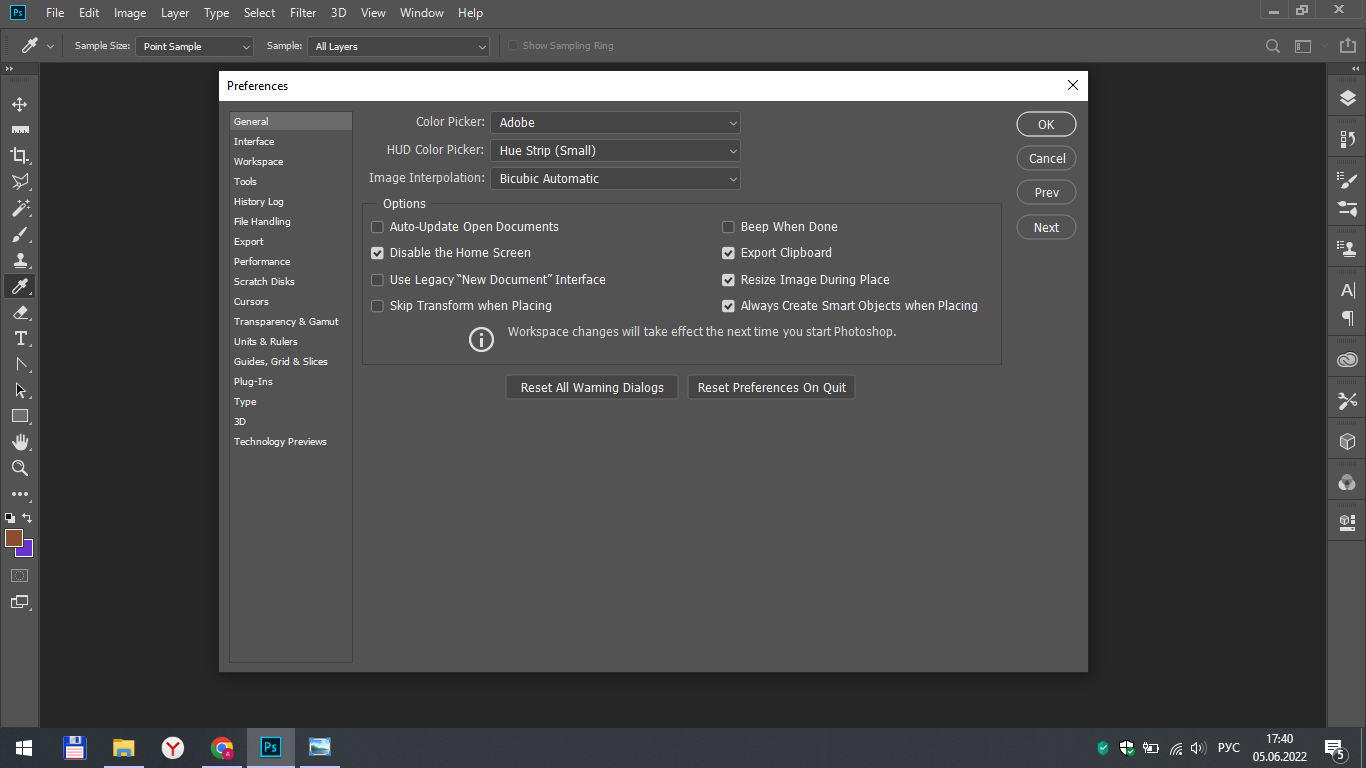
In the first section of the settings, we can observe the most basic parameters. It should be noted that initially the Adobe Photoshop program has standard parameters that you can leave not changed, only if you are not a professional and if it is not essential for you to change them.
In this section, you can pay attention to the "export clipboard" parameter. By default, this feature is enabled in the program, but you can disable it for faster operation of your device. The principle of operation of this element is that all files from the Photoshop clipboard are also exported to the clipboard of your computer, which can slow down its work and reduce performance.
Also in this section you can set a sound signal at the end of exporting images to the program, select the color palette you need, enable or disable the home screen, etc. All this is configured solely based on your preferences and does not particularly affect the operation of the program.
Interface
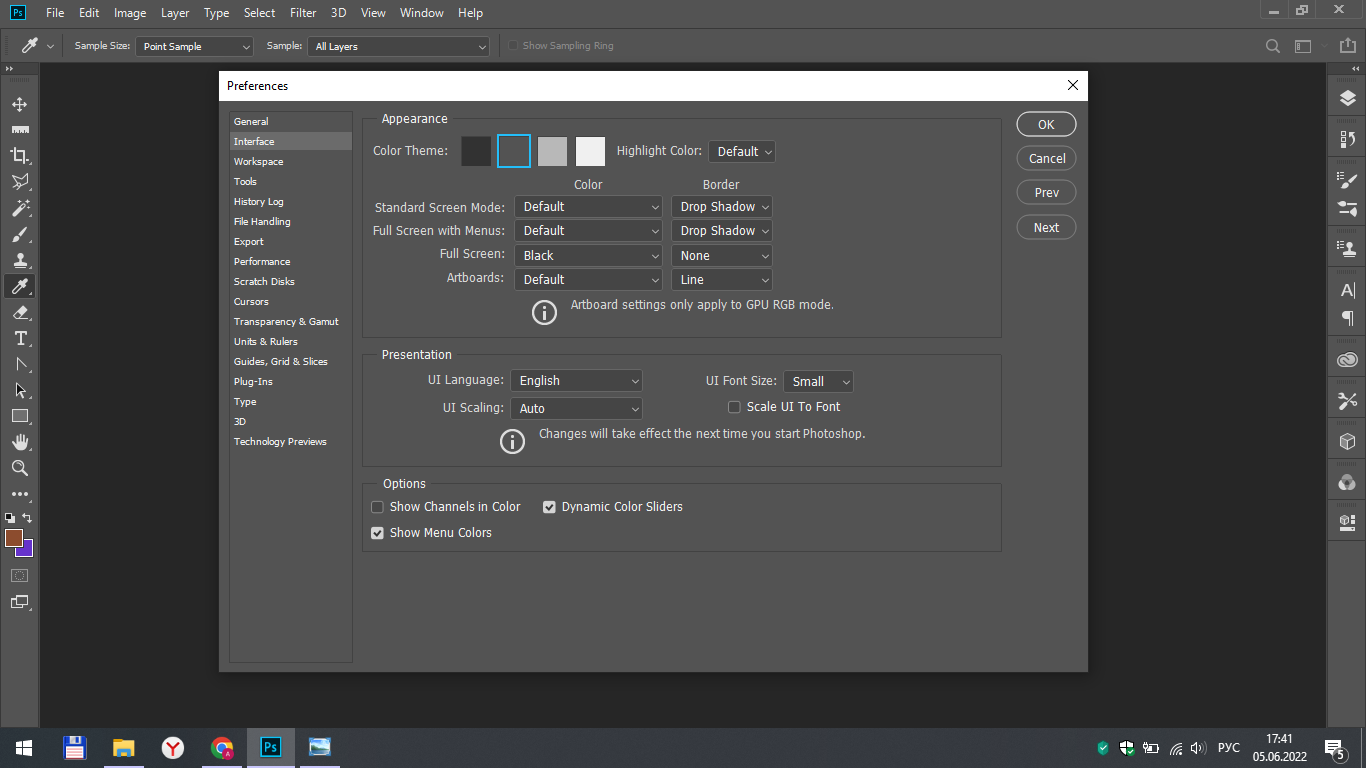
Photoshop provides users with 4 color themes to choose from dark to light. You can set the one you like best, although experienced users share the advice that dark themes allow you to focus attention on the edited image better.
The highlight color can be gray or blue. Gray will be combined with the installed color theme of the program, while blue will stand out more clearly against the background.
In the same section, you can change the program language, font size, and other settings related to the appearance of the application.
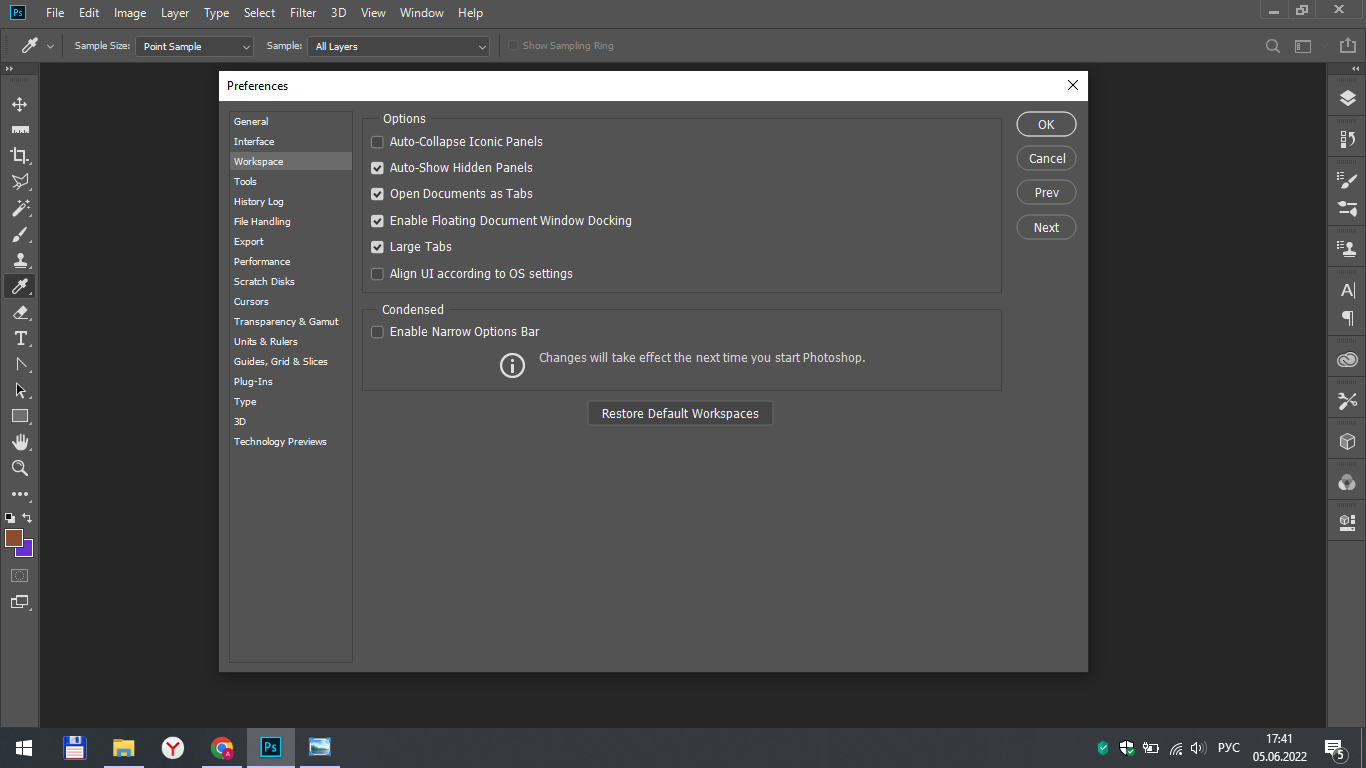
Workspace
In this section, a rather interesting feature will be opening documents as tabs. If you remove the check mark from this field, then each of your photos opened in Photoshop will be in a new window. If you enable this feature, then all the pictures will be in one window, just as different tabs.
Tools
The "show tooltips" function will be useful for beginners. This parameter shows hints when the mouse cursor hovers over a particular tool. Hints mean a brief description.
You can enable tool switch with the Shift key to easily change the tools located on the same letter in the keyboard shortcuts section.
Also pay attention to the "zoom with scroll wheel" setting. If you enable it, the image scale will change when you scroll the mouse wheel up or down. If this function is disabled, then you will need to press Alt to change the zoom along with scrolling with the mouse wheel.

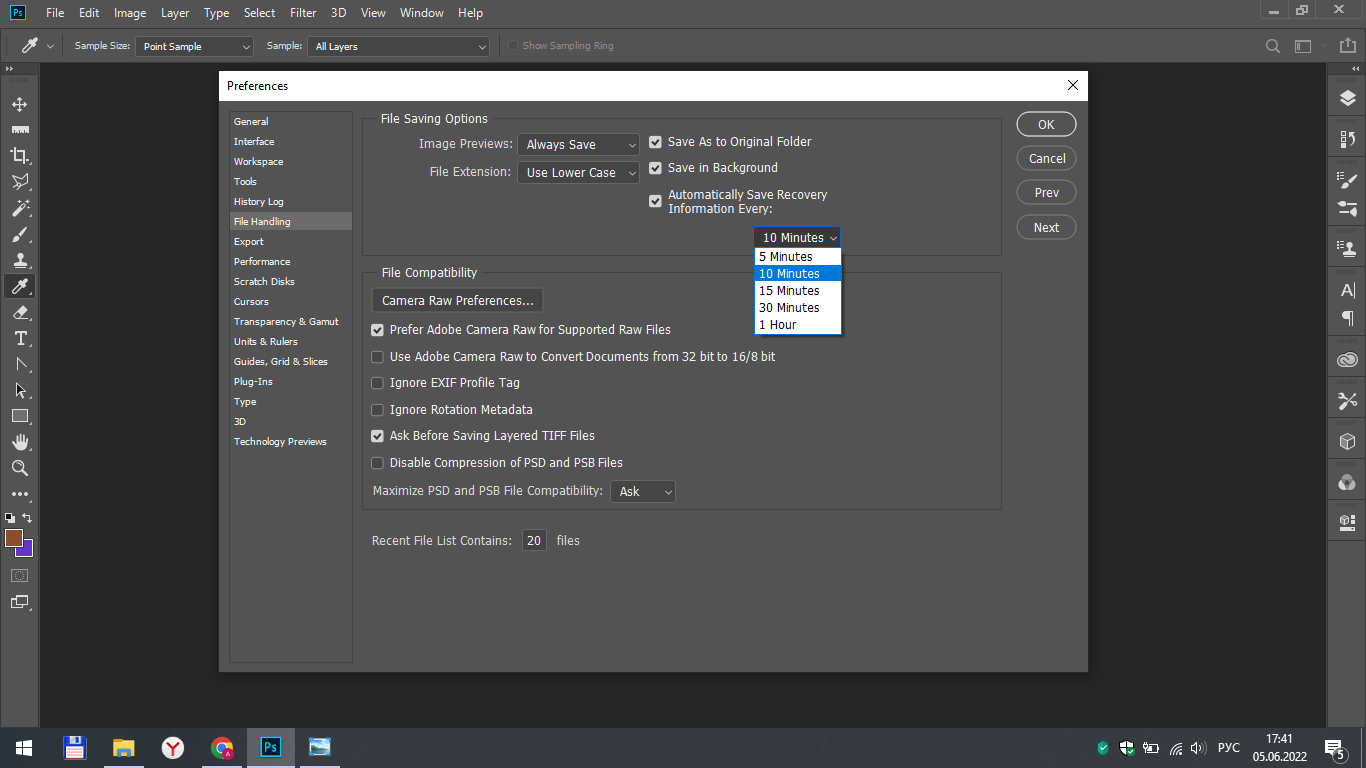
File handling
For the auto-save information parameter, you can select different time intervals from 5 minutes to 1 hour. This depends on the effect of saving backups on the performance of the program and the computer.
In addition, you can set the value you need for the length of the list of recent files. This value determines the number of recently modified files that will be displayed in the Recent Documents tab.
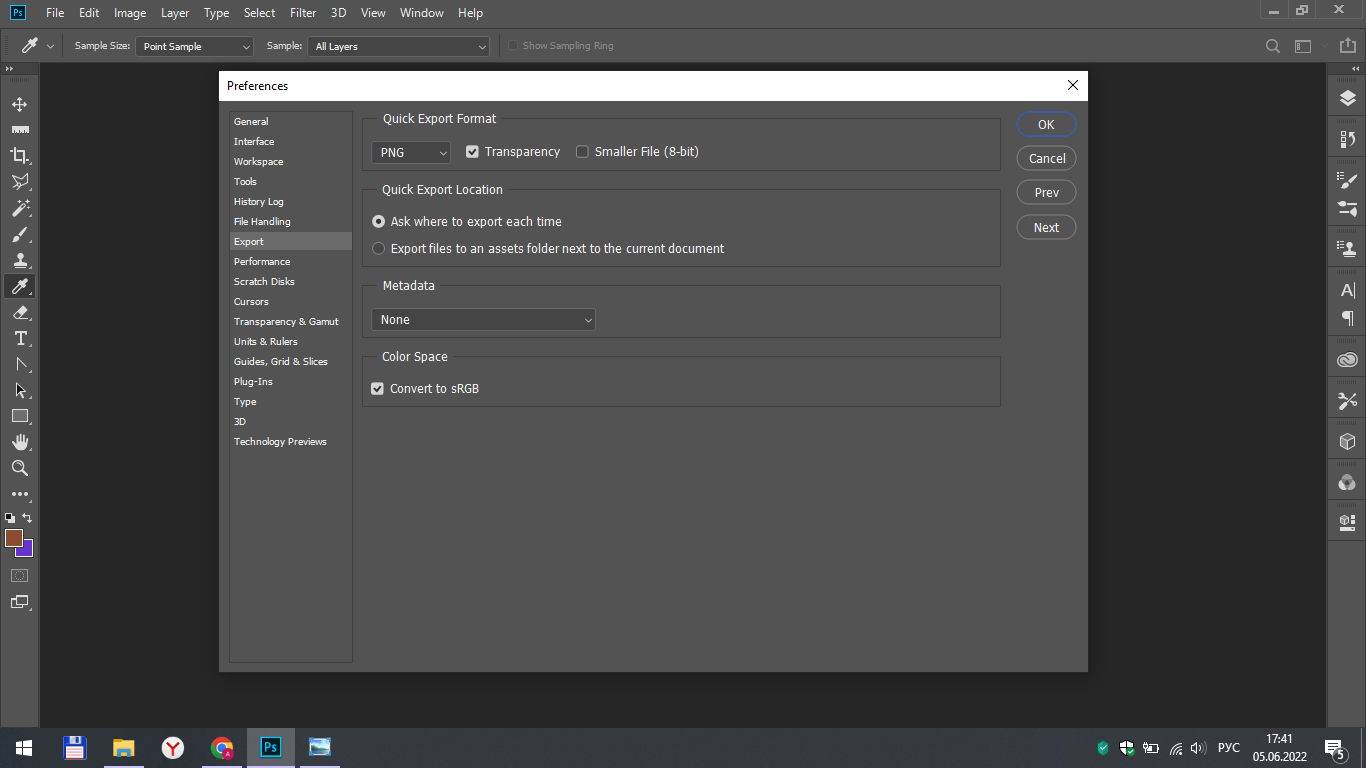
Export
In this section, you configure the path to save your files created or modified in Photoshop. You can make the program ask each time where to save the file or to save it to the folder with the original photo.
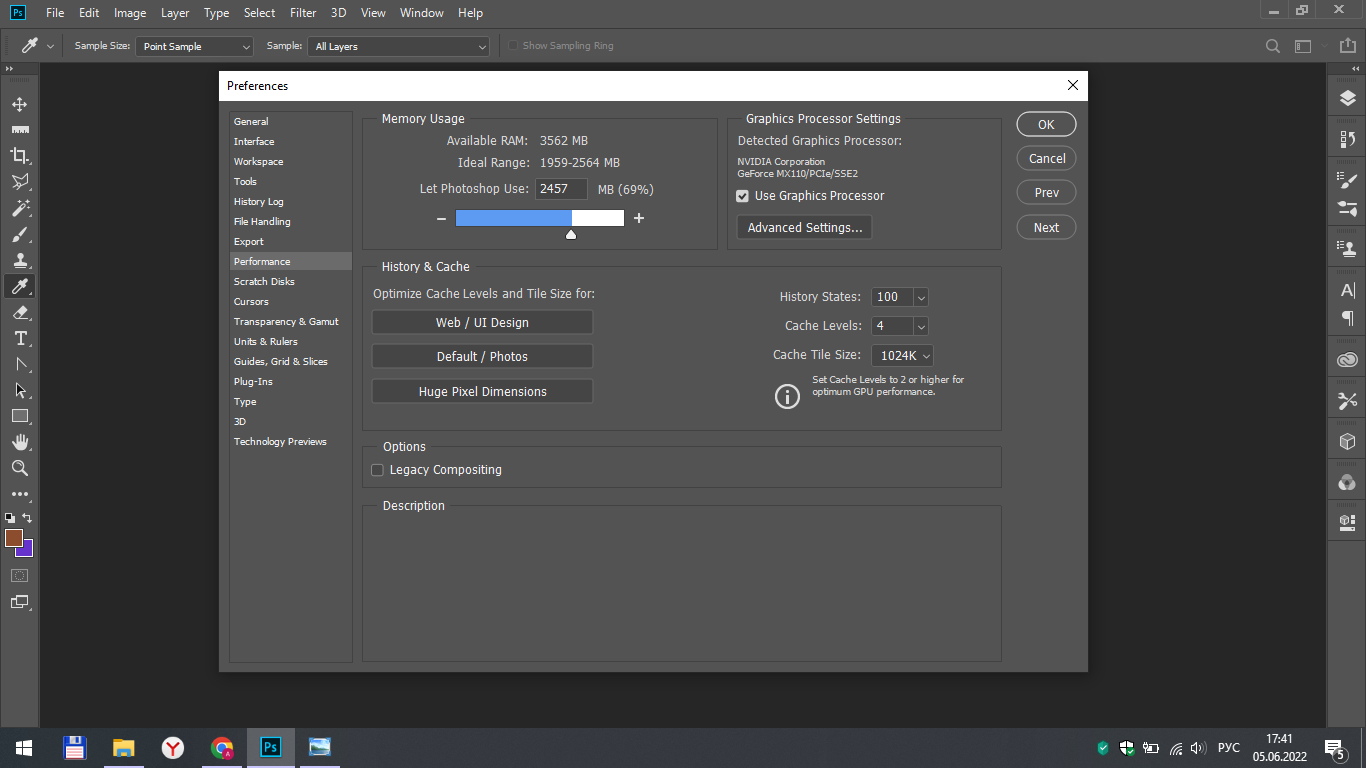
Performance
Memory usage is an important setting on which the correct functioning of the program depends. According to the standard settings, 70% of the memory is allocated to the application, but you can increase or decrease this value. The larger it is, the faster and better the application will work, but keep in mind that if you set the value to 100%, then you will not be able to work in other applications while working in Photoshop. If you need to open another application at the same time as Photoshop, you can set 90% for it.
On the right side of this section is the selection of the value of the history states. When you work with an image, each of your actions is saved in the history, and in the settings you can set how many recent actions you can view in the history.
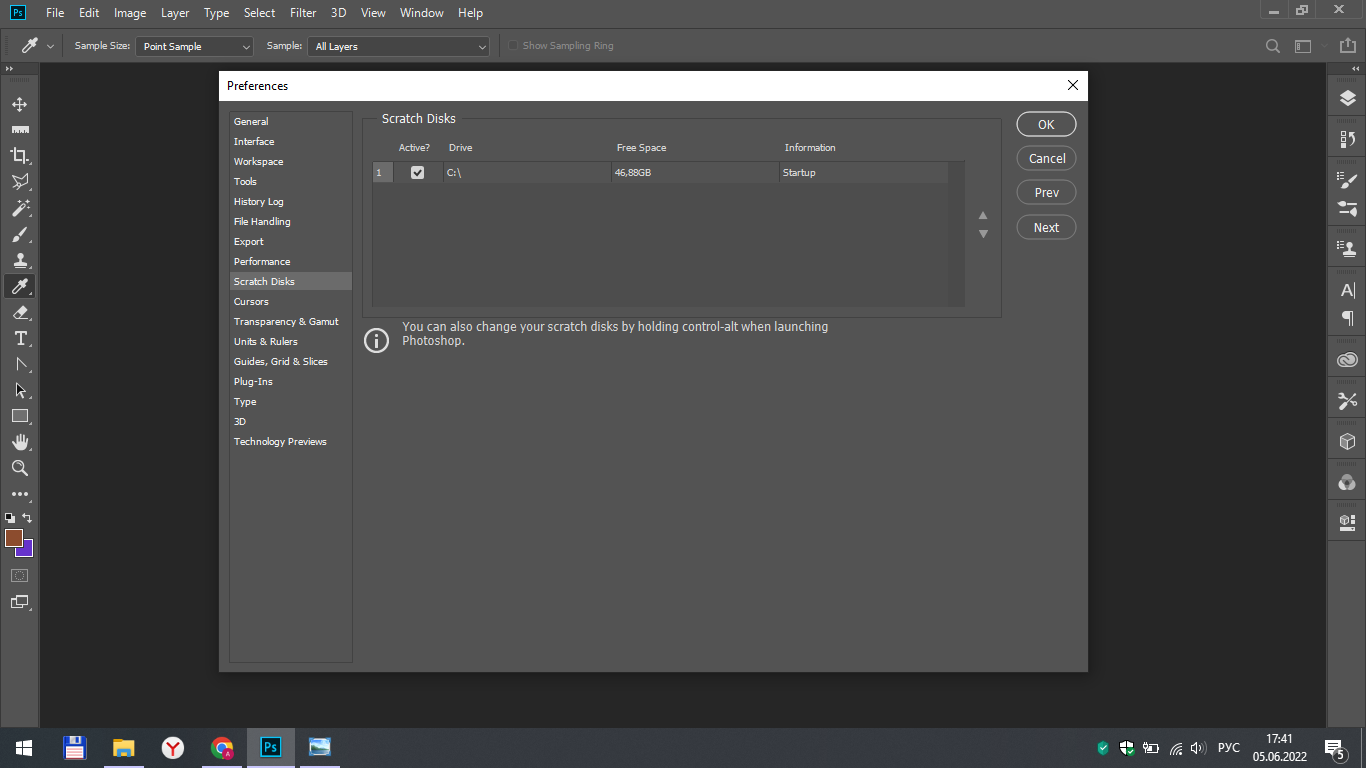
Scratch disks
The working disk provides Photoshop with additional memory if it no longer has enough system memory. If you have only one disk in your computer or laptop, you don't have to change this parameter. But if your computer has several disks, then you need to choose the best option to improve the performance of the program. if you have information about the speed of each of your hard drives, then choose the fastest one. Also, if one of your disks is an SSD disk, then also choose it, since in this case the performance will be maximum.
Result
In this lesson, we have reviewed some sections of the Photoshop program settings and their nuances. The remaining sections that are not included in the lesson, you can configure yourself, as everything is intuitive and customizable according to your tastes.