


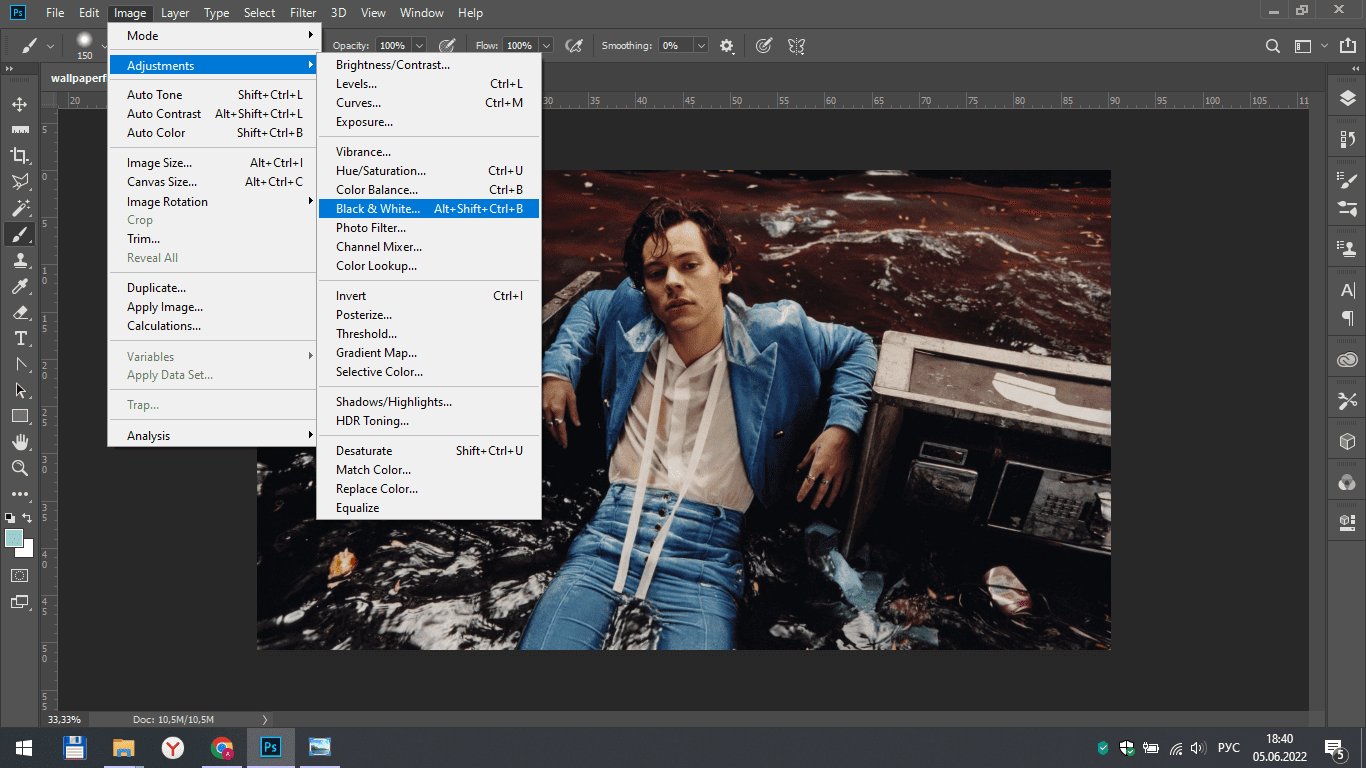
In this lesson, we will make a black-and-white color photo in two counts.
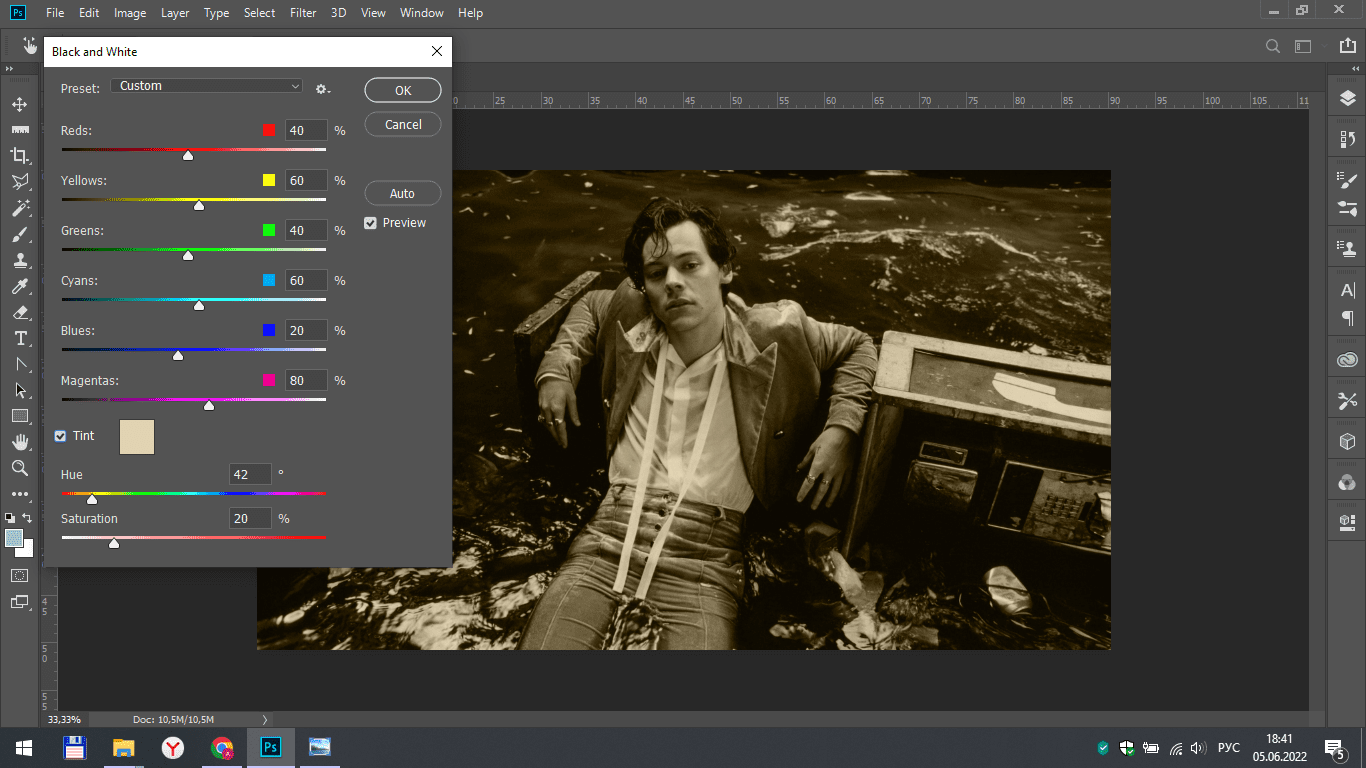
Go to the image section and select the black and white line in the adjustments tab.
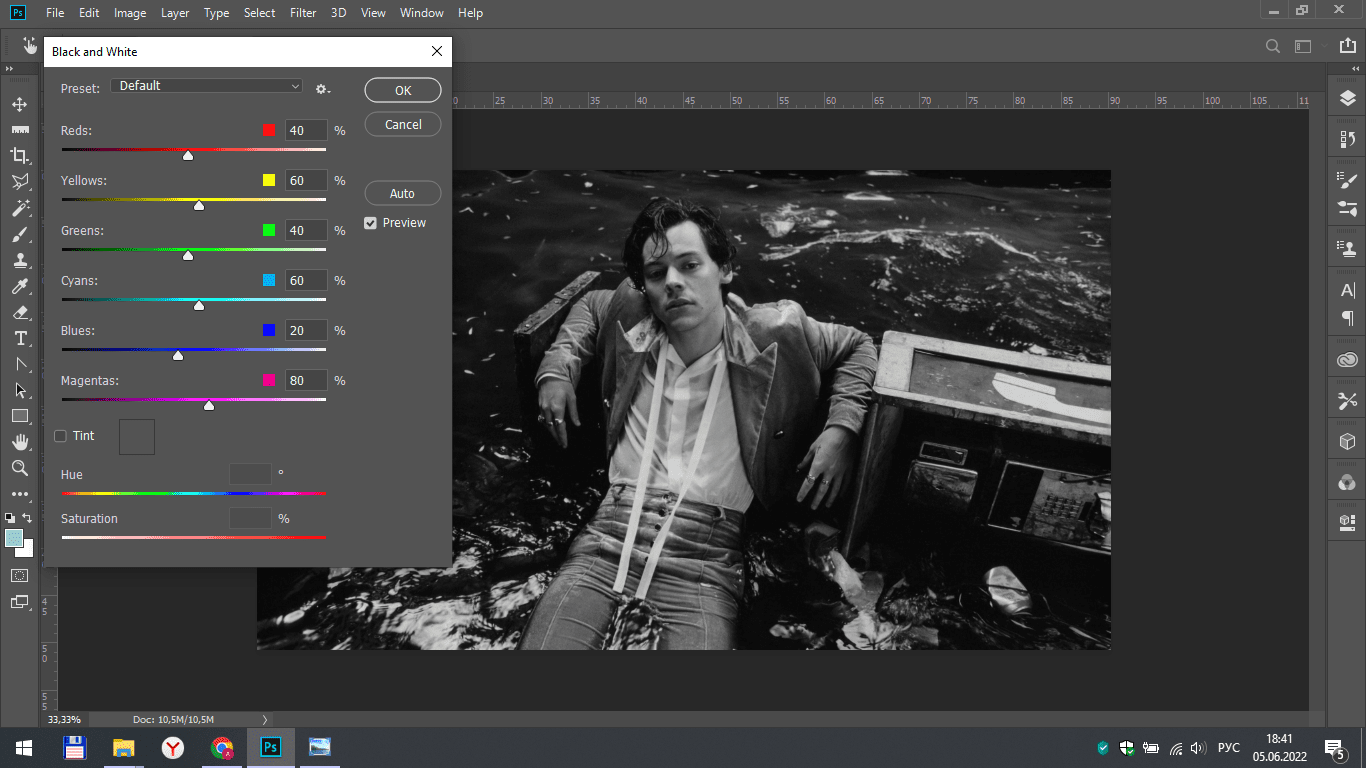
A large settings window opens in front of us, where we can change our snapshot at our discretion.
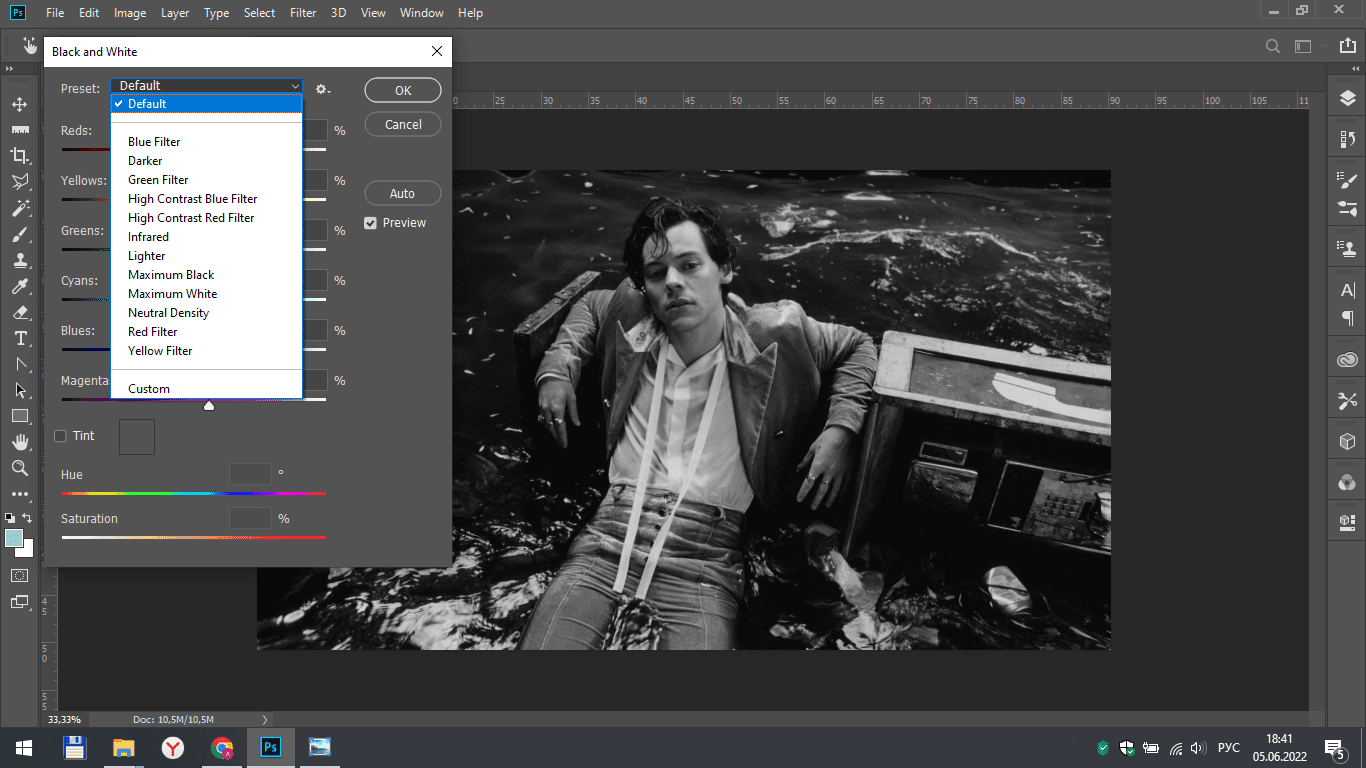
The set of parameters section presents various options for black-and-white photos, and you can also customize the effect yourself.
If you check the box next to the tint, you can create a semblance of a sepia shade of different colors, which can also be edited using the sliders below.
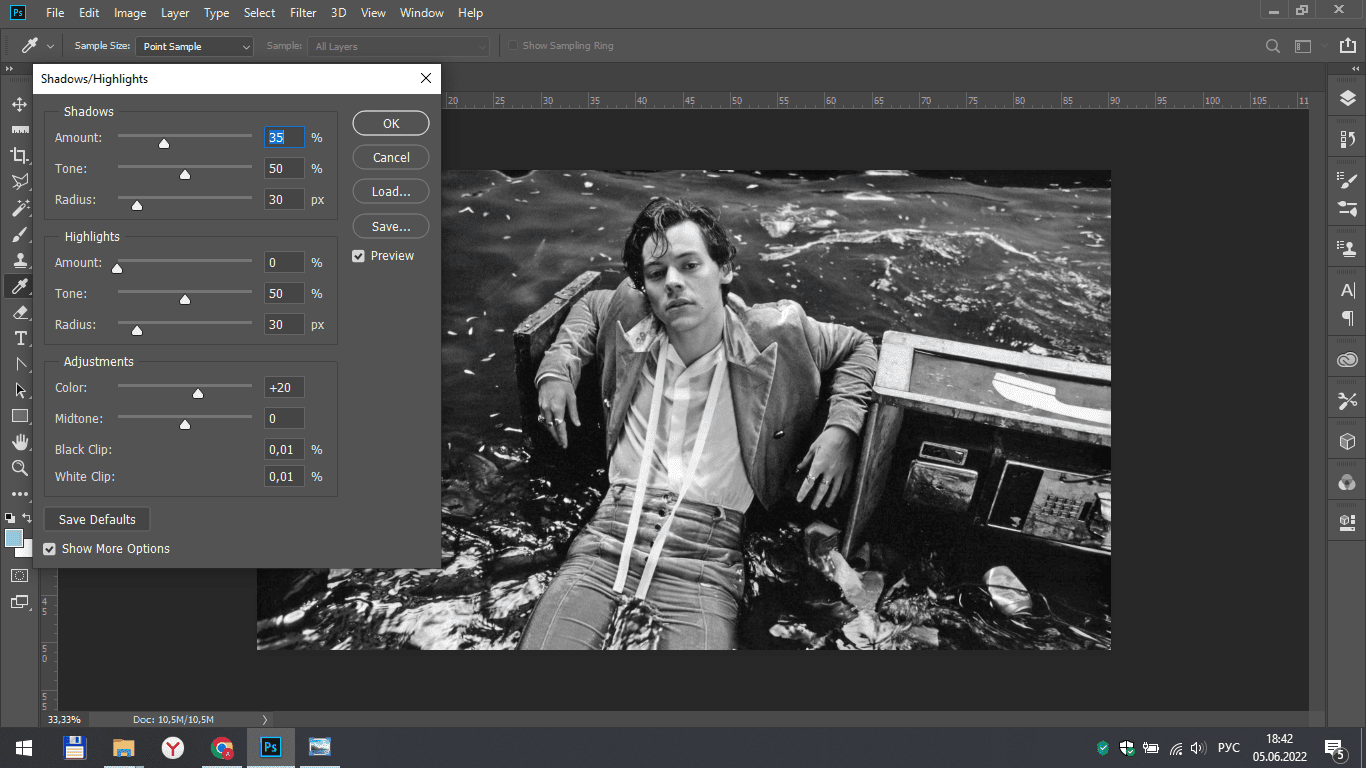
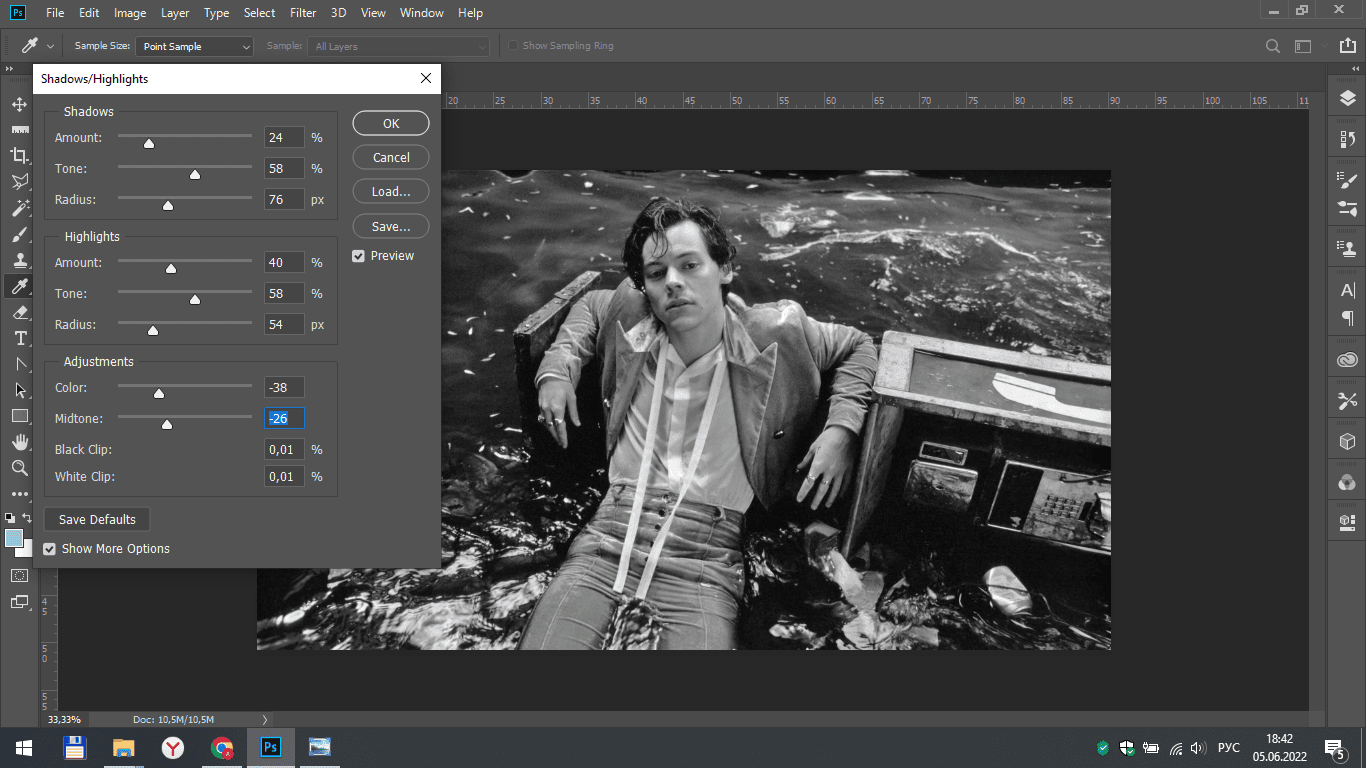
For additional customization of black and white photos, you can open the shadows/highlights tab.
The shadows section is responsible for the dark areas of the photo and by definition makes them lighter.
The highlights section works with the light parts of the image and can darken them.
In the adjustments, the average tones of the image change.
Result
Now you can not only create black and white photos in Photoshop, but also edit them.