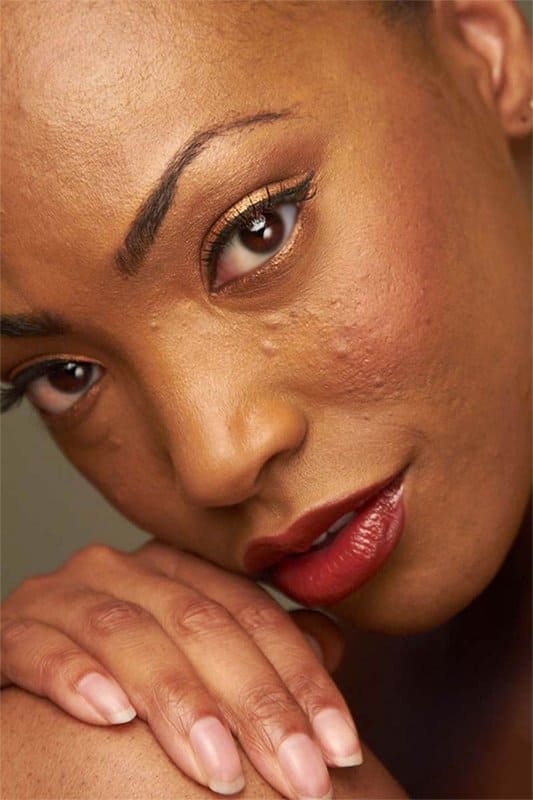


This lesson will help you master the technique of high pass retouching for editing portrait images.
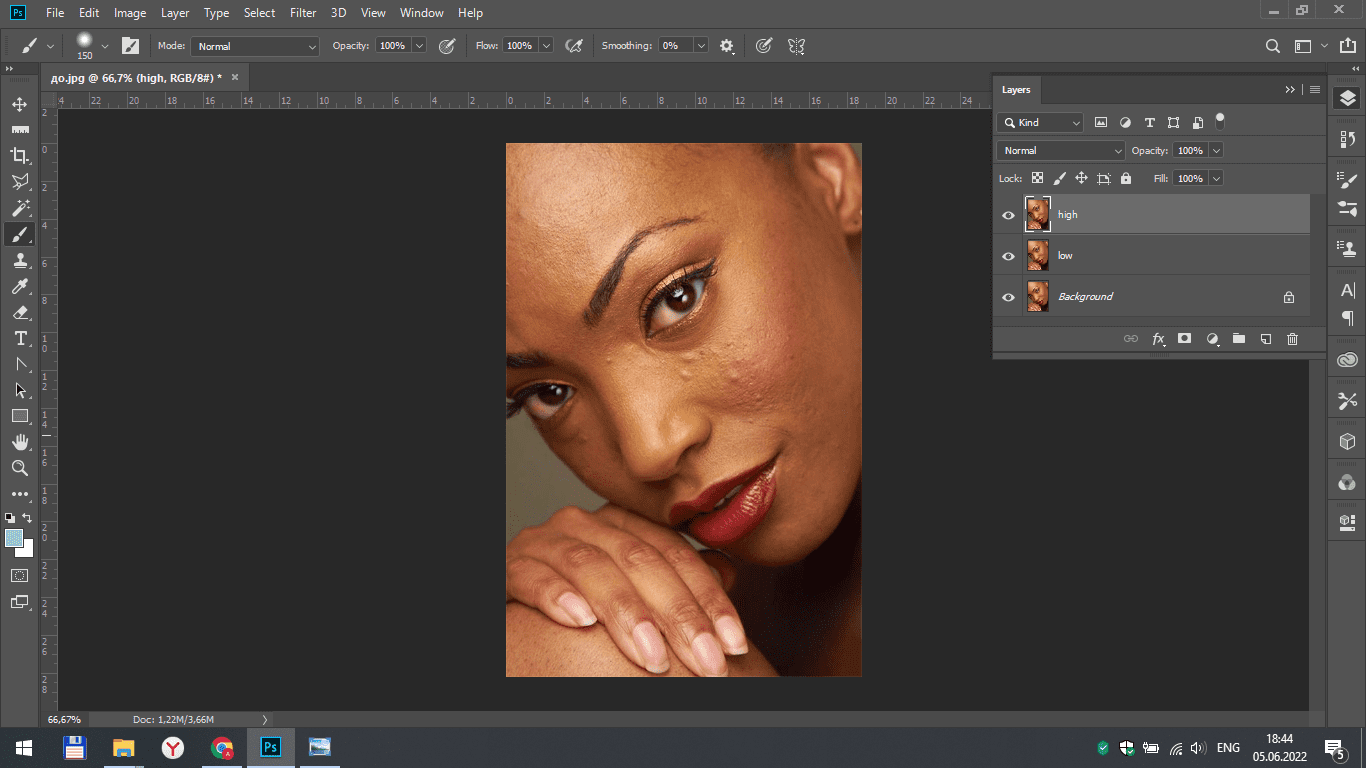
Open the photo in Photoshop and create two copies of the layer. Rename them to the high and low. These two layers will have different frequencies of our image.
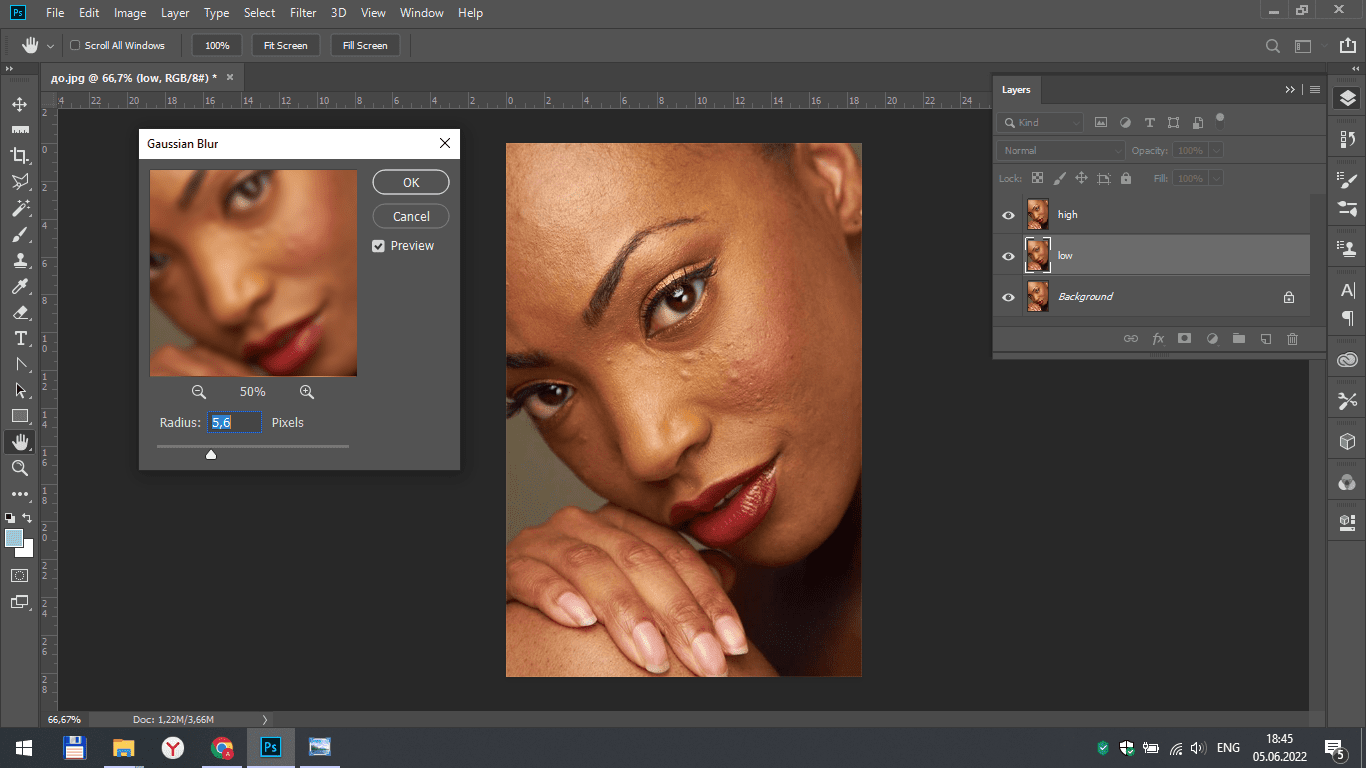
Make the "low" layer active and select Gaussian blur in the filter tab. We set such a value so that there are practically no skin imperfections visible on the thumbnail of the image.
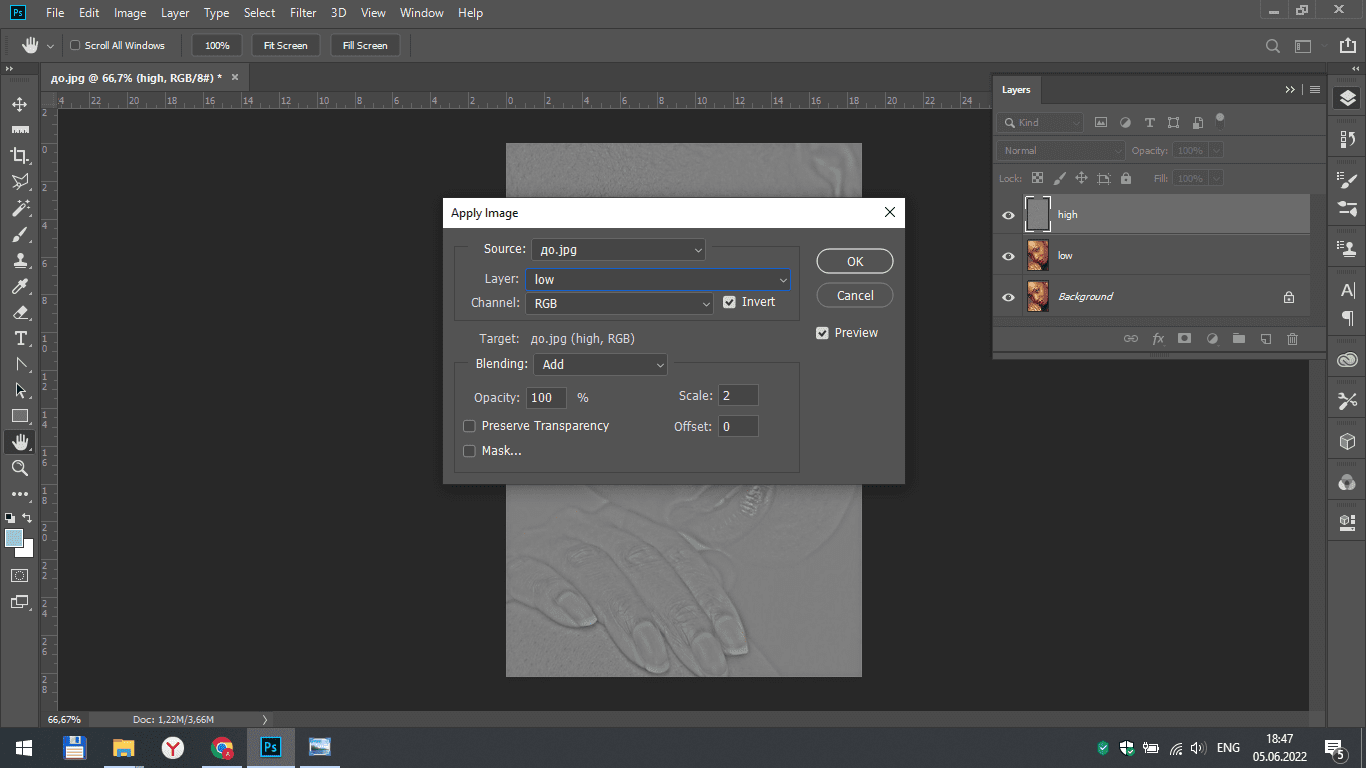
Select the "high" layer and click on the “apply image” in the image tab.
In the window that opens, set the following values:
- Select the "low" layer.
- Turning on the inverting function.
- The overlay mode should be “add”.
Scale – 2, offset – 0.
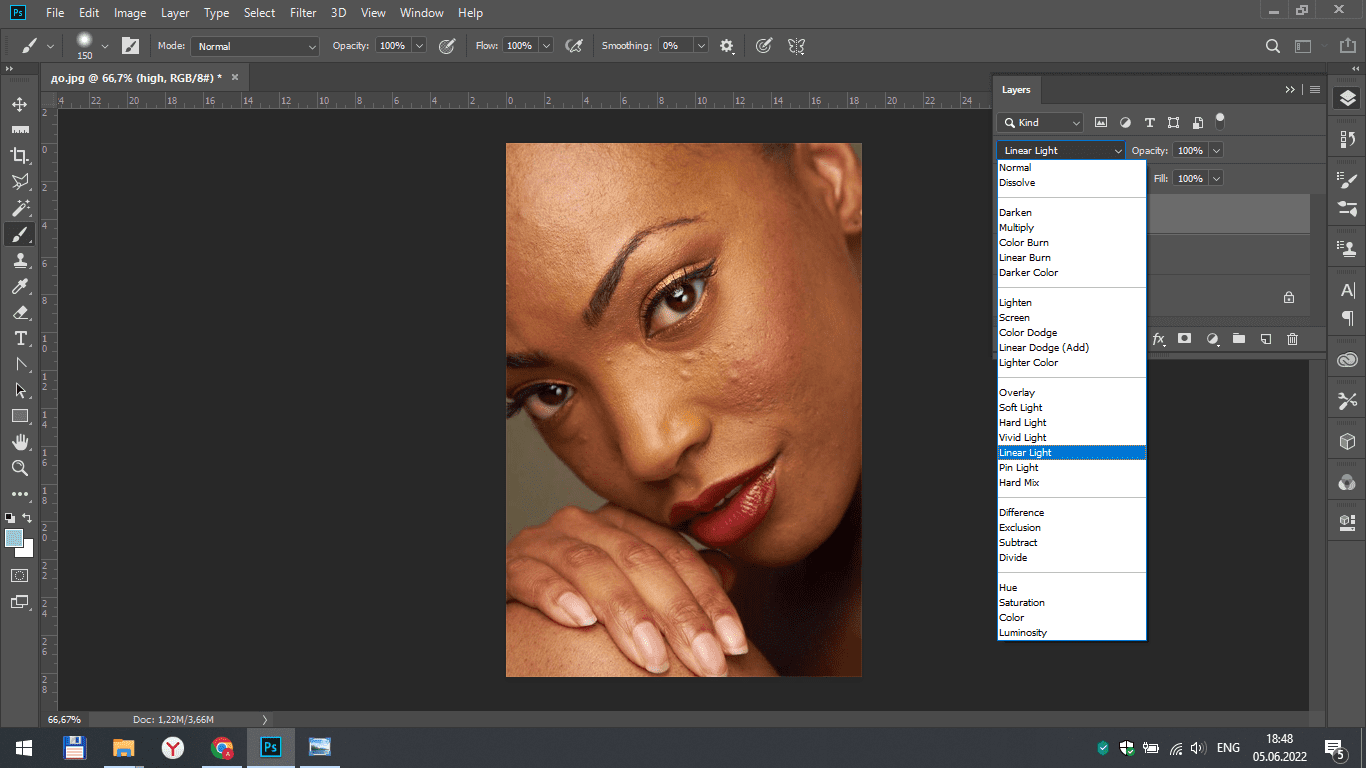
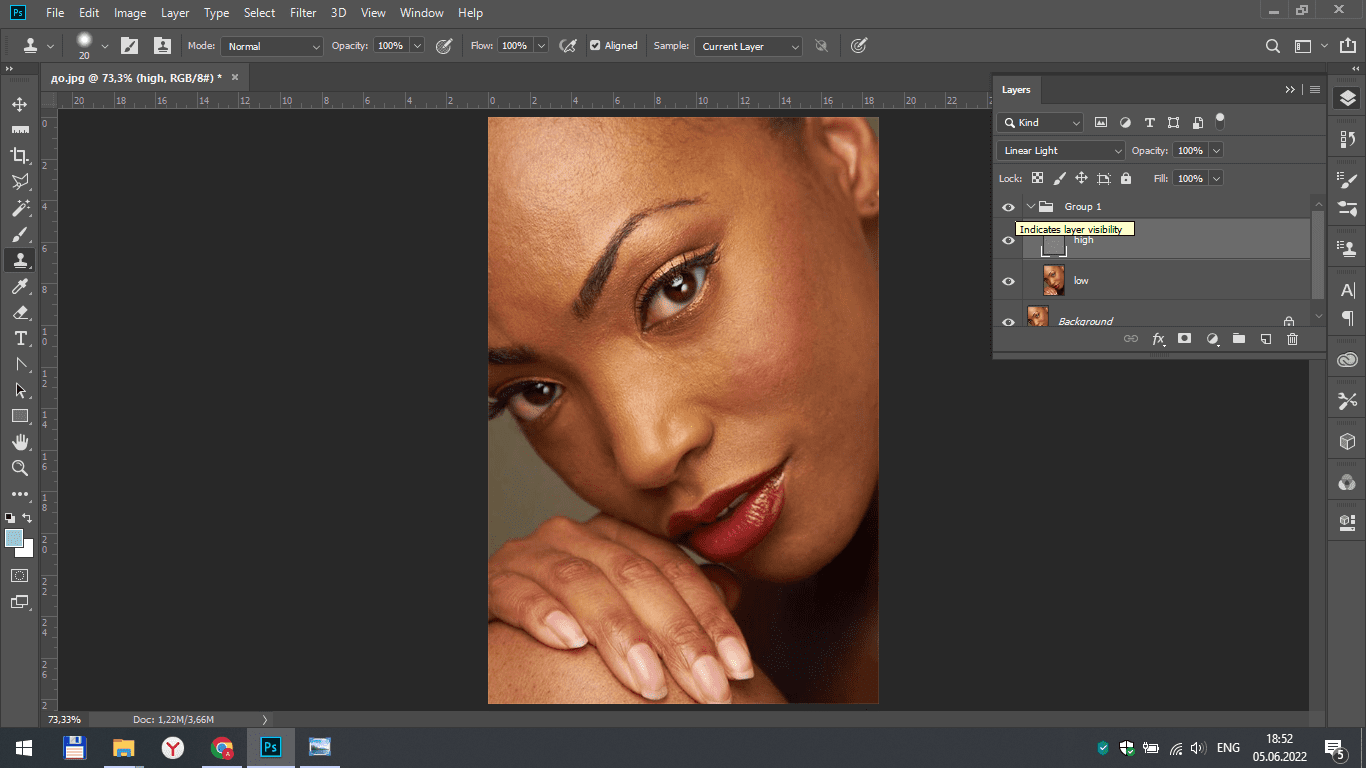
For the "high" layer, select the linear light overlay mode. Thus, it becomes invisible, as it were, and the original photo appears in front of us.
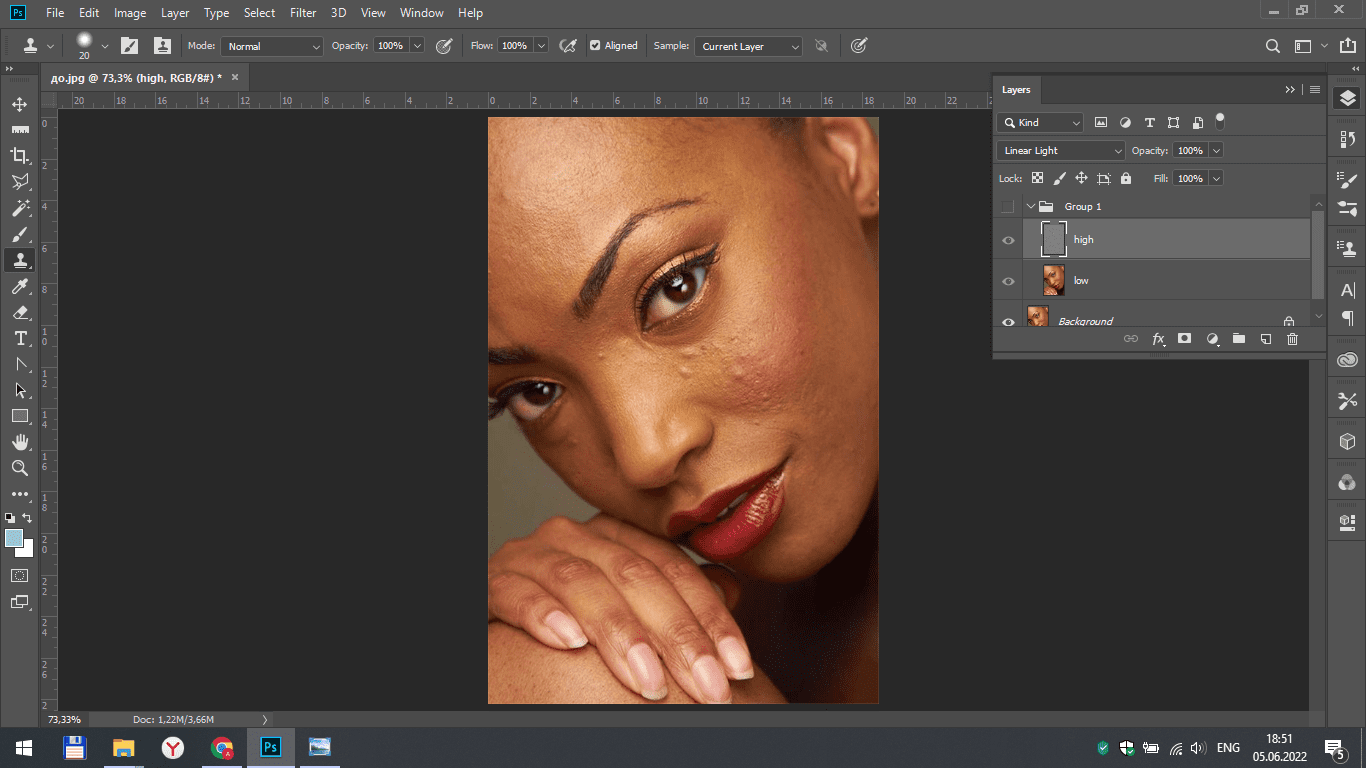
Combine the two copy layers into a group. To do this, select them with the mouse and ctrl, and then click on the folder icon on the bottom panel of the layers section.
Now we are engaged in the correction itself. Select the high layer, the clone stamp tool and start removing all the irregularities from the face. Now we are working with the structural part of the image, so that the stamp will not behave as sharply as usual.
Select the low layer to work with the color and tone of the skin. In the toolbar, we take a mixer brush tool and set all the values on the upper panel to around 20.
We draw a brush over the face and align the tone after changing the structure.
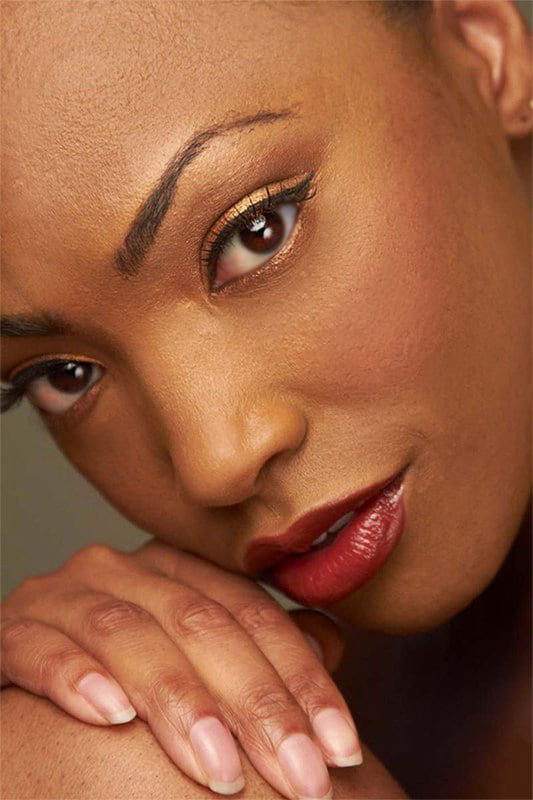
Result
Now you can edit your portrait shots as for the covers of glossy magazines.