


In this lesson, you will learn how to replace the background on photos using various Adobe Photoshop tools.
Step 1. Object selection tool
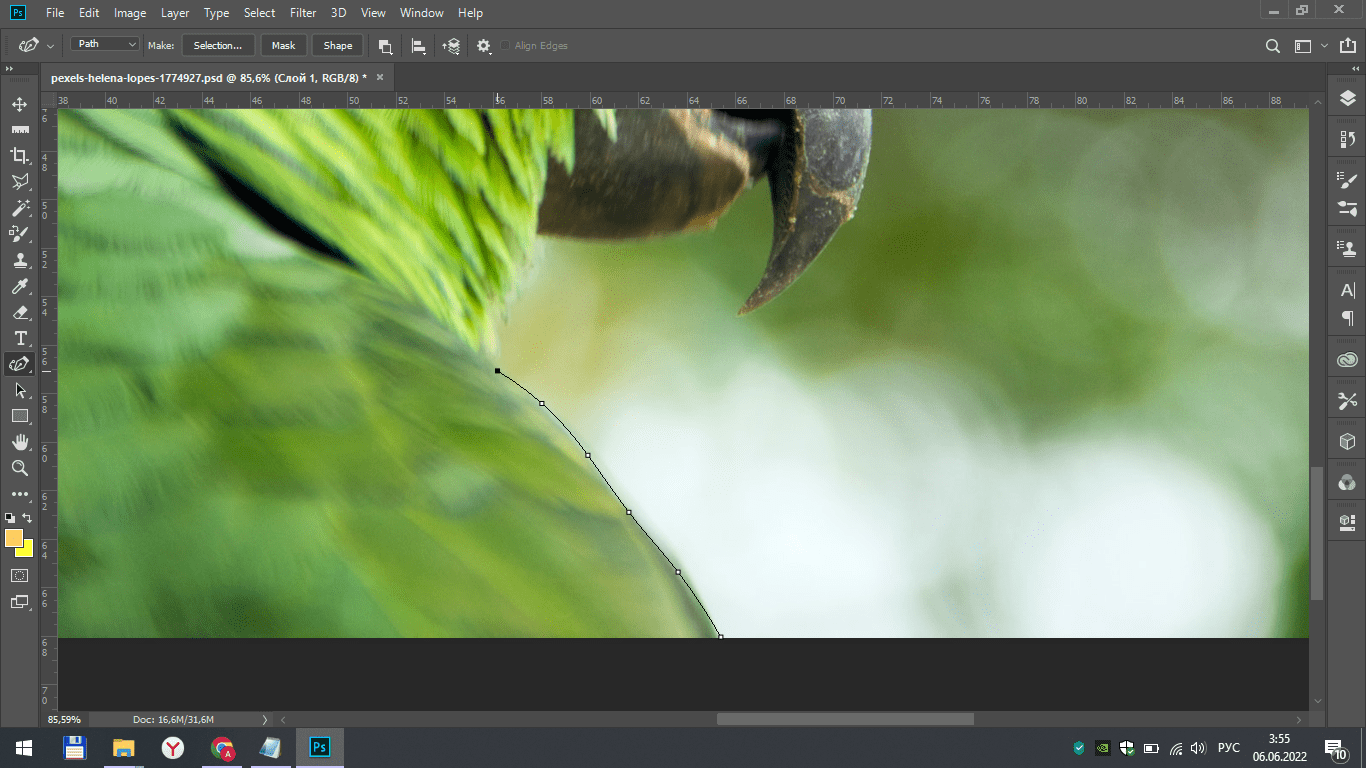
After opening the photo in the application, we select one of the selection tools located on the sidebar. Specifically in this case, we will use the curvature pen tool. By placing dots along the contour of the object, we gradually highlight it. At the end, we connect the first and last points. After that, click on the "selection" parameter, which is located on the top panel.
Step 2. Lasso tool
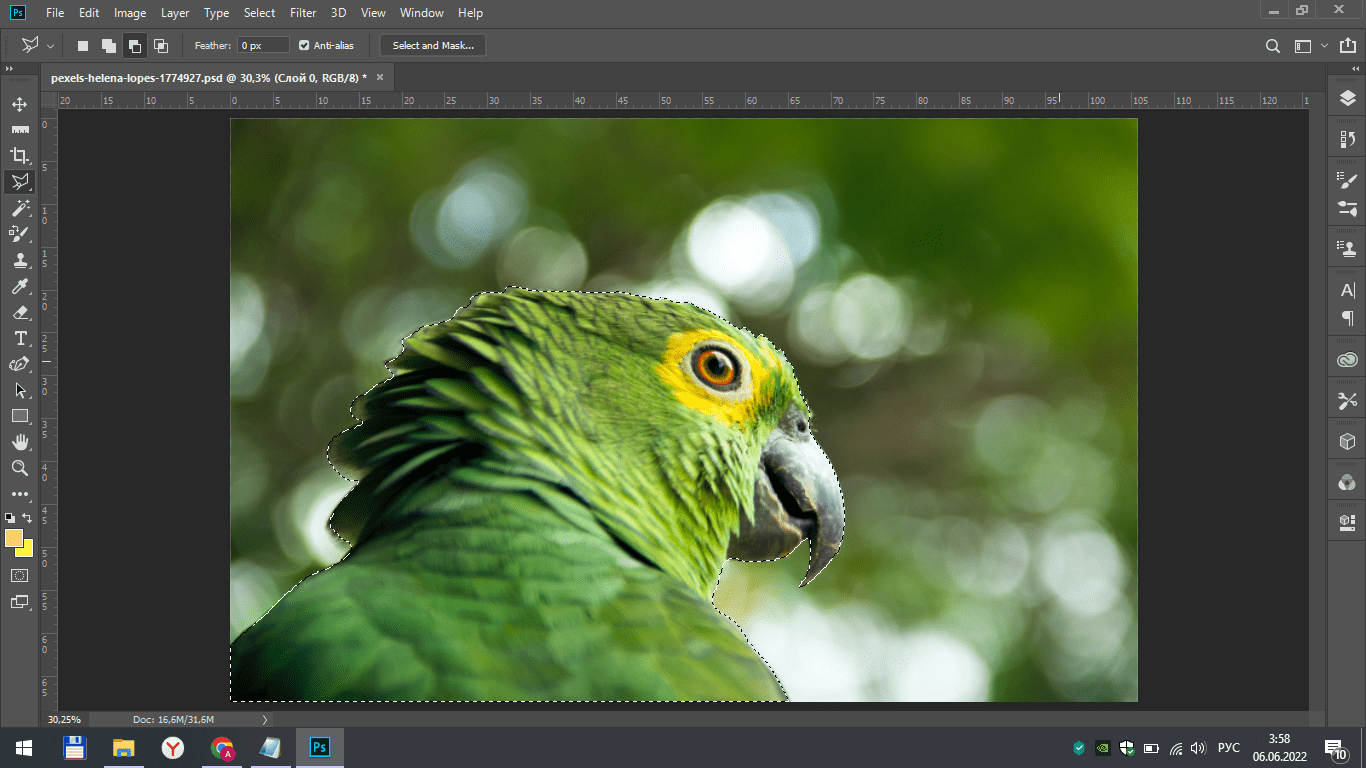
After our area has become selected, we process the edges of the selection, adding something and removing something. For example, using the lasso tool, you can easily remove a crooked selection using straight lines.
Attention! On the top panel, you need to select the third square from the left so that the selection is removed, not added.

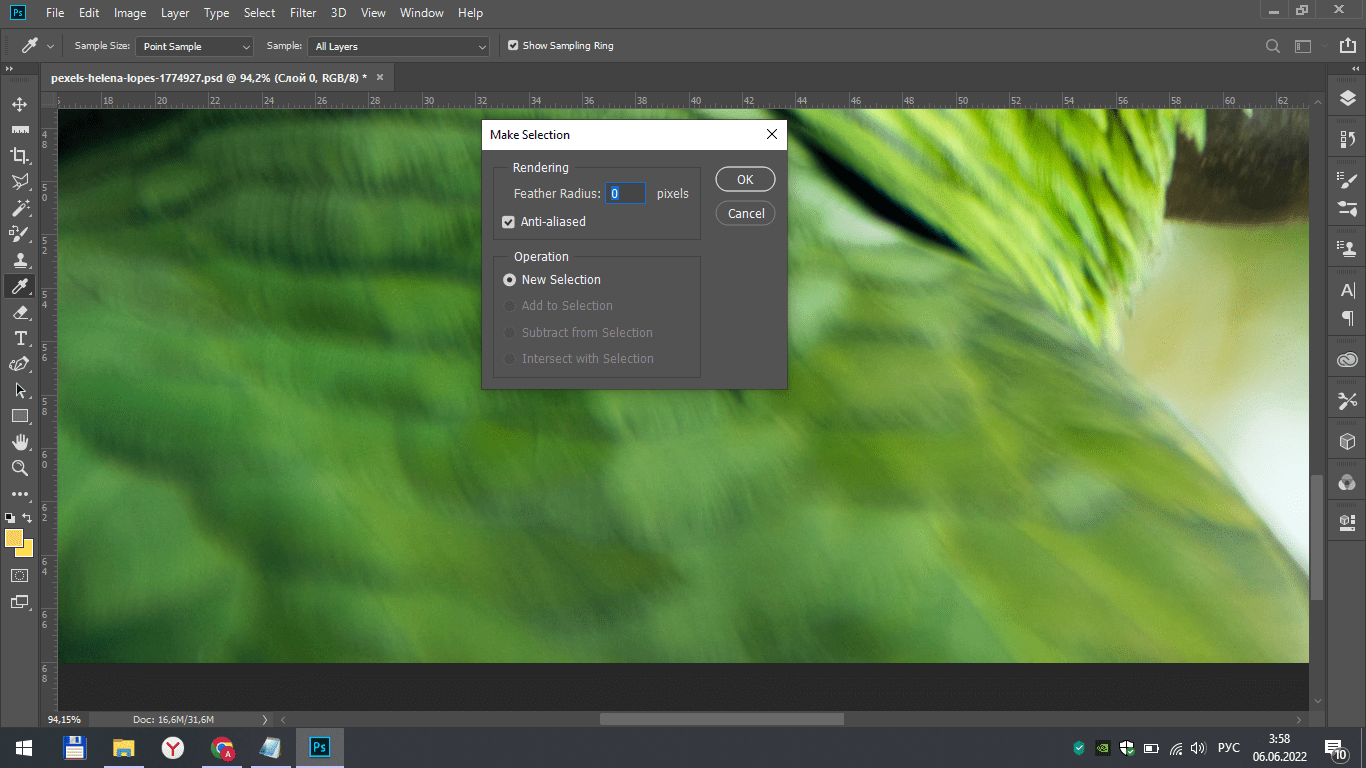
Step 3. Mask layer
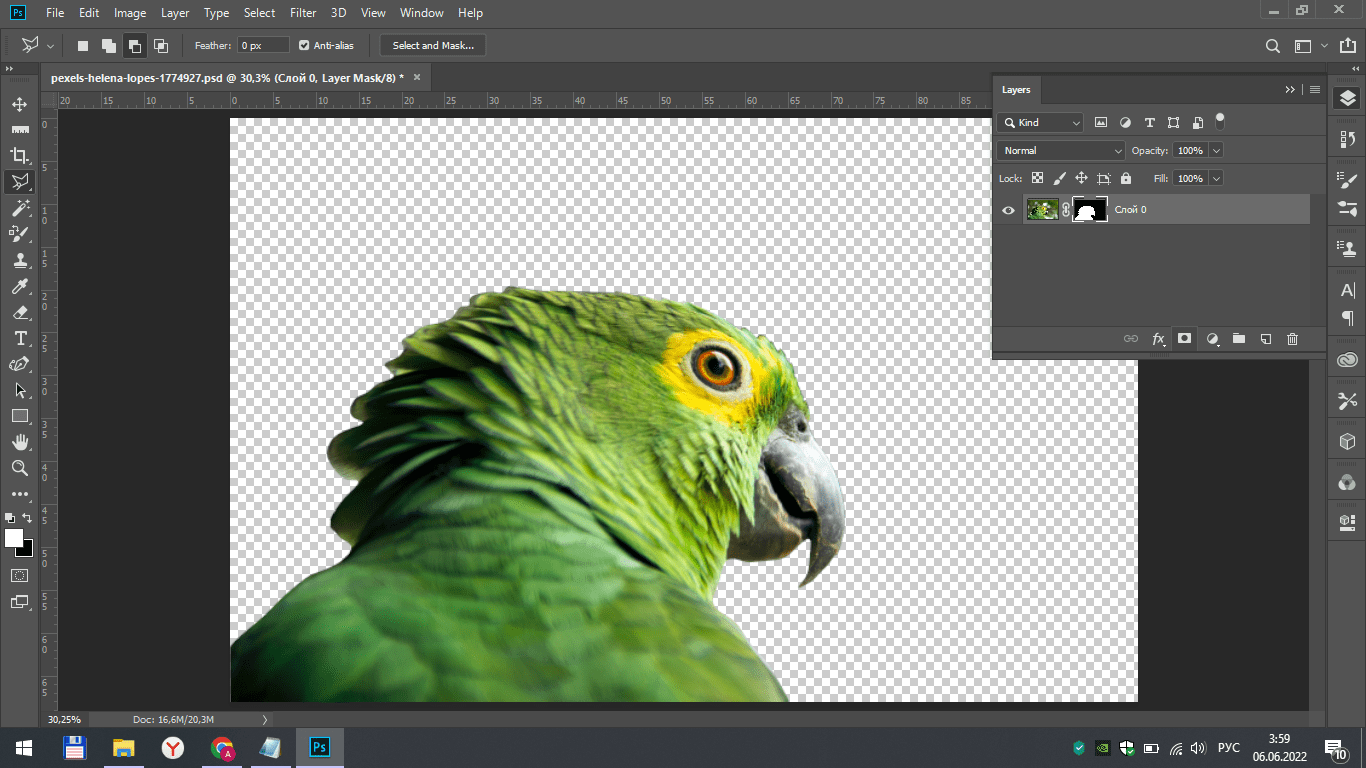
After you have worked through everything, you need to add a mask layer on the layers tab. Thus, you will see only the image of the selected object on the screen, without a background. Then click the left mouse button twice on the mask layer.
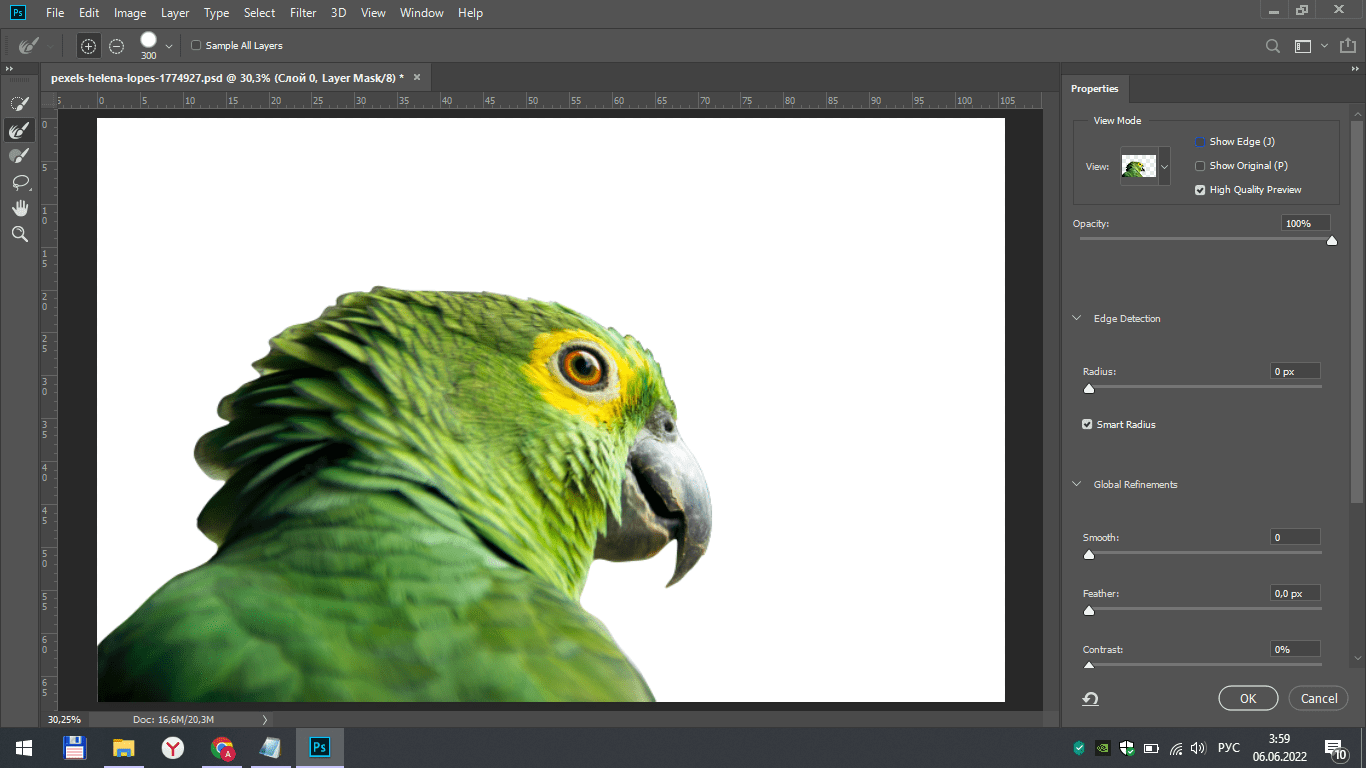
Step 4. Changing the edges of an object
An editing window opens in front of us. In the panel on the left, select the "refine edge" tool. In the panel on the right, we set the opacity indicator to the maximum, and also tick the "smart radius” function.
In the "view" tab, select "on a white background".
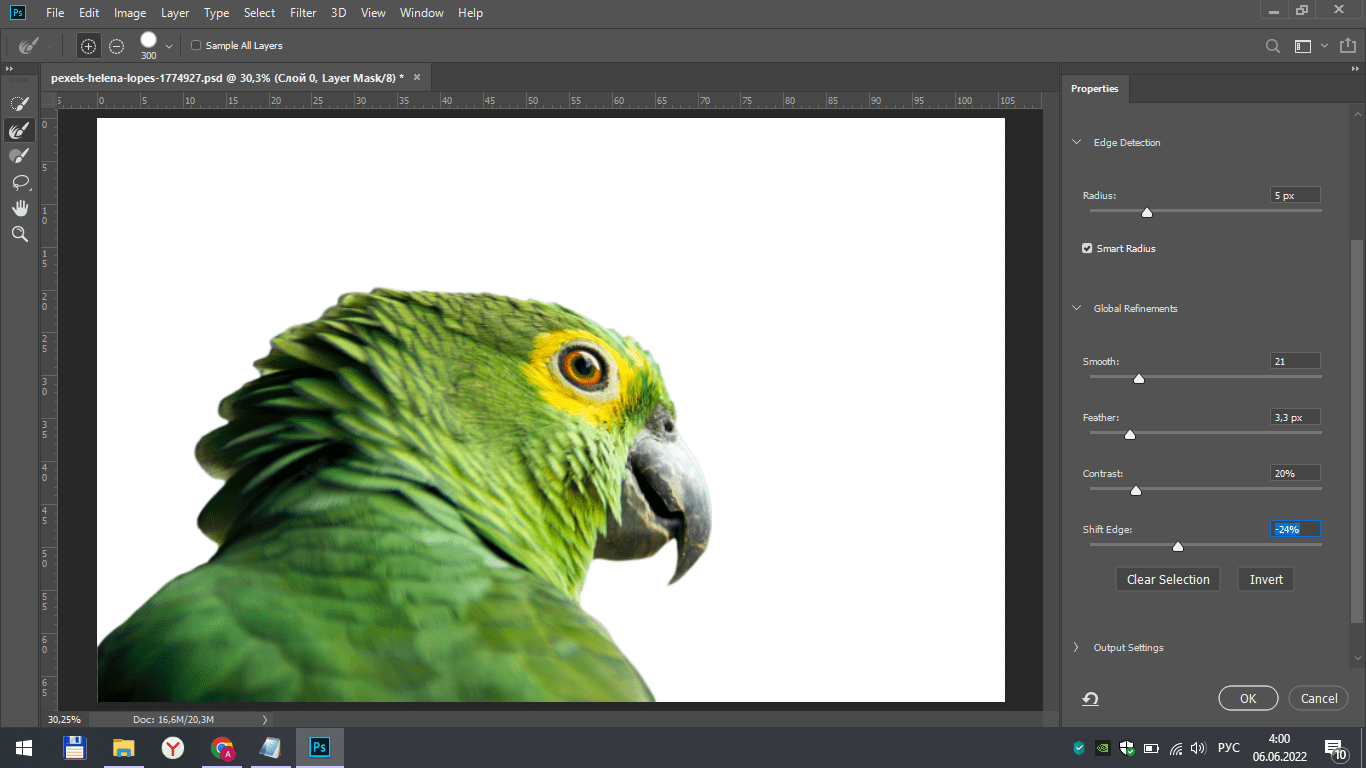
After that, scrolling the screen a little lower, we change the value of the sliders and look at how the edges of our selected object change.
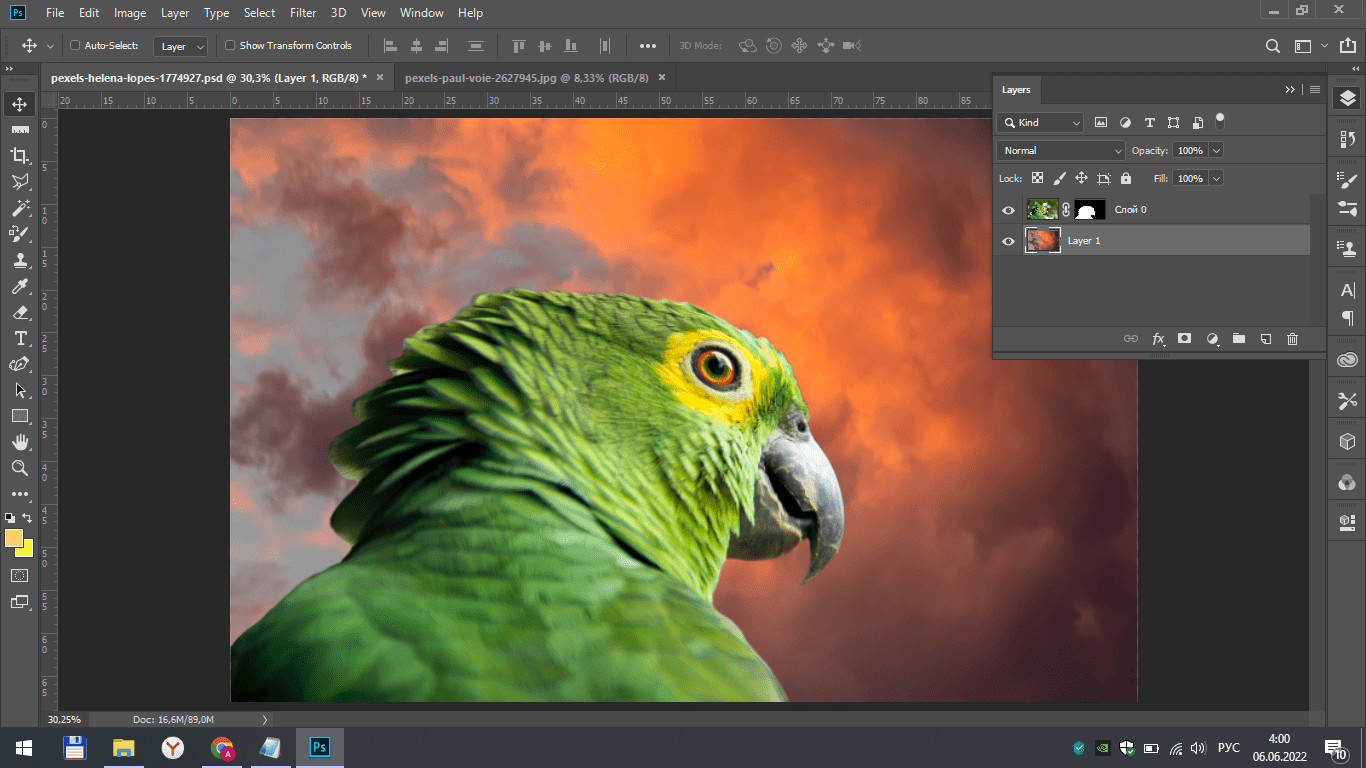
Step 5. Background addition
We add another background to our photo and move this layer under the layer with the selected object.
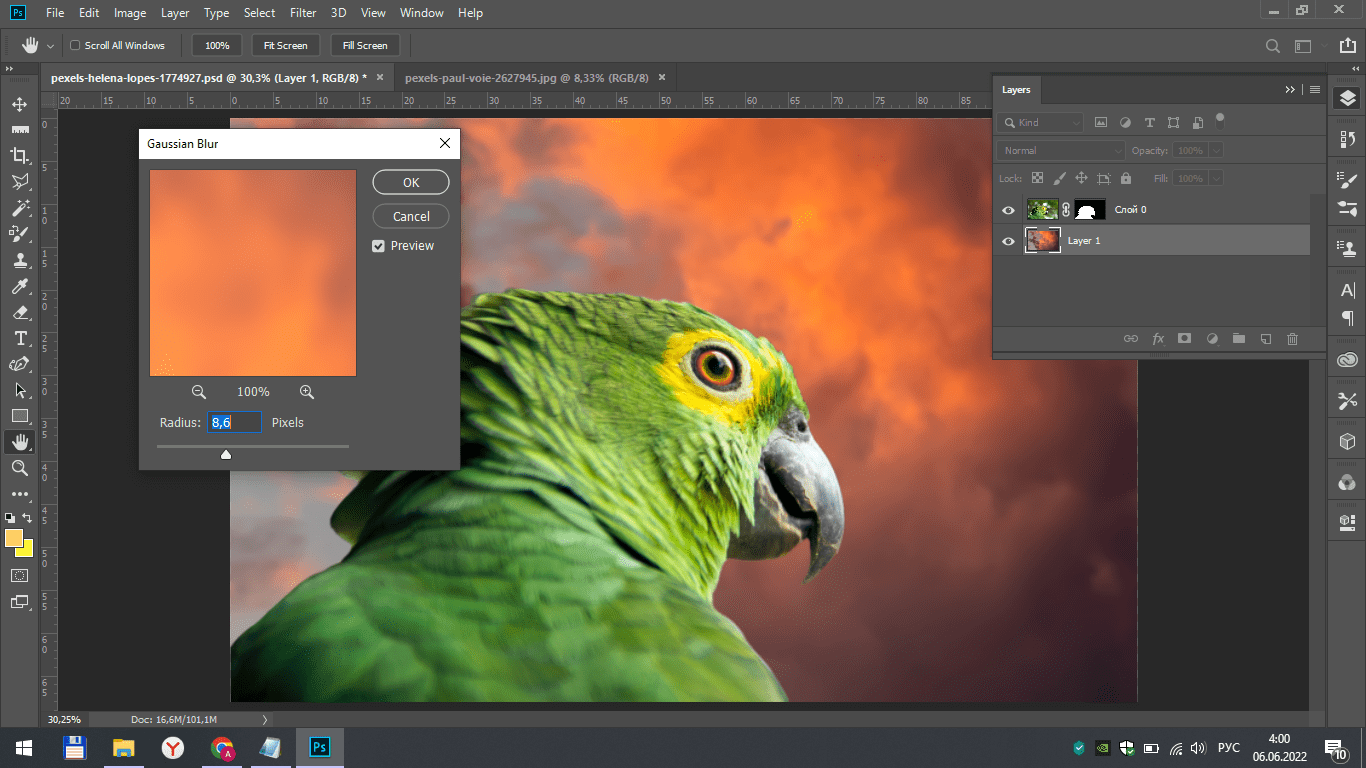
Step 6. Gaussian blur
If you want, you can blur the background using the "Gaussian blur" tool, which is located in the filter tab.
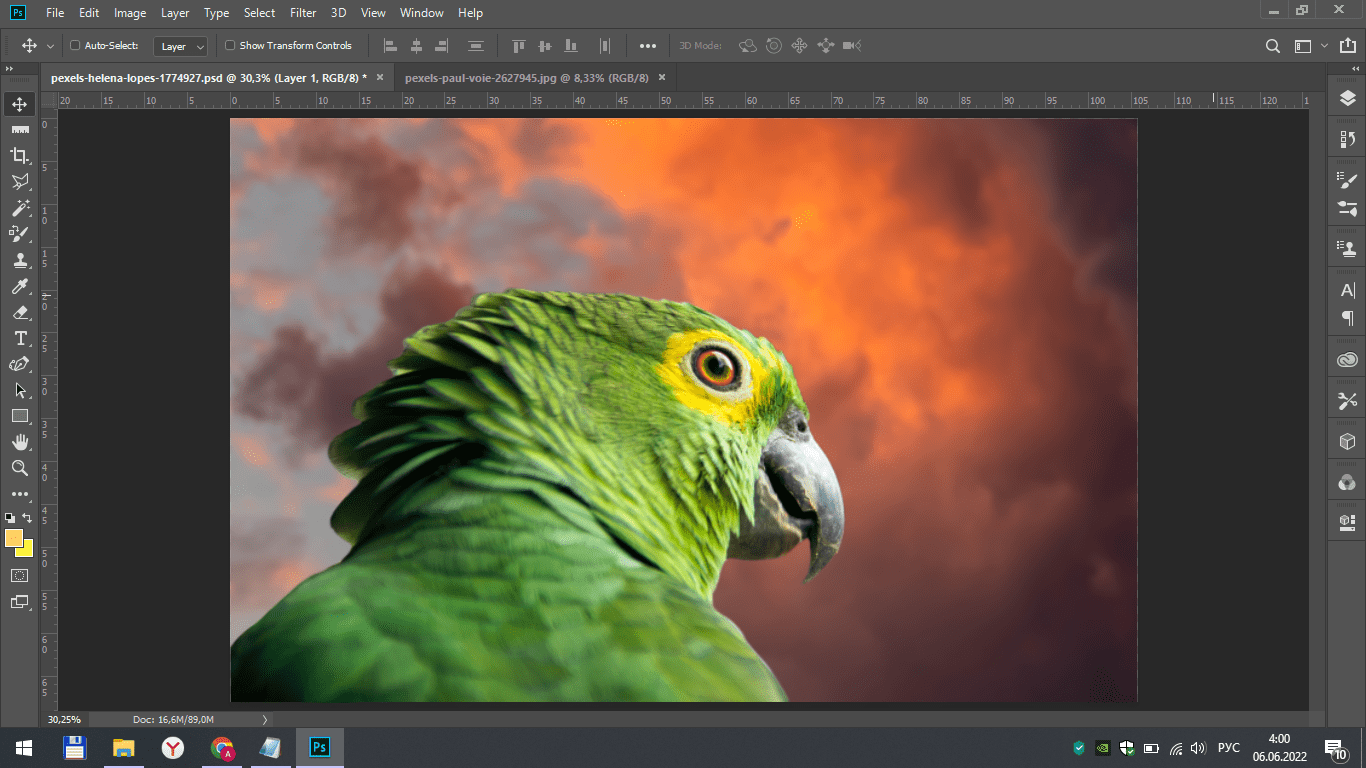
Result
In such an uncomplicated way, we were able to easily change the background on the photo. You can apply this image editing method to any photos whose background you want to change.