


The Animation functionality in Blender is extensive. You can use the animation functionality to create 3D effects, videos and movies, character movements, and so much more. Today we will take our look at Text Animation.
Now, to animate text in Blender, you need to take the following steps.
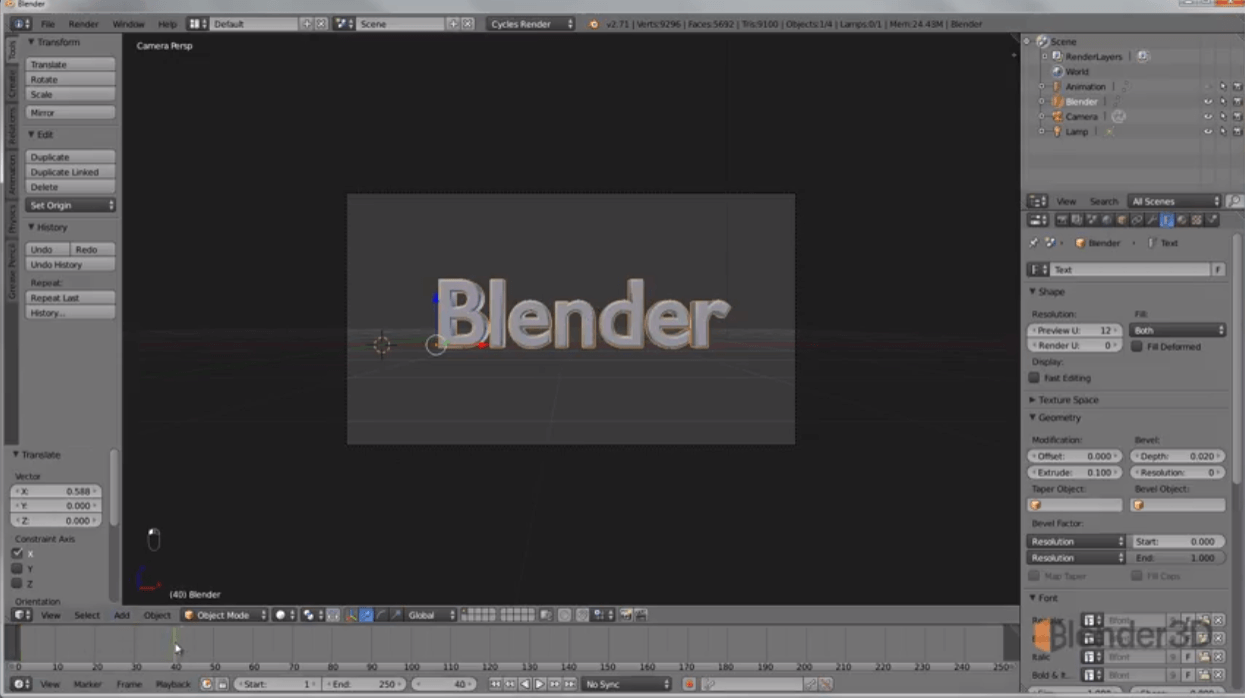
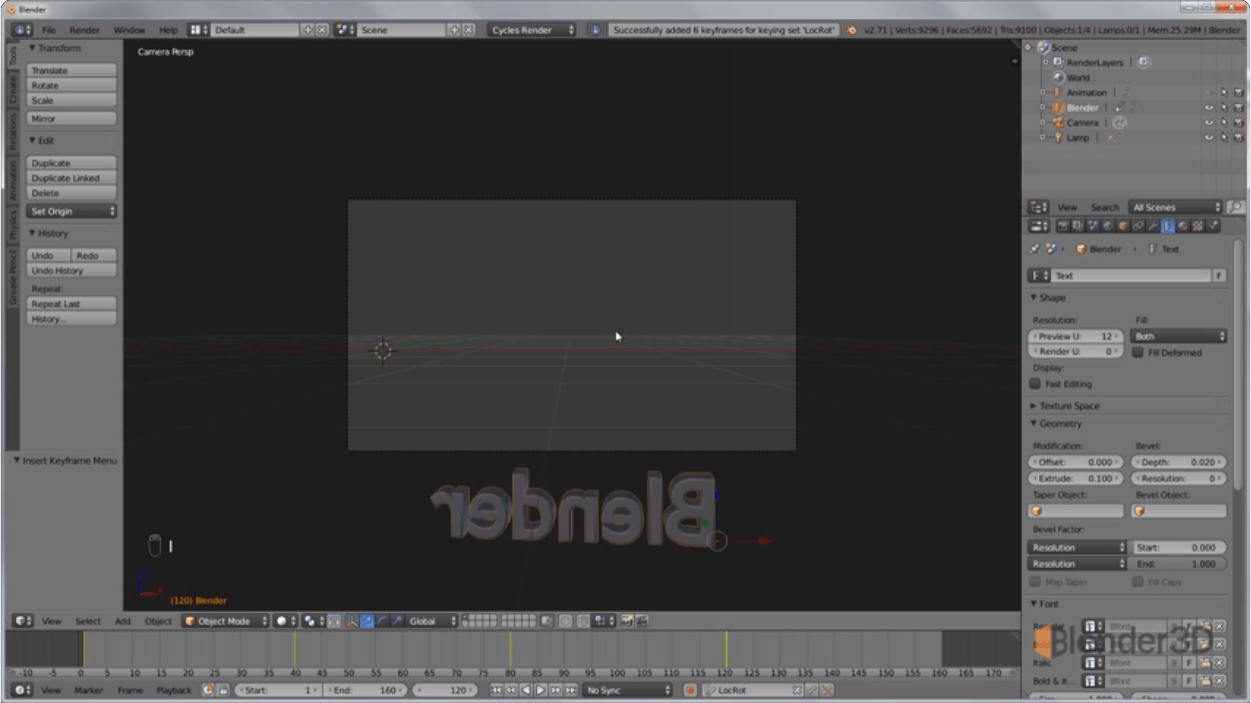
Adding and placing Text in Blender
First, add a text to the viewport (for example Blender) and rotate the X-axis by 90 degrees (hotkeys to rotate: R+X+90+Enter).
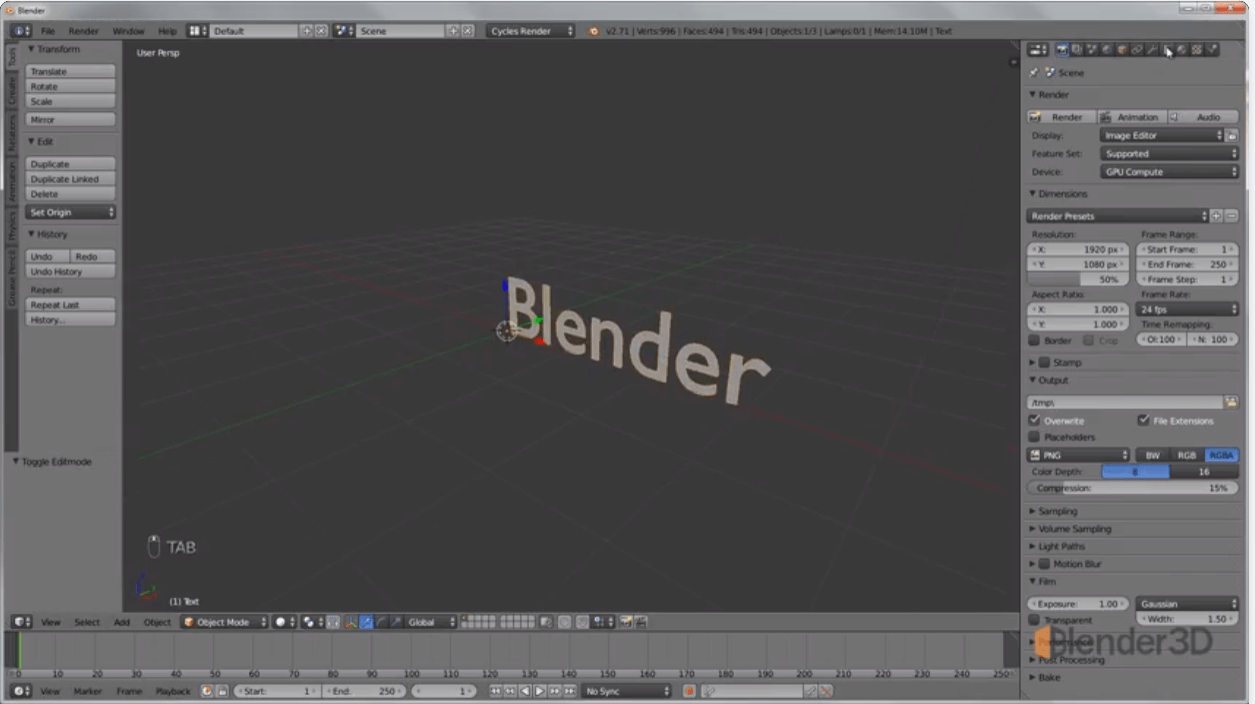
Please note! To start or end text editing, simply press TAB on the keyboard.
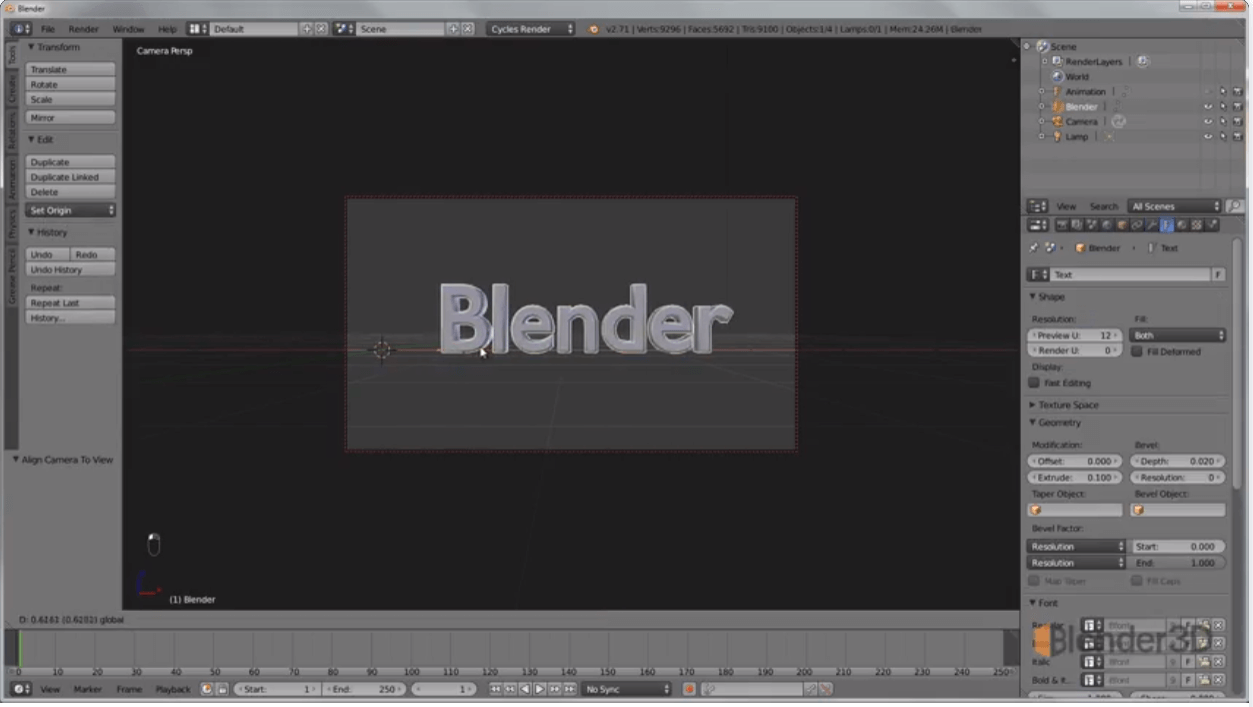
Next, switch to the Text tab. Here you can add some thickness to the letters and extrude by selecting the required options in the Modification window on the right-hand panel.
Camera alignment
To view the location of the text object through the camera, switch to Front View (Ctrl+Alt+0). In the View Menu, tick "Lock camera to view" to centre the word on the camera.
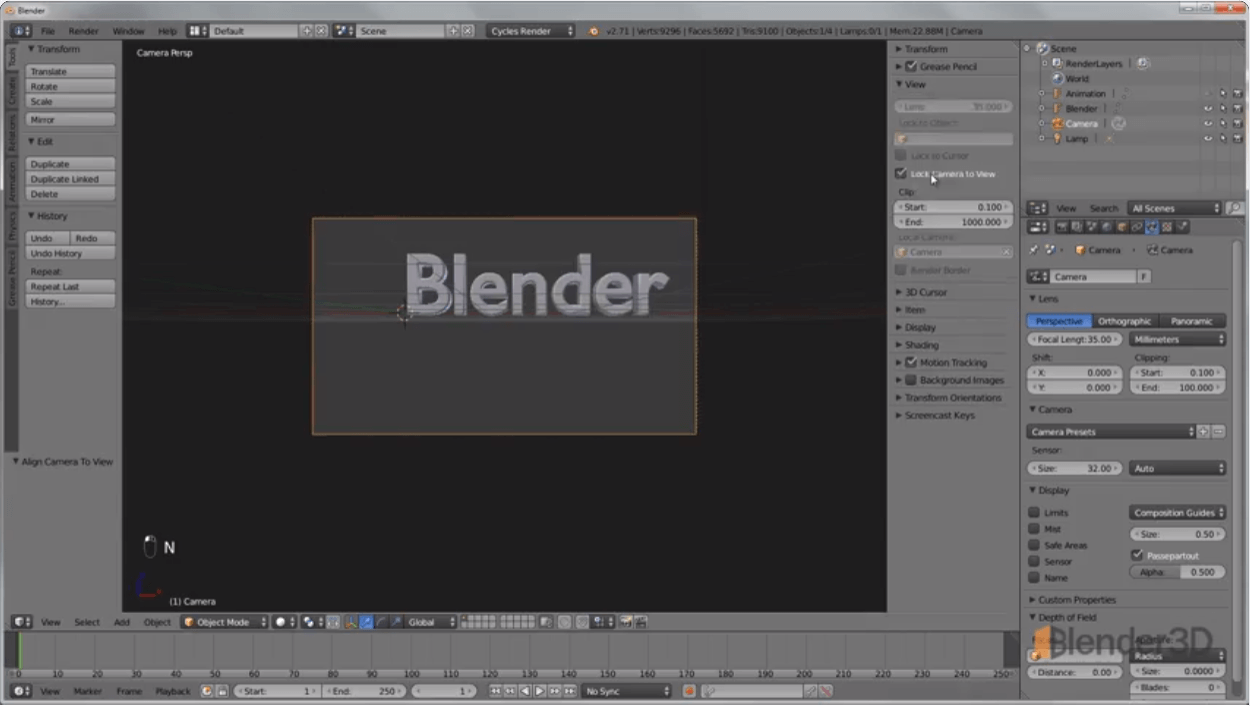
Once the lettering is created and the camera is aligned, you can now start applying Text Animation.
Blender Text Animation
Select the text and in the Timeline window (a timeline at the bottom of the screen where keyframes are captured), select, for example, the 40th frame.
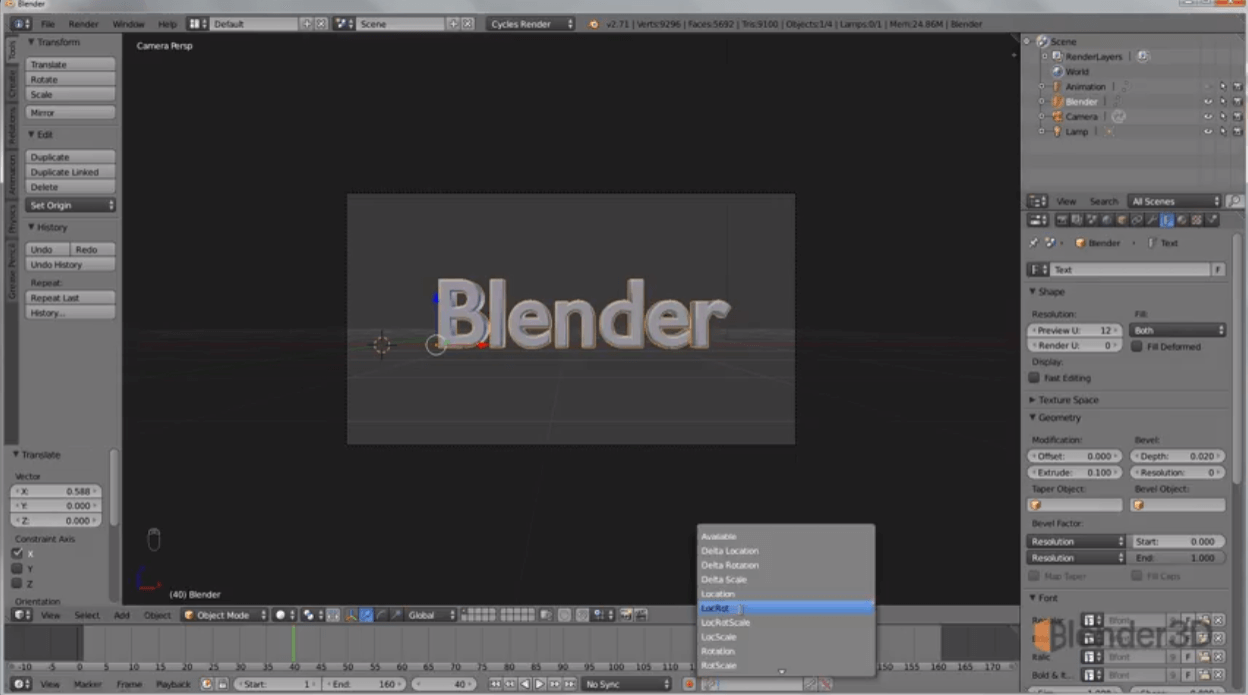
To create animated text, you also need to assign keyframes using the LocRot function in the menu. This function is used to move and rotate the object in space.
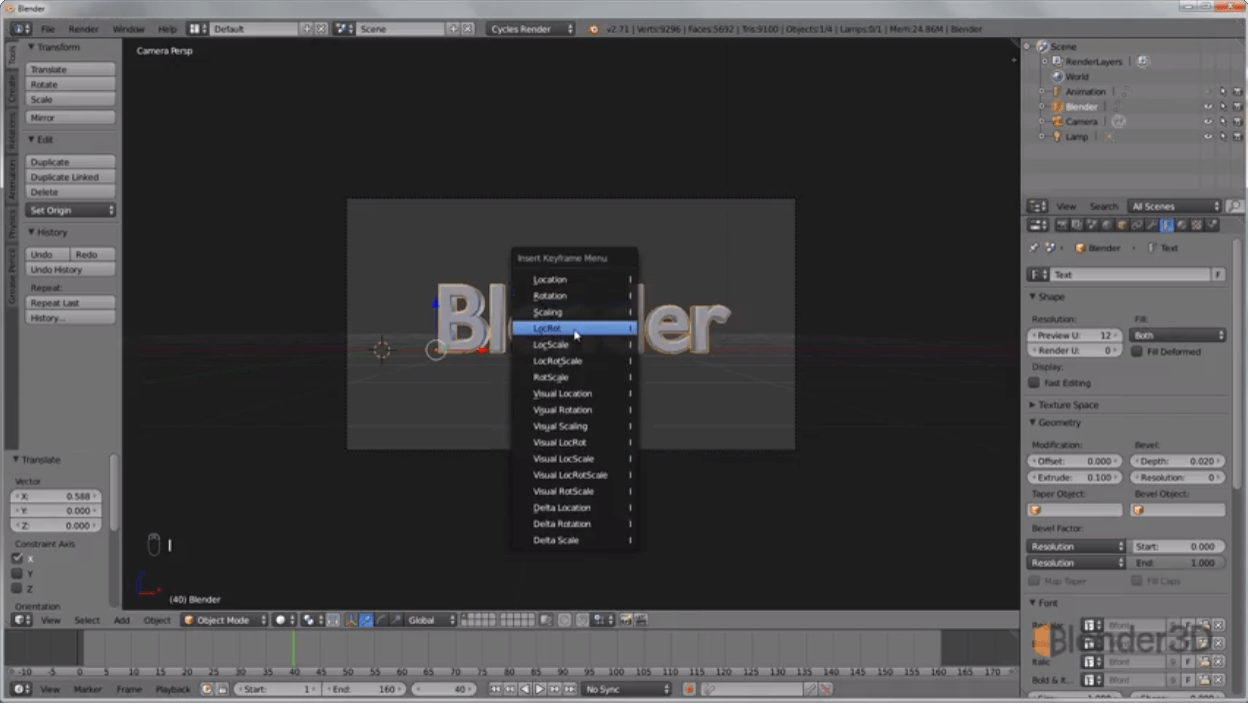
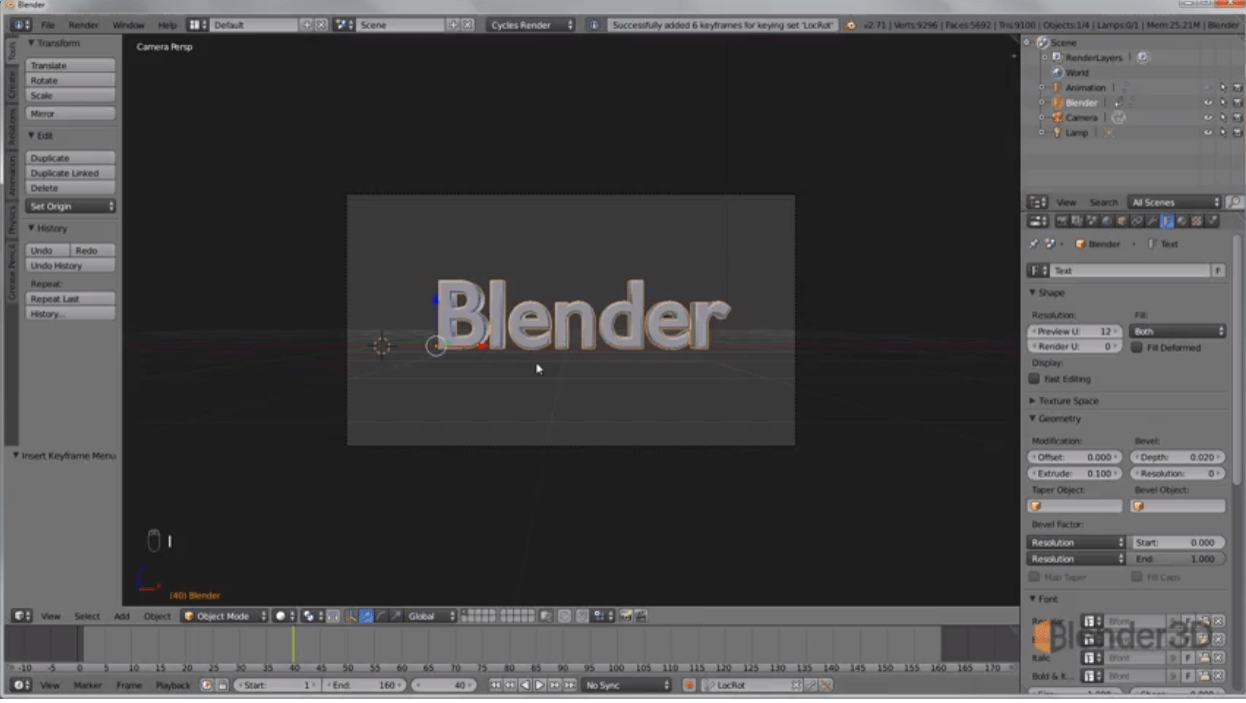
Since we will only be using this option, we can set it in the lower panel directly. Now, when you press the I key, this keyframe will always be selected.
Now, go back to frame 40 and press I. That's it, the first frame is captured.
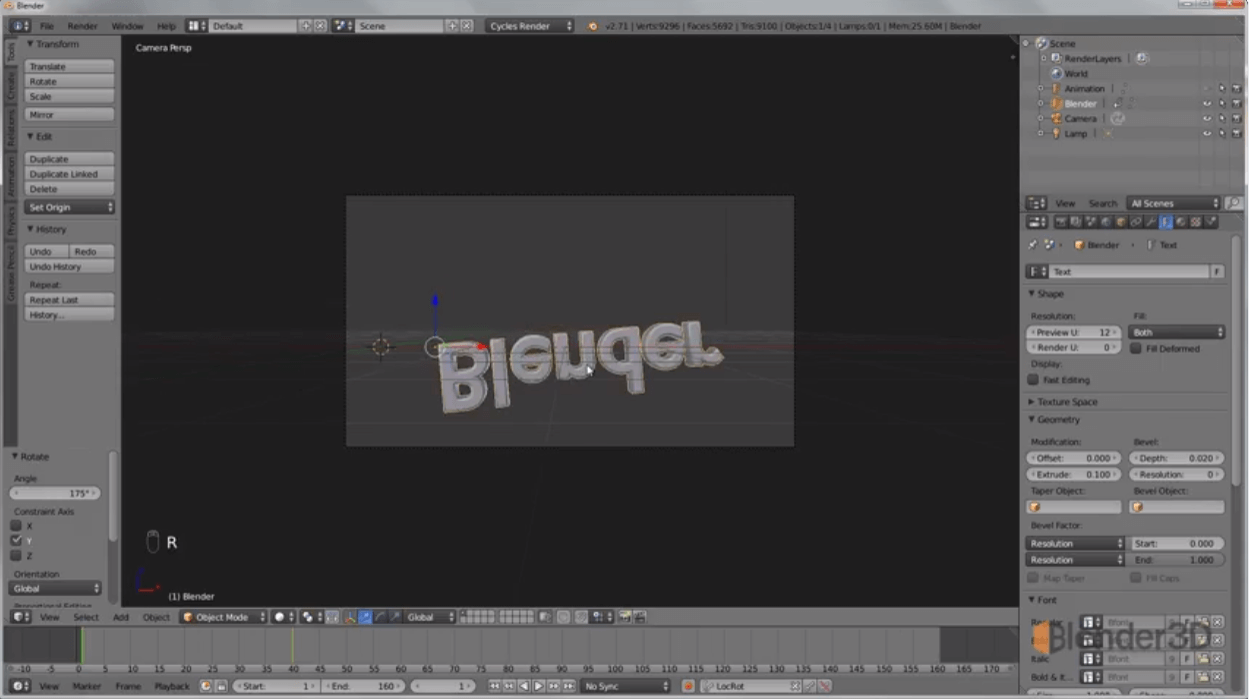
Next, move to the first frame and rotate the text on the Z-axis by 170 degrees.
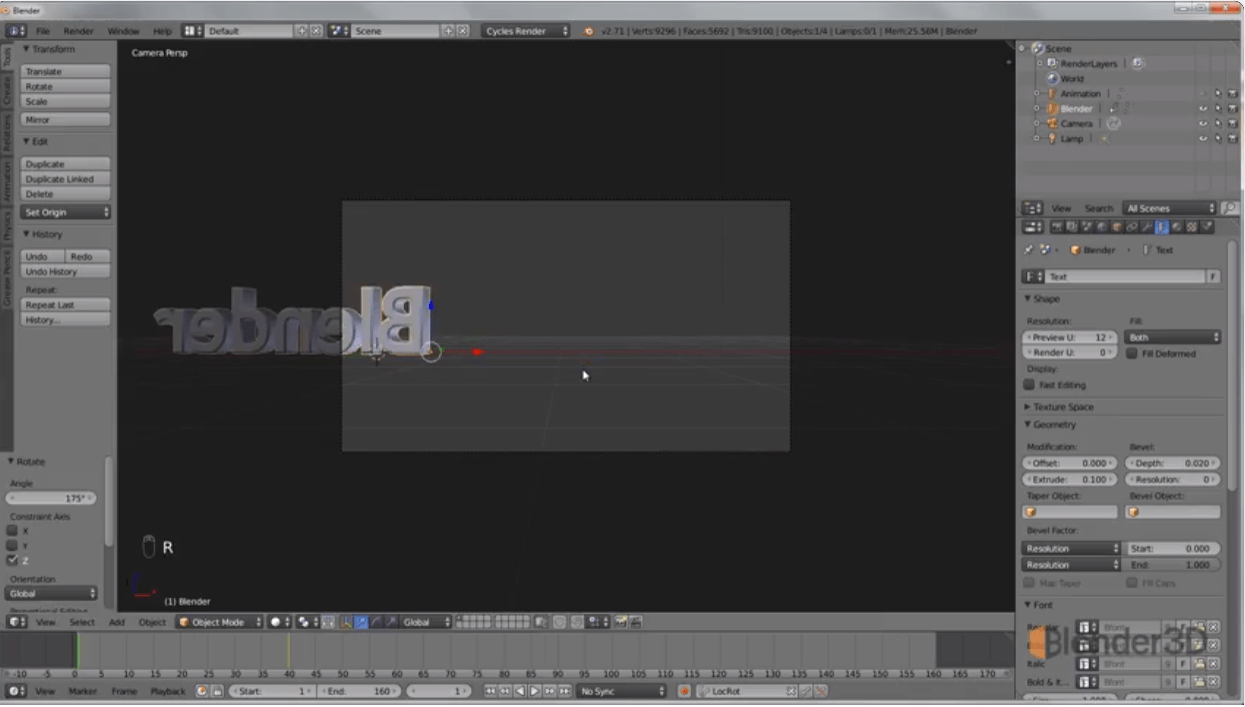
Then on the Y-axis by 170 degrees.
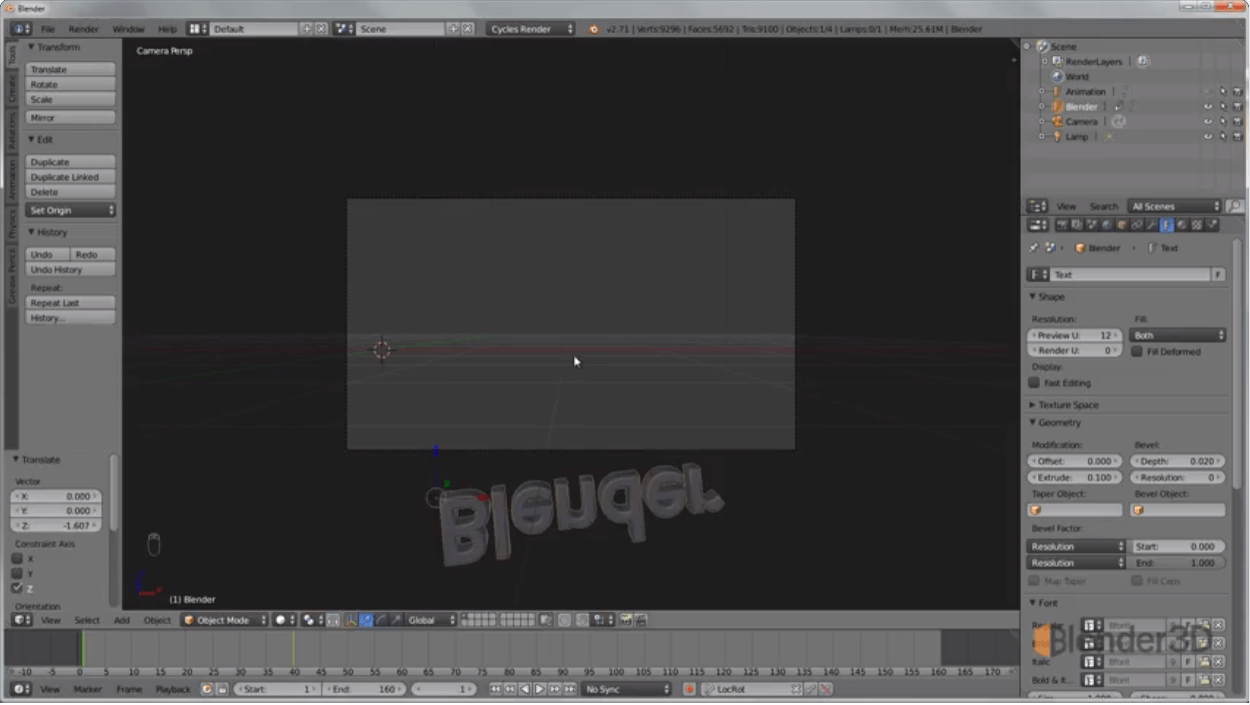
Then drag the blue lettering arrow downwards, taking it outside the camera and capture the frame (key "I").
Consider that from frame 40 to 80 the word should be in the centre. That means we move to frame 80 and set the keyframe (click on "I").
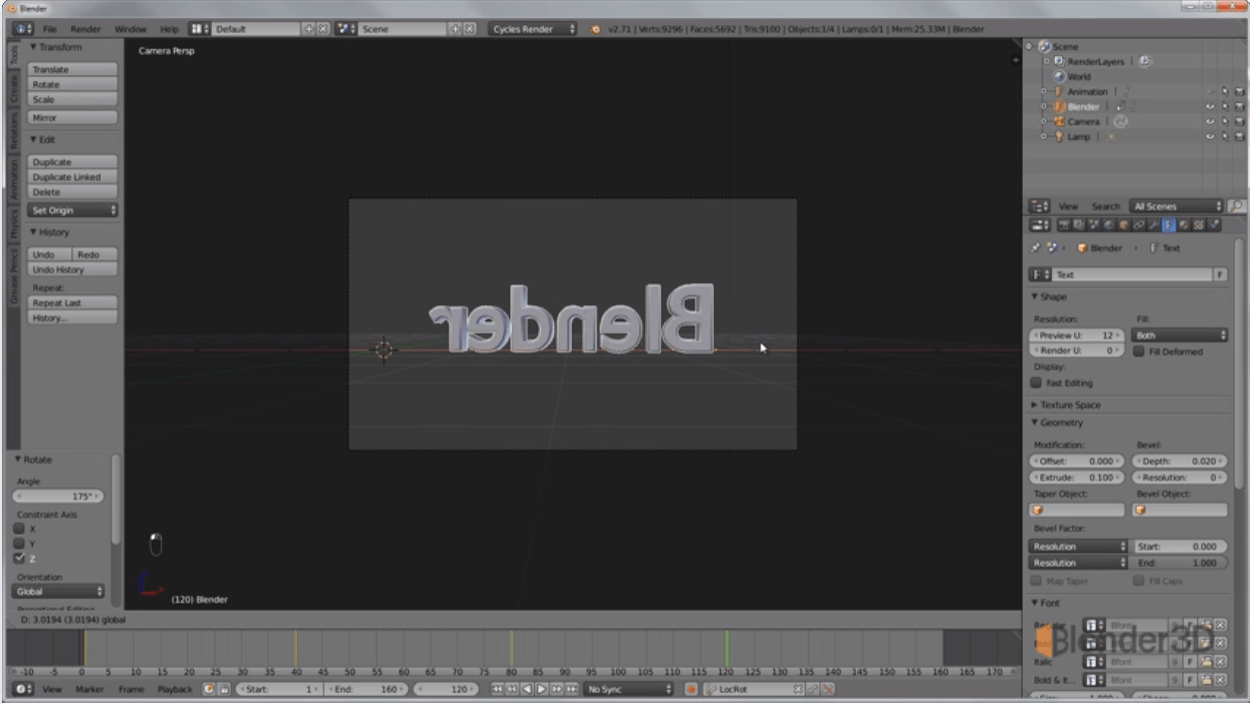
From there, move to 120 frame and rotate the text along the Z-axis by 175 degrees.

Next, we move the text to the centre.
Slide it down behind the camera and set a keyframe for it.
You can now play around with the timeline animation that you obtained.
Material and lighting Output
The next step is material output. This helps to enhance the visual appearance of the text. Change the settings in the toolbox on the right-hand side: set the look, the roughness, and the colour you want.
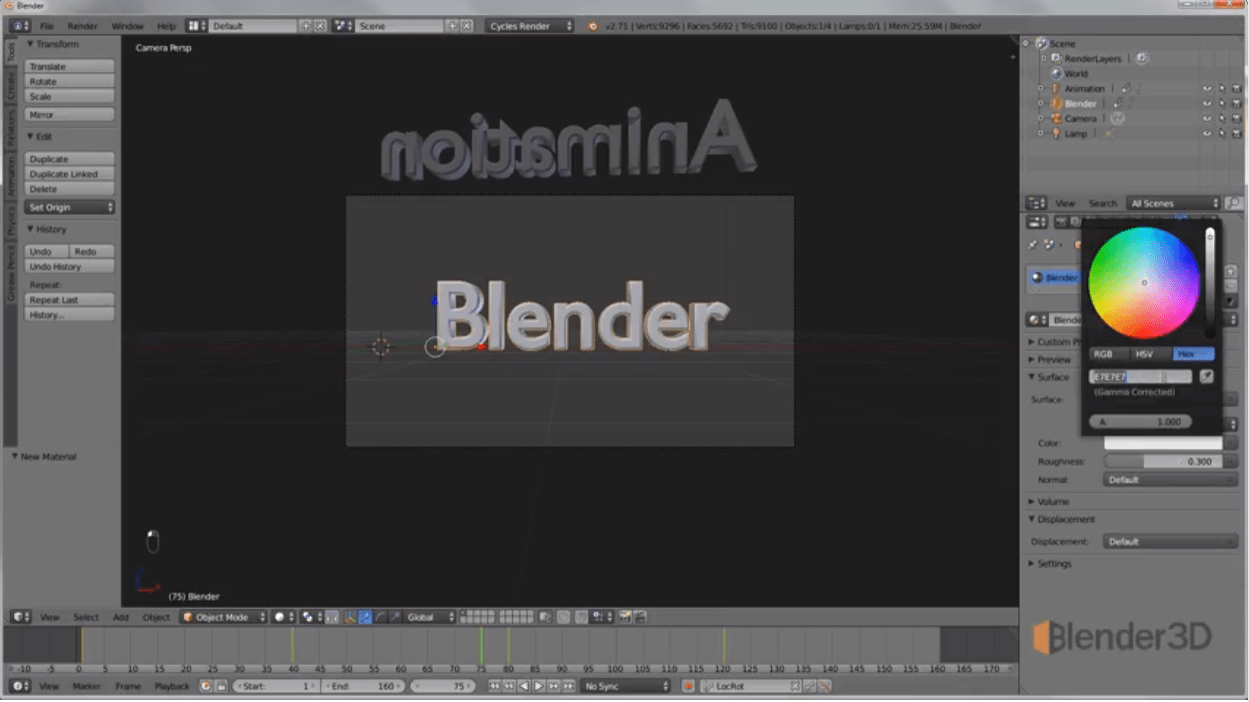
Please note! In the top bar, Cycle Render mode has to be set.
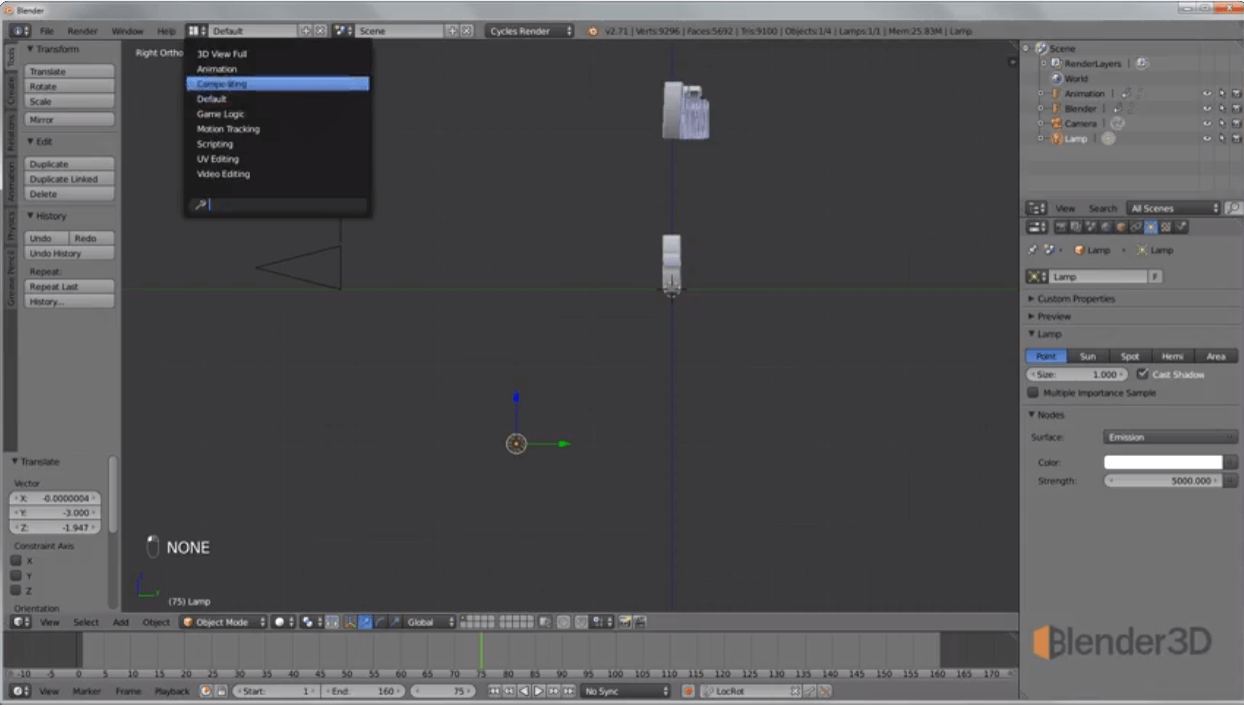
Blender Functionality includes lighting settings.
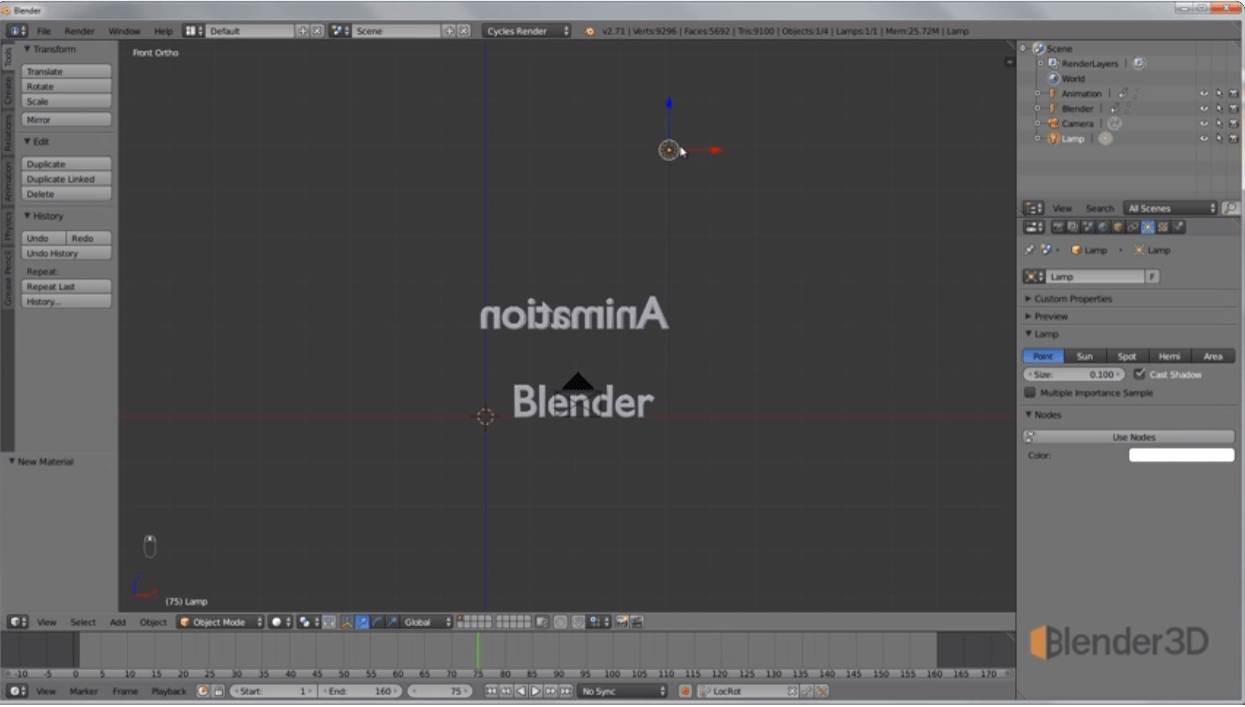
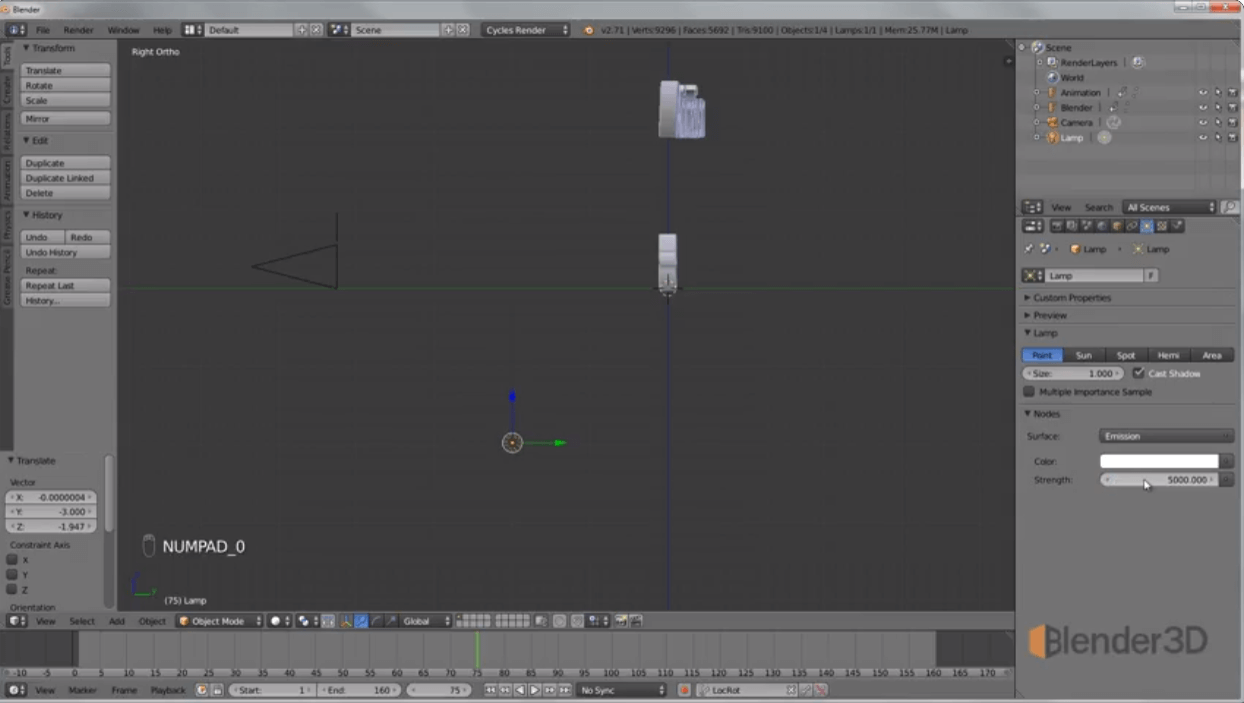
By moving the lamp, select the desired light incidence angle. You can move the lamp with the J key.
Now, on the Lamp tab (in the right-hand toolbar), set the required light size and intensity level.
Make sure the Point type is on this panel (i.e. the appropriate icon is selected).
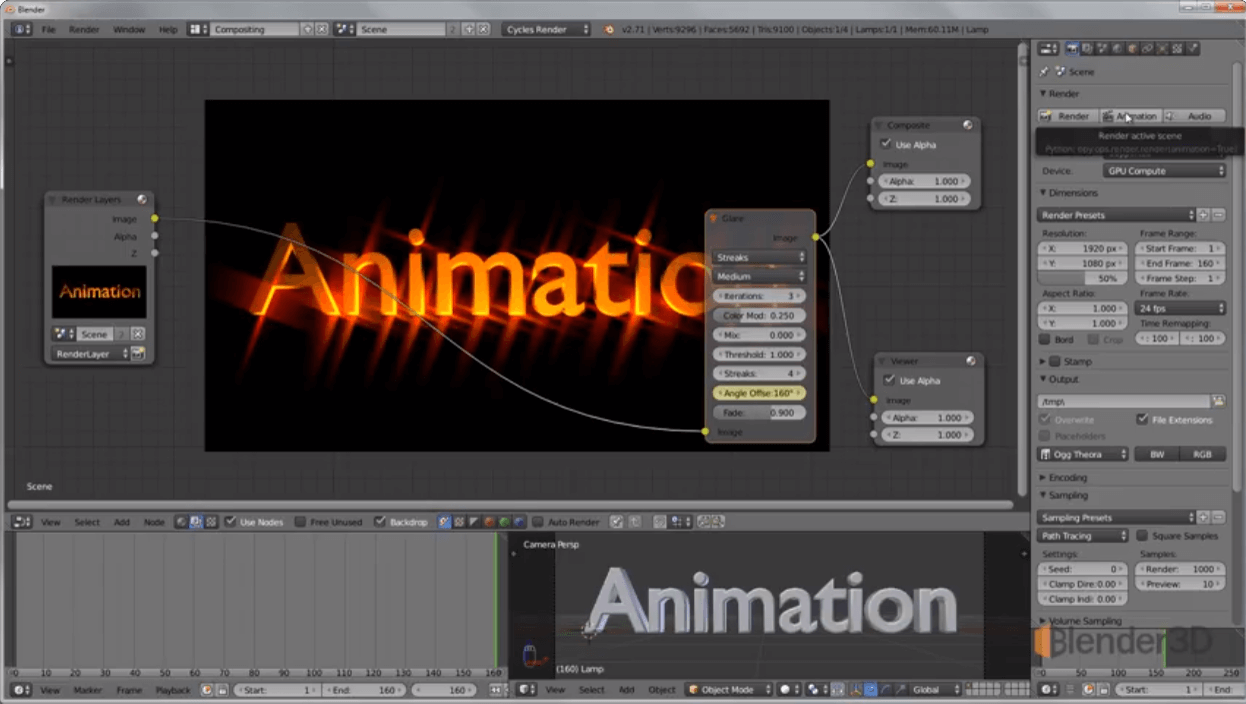
Blender animation post-processing
After that, you can adjust the rendering settings in post-processing and achieve animation effects.
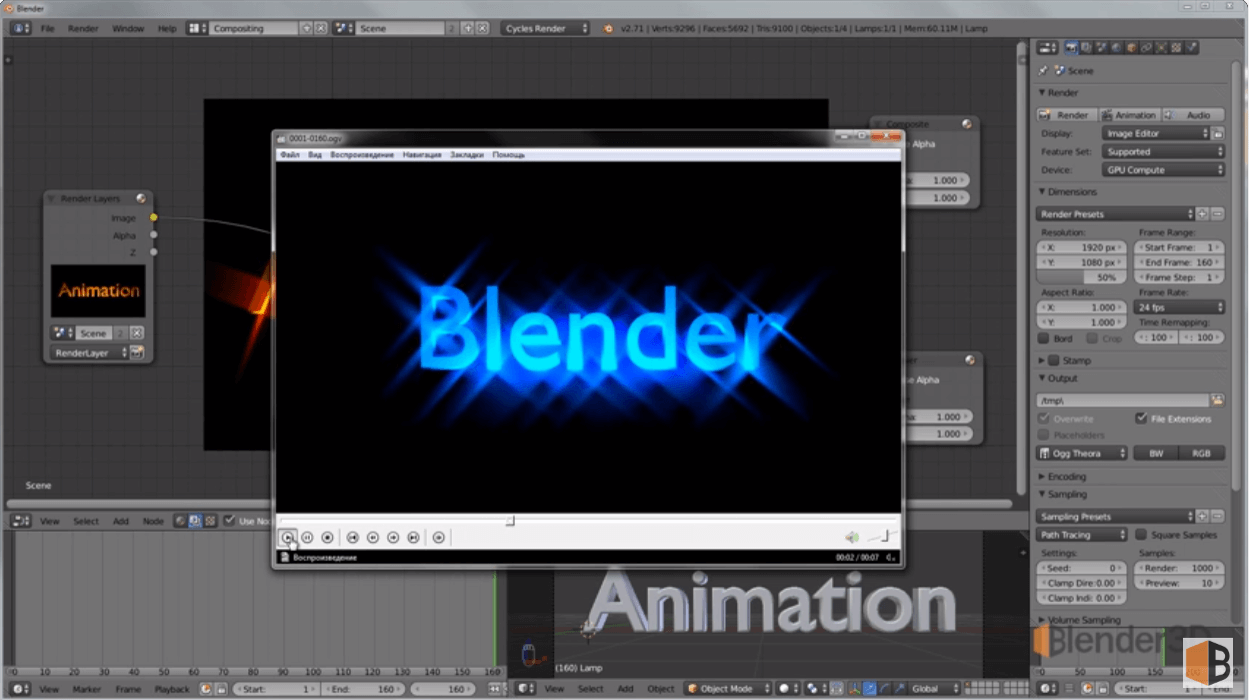
To do this, switch to Compoziting mode, select Use Nodes and use the suggested node, then render settings to assign Blender text animation effects.
Summary
This is how Blender Animated text work is done. As you can see, it's not so hard to do. Follow our tutorials to learn not only Blender Text Animation, but other useful and in-demand skills as well. For instance, how to animate Blender effects. More about that in our next lesson.