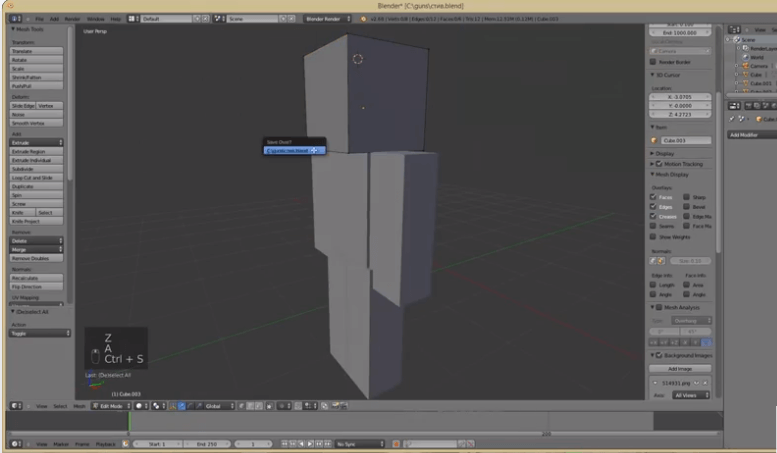
Blender is not just about creating 3d graphics; it is also a great solution for creating animation. With Blender you can build loops, move models around in space, change shape interactively, and do many other things.
How to make a character created in Blender to move?
To animate an object, use Blender Animation and follow the steps below.
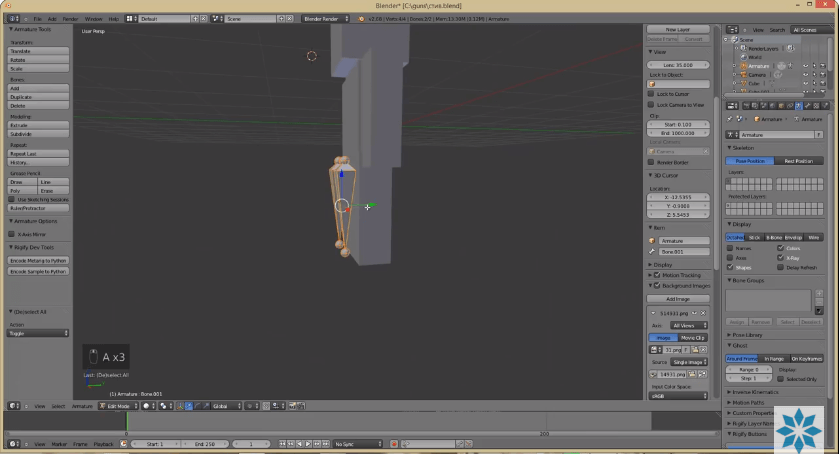
Creating armatures of the required size and length
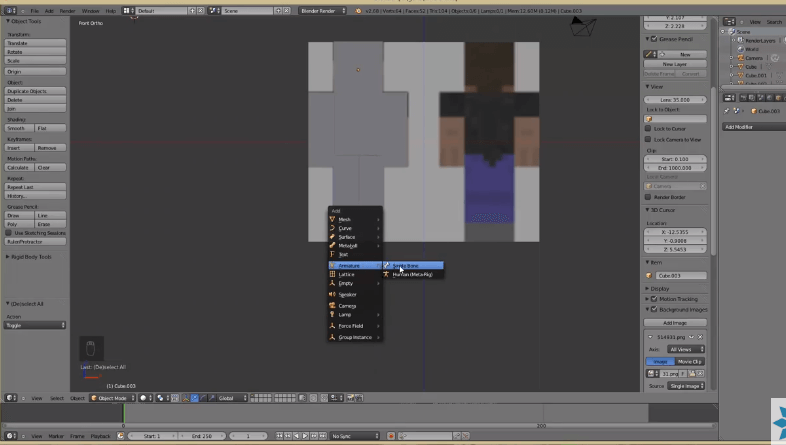
First, we need to make the "bones" (armature) of the character. To do this, select the appropriate option from the menu (Shift A + Armature + Single Bone).
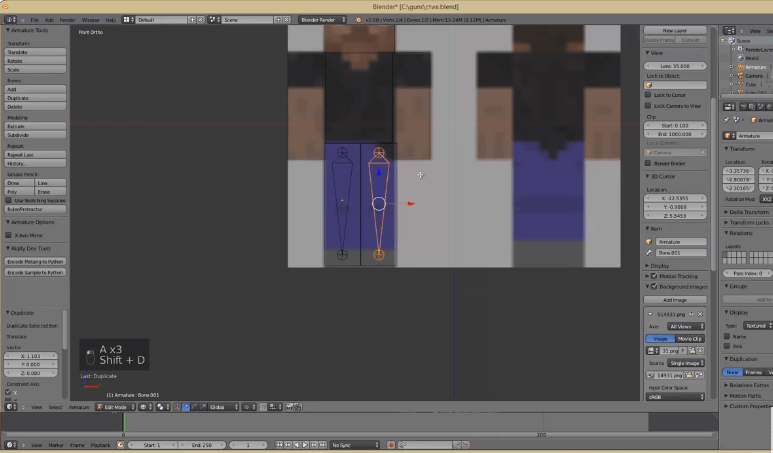
Let's start with the legs. Place the "bone" in the correct position. If necessary, the armature element can be rotated or extended by clicking and dragging the active points on the element. Copy the template for the second leg.
Integration of the bones into the model body
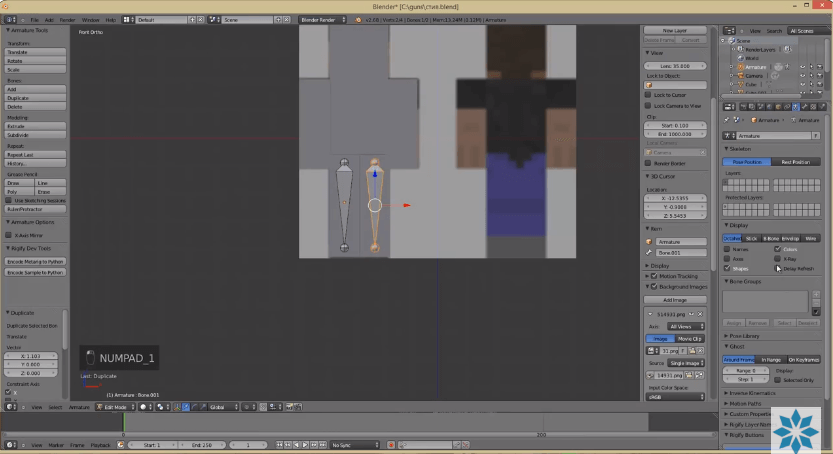
To place the created armature into the character, select the X-Ray function on the right side of the Display panel and drag the "bones" inside the model. You can notice that the armature that was created is clearly visible through the mesh.
Please note! You can use the G, R keys to move the bones and the Ctrl+E shortcut to add new bones.
Now we copy the armature template for the arms, torso and head and make it longer or shorter to the required size. The model sketch is ready.
Matching the created sketch to the model
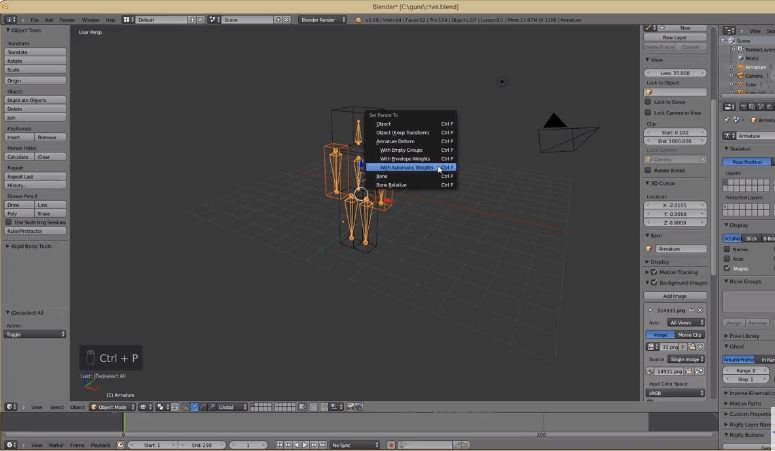
Select the arms and your sketch, press Ctrl+P and choose "With automatic weights" i.e. automatic weight distribution, option in the panel menu.
This is necessary for Blender animation and matching the parts of the created sketches to the model. Follow the same steps for the legs and head of the character.
Click on the bones then press Ctrl+TAB, switch to viewport mode and here you can try to move the character's body parts.
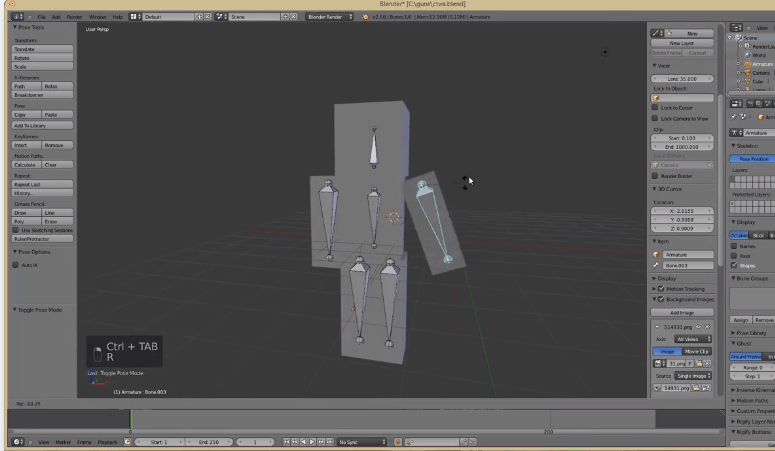
Animation settings for each bone
The following step is to create the animation.
Click on the Animation tab.
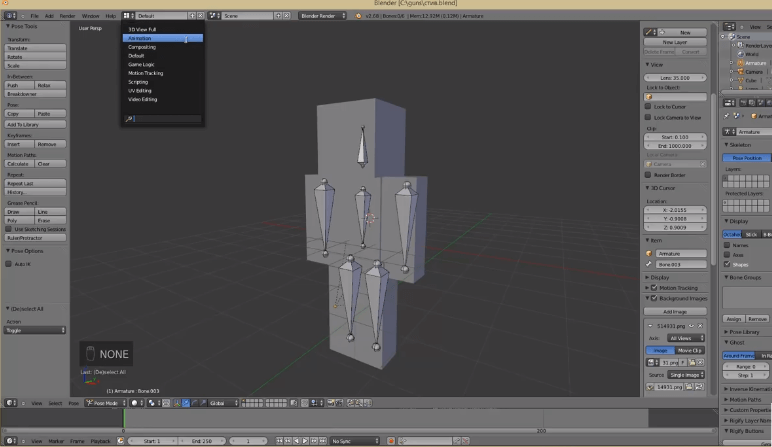
Next, click on the red circle at the bottom of the screen and select a bone.
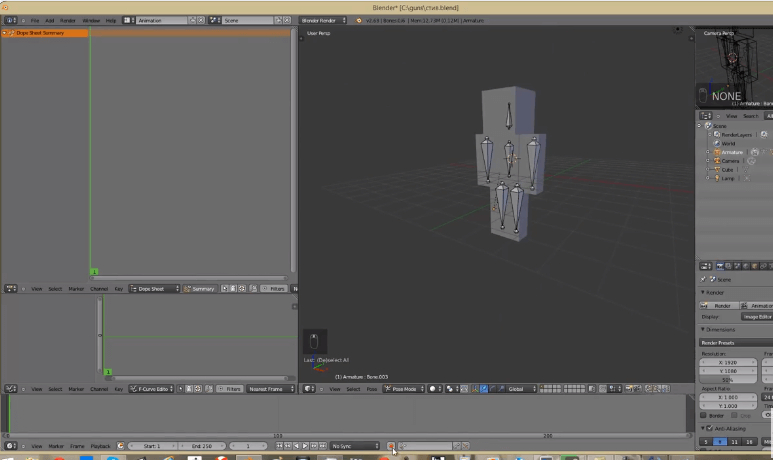
Use the R+X keys to select the desired dynamic range (stride span). This step is done with each leg and arm. You may also do this with the head.
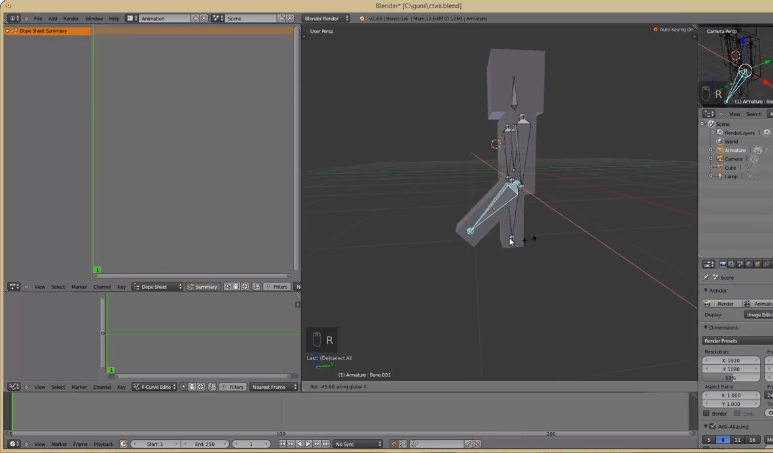
Switch to NUMPAD3 and select legs, arms to fix the position.
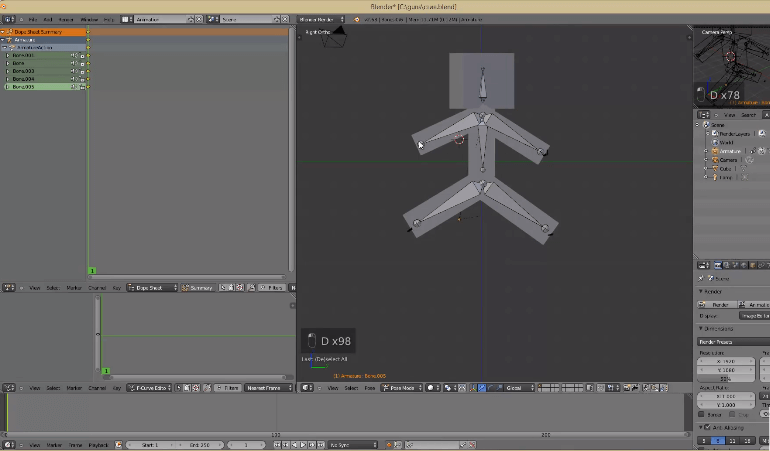
Then for the other frame, do the same with the arms and legs, only adjust the movement dynamics on the other side.
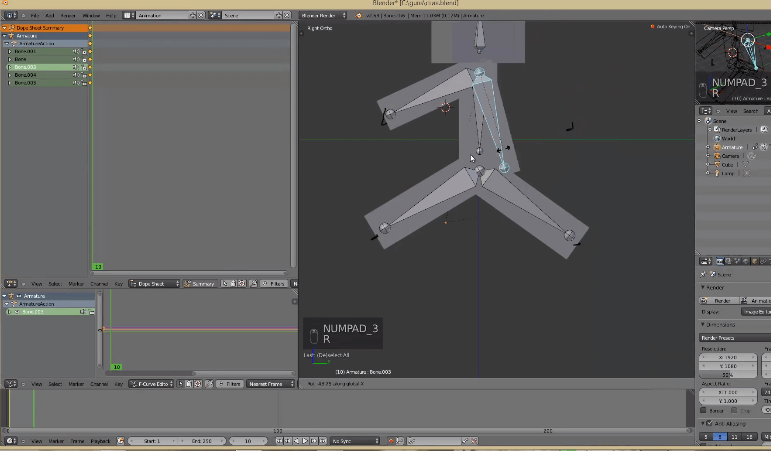
You can do other character Blender Animation for the following frames in the same way (e.g. change the head angle or the stride width, arm swing, etc.).
Basically, this is all you need to create a simple animation in Blender 3D.
You can preview the results of your work by clicking the "Play" button on the player at the bottom of the viewport.
Summary
Thus, creating a Blender 3D Animation is not complicated. Even a non-professional user can handle it. Moreover, once you learn how to animate characters, it will be hard to stop. After all, in Blender there are many other features and tools. For example, you can "animate" objects, movements, trajectories, facial expressions model, text, etc. Yes! We will learn about creating animated text in the next lesson.

